Smart enough not to make the same mistake twice, I emailed Elizabeth Steck at Alpina, seeking the car’s provenance. Elizabeth Steck was the kind Alpina employee who originally verified my car, telling me that “the car [was] in February of the year 1982 and we have had it in our company for modification.” In my second email I asked about any records they had on my car or what modifications made a car a C1 2.3. Ms. Steck demurred, emailing me the following message:
sorry, but after 35 years we don’t have detailed information anymore. I found out, that this car was here, only by means of a list. I wish you much fun with this car and always [a] good ride.
So, it looked like I was on my own for this sleuthing. I asked one of other C1 owners I “met” on a BMW forum and his plaque had a 3-xxxx number. His insight: “As far as I know the plaque with 320-xxxx were only for the early 4 cylinder E21 Alpinas (A1 to A4). The C1’s started with 3-xxxx. So maybe the plaque was replaced at some point?“ While this echoed my fear, I craved some solid leads; some hope that the vintage-looking plaque, beautifully and perfectly engraved, was genuine and actually for my car; something that could answer the mystery.
I checked with another C1 owner. This one was the original owner of his car, a conversion by an authorized Alpina dealer in Europe. His car did not come with a dash plaque because “all” he got form Alpina was the engine, wheels and suspension – he wasn’t eligible for a plaque without buying their seats! He told me that the correct plaques for C1s was 3-xxxx (confirming the other owner) and that the last digits of the VIN were what comprised the xxxx of the 3-xxxx.
While his thesis about the plaque for a C1 seemed correct, his theory about the VIN did not. Looking at pictures of plaques and VINs of C1s on the web – and that of the other C1 owner – showed plaque and VIN numbers that did not correspond. The mystery continued!
As part of my web-sleuthing, I turned to the Alpina Register (http://www.thealpinaregister.com/register). Of the three e21 C1 2.3s listed there, two had 3-xxxx numbers on the plaque but one had 320-xxxx. The latter car, however, started life as a 4 cylinder BMW and was converted to Alpina C1 2.3 spec by an authorized dealer; in the post there, the owner offered that, because it started life as a 4 cylinder car, it got the “320” prefix on the plaque. But if he was correct, that did not explain the plaque in my car, as it was built as a M20 6 cylinder car and was built at the Alpina factory. The feeling of getting nowhere intensified.
Why not go to the source, I thought and (again) try to find the prior owner. Having already unsuccessfully googled his “handle” from BaT, I wondered how to find him. Of course, the best place to start was, well, the only place he had revealed himself: BaT. So, I went and (again, seemingly for the thousandth time!) re-read the BaT comments.
In his first of two posts, the previous owner said the car was a “Dietel [c]onversion with a slew of authentic Alpina parts, most of which” he put on after the originals were removed by the unethical mechanic. He explained he bought it from the widow of a servicemen who had the car imported and he had to replace the wheels, steering wheel, and repaint the car. In his second post he reported he got the car “in terrible shape” and that he “built this car around that Alpina dash tag and the few parts the mechanic hadn’t stolen.” 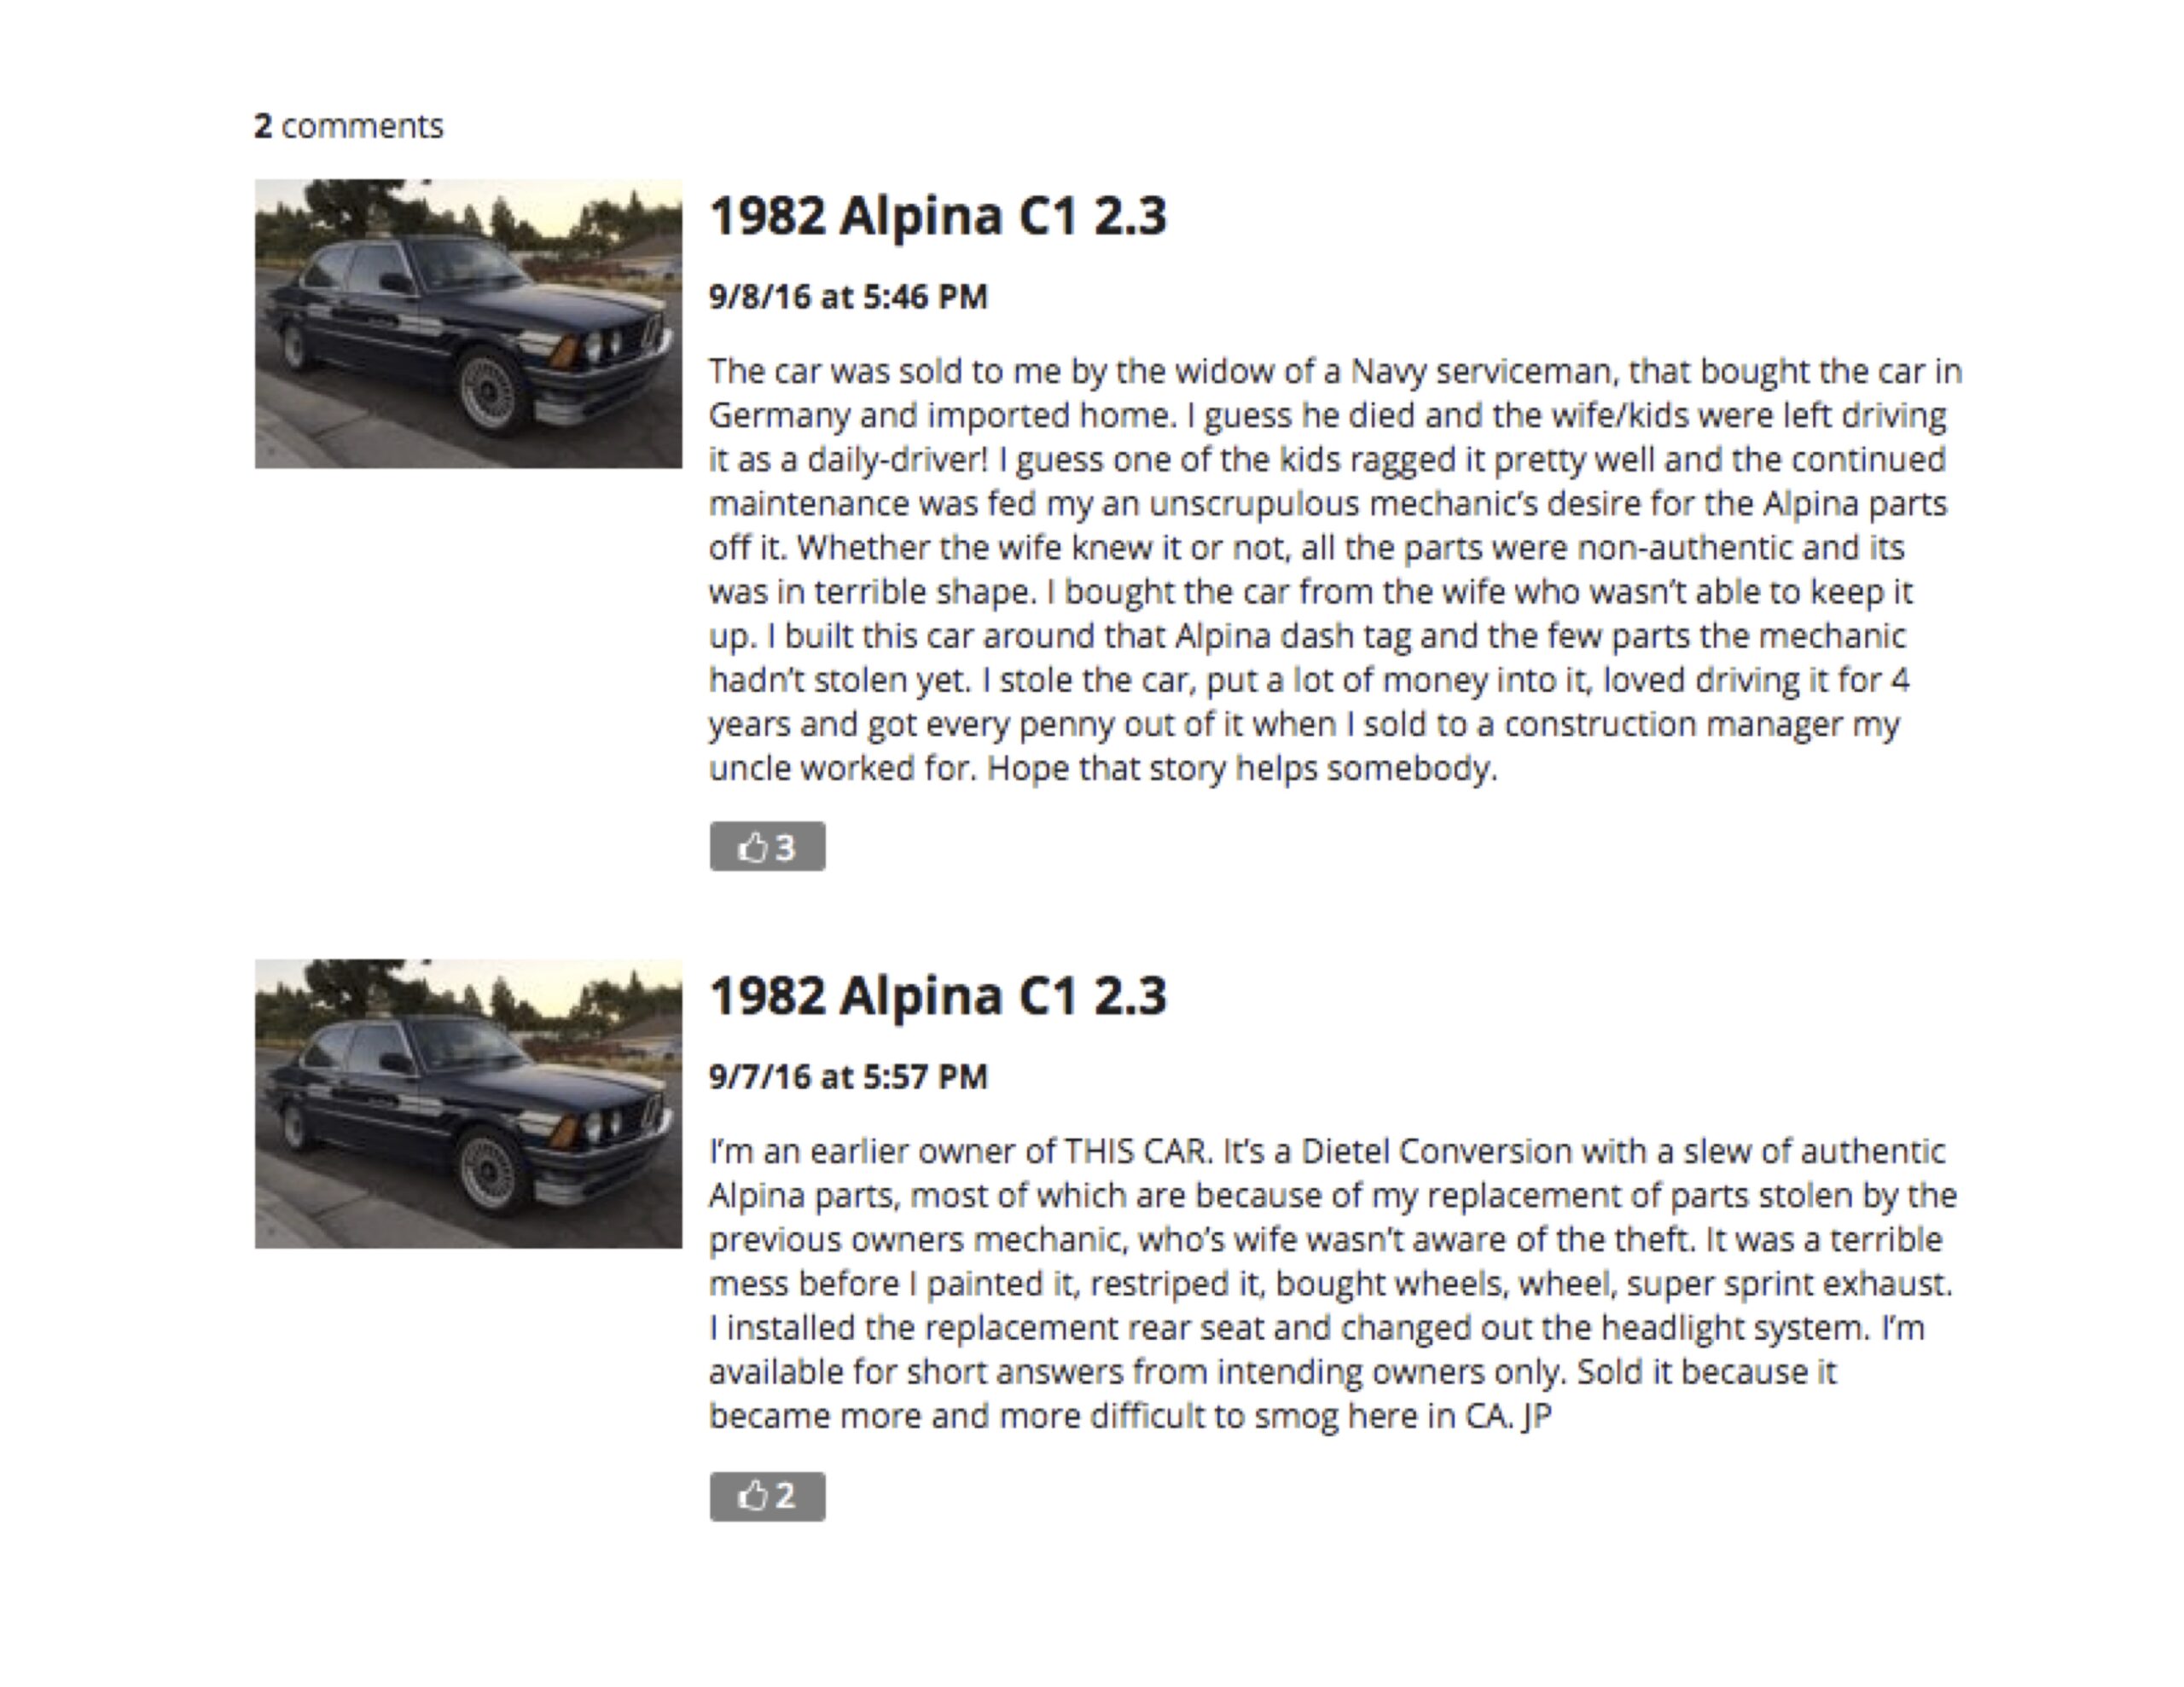
I knew part of what he said wasn’t true – that Dietel converted the car. Alpina verified that the car had been “in our company for modification,” which I think can only mean the Alpina factory in Buchloe, Germany. Also, it went to Alpina in February 1982, the same month and year it was built by BMW. It was highly unlikely there was time for the car, as the previous owner claimed, to be purchased in Europe by a serviceman, then imported to the USA and then converted by Dietel in one month; hell, the boat-ride across the ocean takes several weeks. Plus, one of the stickers affixed when brought state-side listed the importer as “Auto Sport,” not Dietel.
These inconsistencies could be easily explained: the previous owner was told the wrong history. But his post seemed to raise more questions than it answered. Yeah, the dash plaque pre-dated his ownership, but what does that mean, especially given his version of the history of the car?
Then something really weird happened.
One random night, I was looking at pictures of dash plaques on-line after a google search and I saw a plaque with the number on my plaque: 320-1321. I clicked on it and it was a sample plaque in an eBay listing for reproduction dash plaques. At first I wondered if it was my plaque (which would mean the one affixed to the car was a reproduction, possibly explaining the “wrong” number). But after comparing it to the one from my car, it had obvious similarities (the numbers and the same type face) but was not identical (different spacing between the numbers and dash). But, lets face it – that “coincidence” is inexplicable (if a coincidence can be inexplicable).

It felt like I was never going to answer this question, so I ordered a plaque from the eBay seller with the closest number I could think would be correct (although I knew it wasn’t really): 3-xxxx, with xxxx being the last four of the VIN, like the C1 original owner opined. I figured I could use either plaque, the correct looking plaque (3-xxxx) or the one that came with the car but looked incorrect. It mirrored my theory about wheels: that they’re like shoes and you should have several sets.
Having gotten nowhere after too much energy spent on this important yet trivial detail (if that’s not an oxymoron), I decided to try the improbable: another email to our good friend Ms. Steck at Alpina. Recall, she told me before (when I emailed her with the VIN) that the only information she had was that the car had been modified by Alpina in February of 1982. This time I gave her the dash plaque number, the number on the motor, and the number on the head and asked if she had any information on any of those numbers. I also explained why the dash plaque number seemed wrong. That was a week ago. Ms. Steck has not written back. Yet. And maybe never will. Who knows.
And this, my friends, is the mystery and allure of Alpinas I spoke of in those BaT comments before even buying the car. Dispite subsequent verification from the factory, proof that the car really is an Alpina, it is seemingly impossible to know if the dash plaque that was on the car is the original, why the numbers seem weird, why someone else made a reproduction plaque with those exact numbers, what the actual numbers should be (if different than the one on the car). Maybe I’ll hear from Ms. Steck and the mystery will be solved. Most likely Alpina has no more information and I’ll be left to wonder. And to enjoy that mysterious allure…..
Post-Script: Ms. Steck from Alpina emailed back and verified the engine and head numbers, but had no insight on the dash plaque.
Then the guy who runs an e21 board based in Holland (http://www.bmwe21.net/) offered his observation “that the 3-xxxx numbers were only used if one ordered a full spec C1. But in most cases people bought a part of the package and then they did not get the C1 plaque, but a 320-xxxx plaque.” He came to this conclusion “after trying to figure these things out for over 20 years.” I don’t know if I should doubt his conclusions, but I’m not sure I should accept them as gospel either. If it is true, it’s not clear what equipment did not get installed in Buchloe that made the car short of the “complete package.” The mystery continues.
AUGUST 2023 EDITS:
The mystery has been solved.
A friend who has a nice Alpina collection put me in contact with the Alpina communications guy at Buchloe. I asked Mr. Communications about my dash plaque and the seemingly random numbering. His response:
“[T]here were various plaques for the C1 2,3, since this is no[t a] numbered ALPINA model. There are plaques starting with 320 – XXXX, there are also ones starting with 3 – XXXX. Usually it was up on custromers request and wish. There are pla[q]ues that match the engine or cylinderhead number and there are also plaques with fantasy numbers. Sorry that there are no better information about it.”
So, my dash plaque (320-1321) is likely the original numbering and corresponding with one of the examples offered by Mr. Communications. Nice to have that squared away!
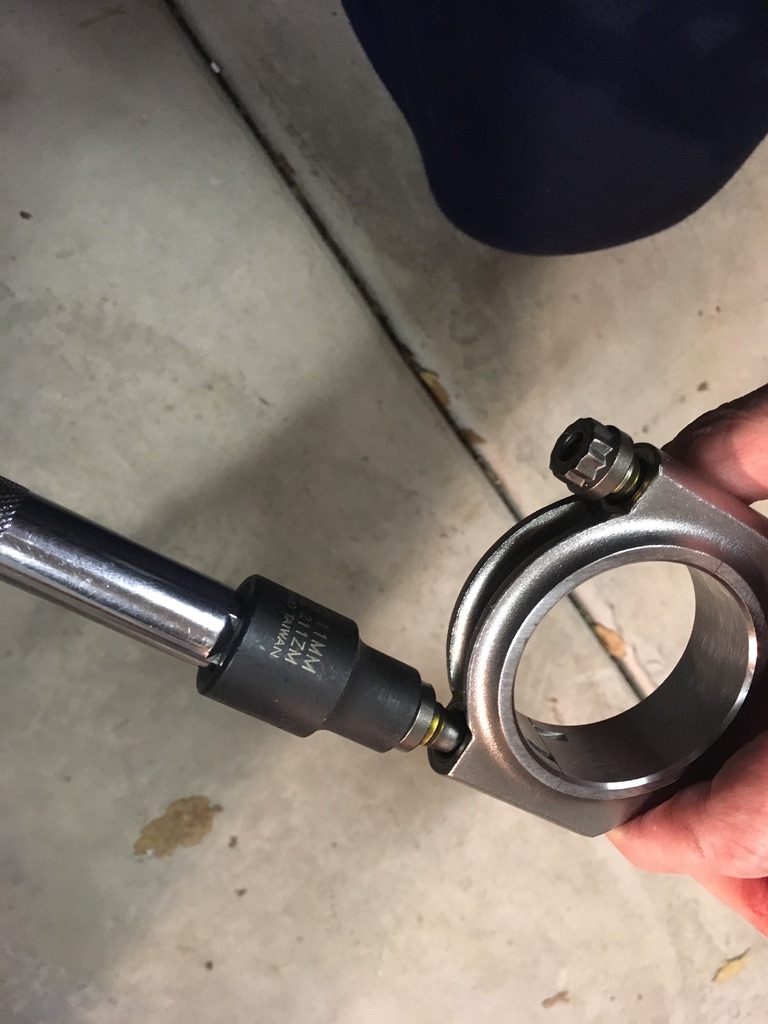
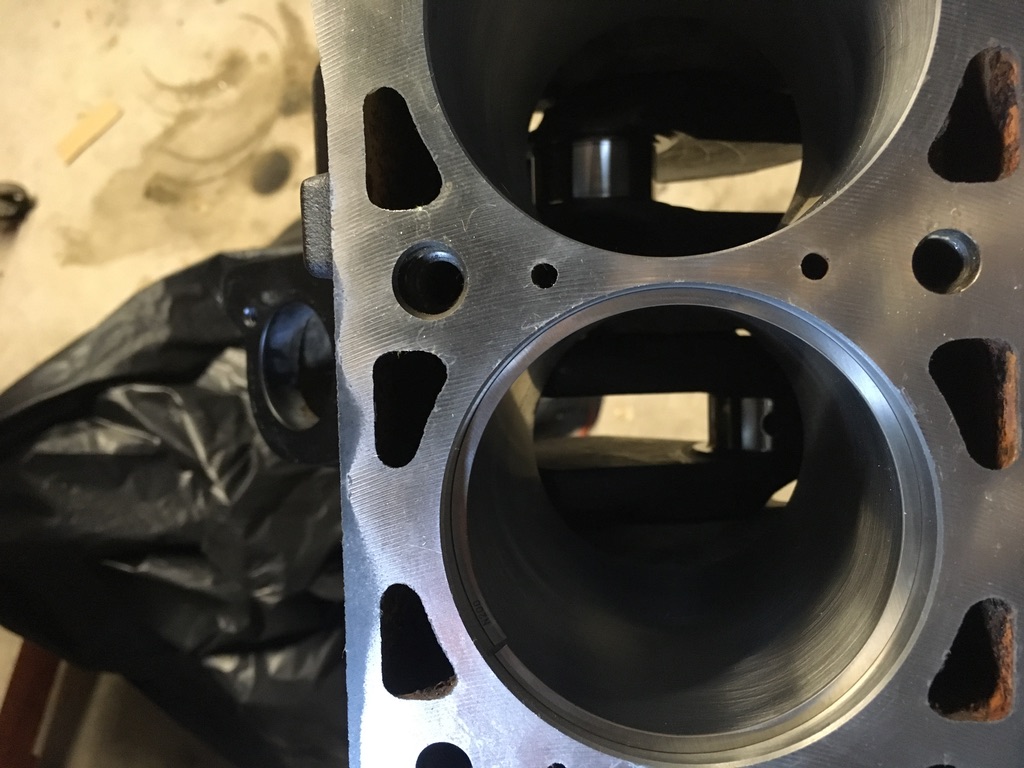
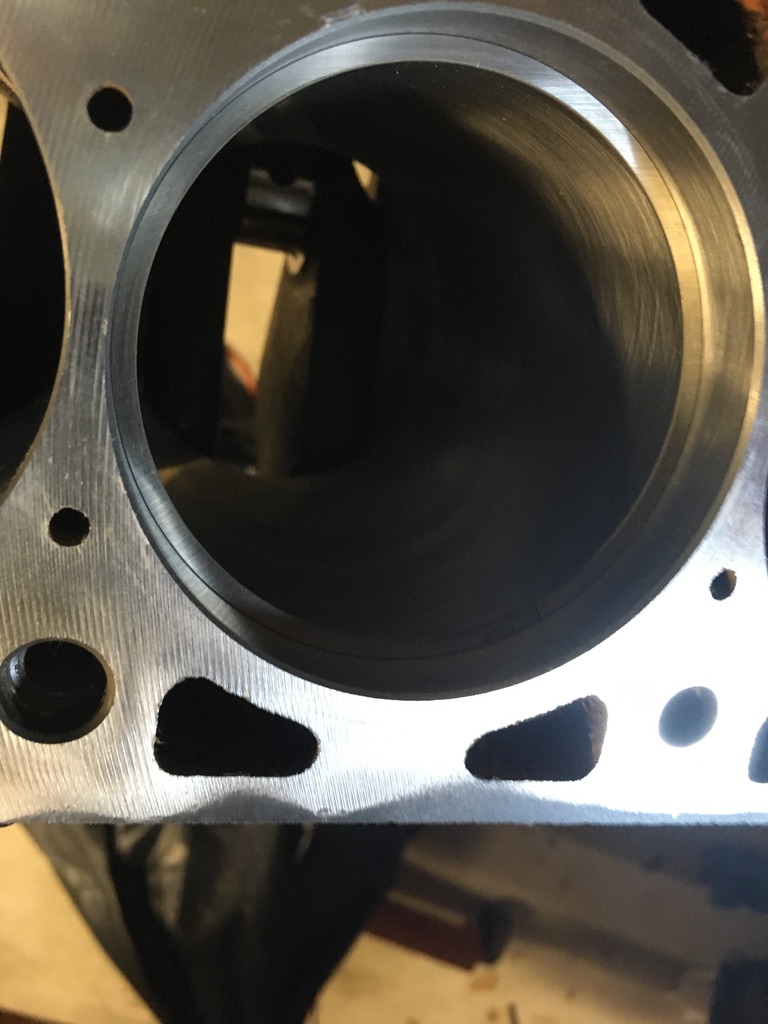
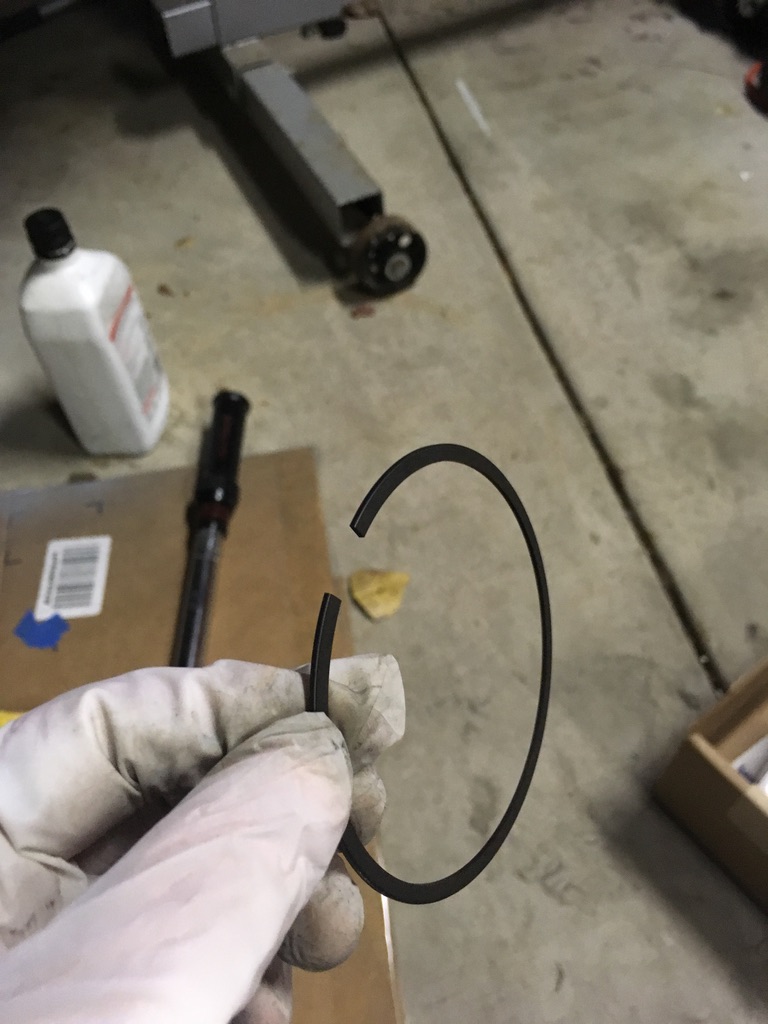
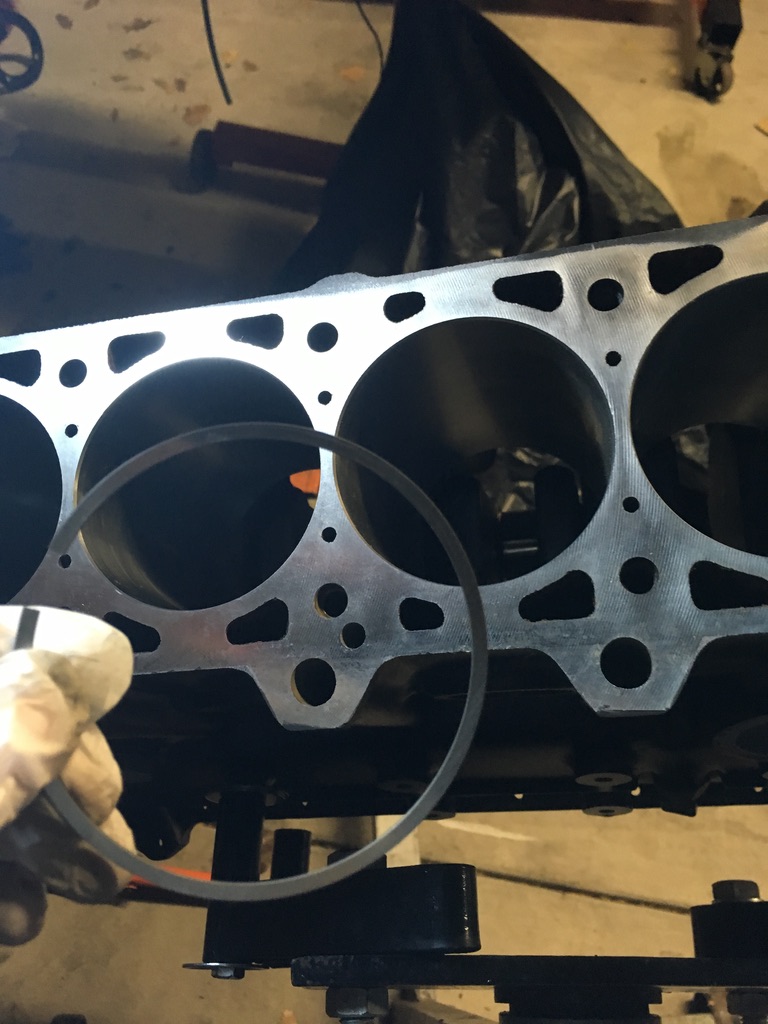
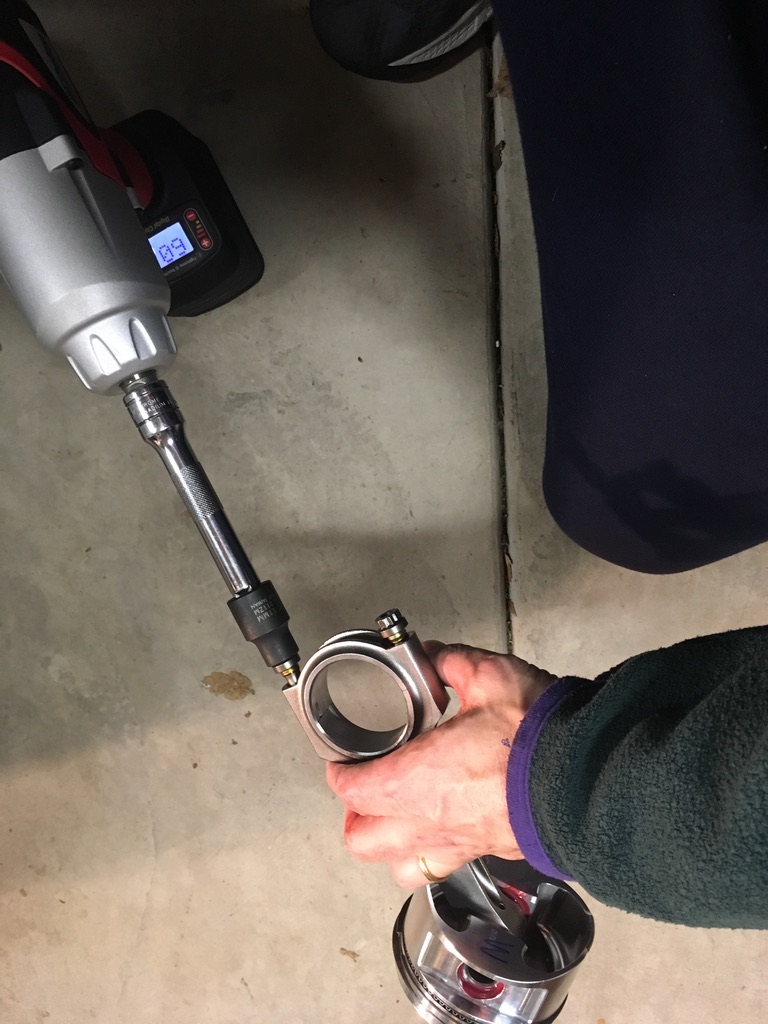 Then, on goes the ring compressor.
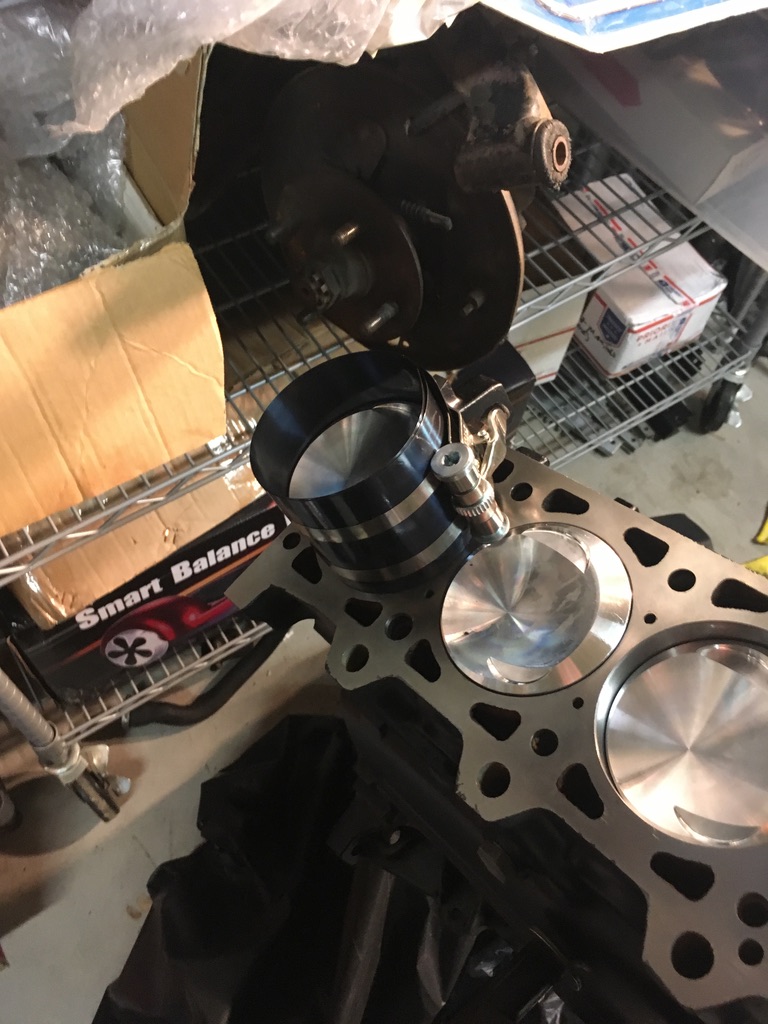
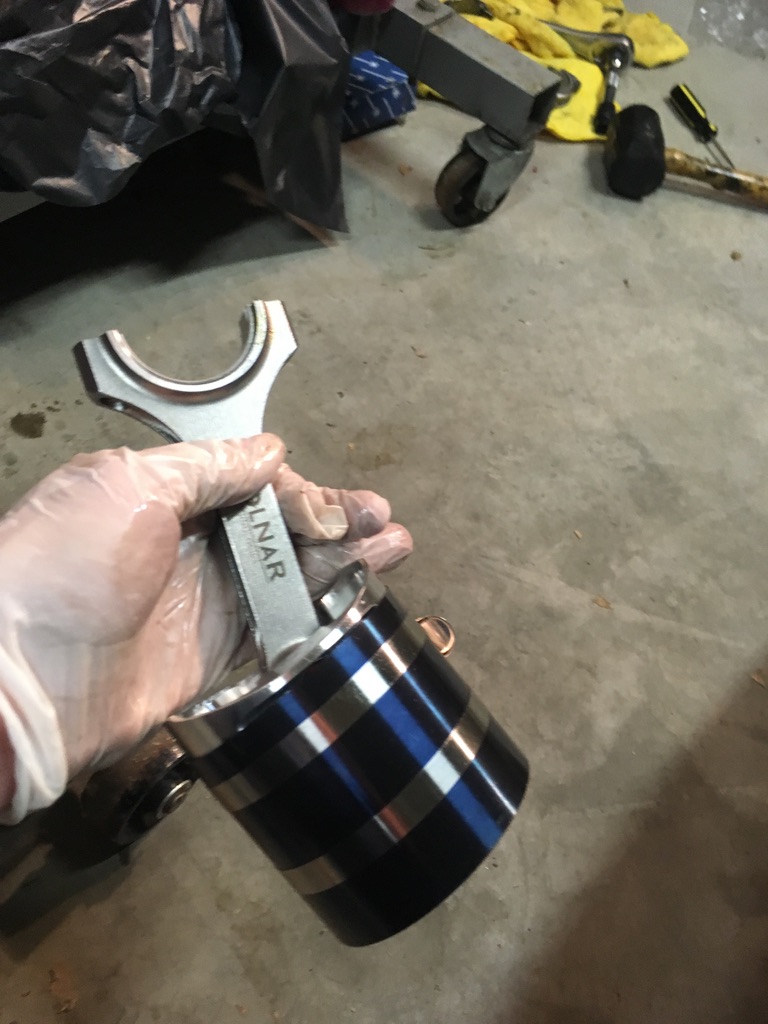 And placed in the block (with rod bearing installed and assembly lube applied. Also, make sure the crank journal for that cylinder is at the bottom of its stroke, so the con rod doesn’t ding it (don’t ask me how I learned that lesson!).
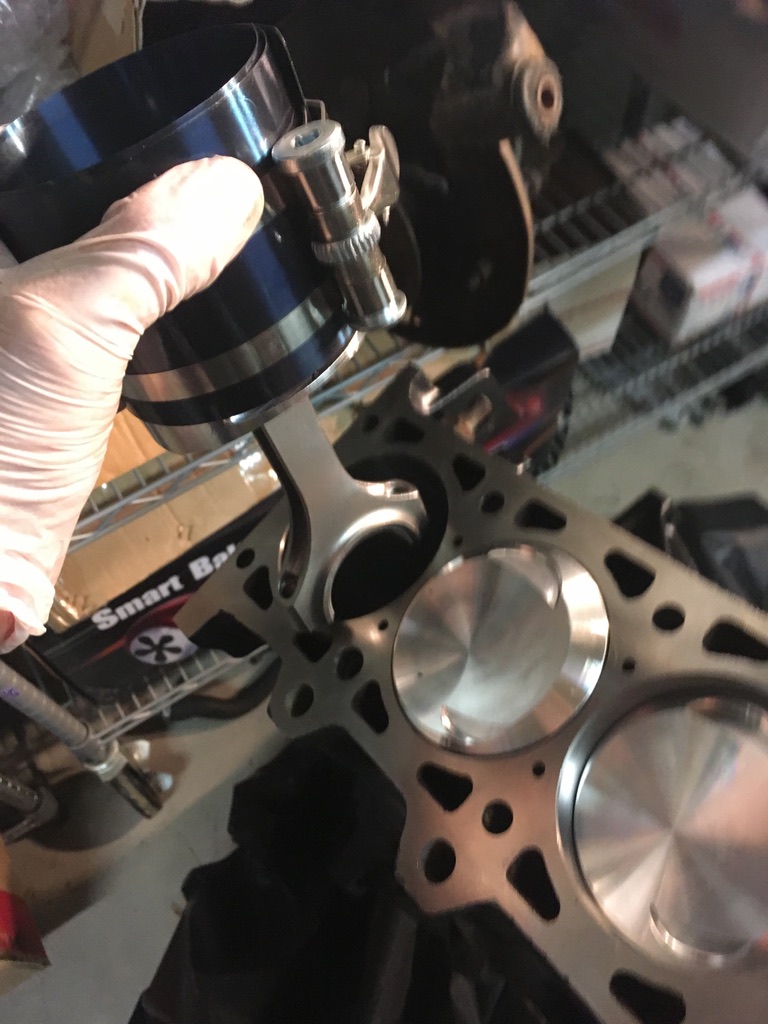
 And placed in the block (with rod bearing installed and assembly lube applied. Also, make sure the crank journal for that cylinder is at the bottom of its stroke, so the con rod doesn’t ding it (don’t ask me how I learned that lesson!).
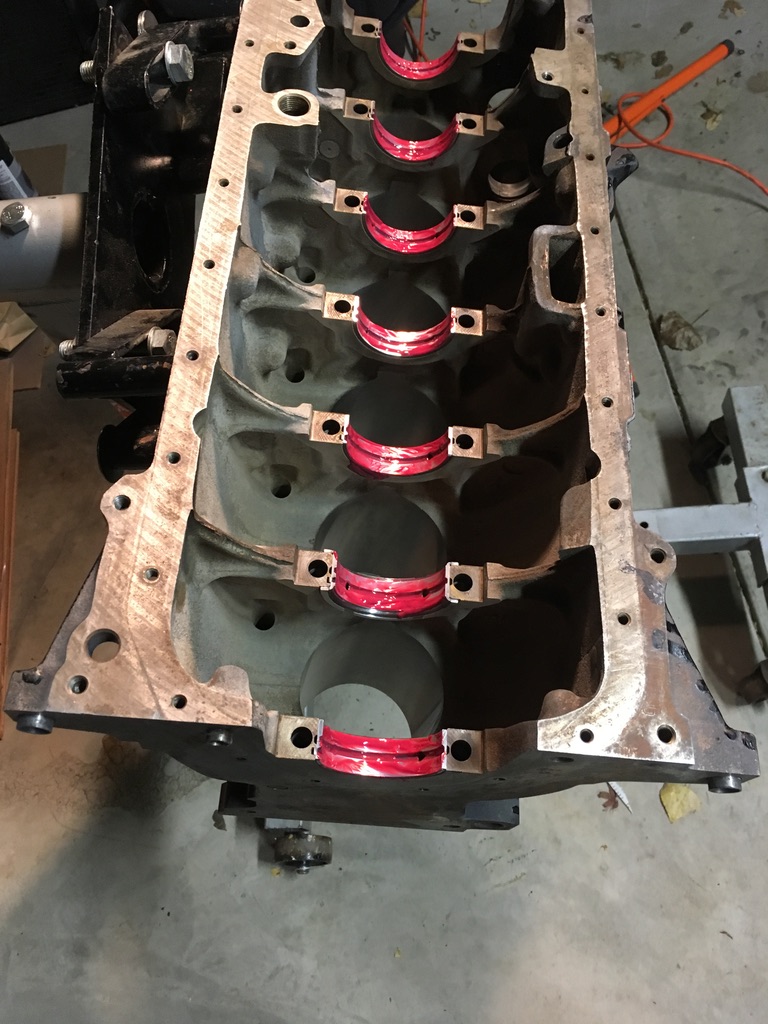
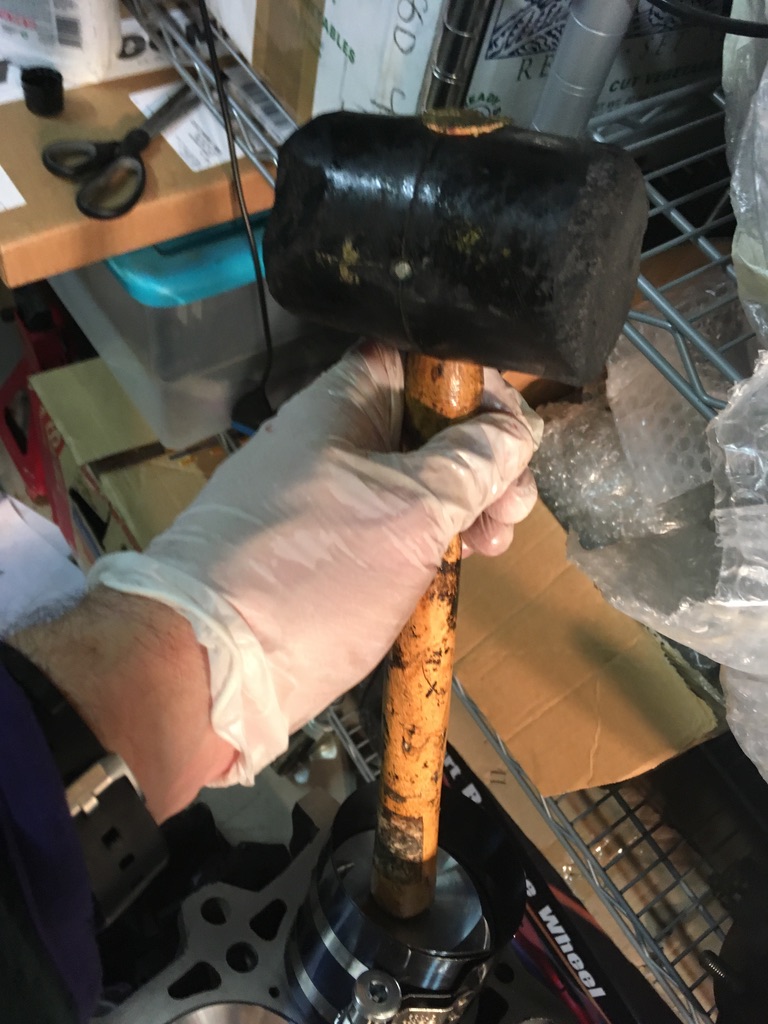 One at a time.
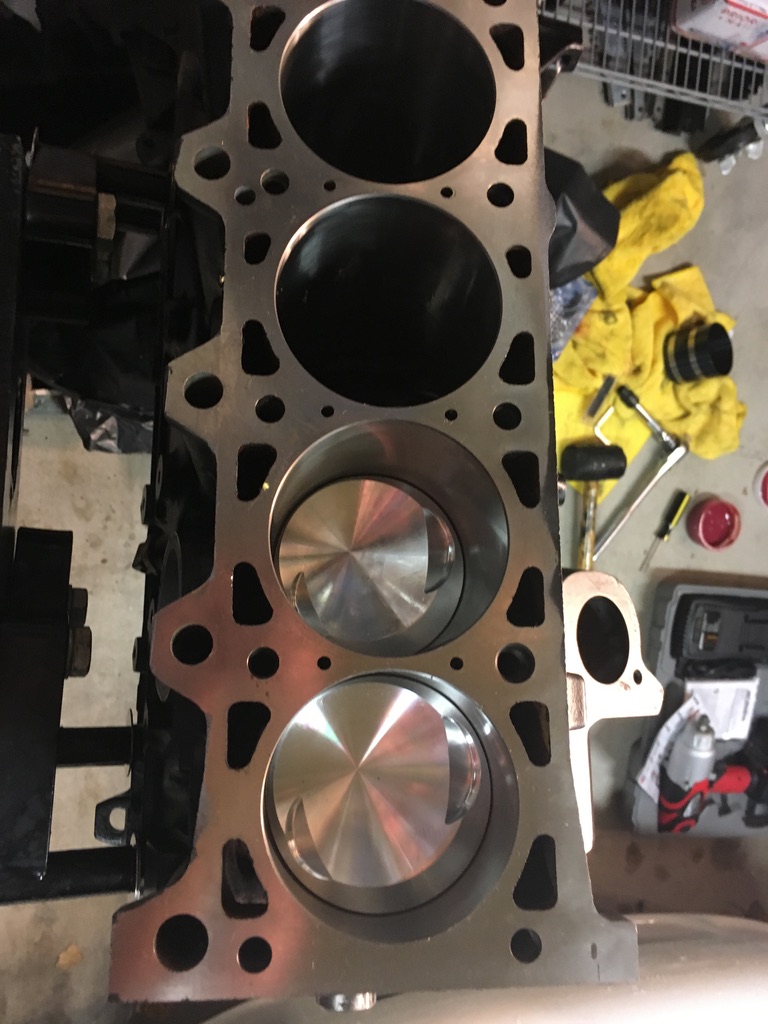 Eventually, all six are in.
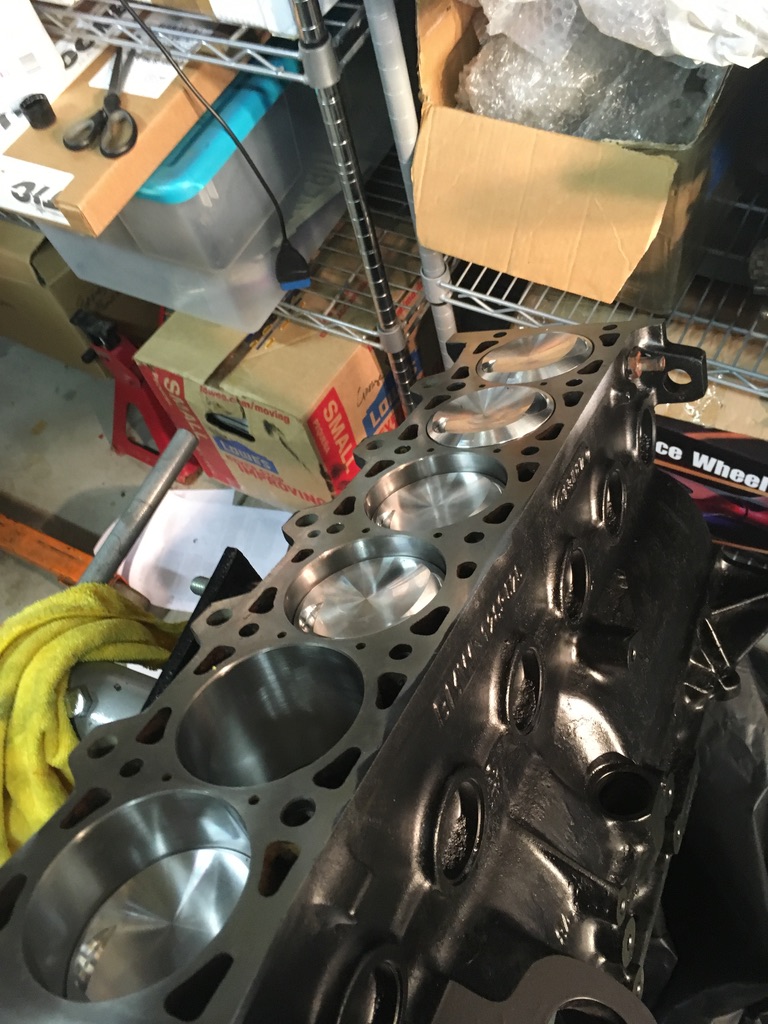 Torque the rod bolts.
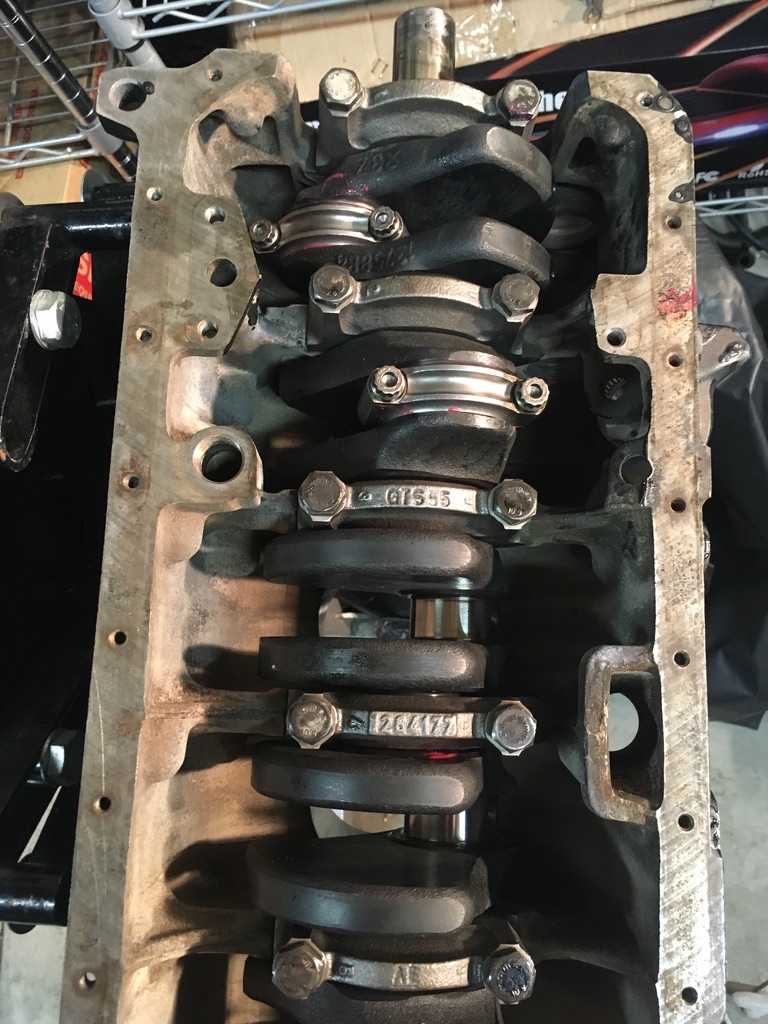
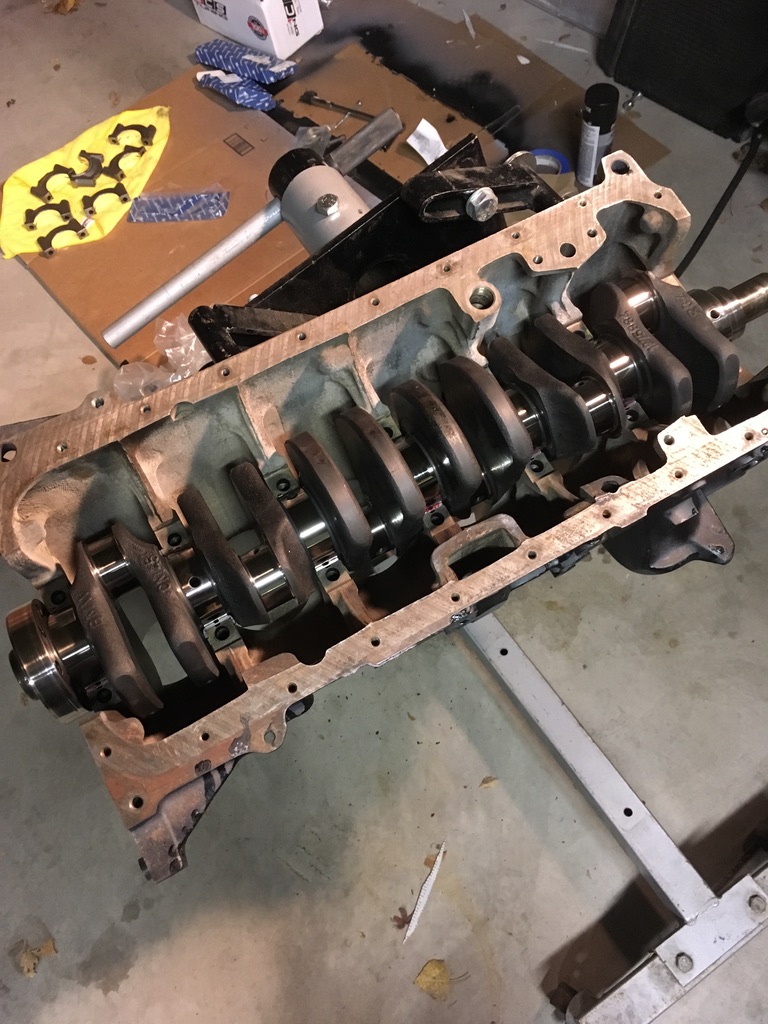
 And if you’re lucky, it still turns.
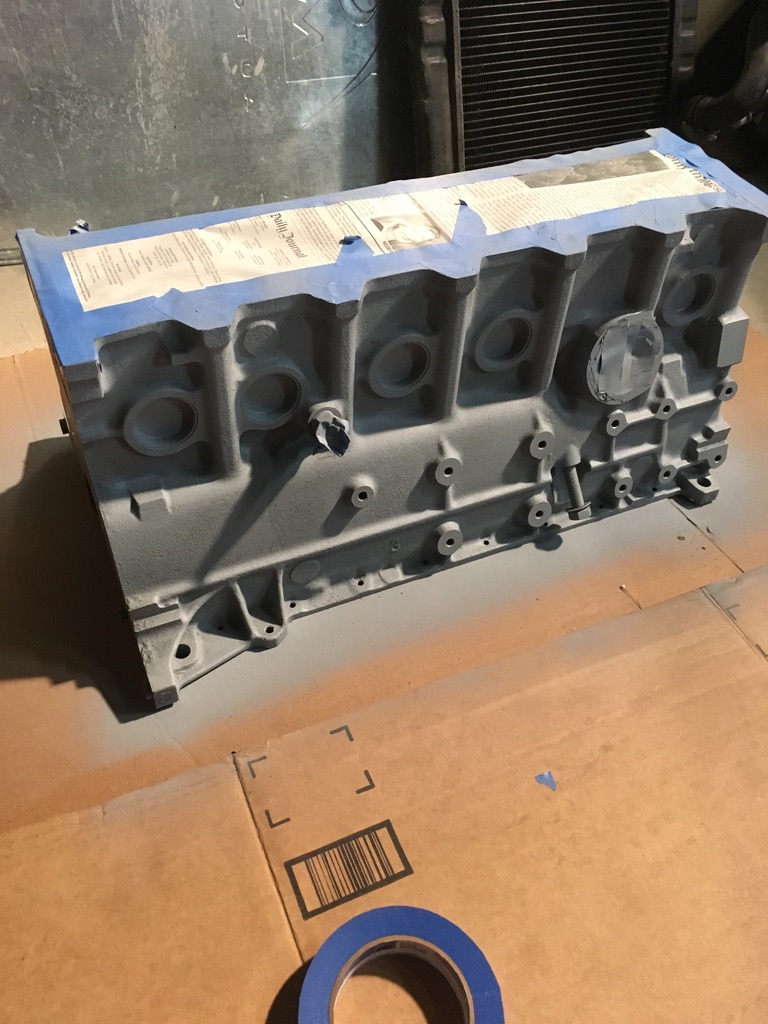
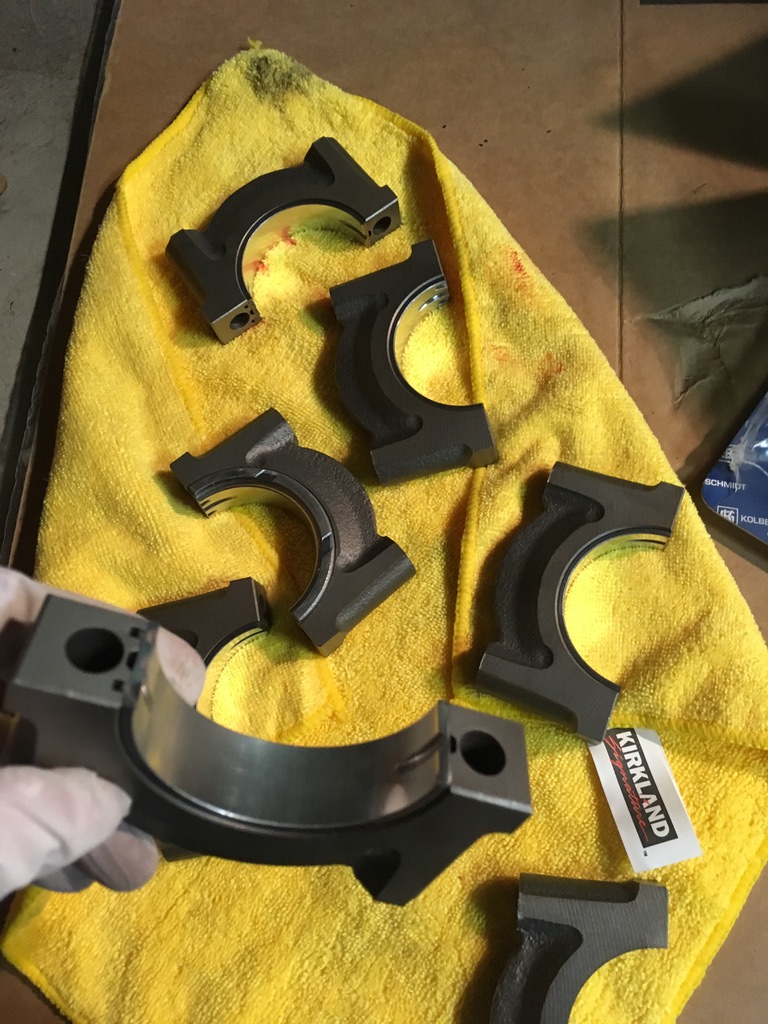
 Then I tried to figure out which way the end caps went (internet research helped as it wasn’t obvious from trying to fit them).
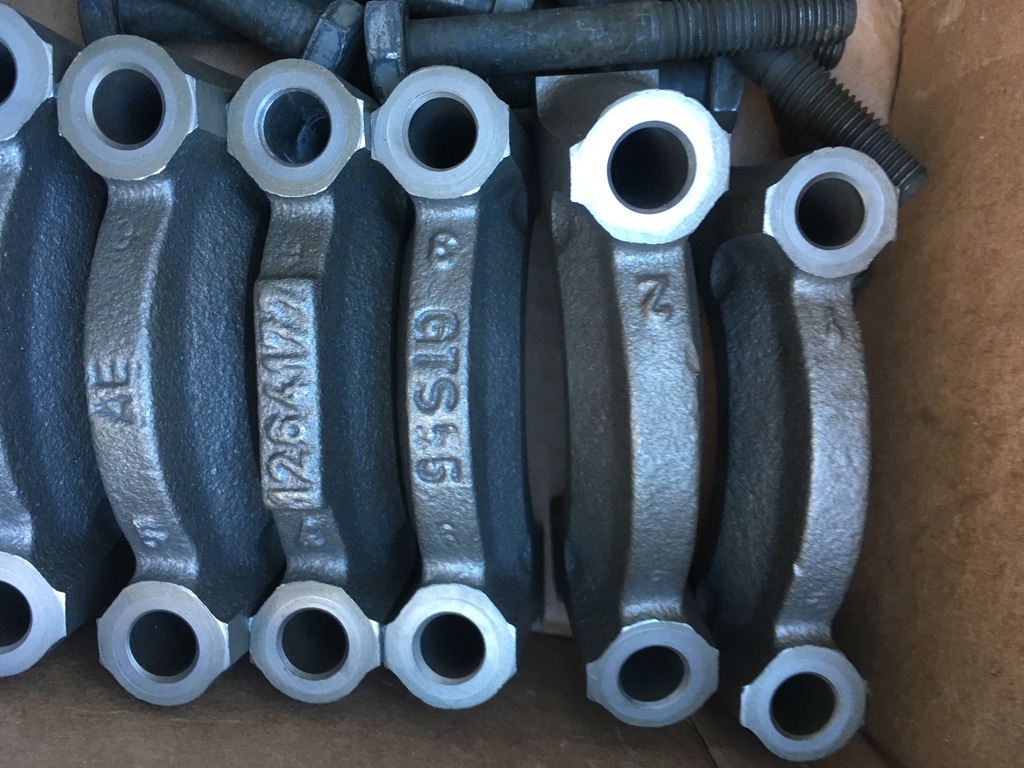 With the order and orientation of the end caps clarified, it was time to install the rod bearings in the block.
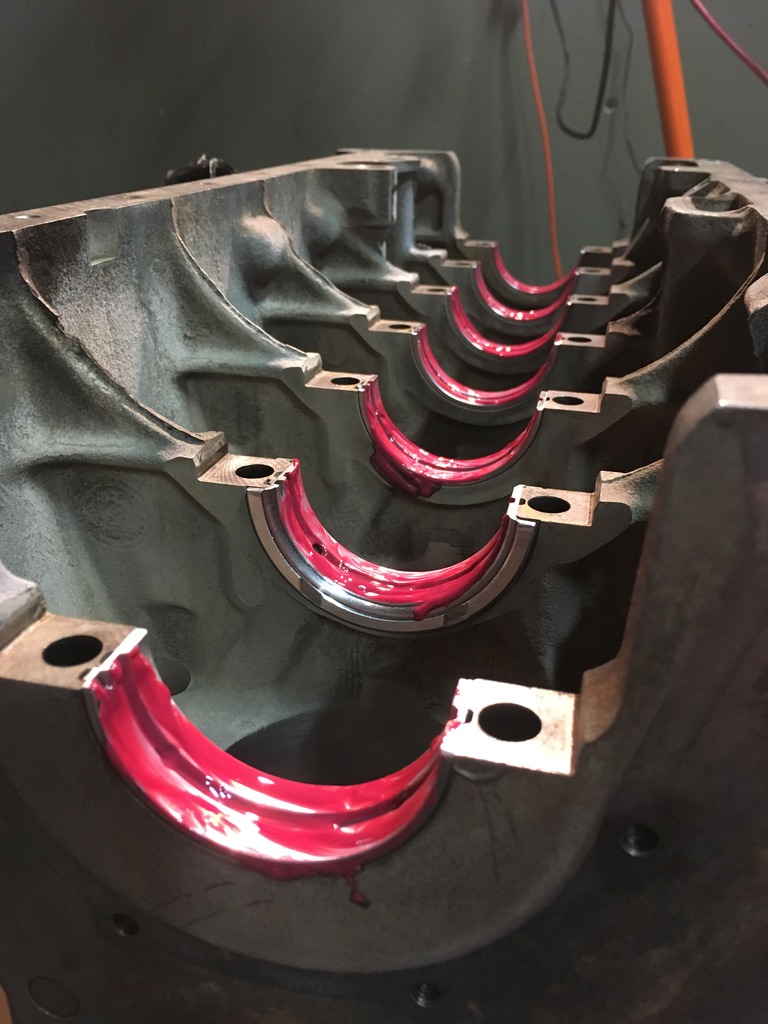
 And the end caps.
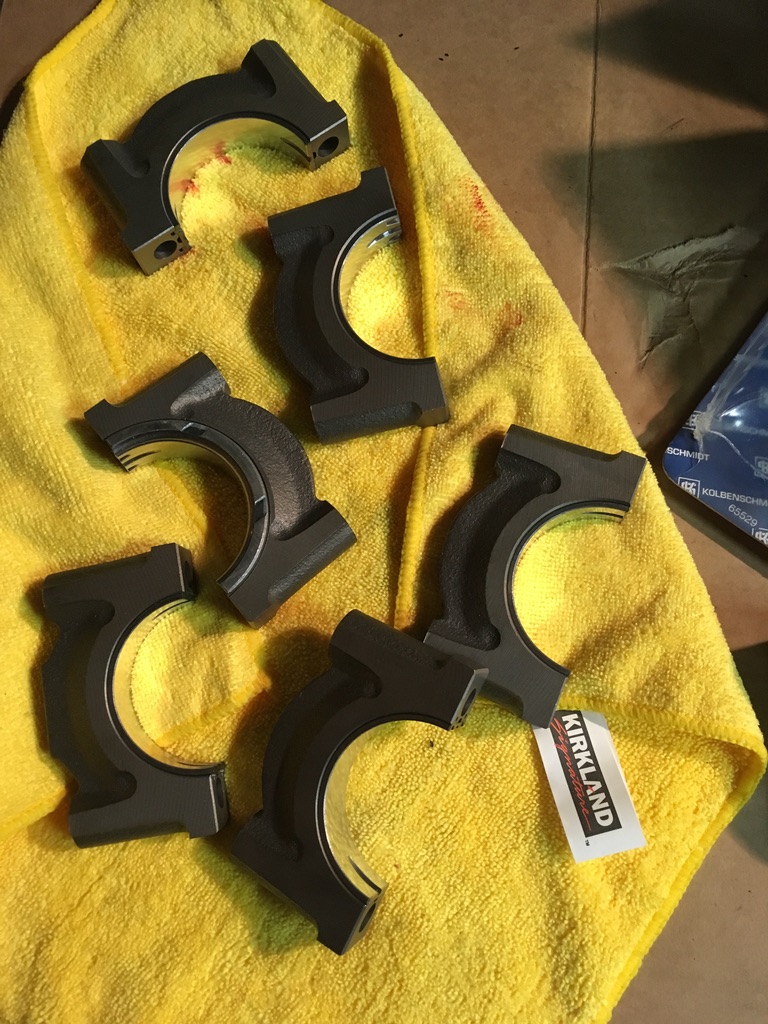
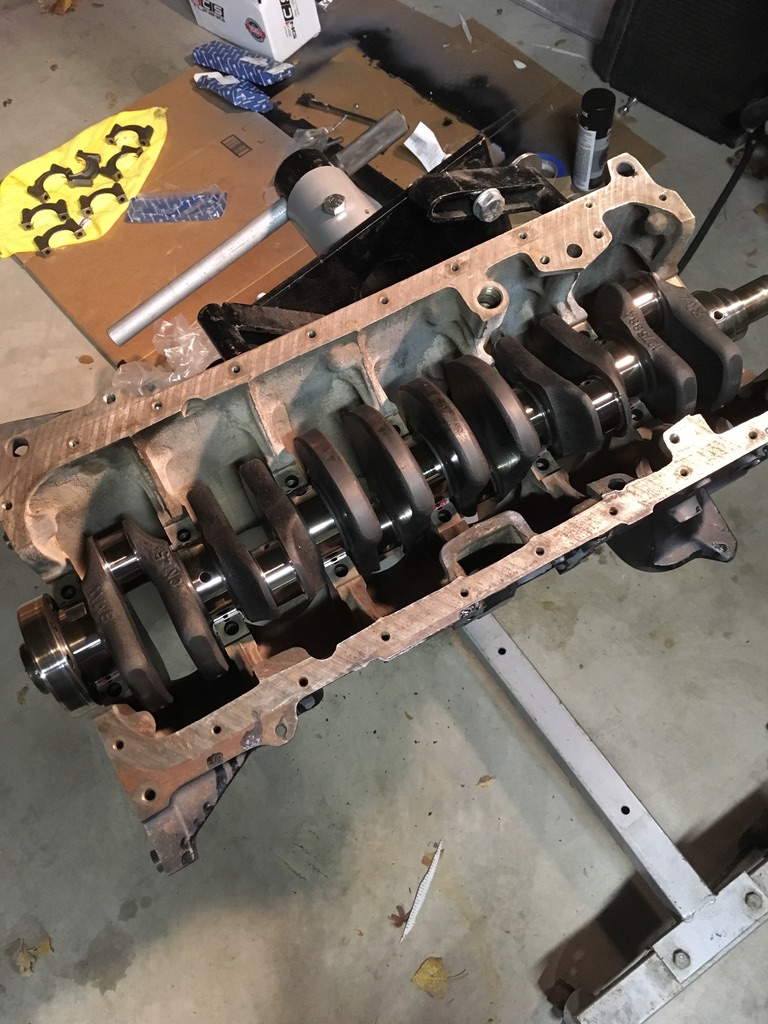
 Then it was time for the turbo diesel crank.
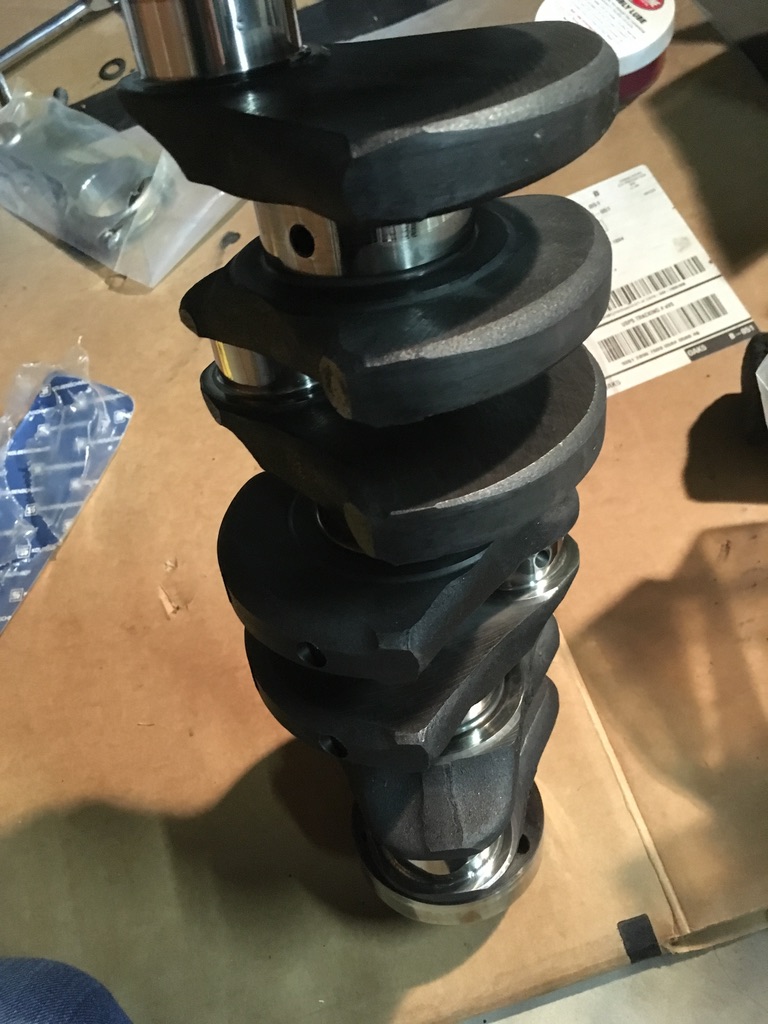
 Gently place the crank in the block.
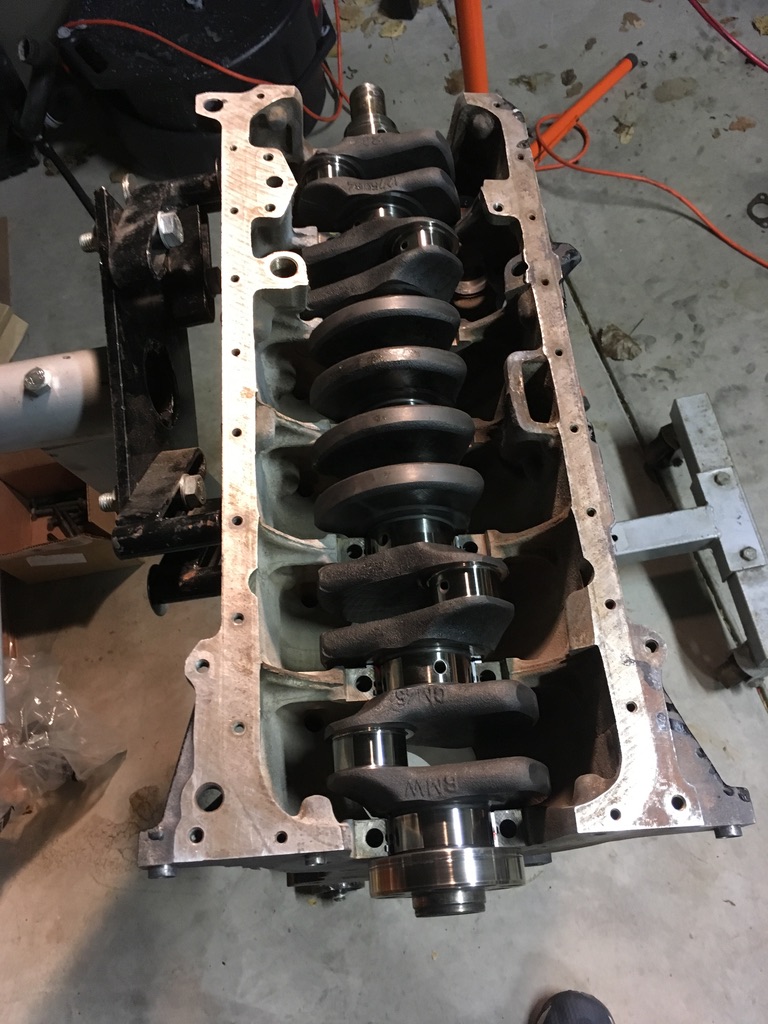
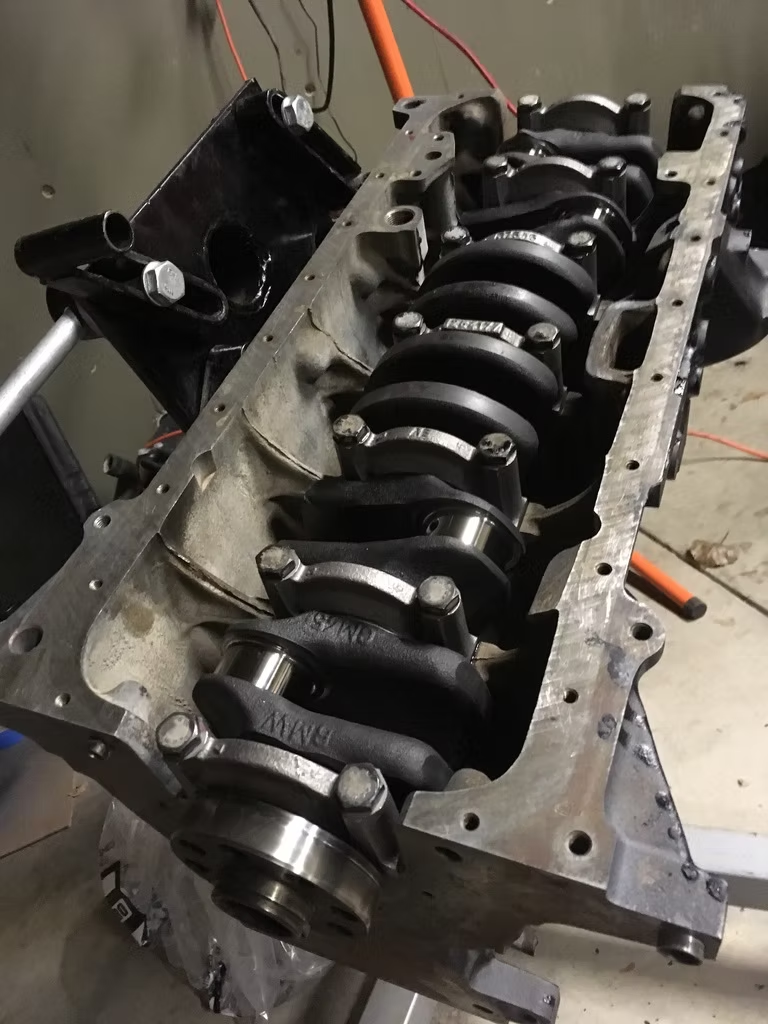
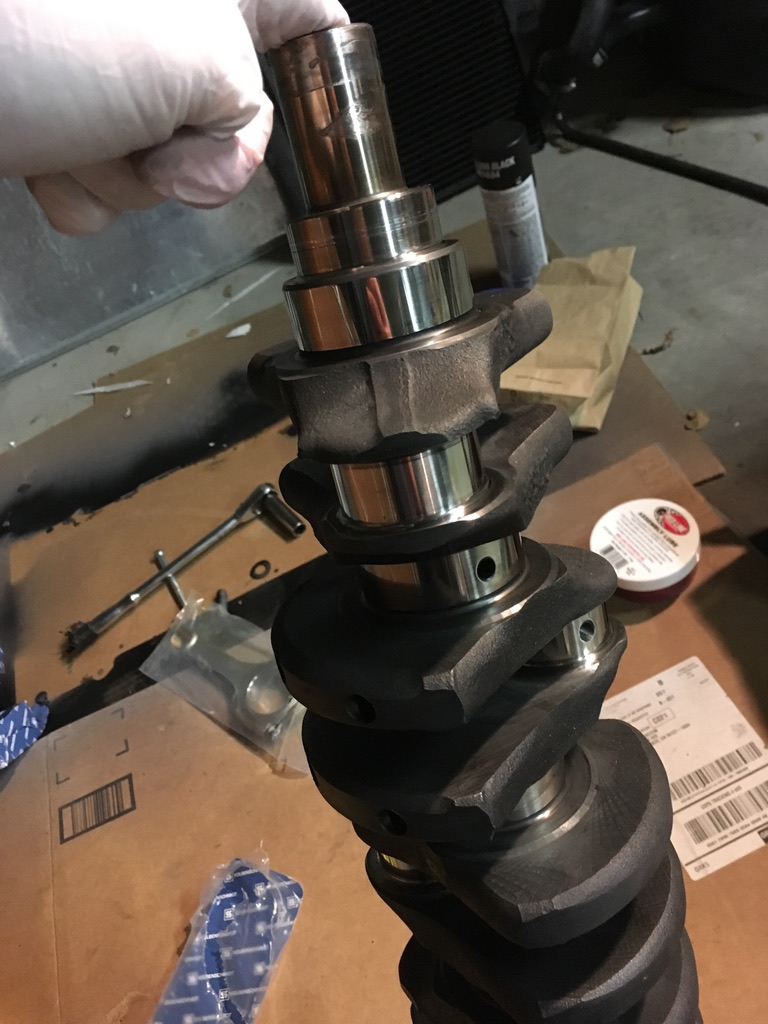
 And install the end caps with bearings.
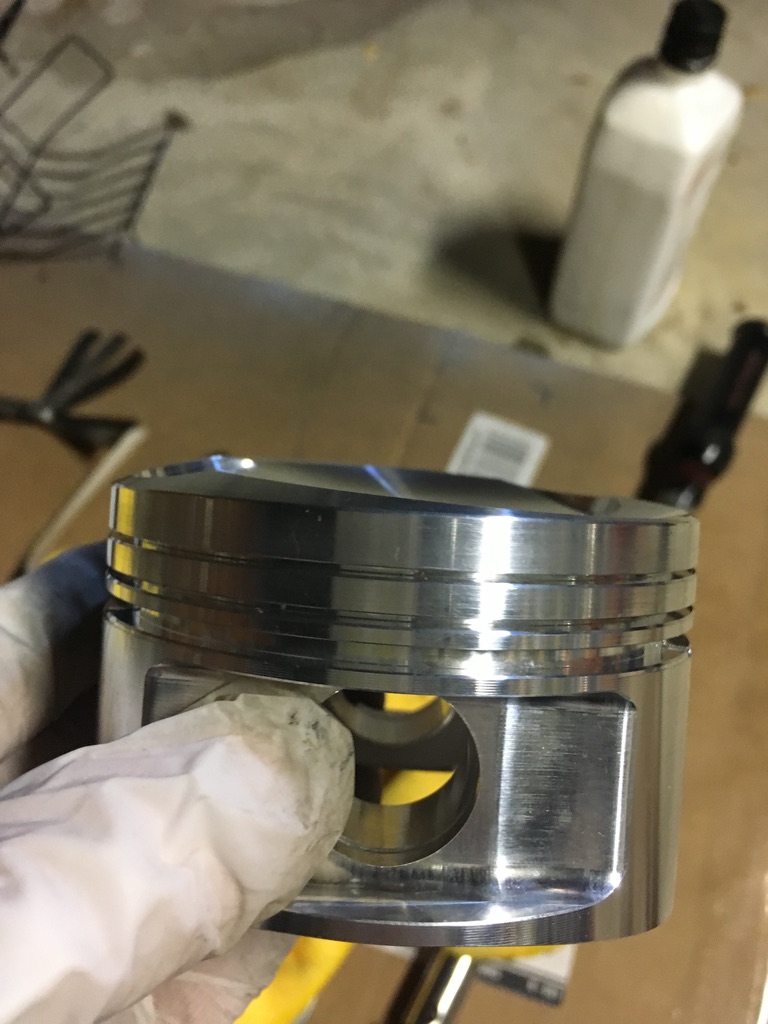
 And install them on the pistons.
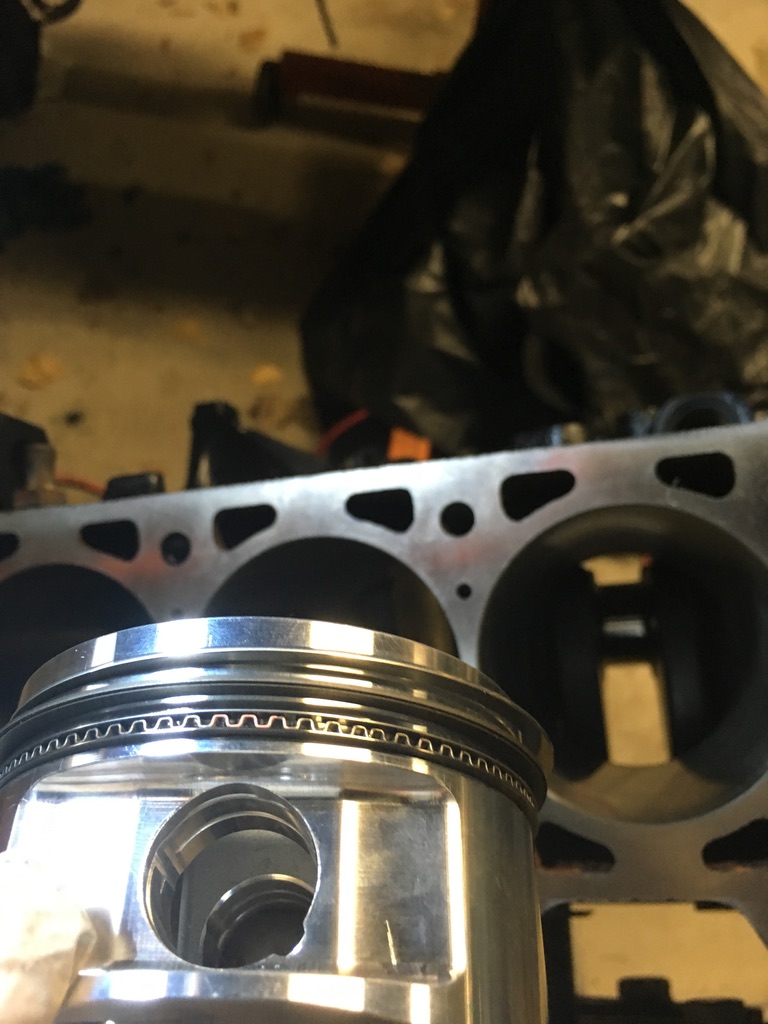

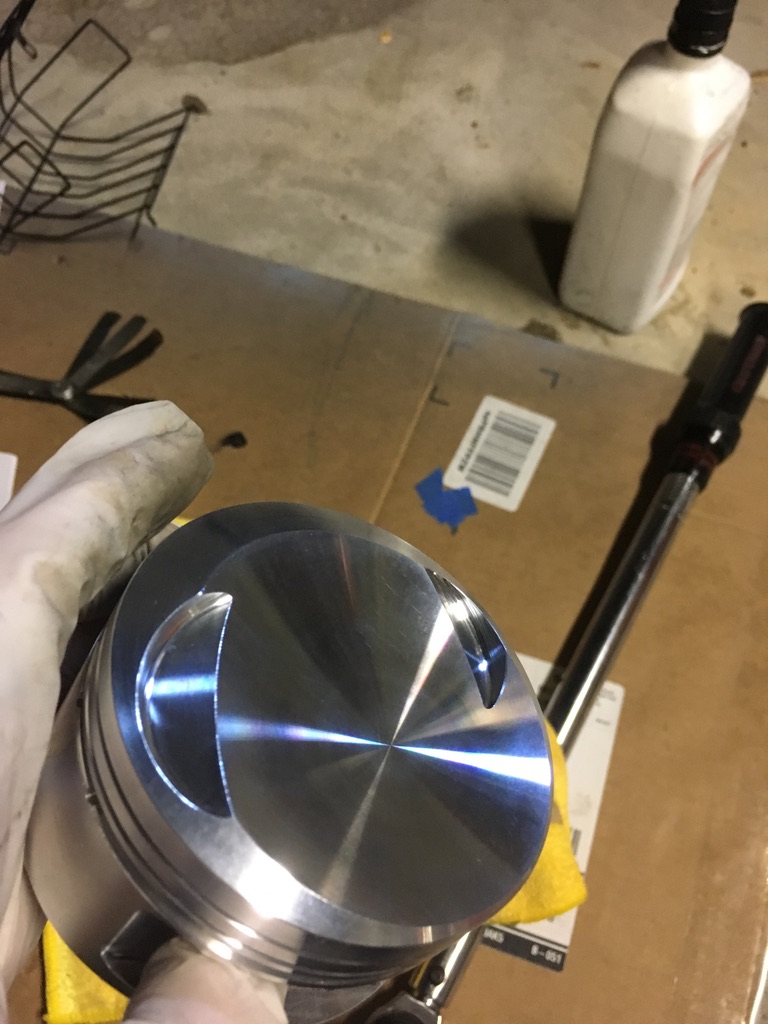
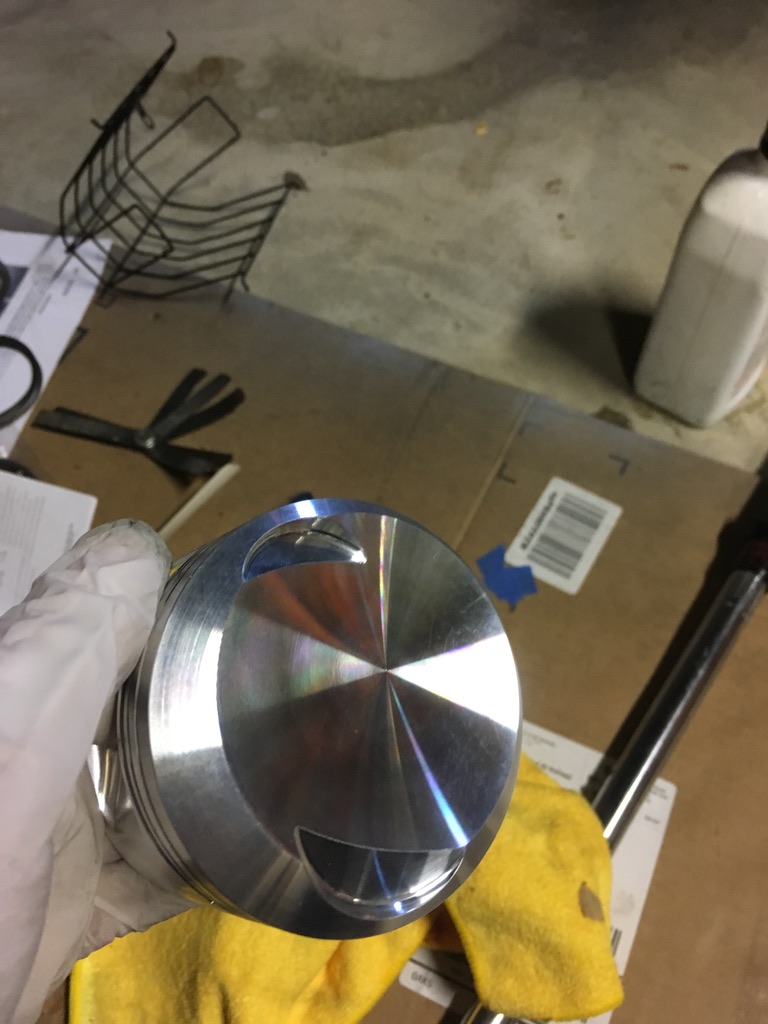
 Then attach the rods to the pistons. The hardest part being, without the right tool, installing the wrist-pin retaining clips.
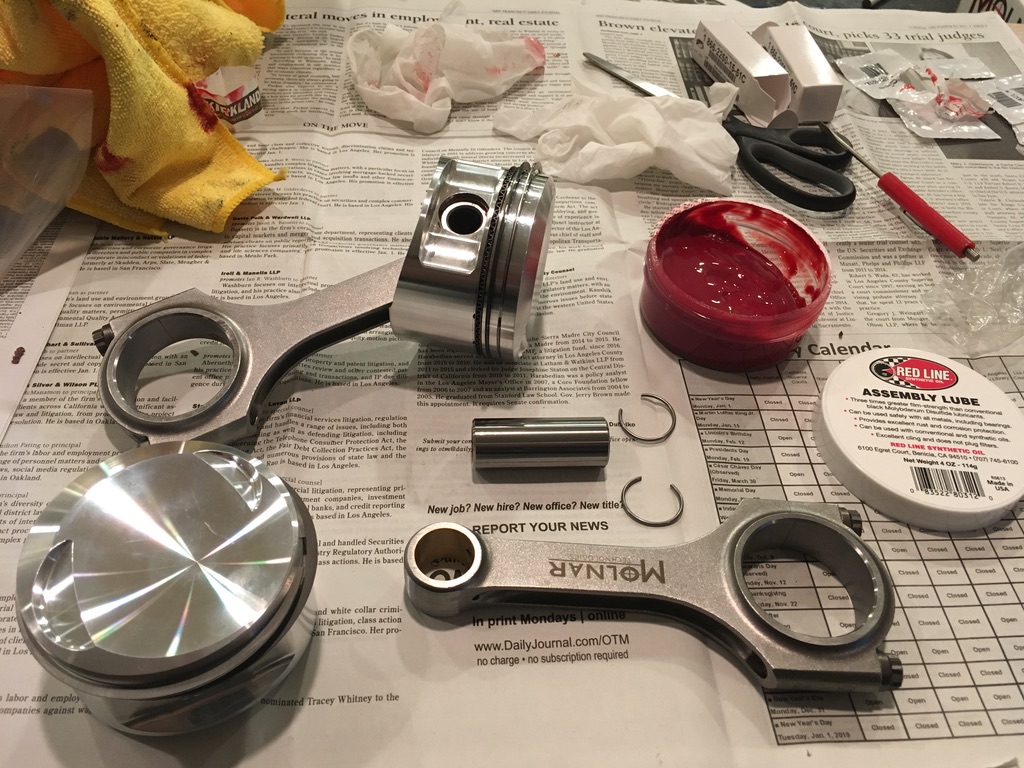
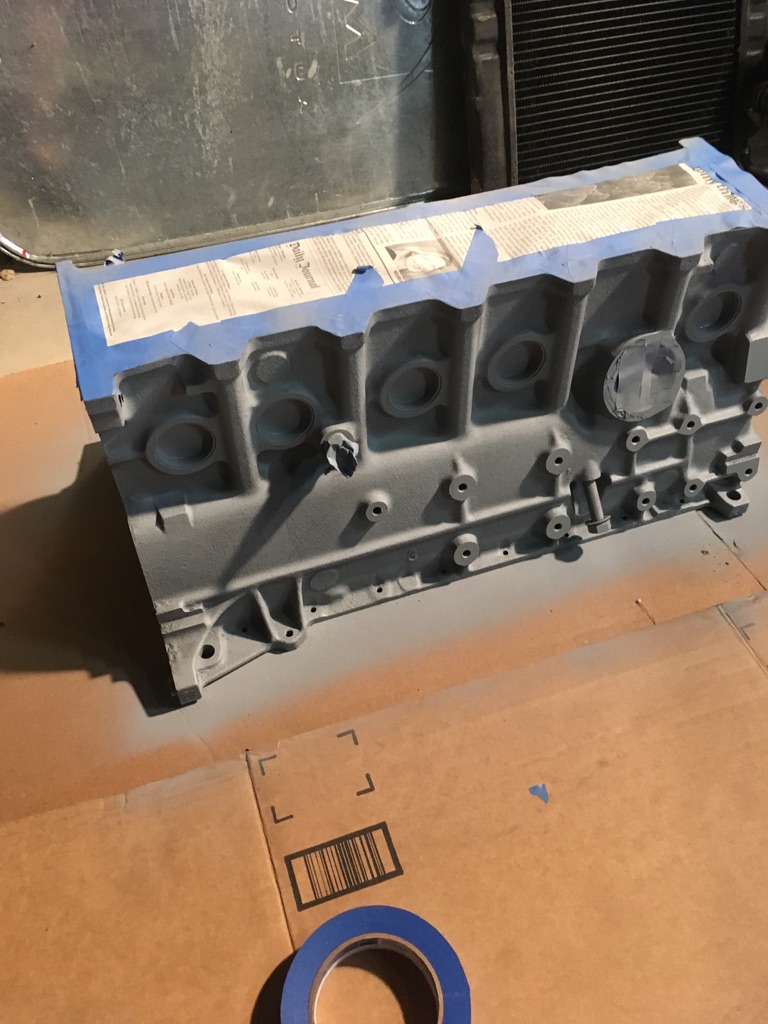
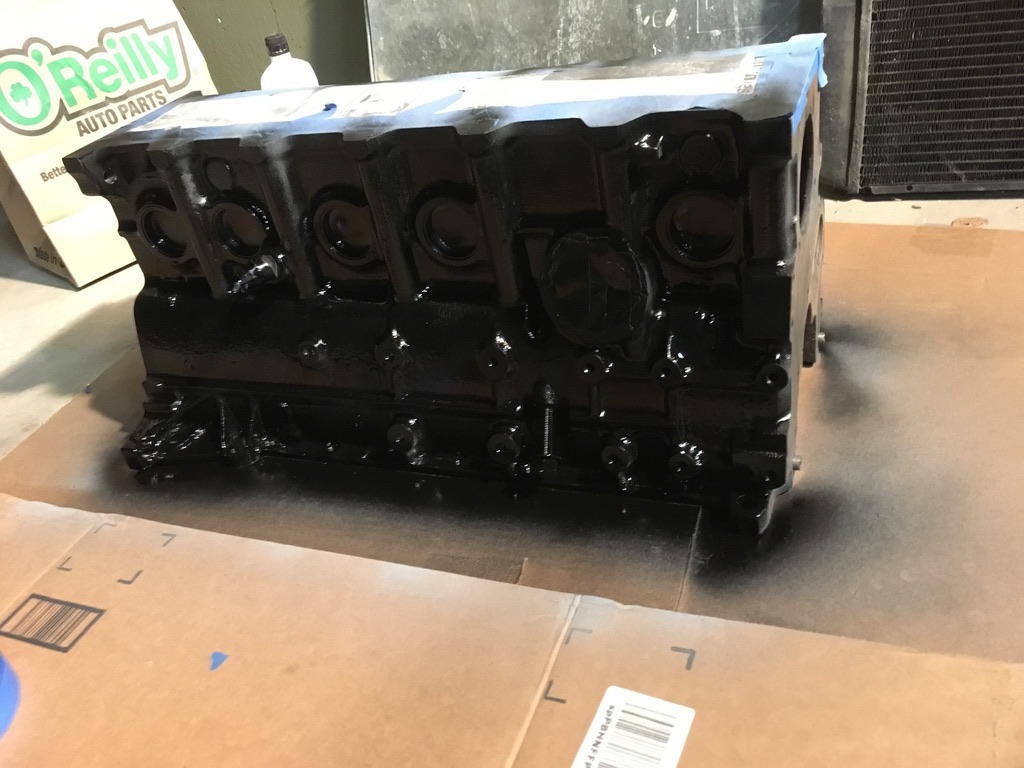
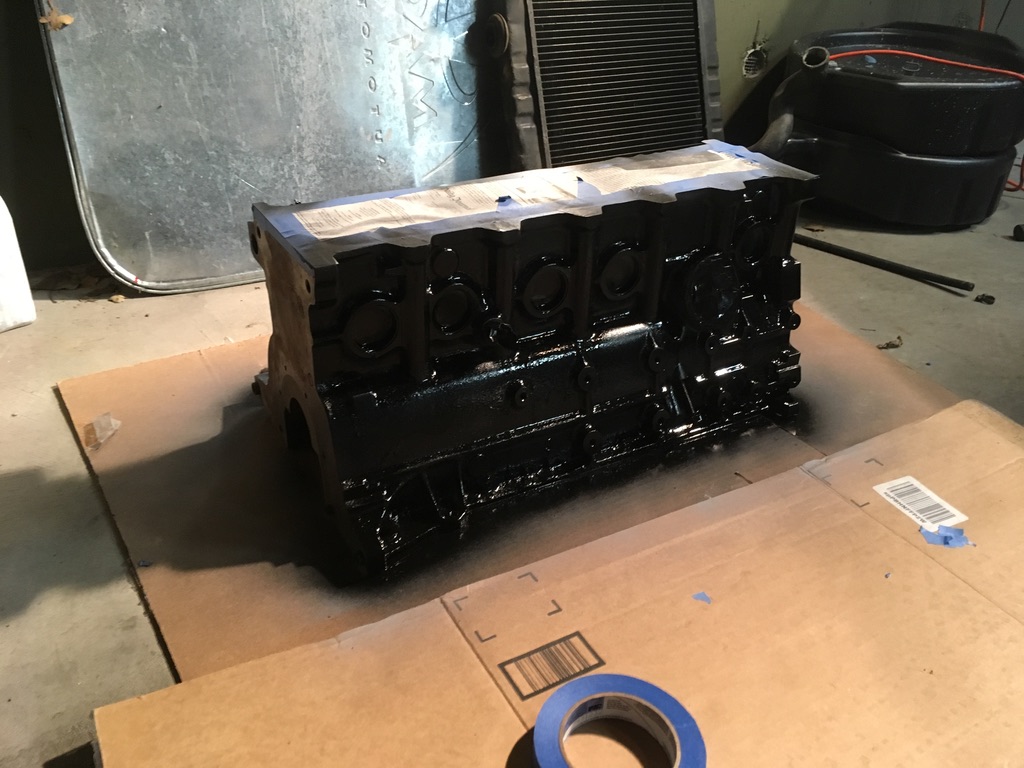
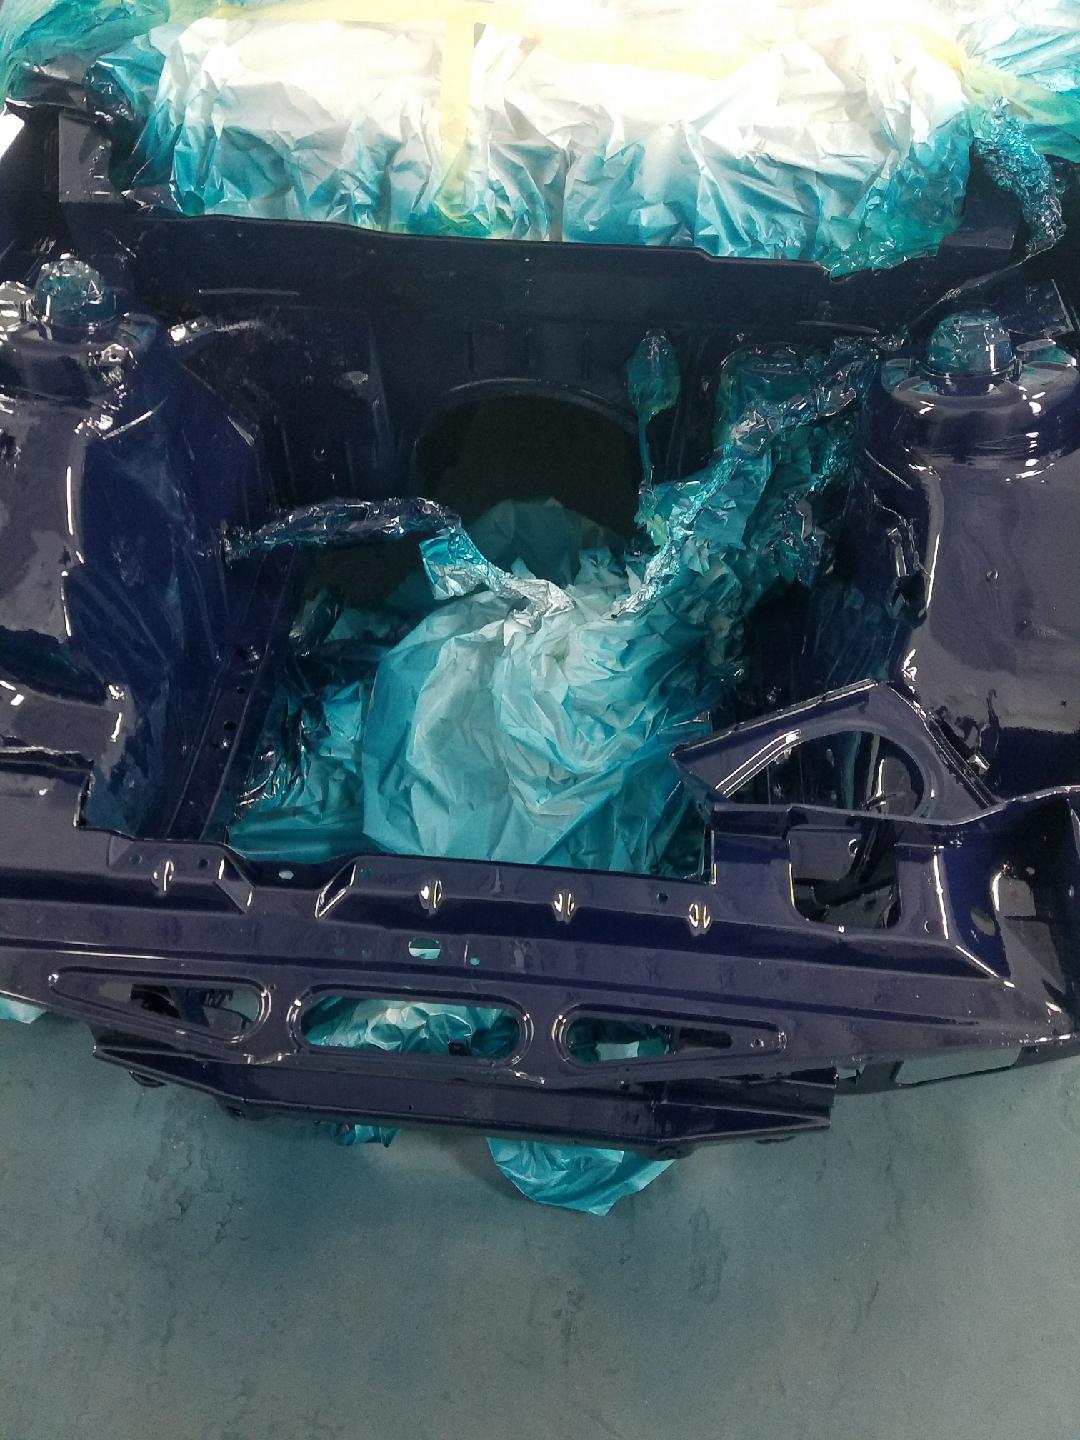
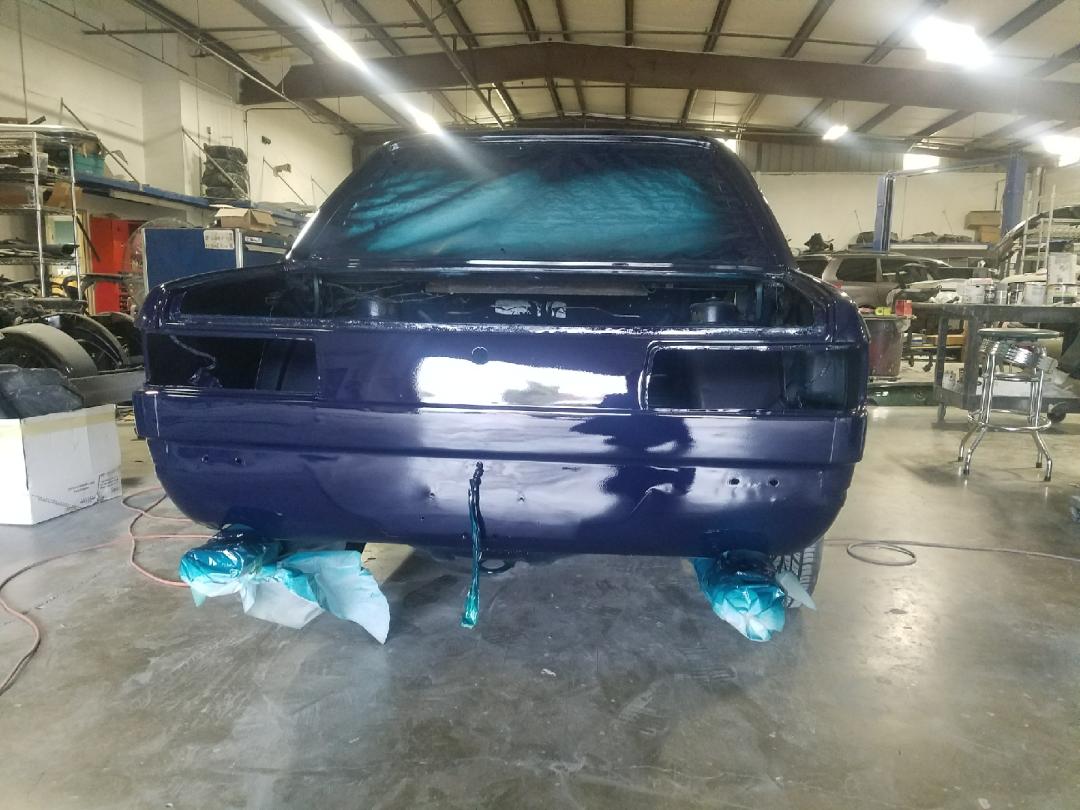
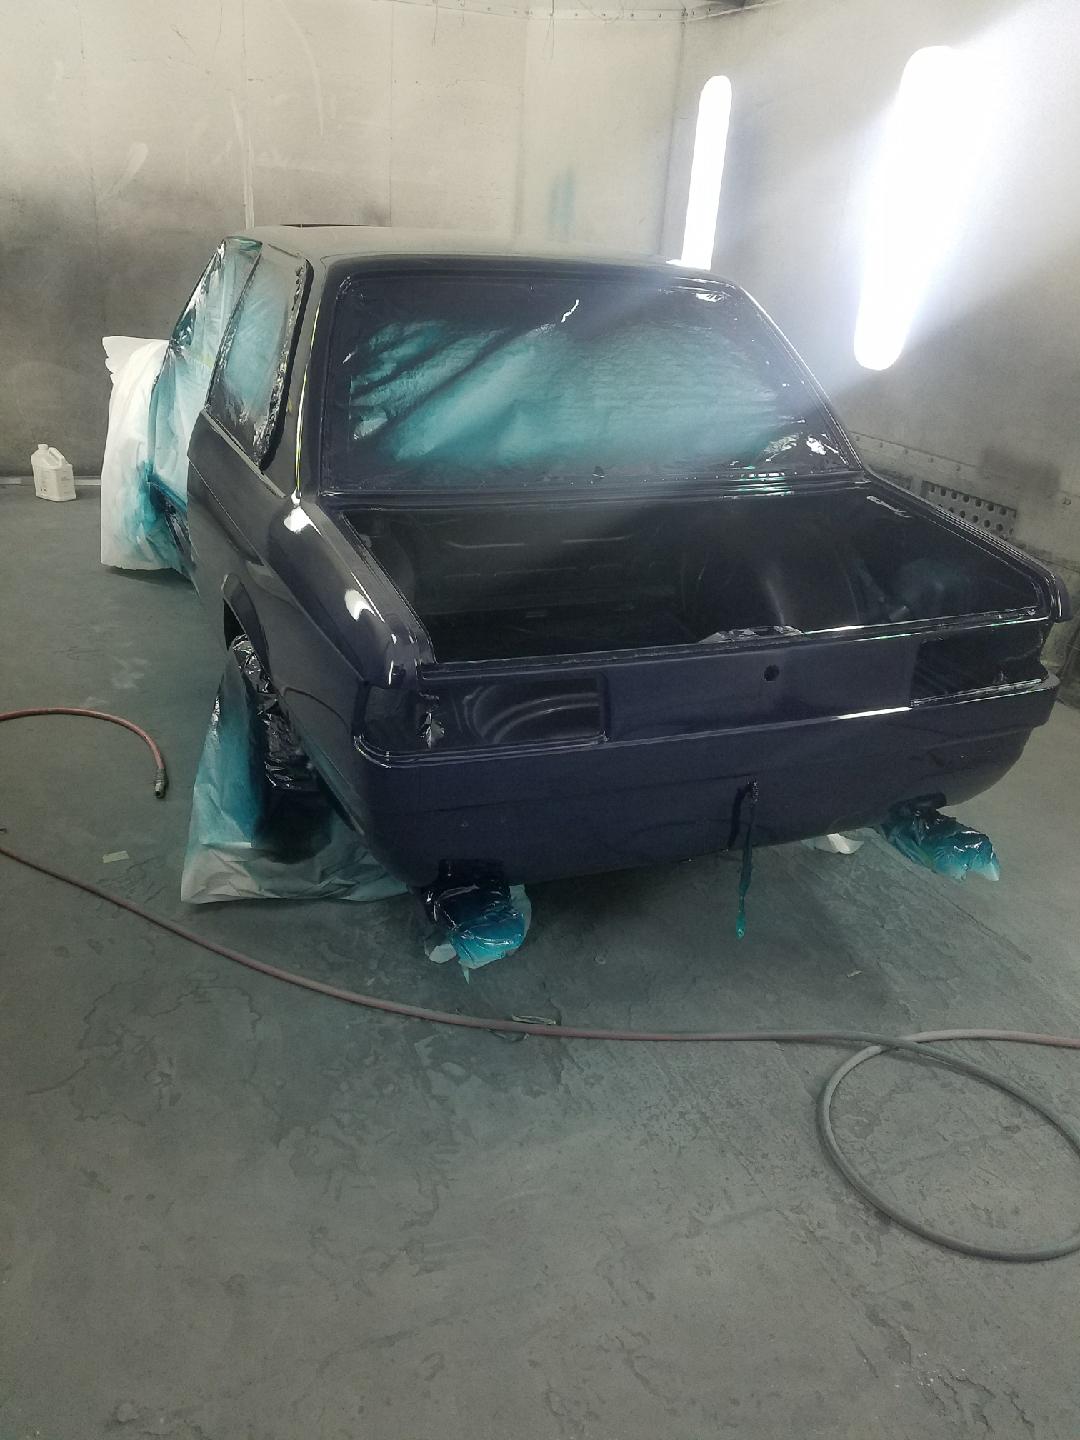
 And then finally the shell, including the engine compartment, got painted.
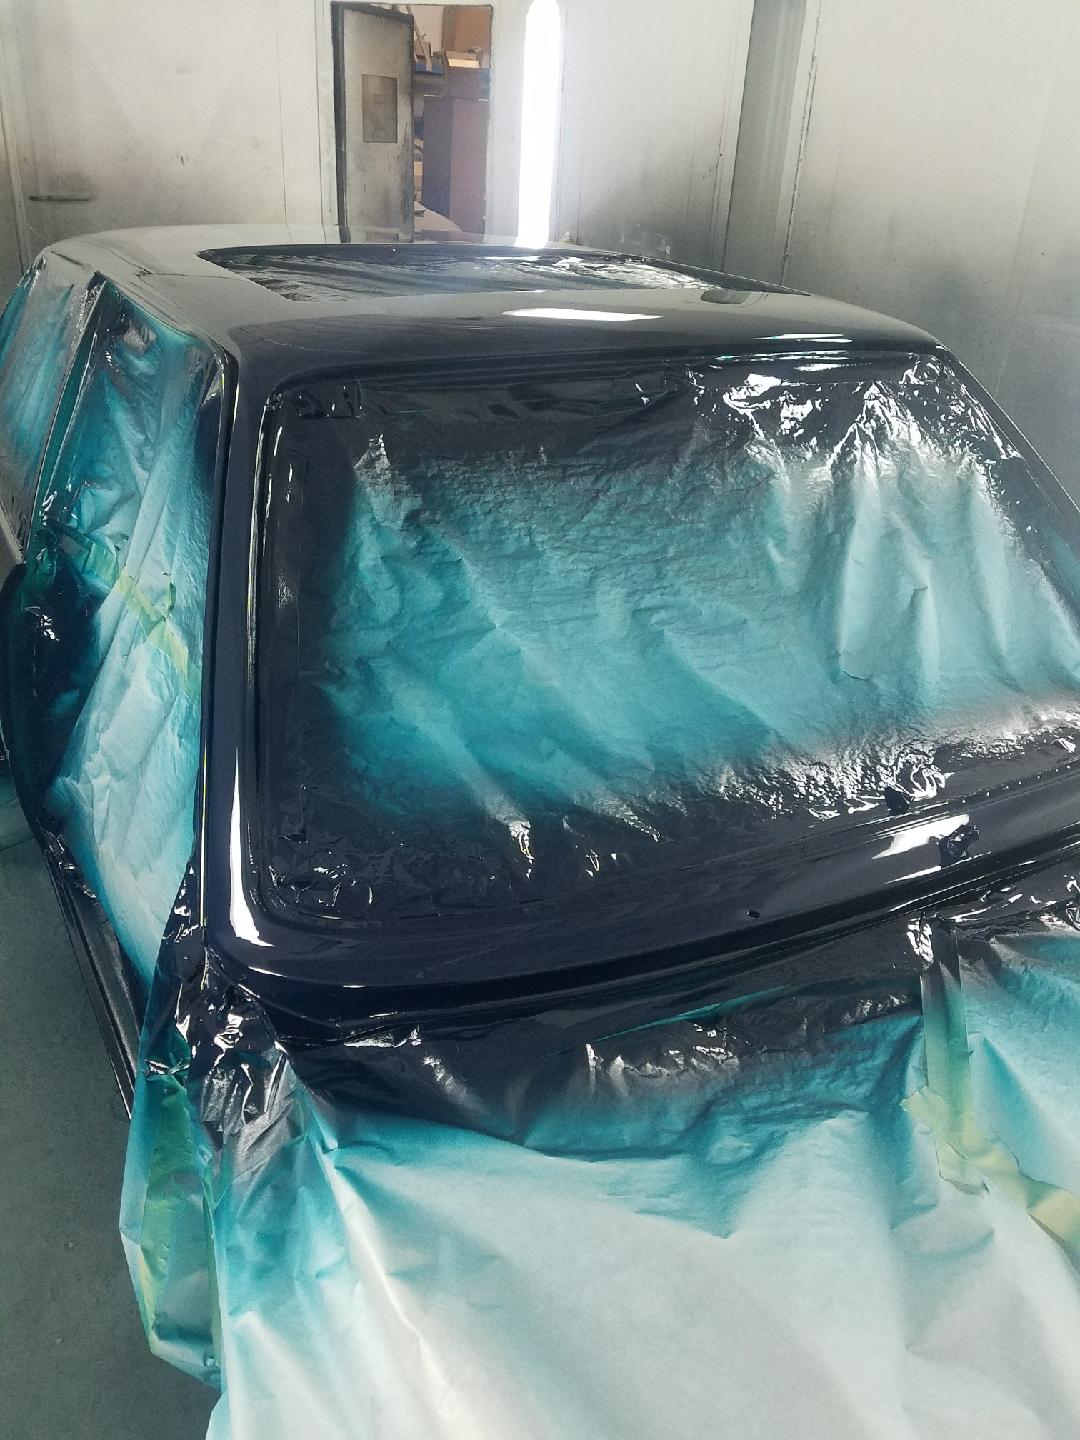
 Next? The “new” dash and the glass will be installed and the body re-assembled. And with any luck, “tomorrow” may eventually come and the motor parts will be ready for me to begin assembling the motor.
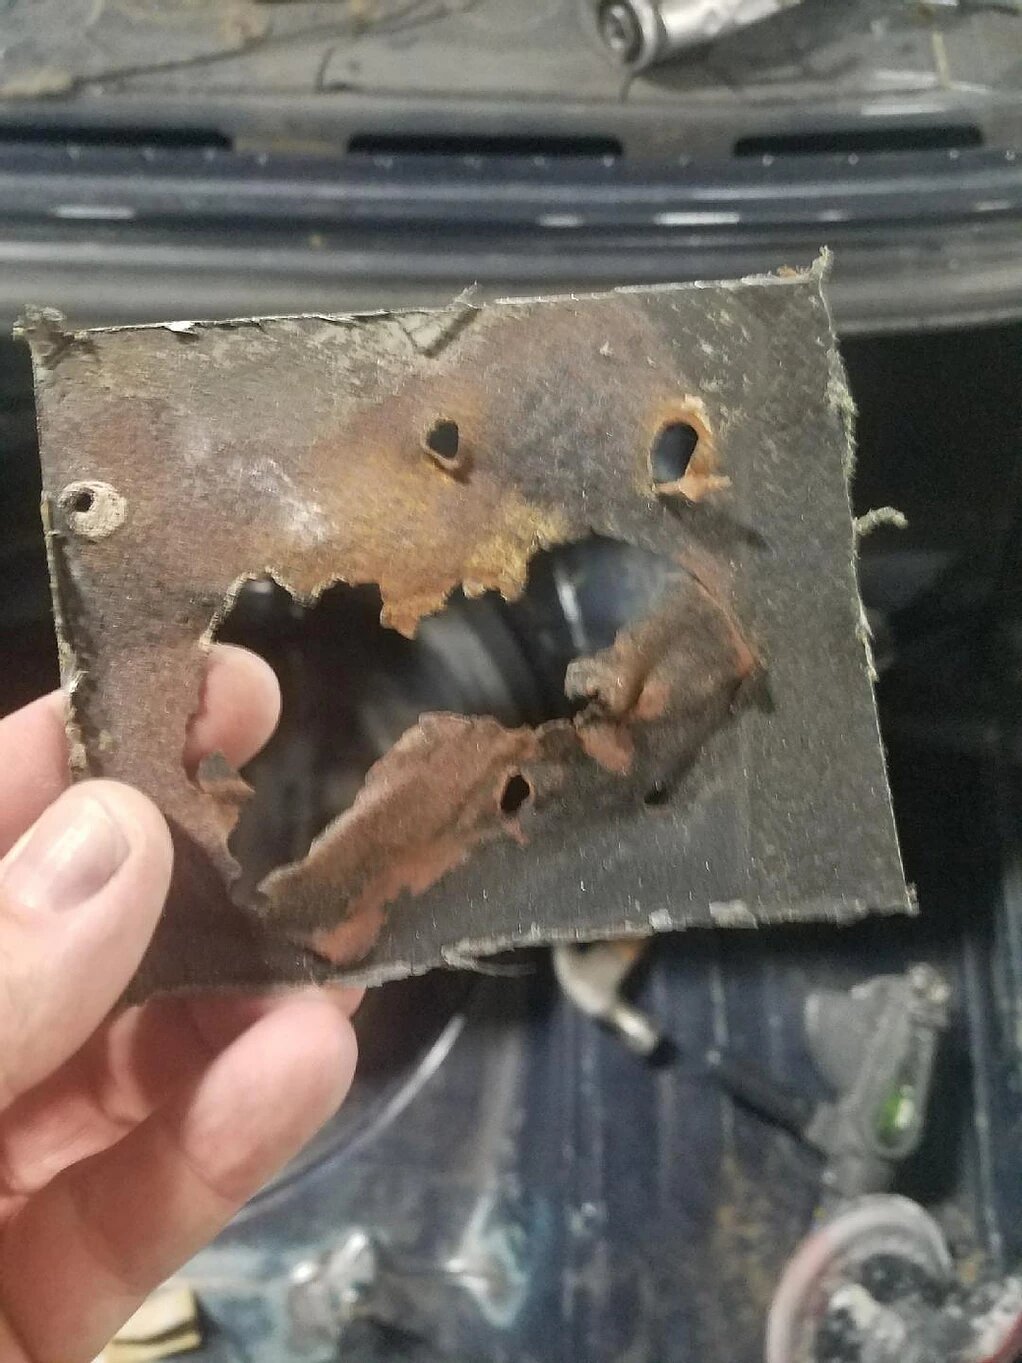
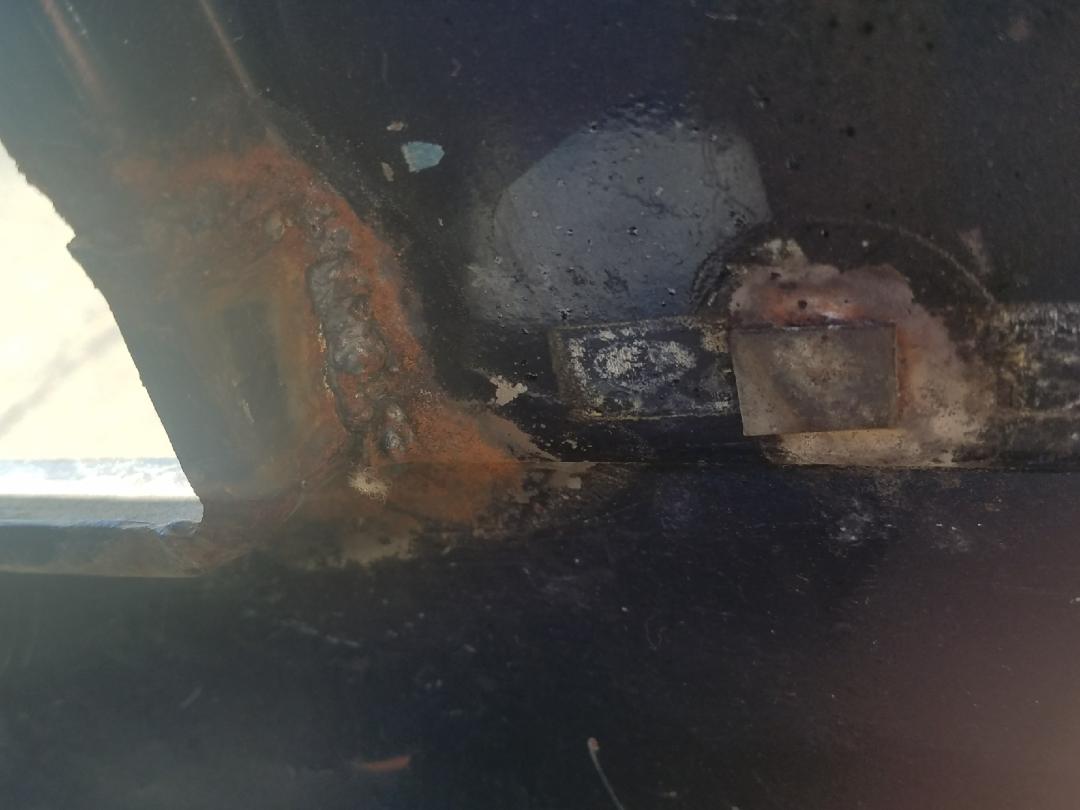
 And welded up.
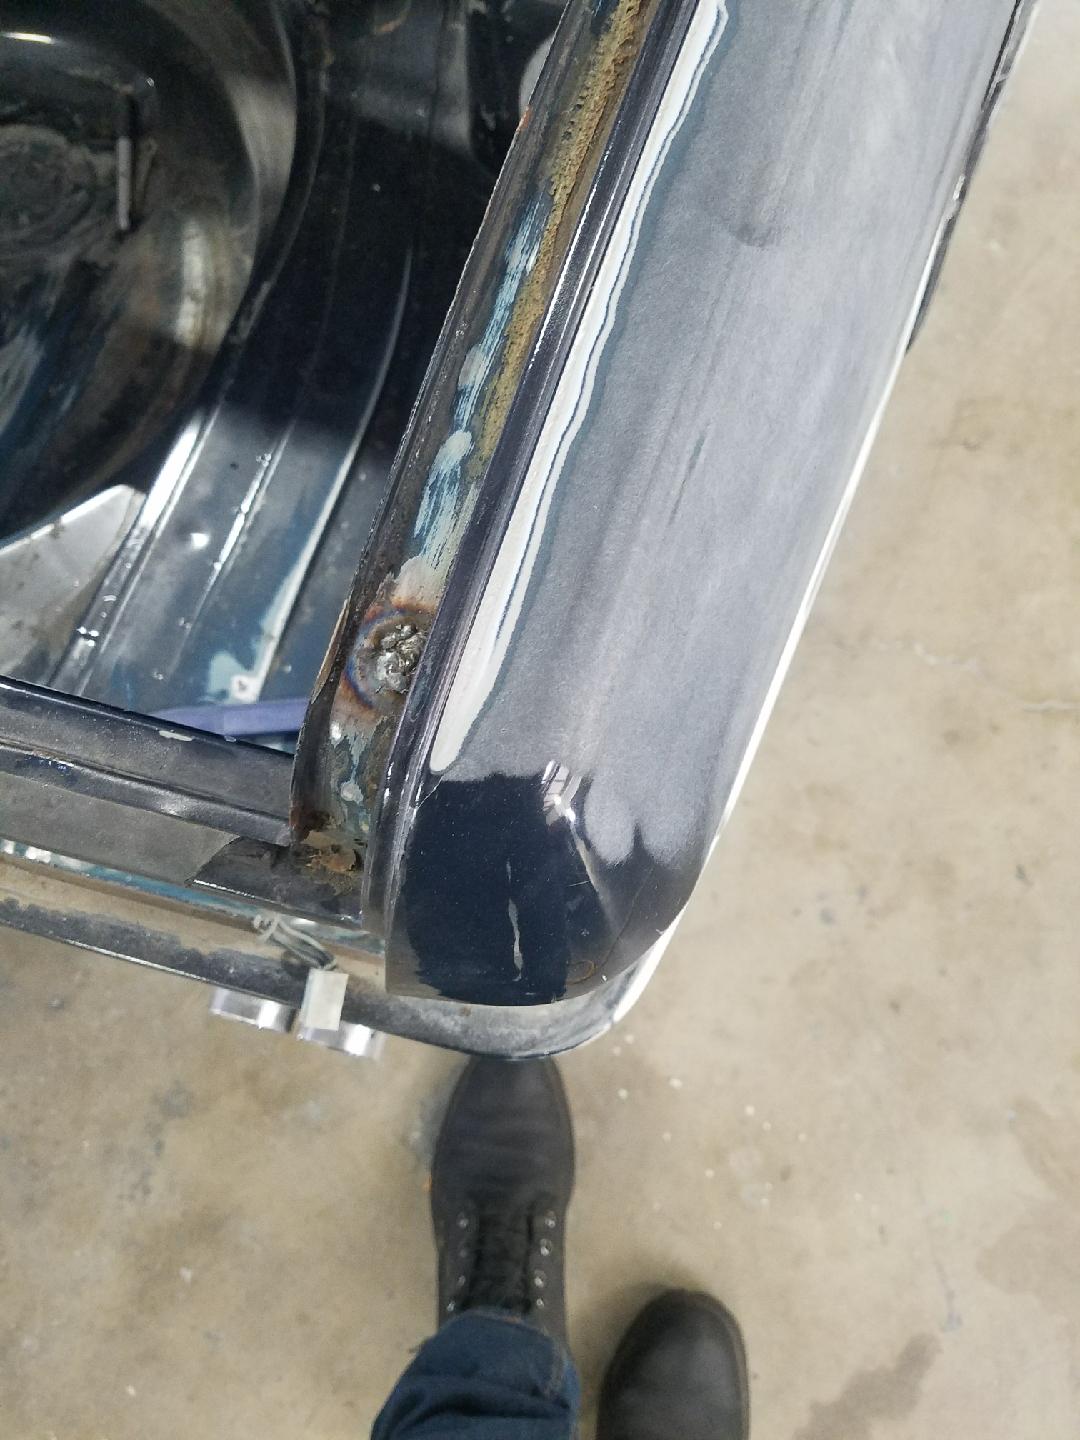

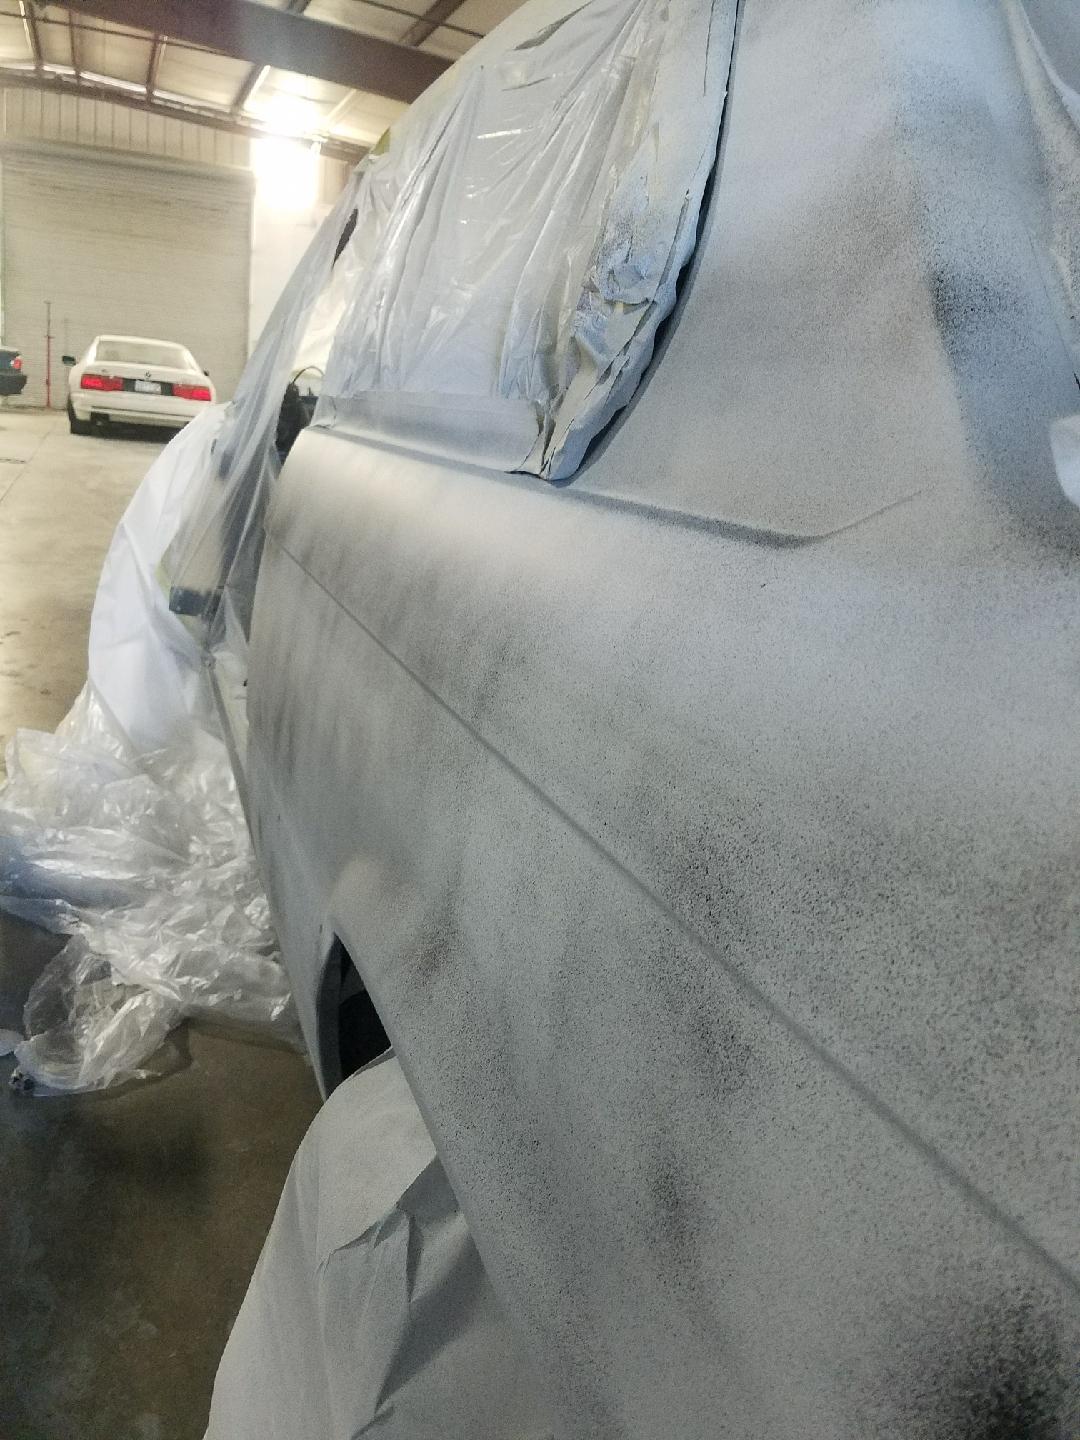
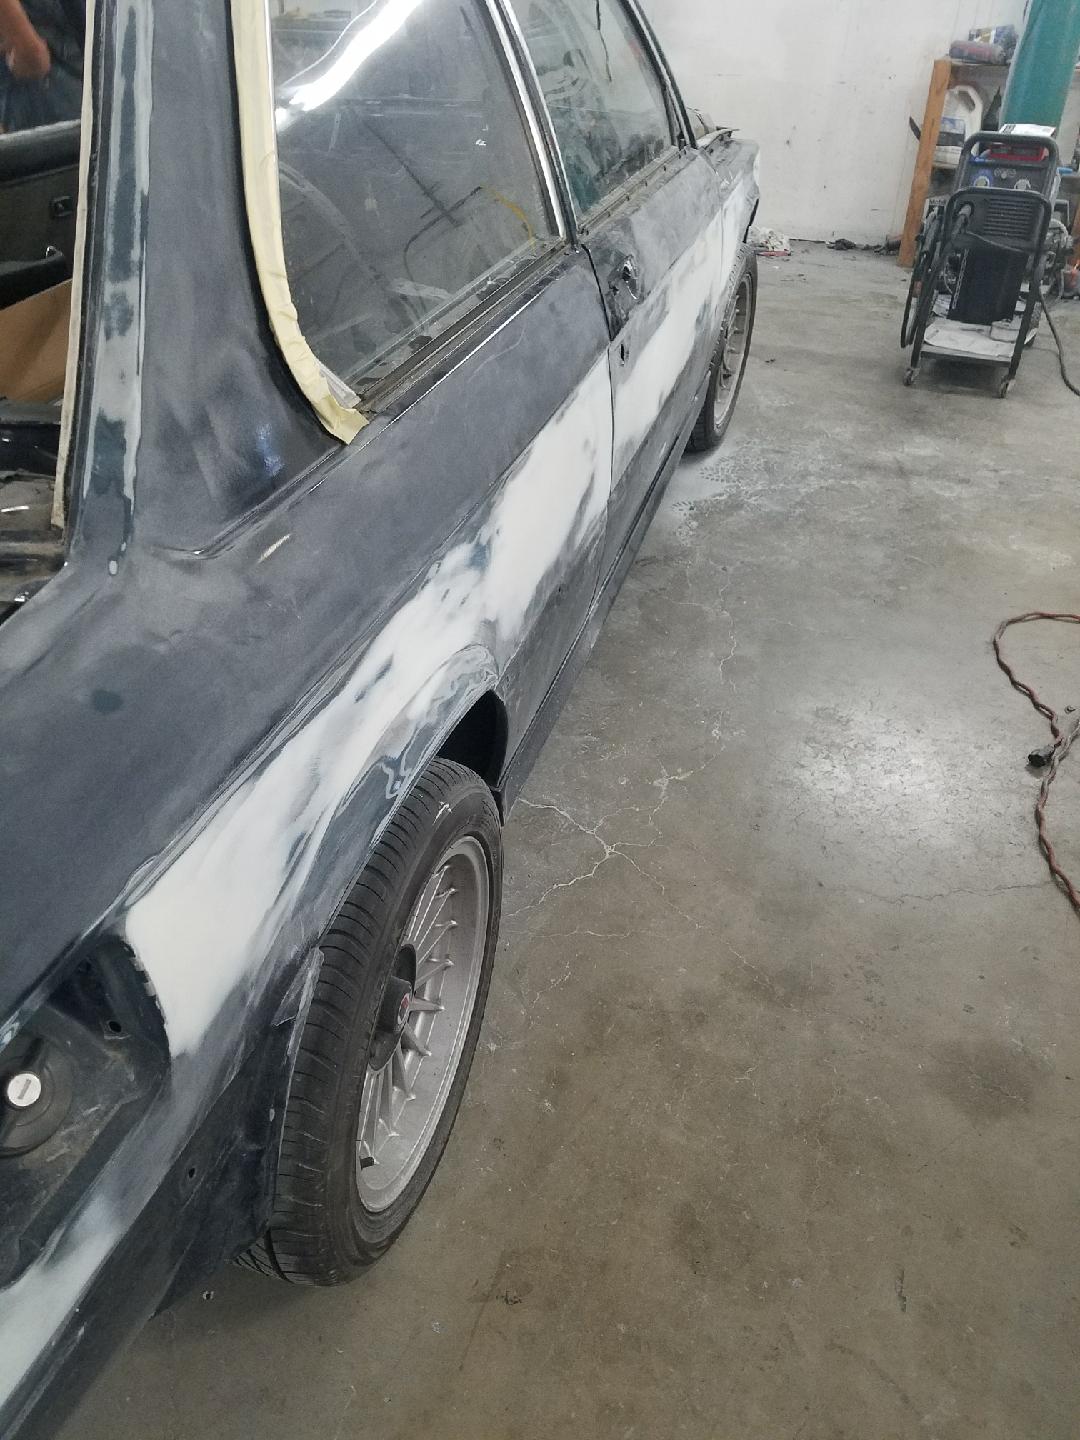
 The front fender gets cleaned up, including plugging the holes for the USA sidemarker lights.
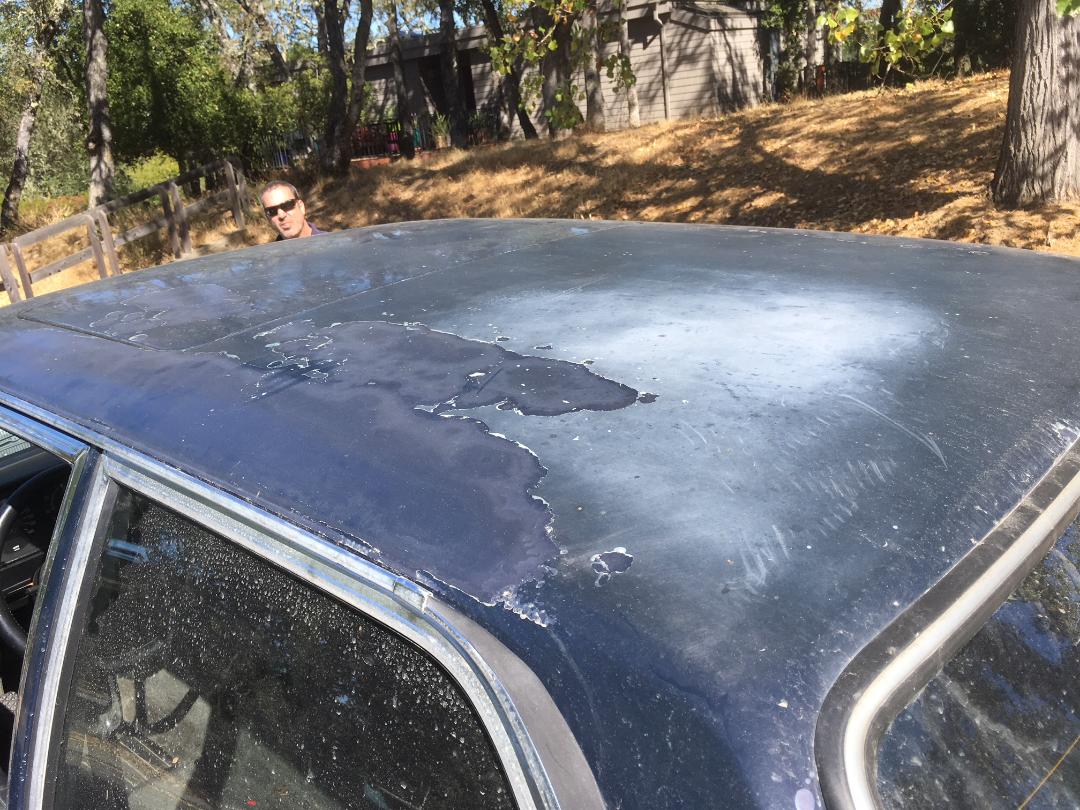
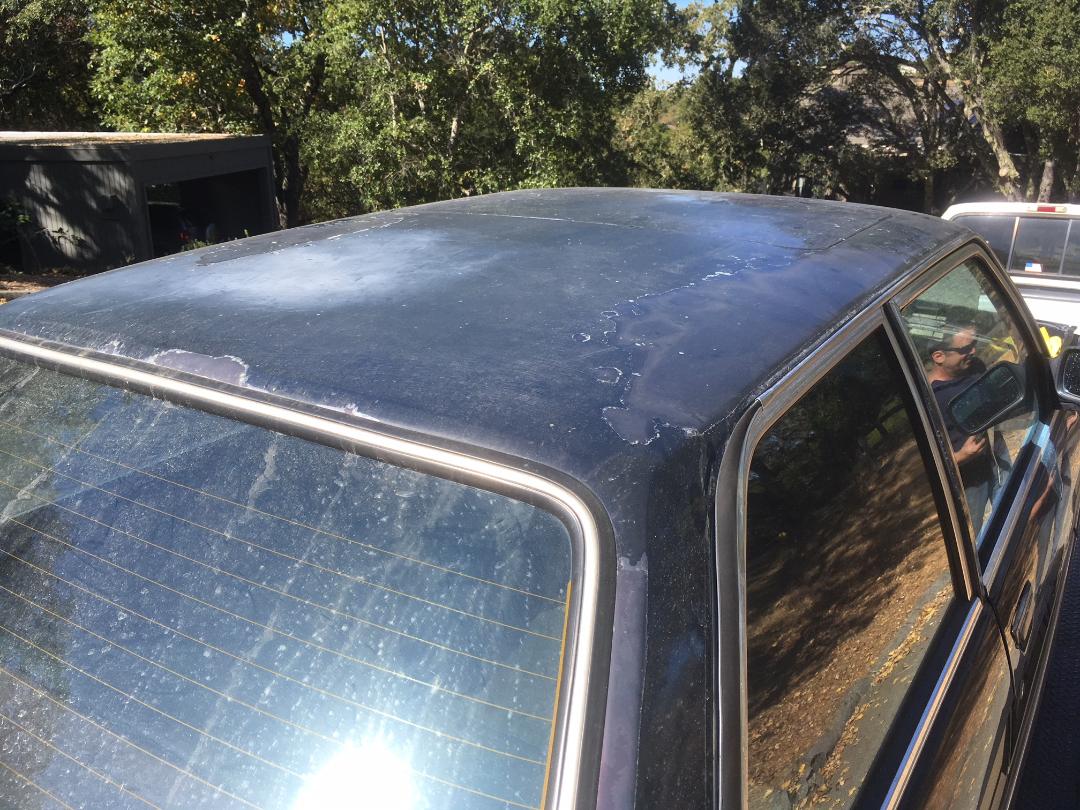
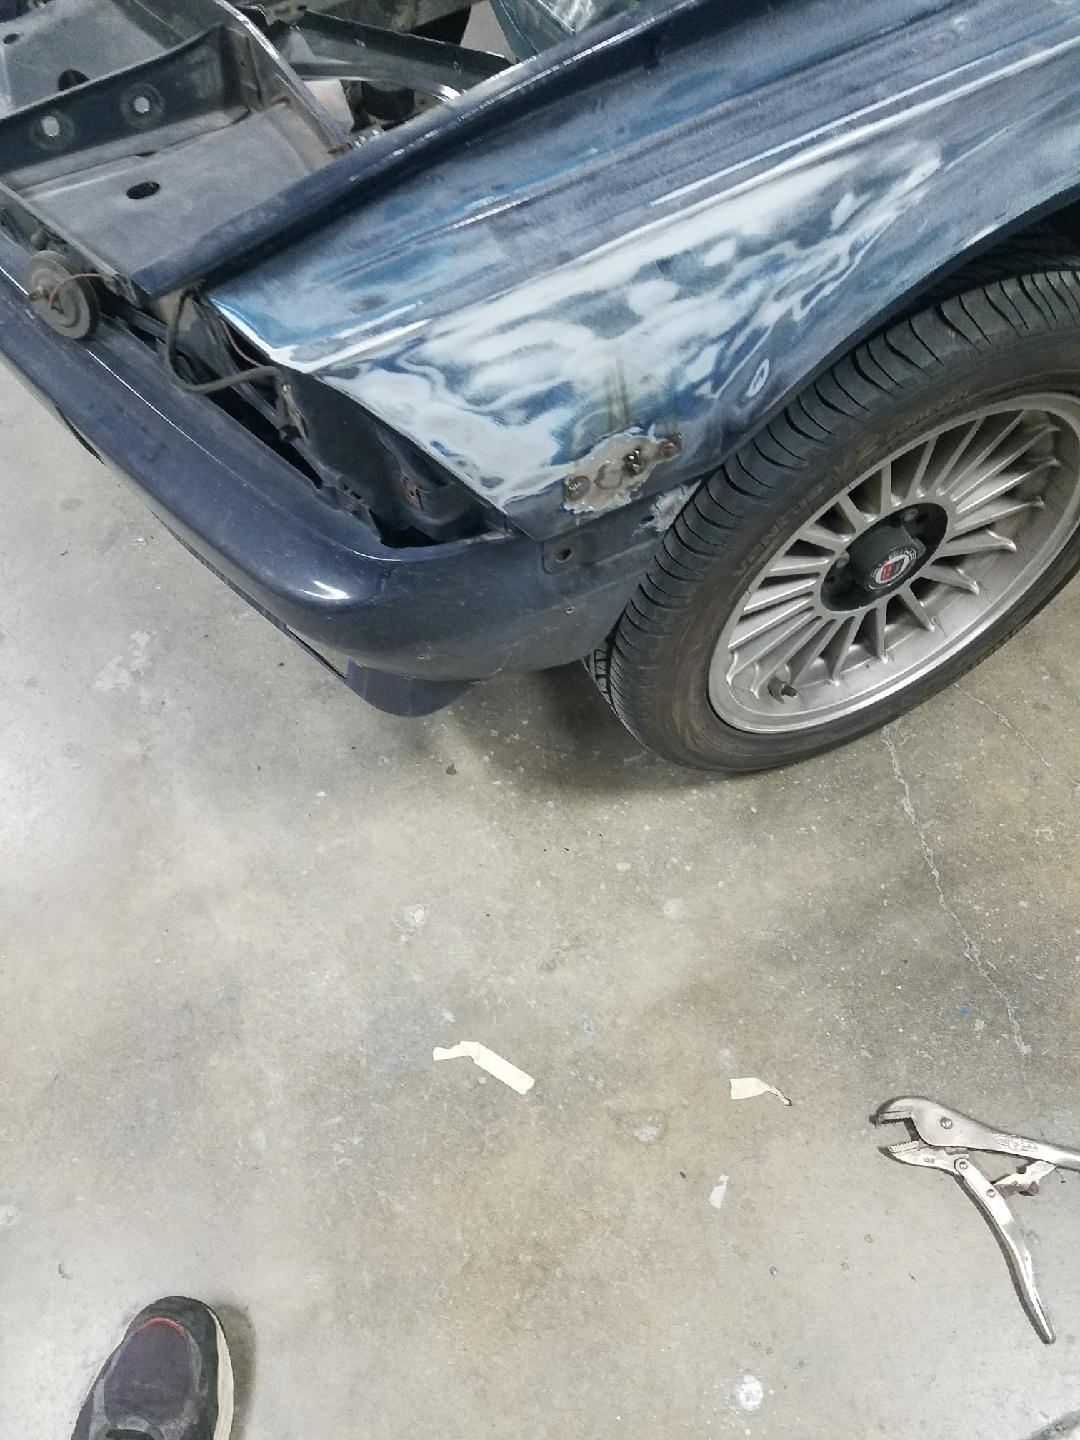 Waves a long the rear fenders and roof are smoothed out.
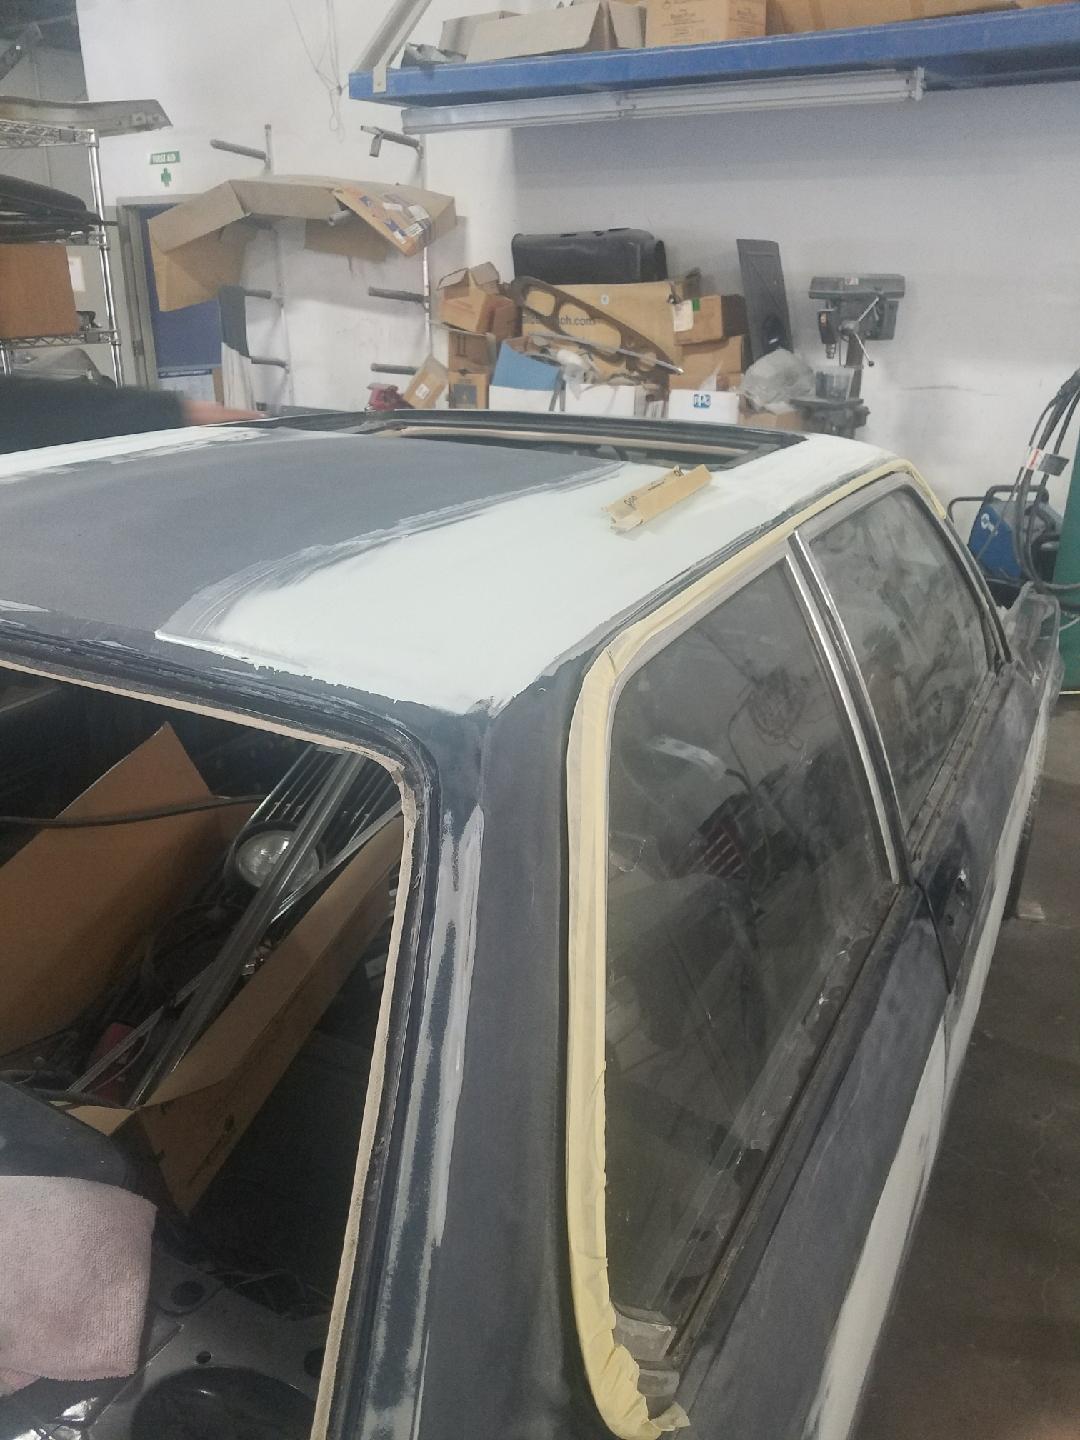
 And the air dam gets cleaned up as well.
 Next up: finish prepping for paint, prime it, and then paint it. The body work has good momentum, I sure hope the motor will start moving along.
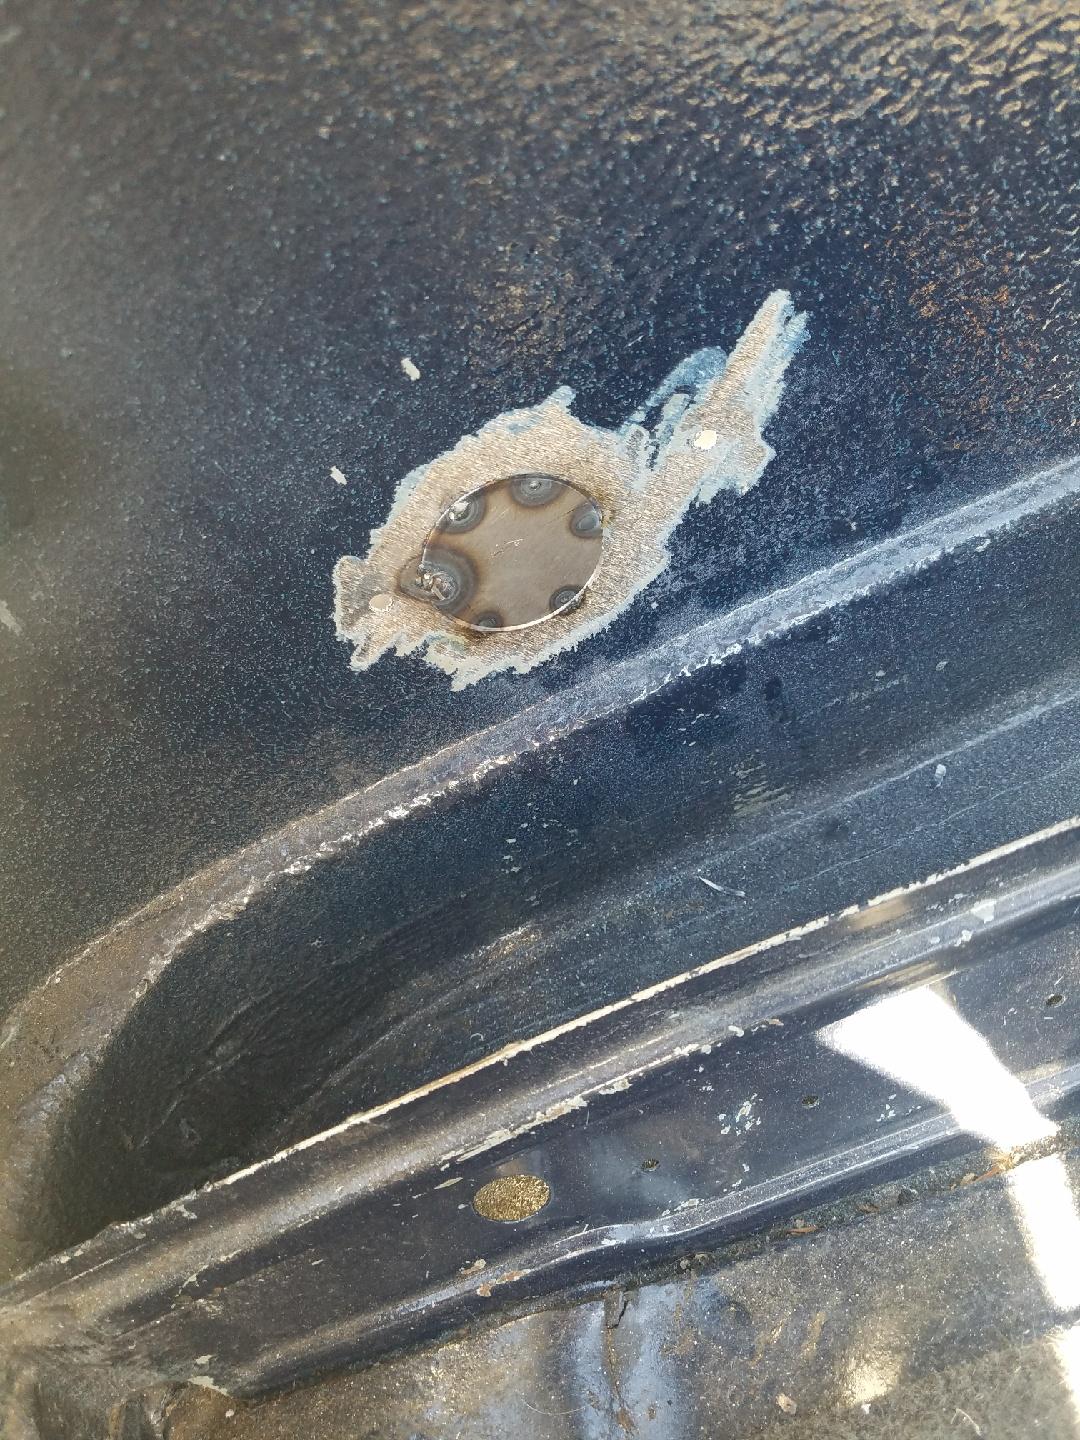
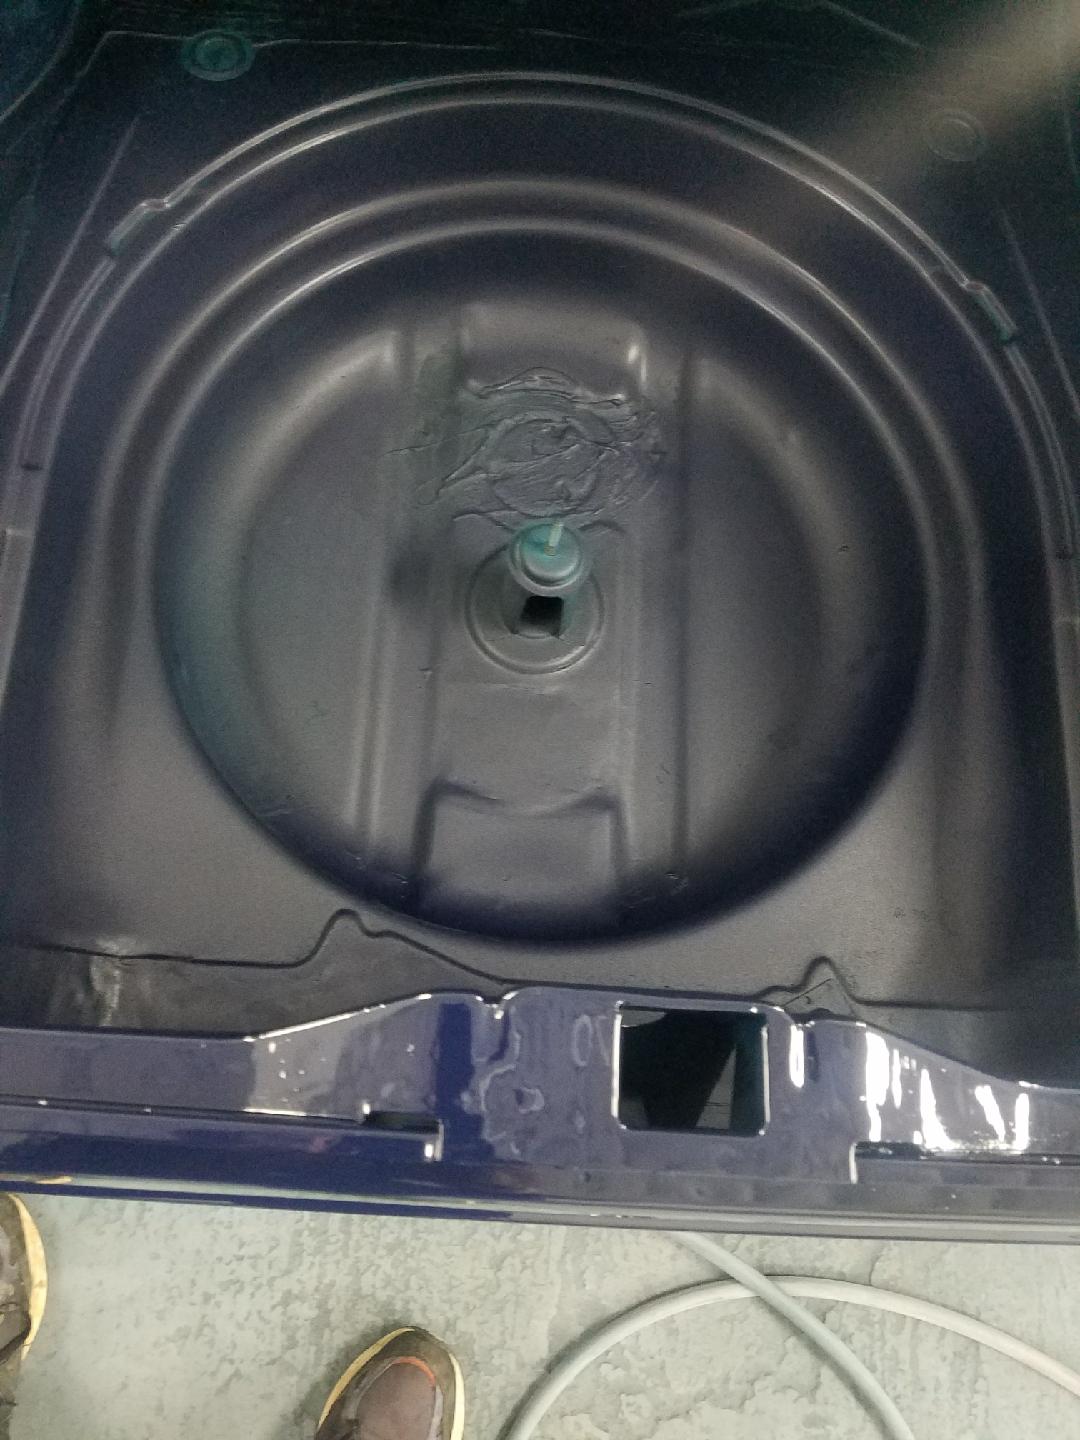
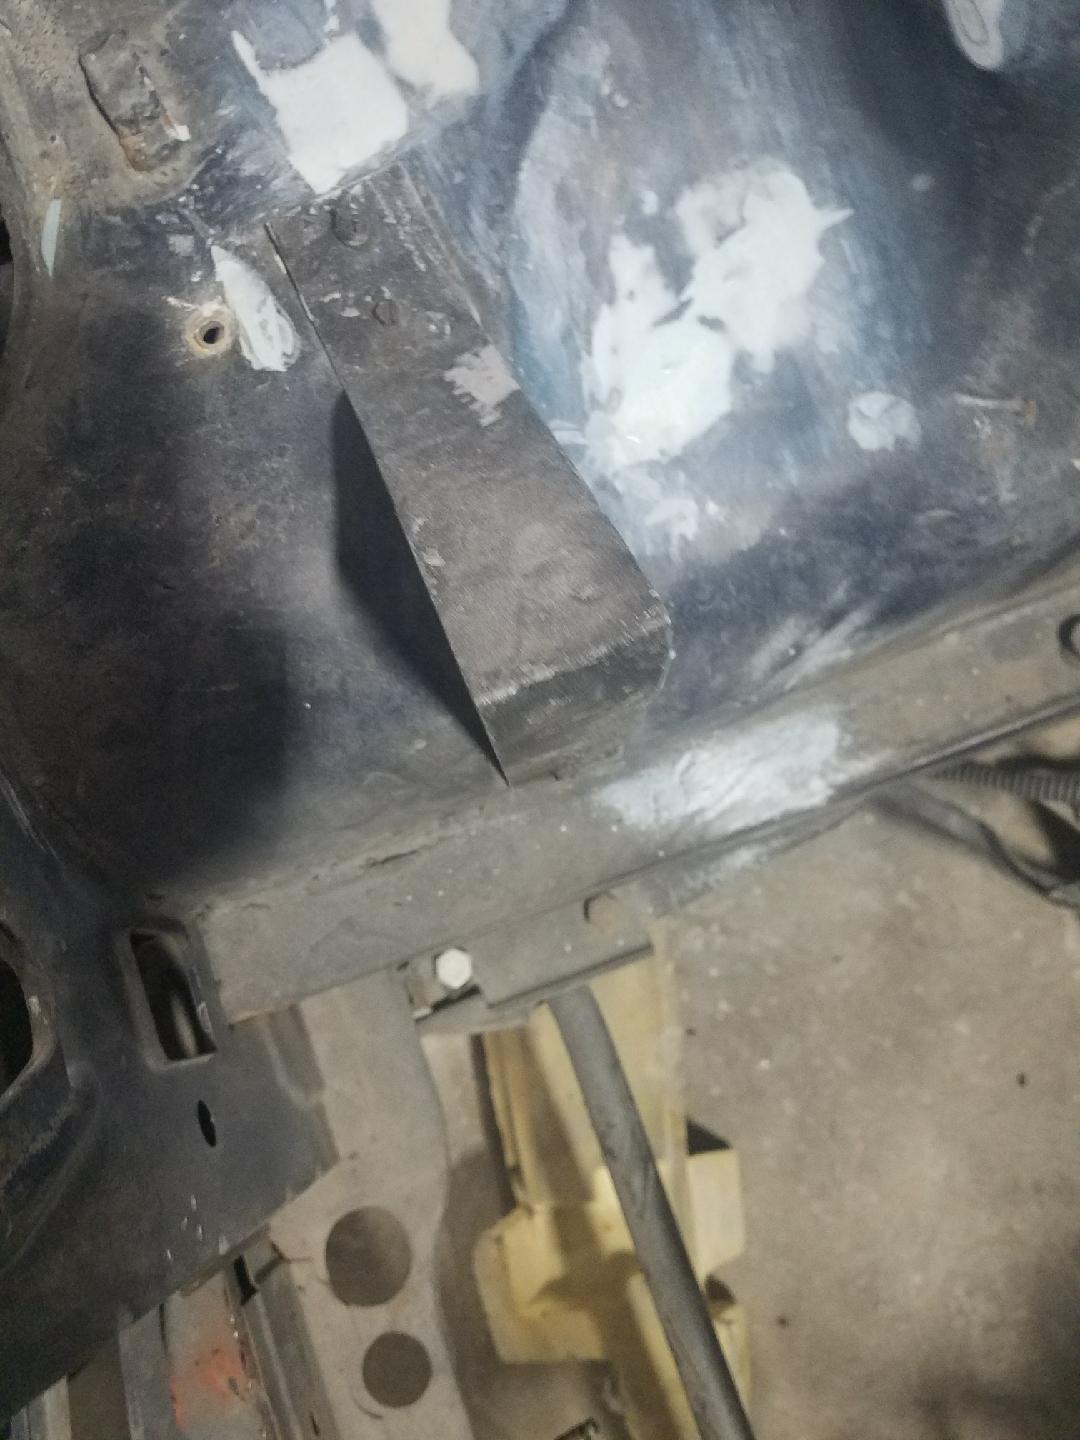
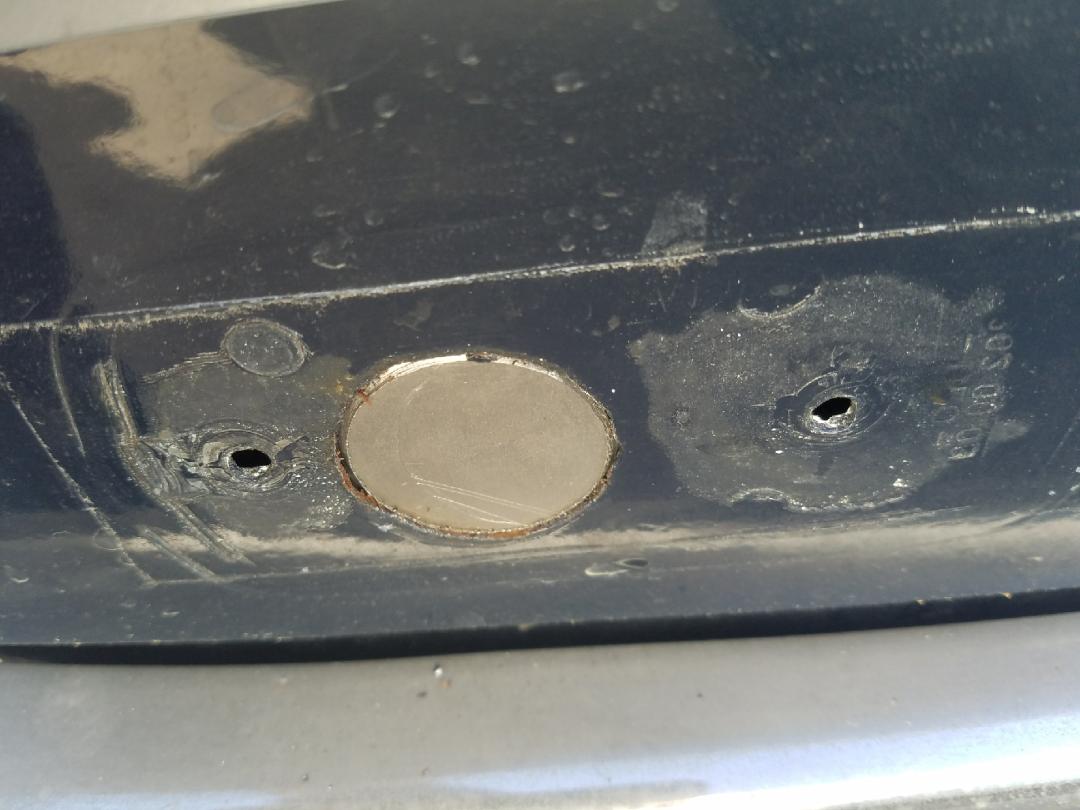 The shock towers had been drilled for a rear strut brace/battery holder that I removed (putting the battery back in the engine compartment).
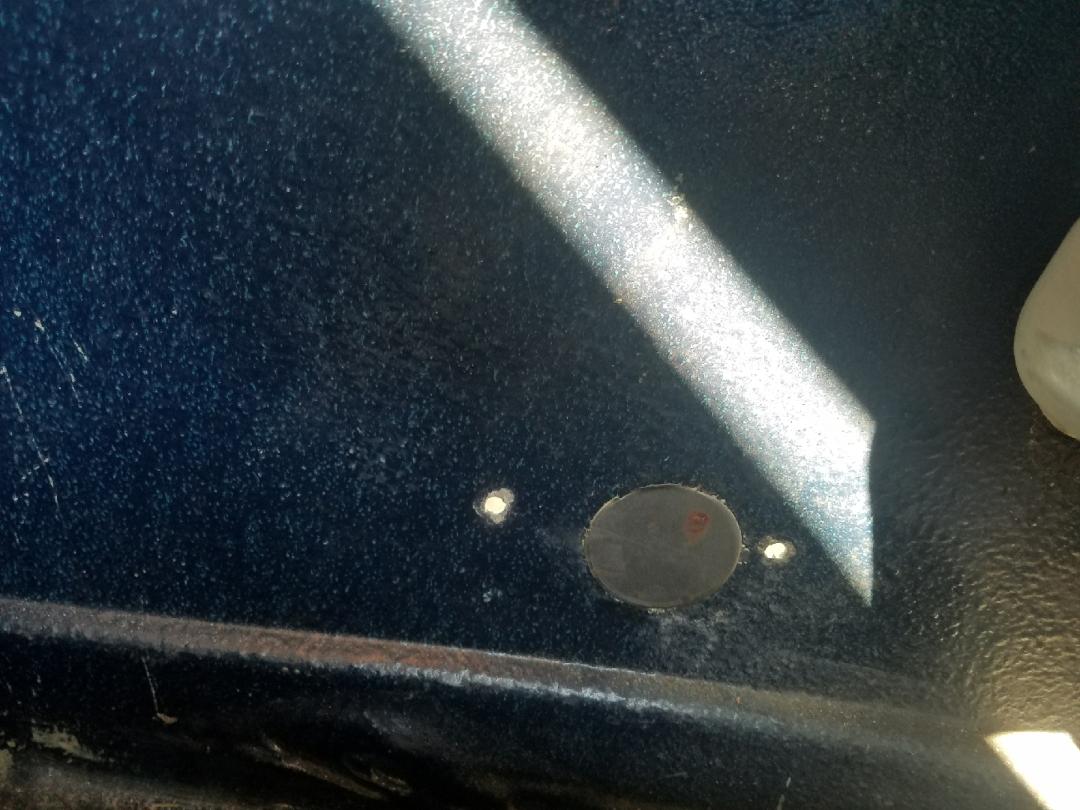
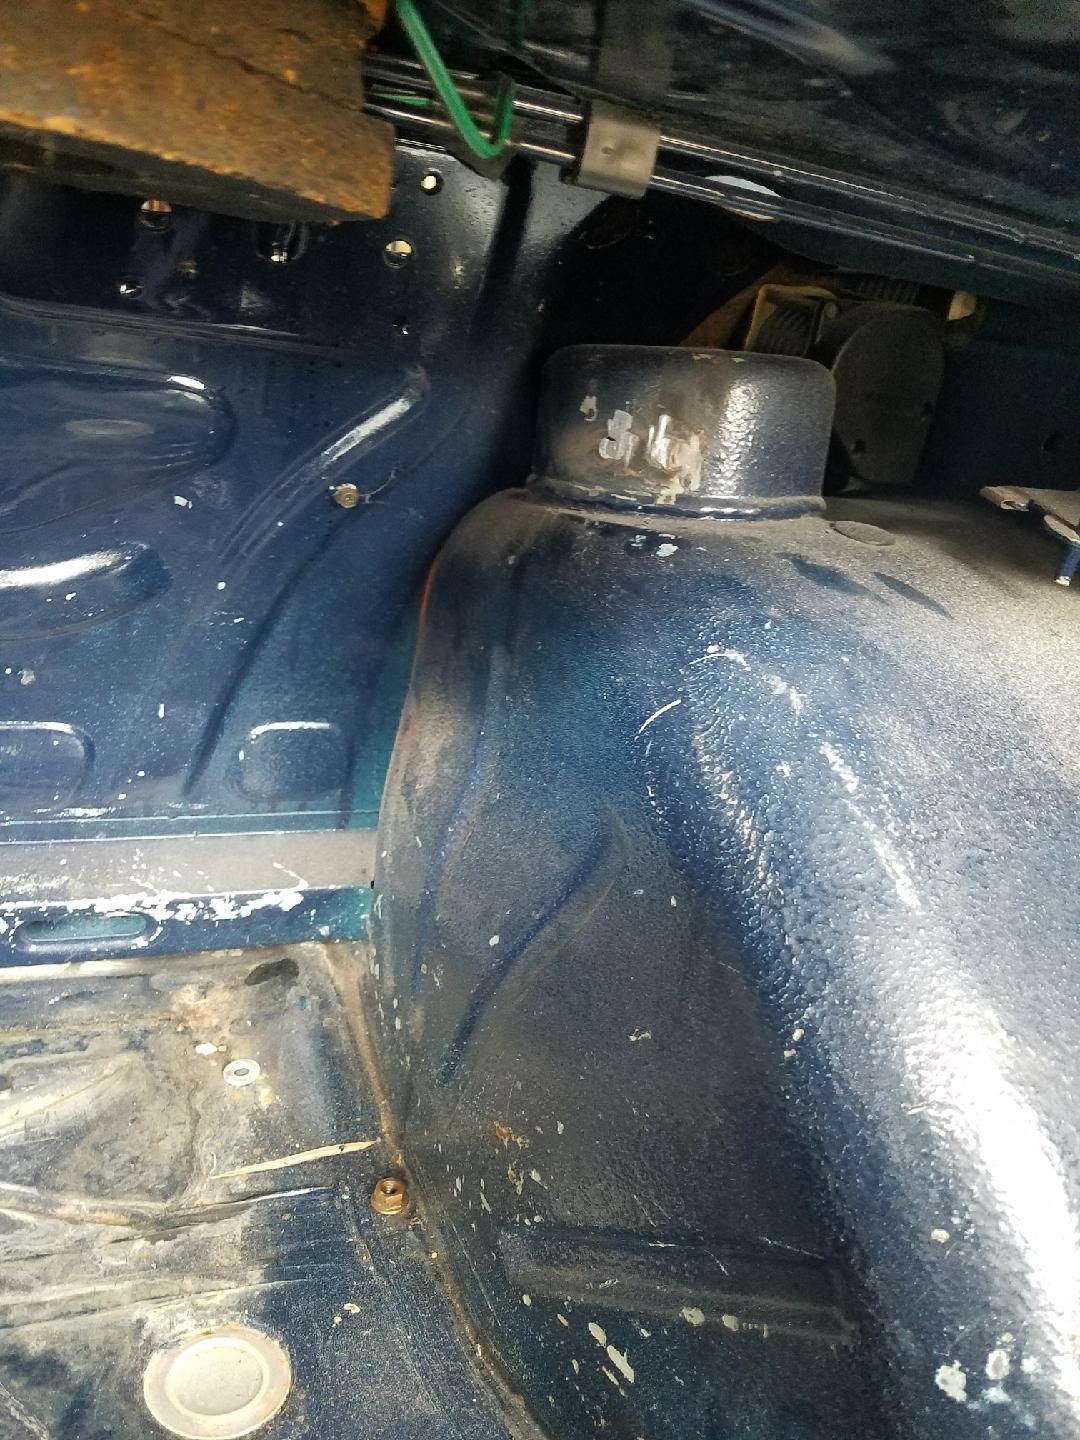 And there were weird holes drilled in various places, including in the engine compartment near the VIN plate; what those holes were for is another mystery (I thought it might be for an Alpina VIN plate, but it didn’t fit the spacing of the holes).
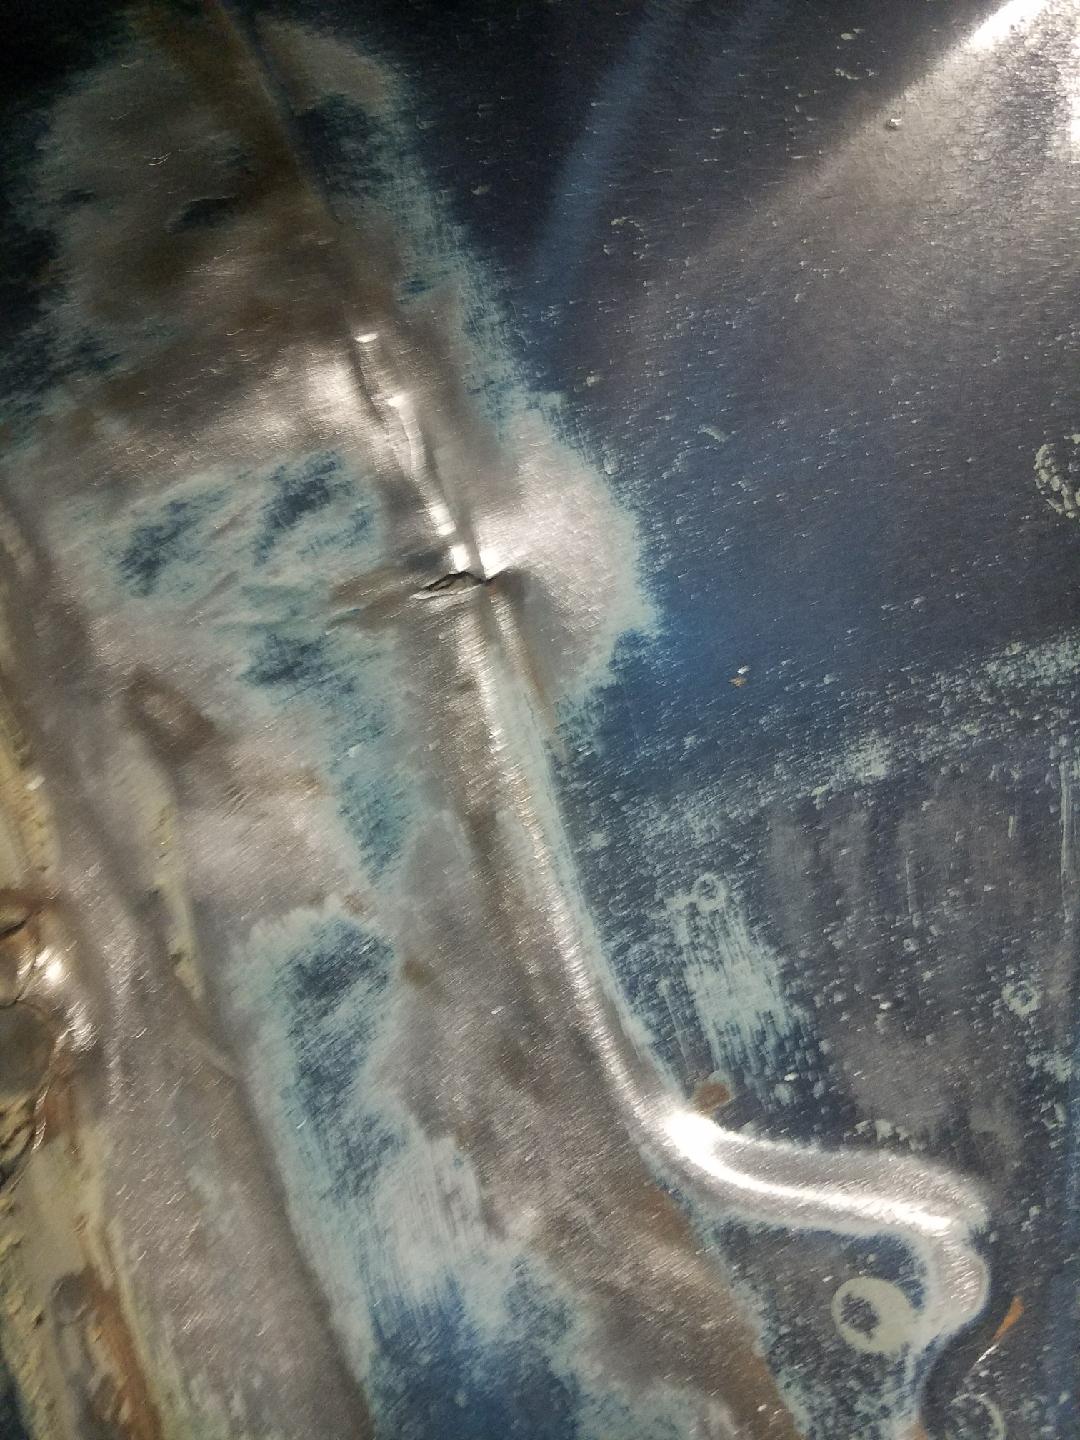
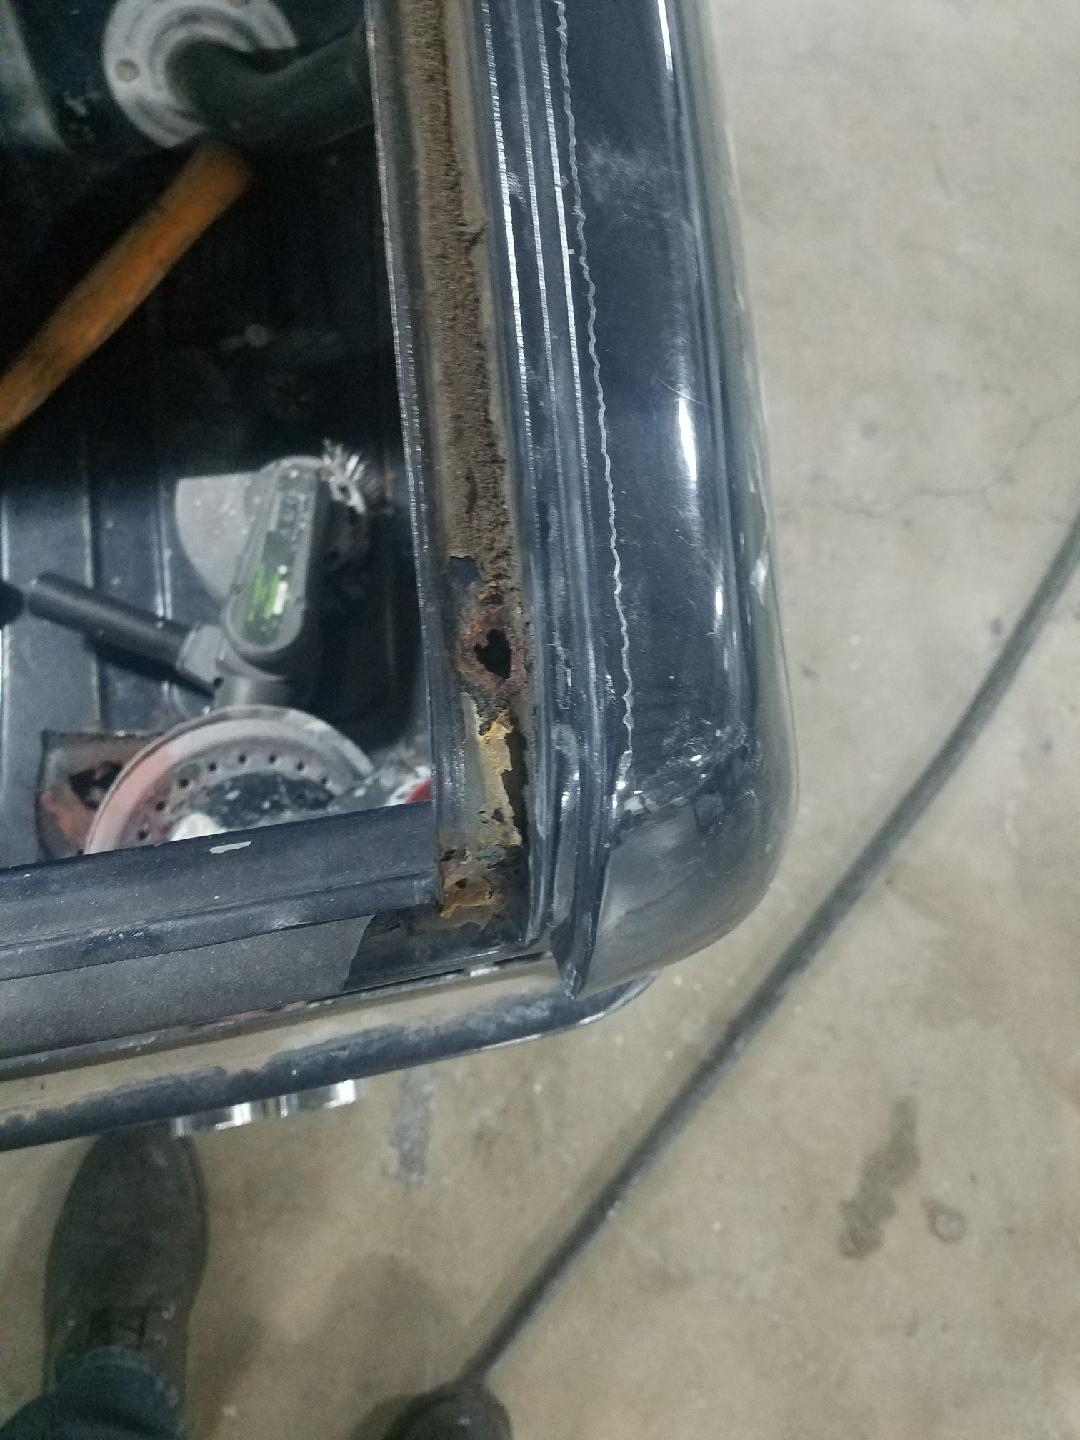
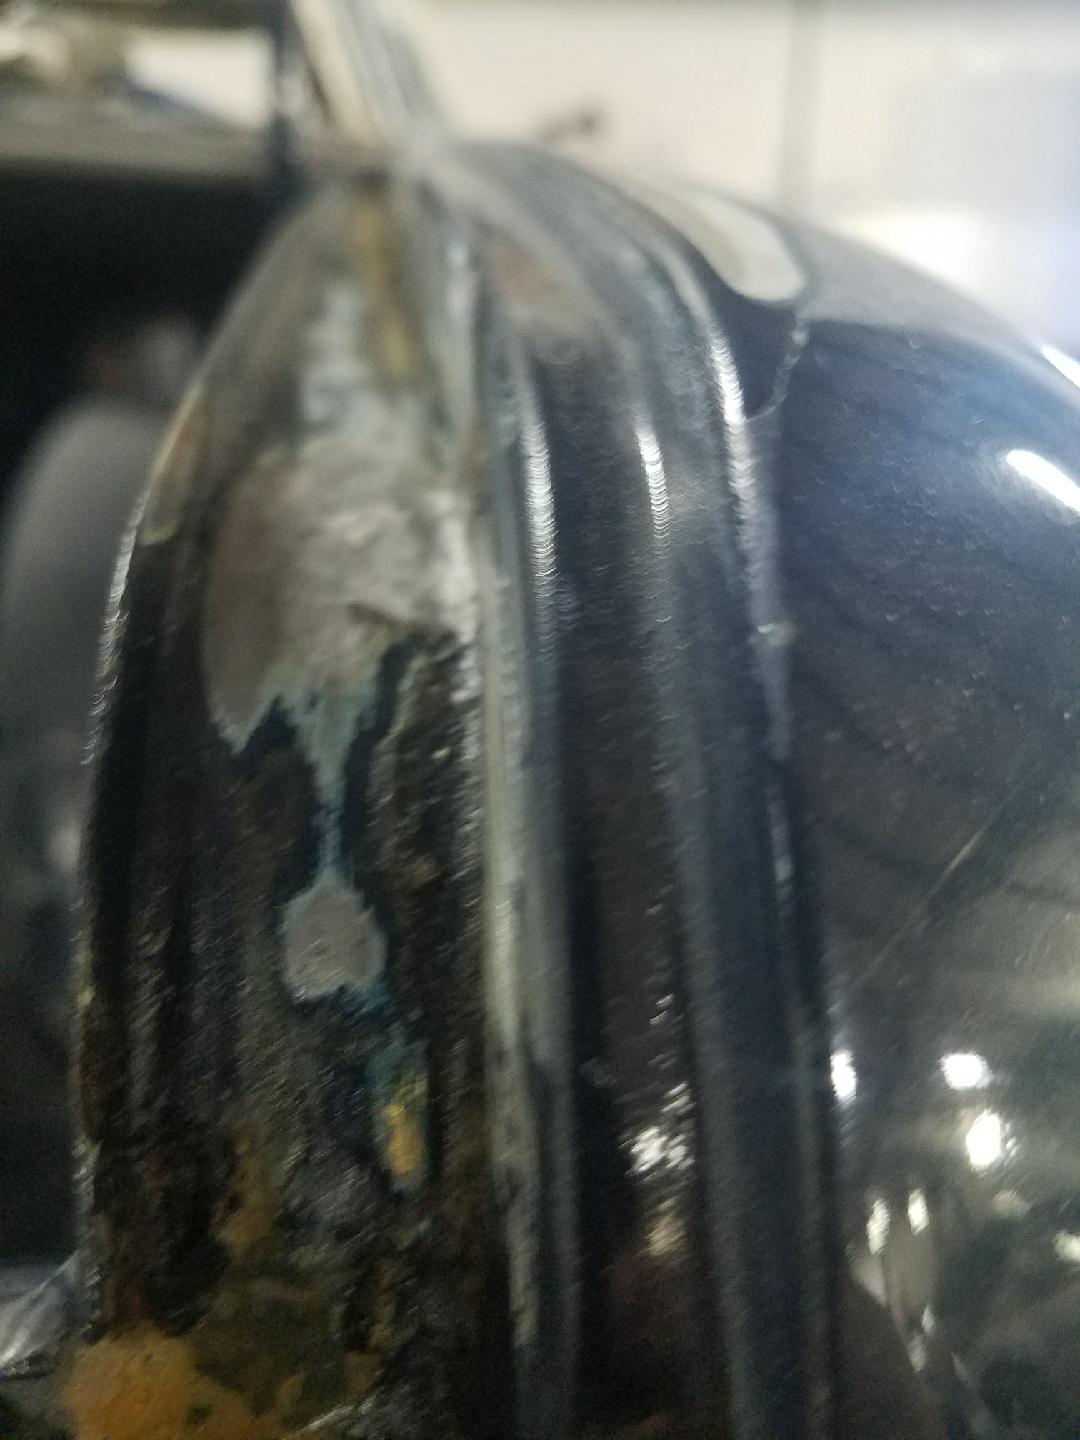
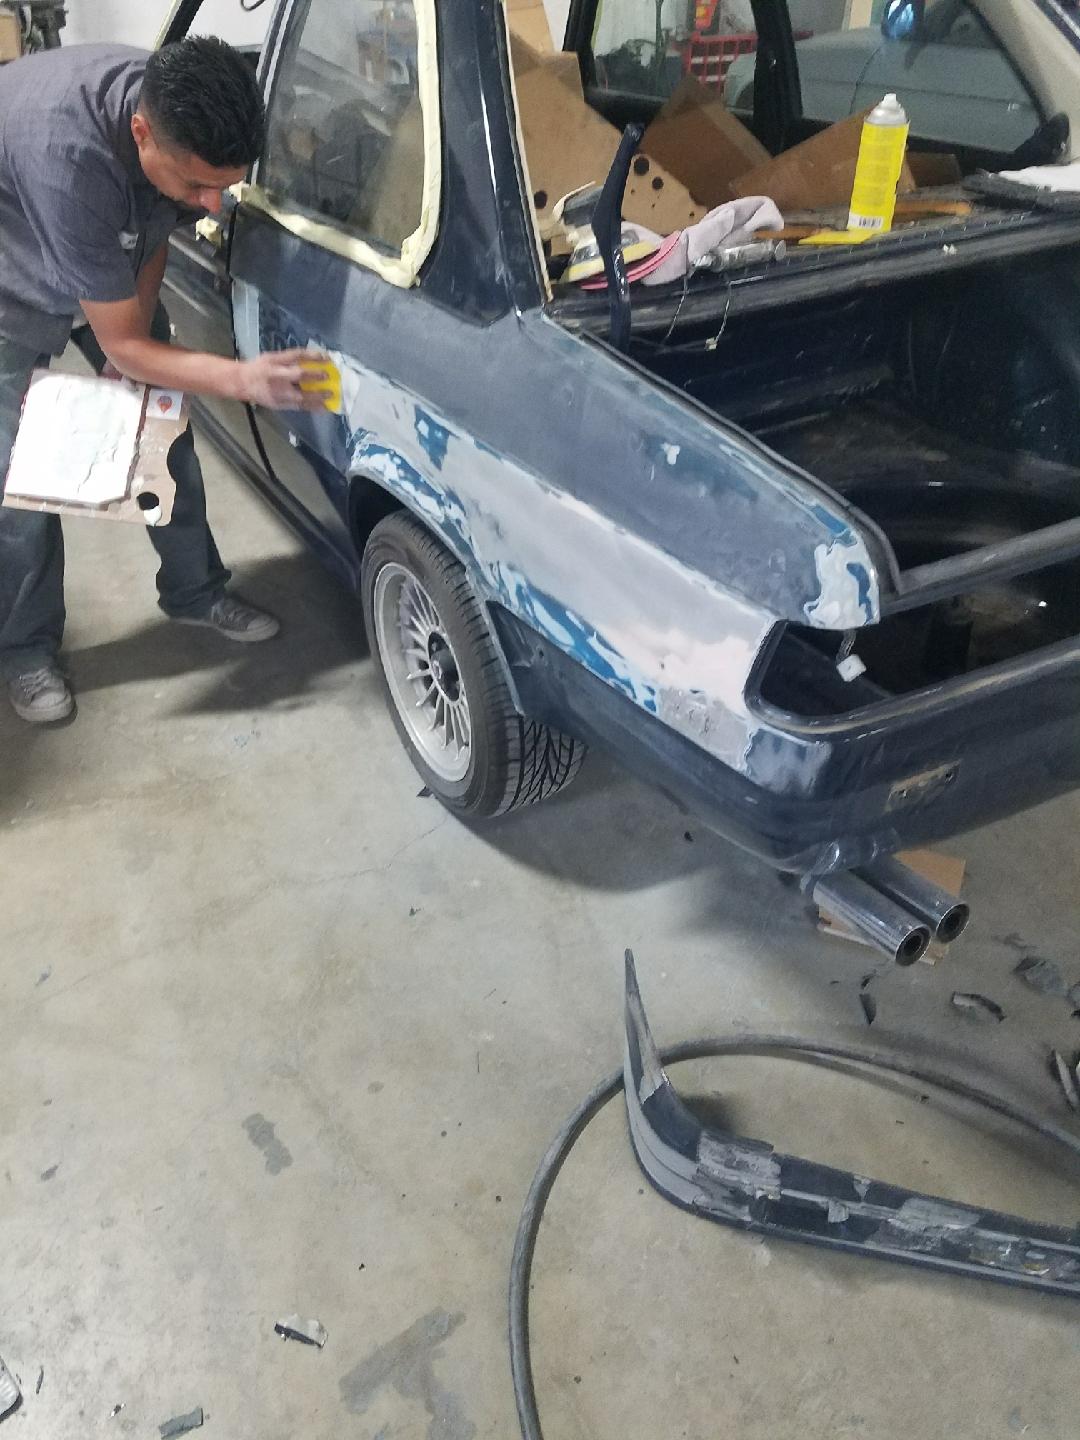
 Bits of rust – typical for a 1980s BMW, even one that spent it’s whole life in California – and other imperfections are taken care of.
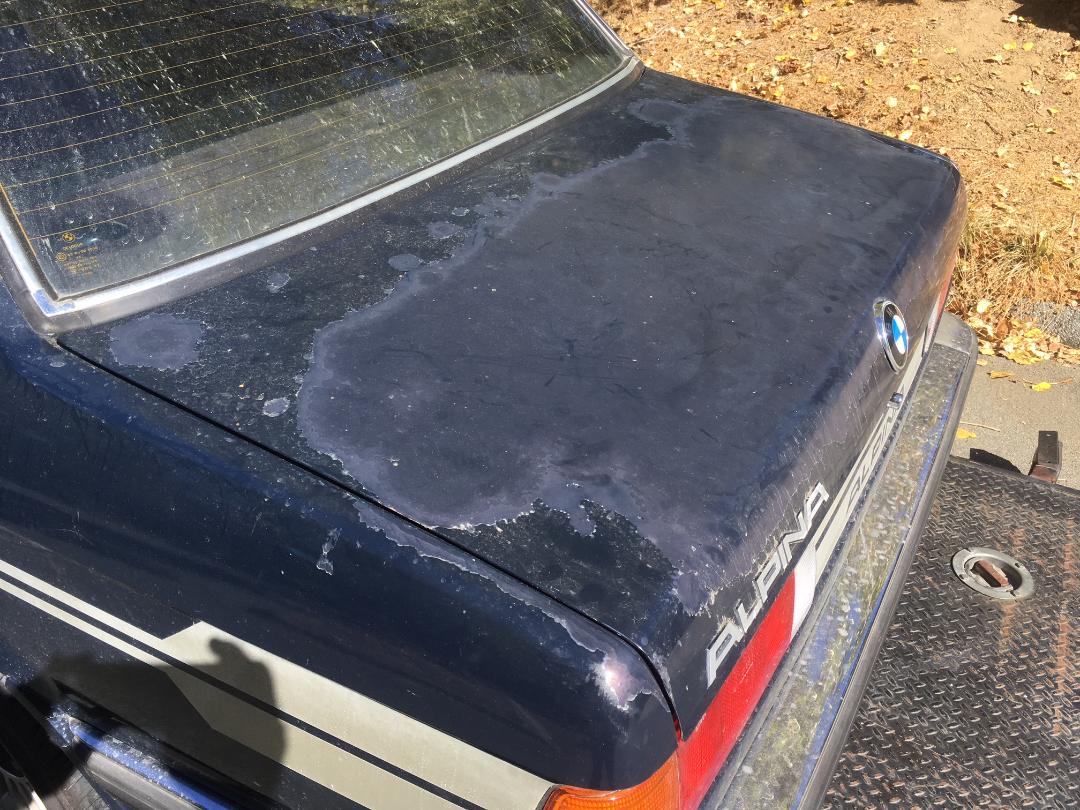
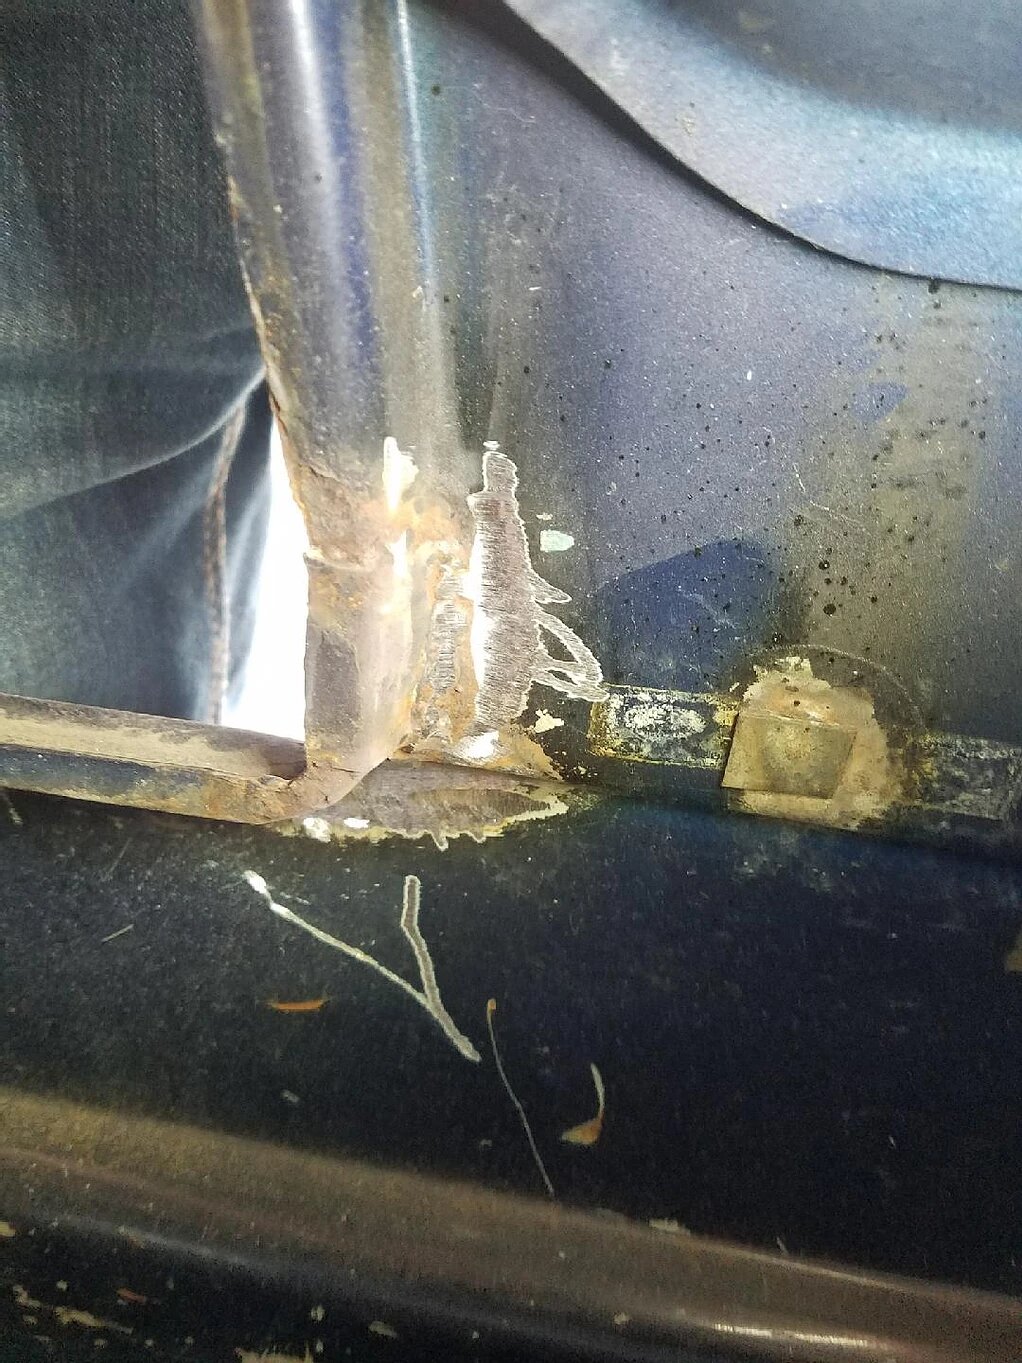
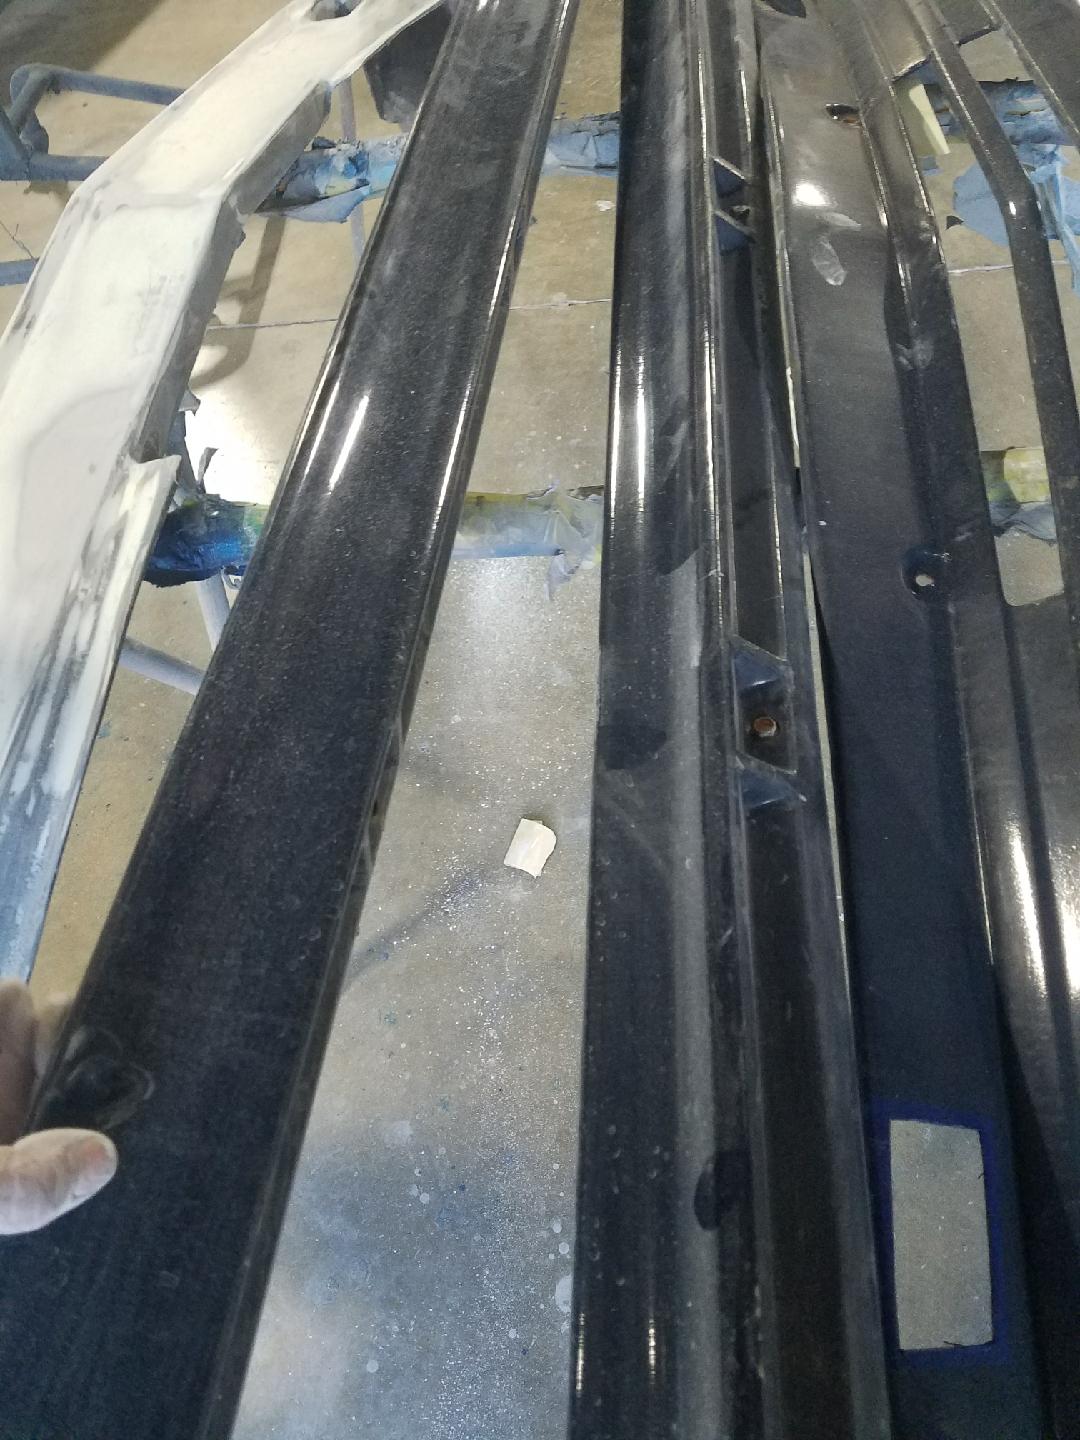
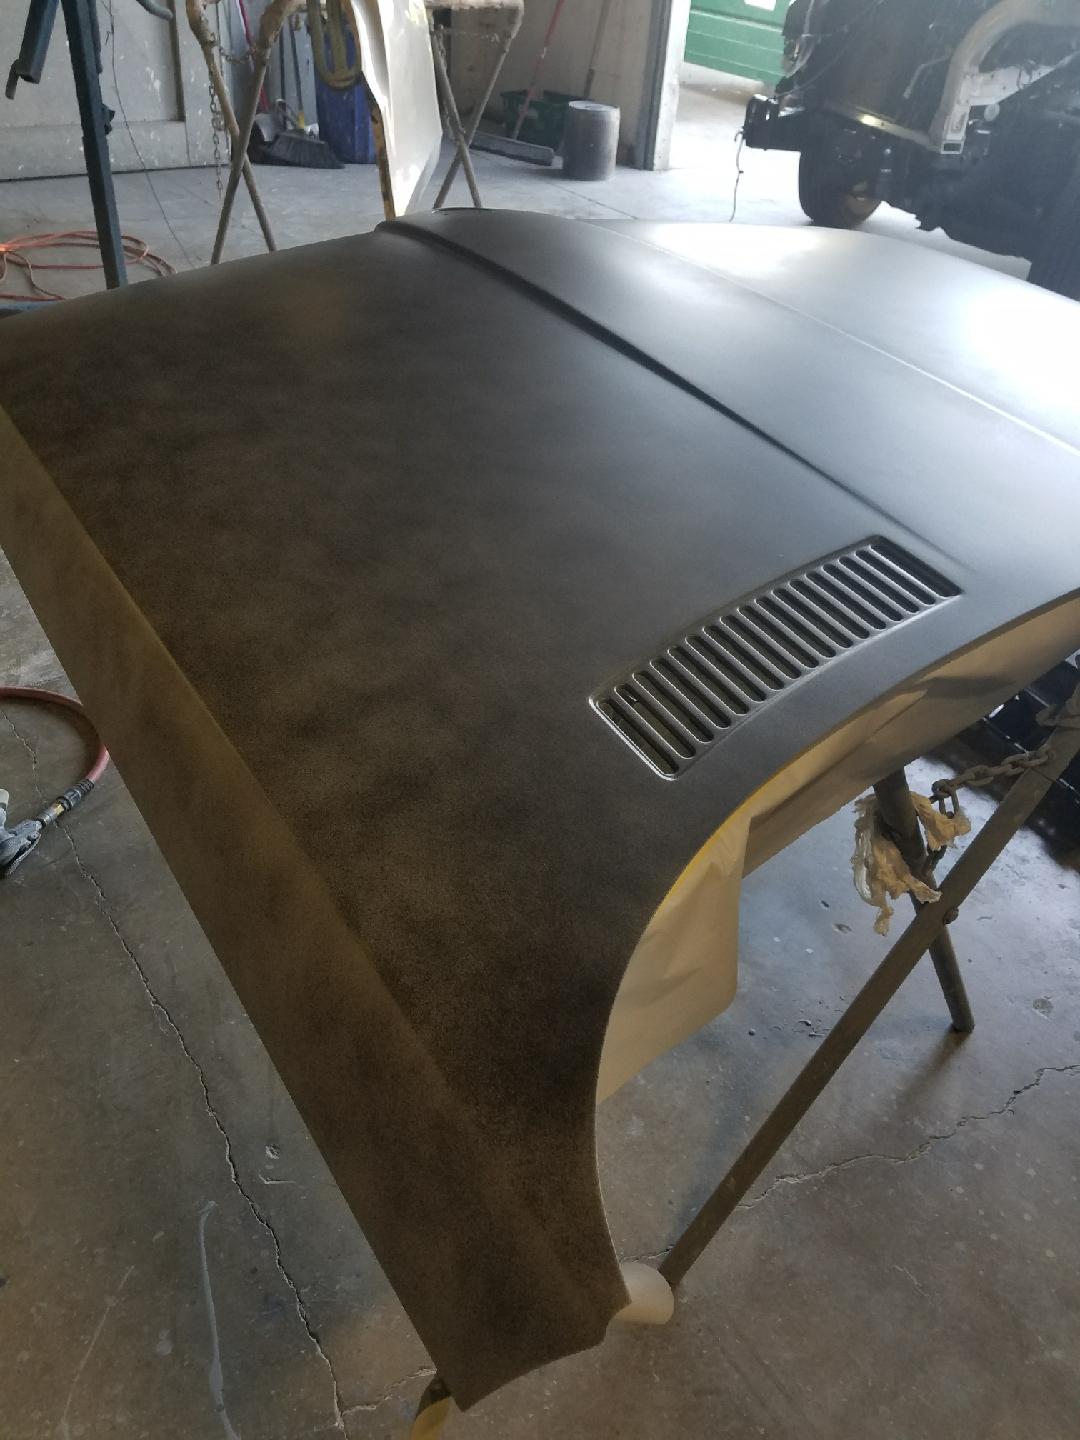
 The trunk lid and hood are taken off, prepped.
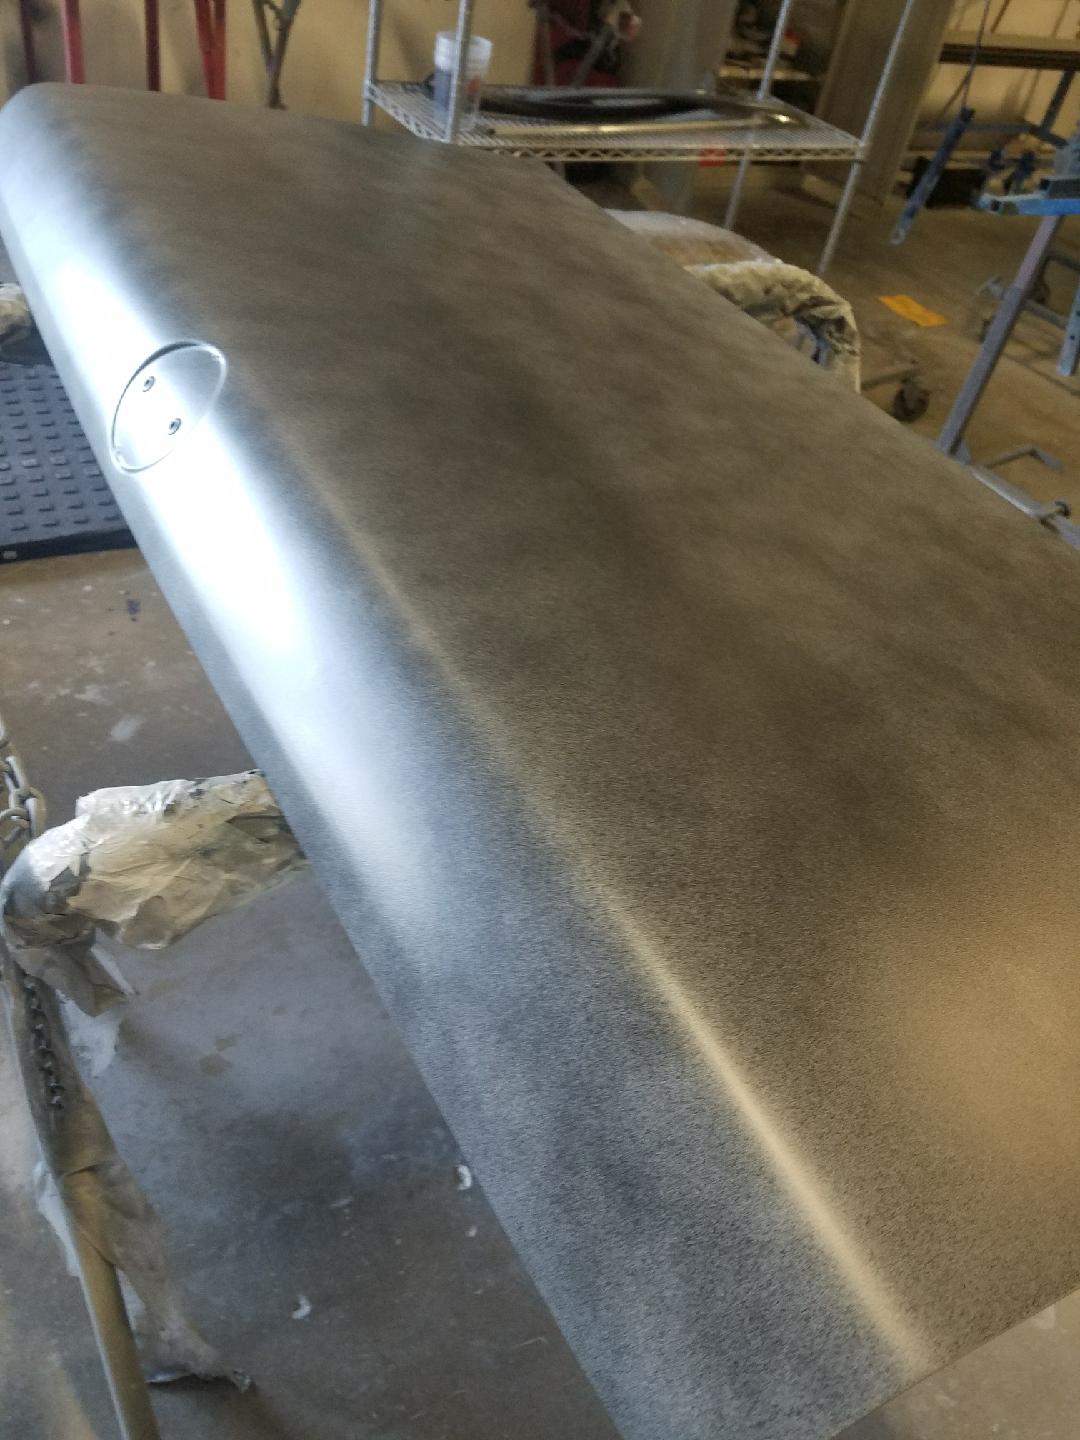
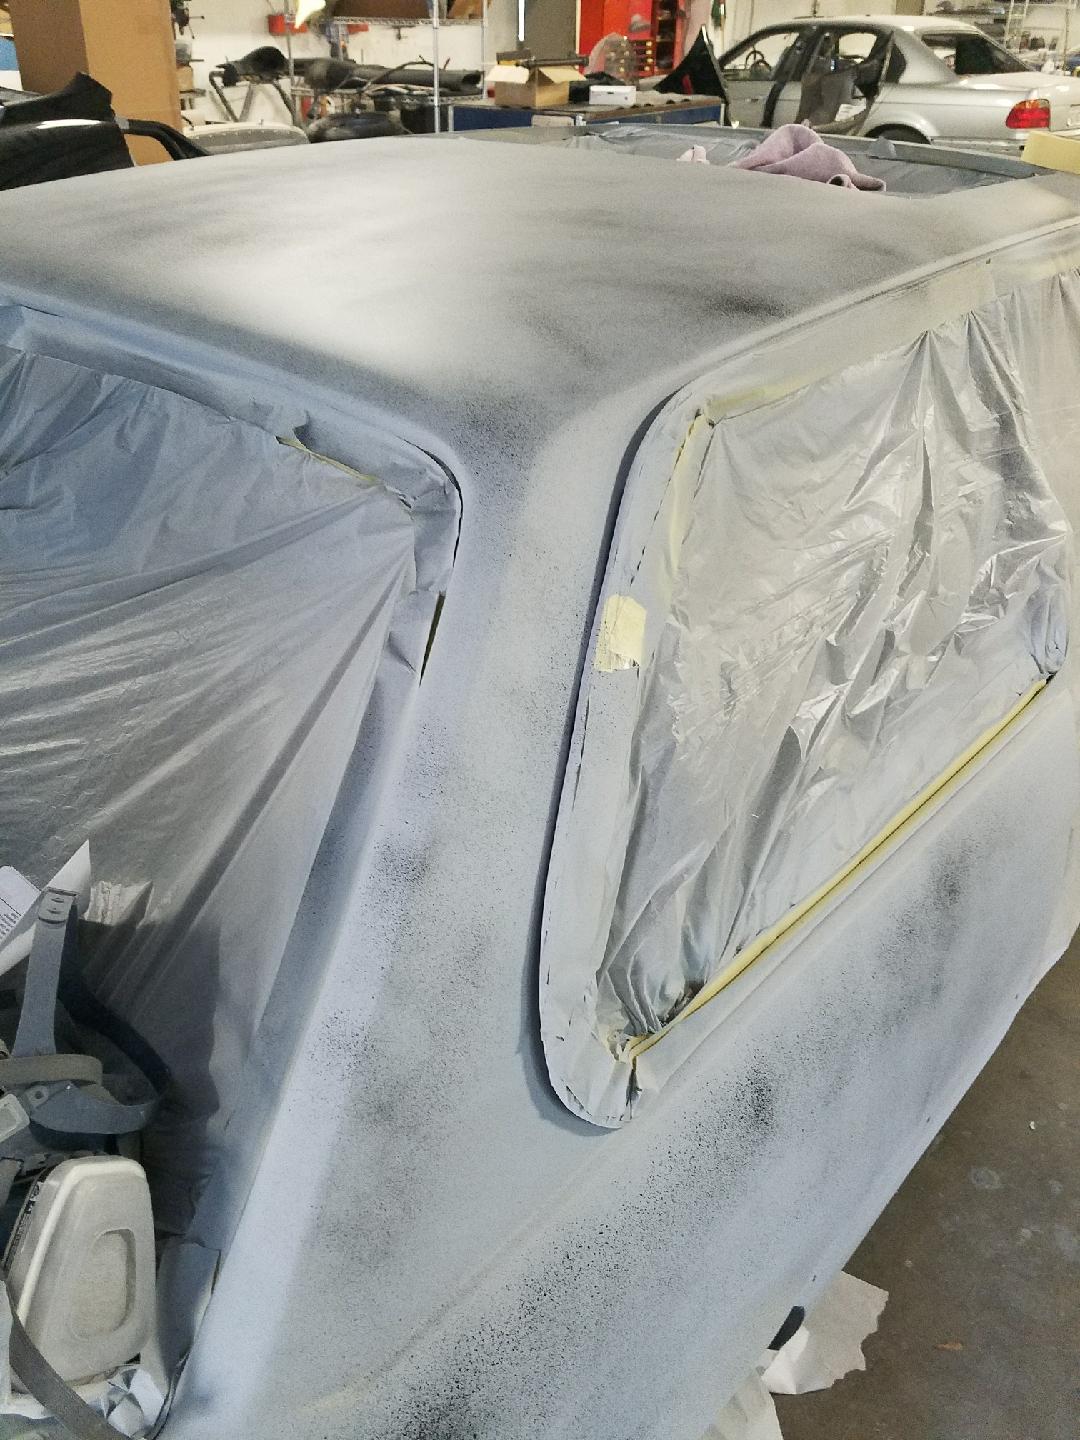
 And painted.
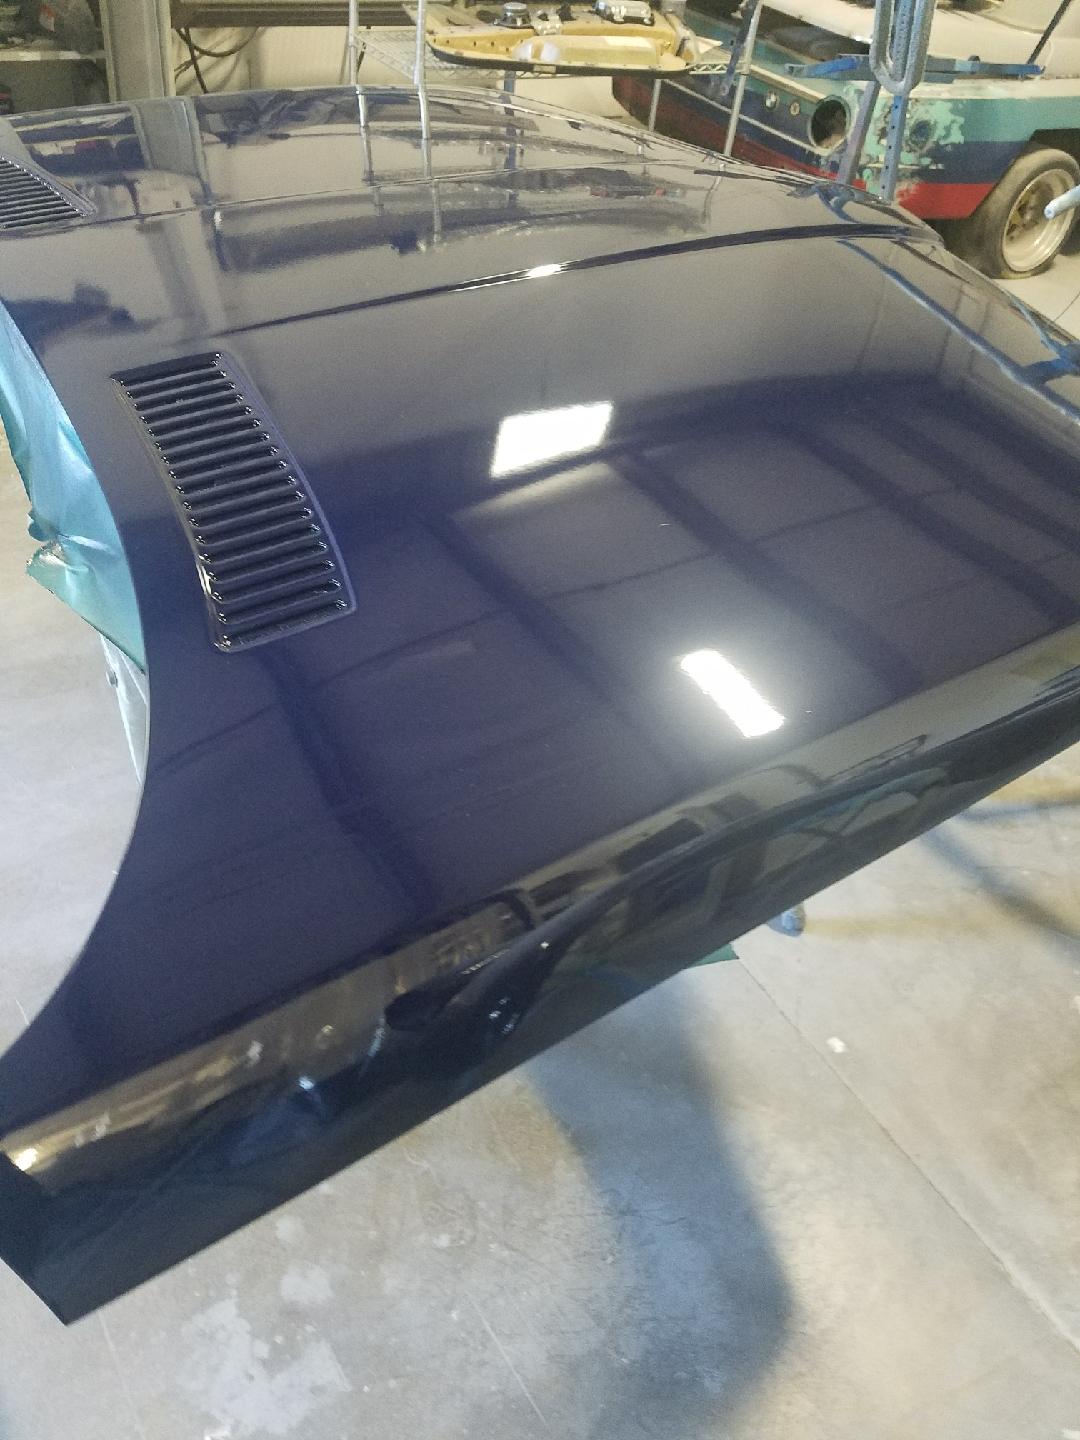 And then the whole body is stripped and prepped. And someday, painted.
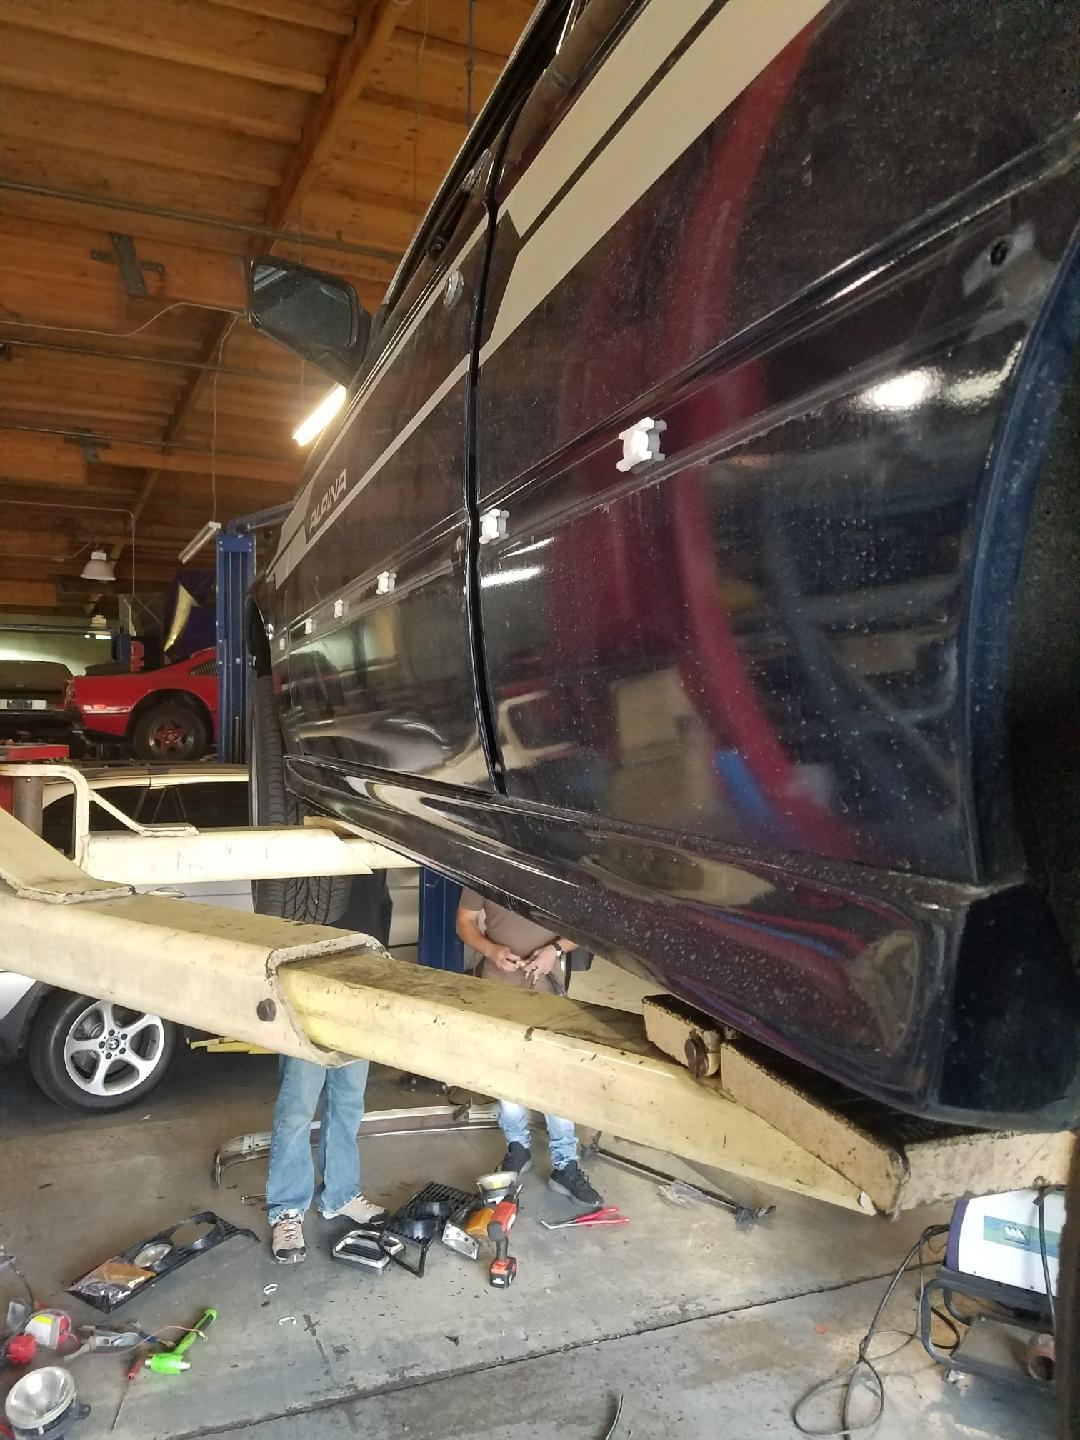
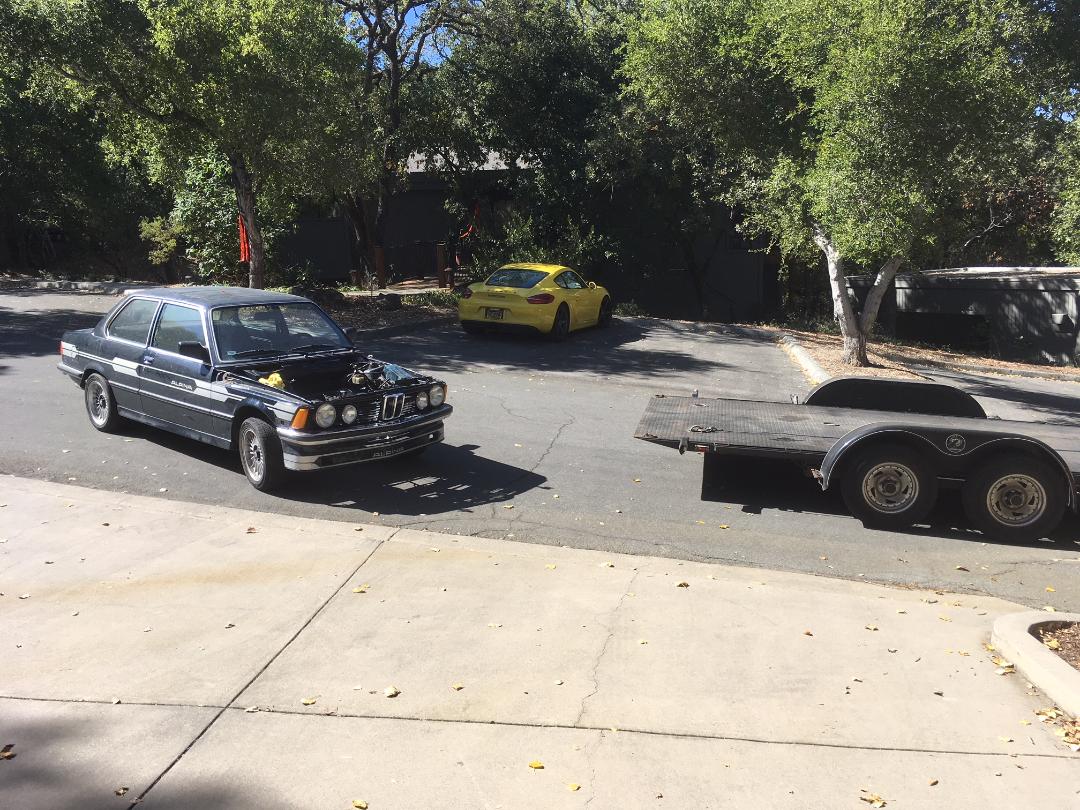
 While all this was going on, I began delivering parts to the machine shop. The guy I’m using specializes in 4 and 6-cylinder air-cooled Porsche motors, but he is the shop used by one of the local vintage BMW specialty shops. I loaded much of the parts in my Porsche and brought both the forged M20 turbo-diesel crank and a bin of many other parts (custom pistons, clutch, forged rods, etc.), and the Schrick camshaft.
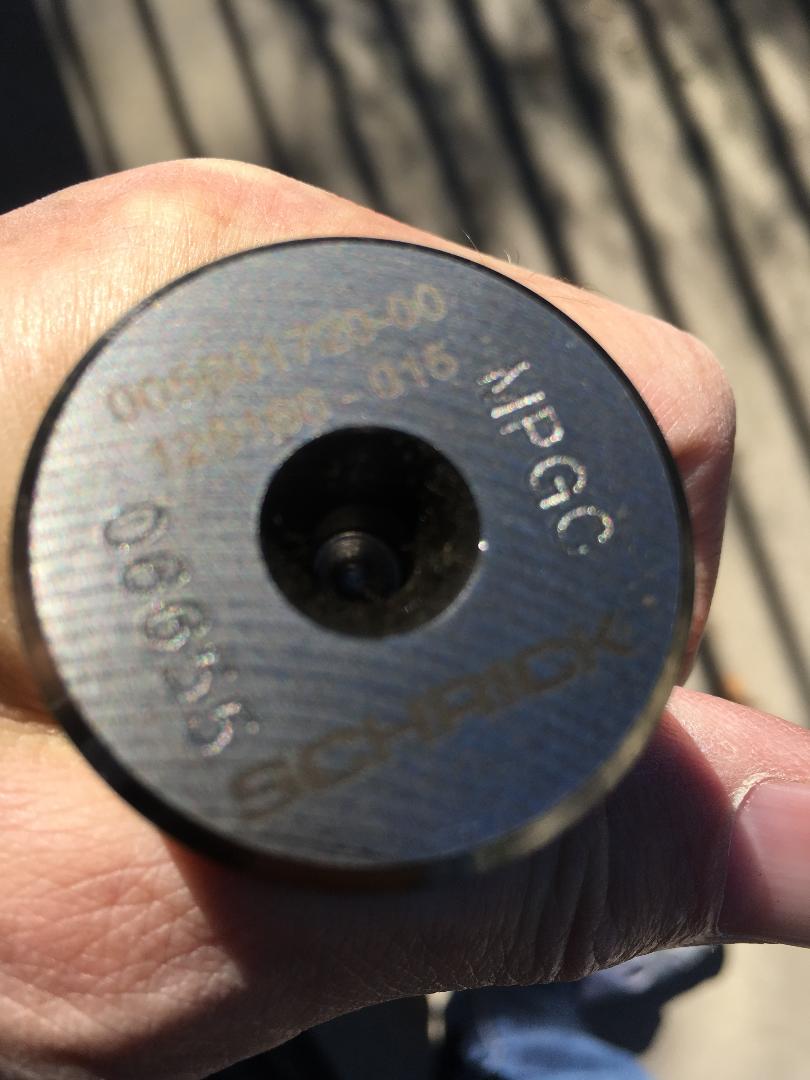 The block and head are already there, as is the intake manifold, which needs to be bored to match the bigger ports in the 325i “885” head.
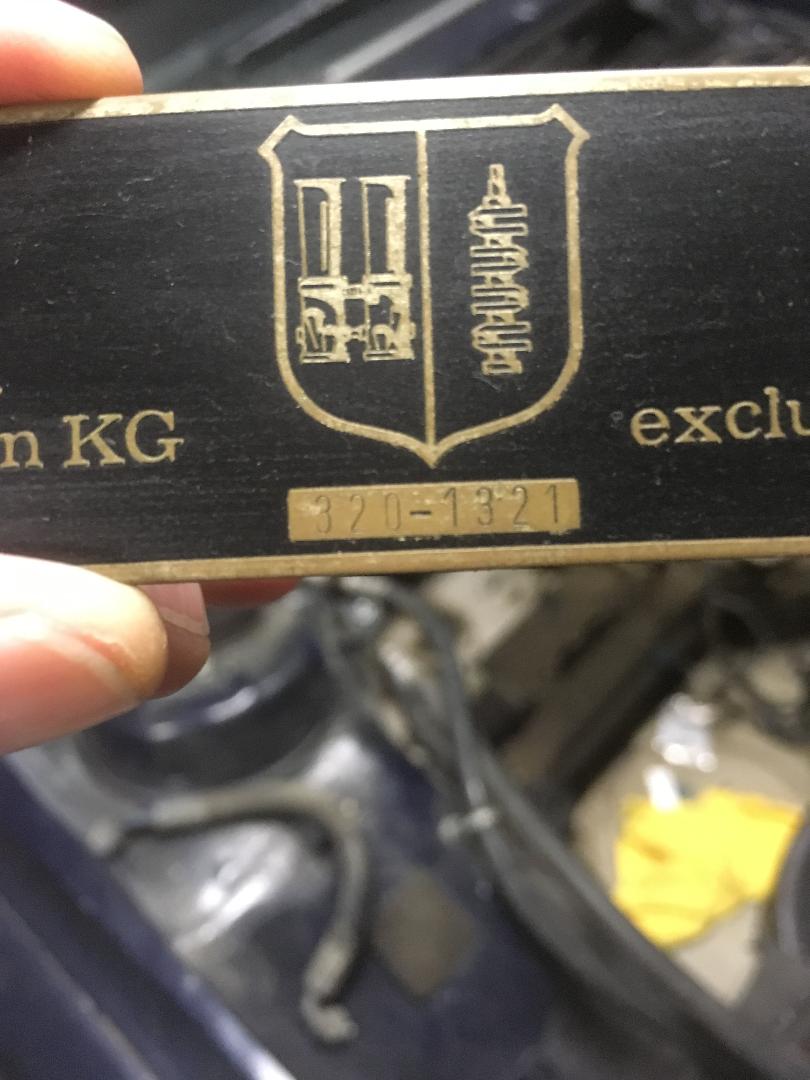
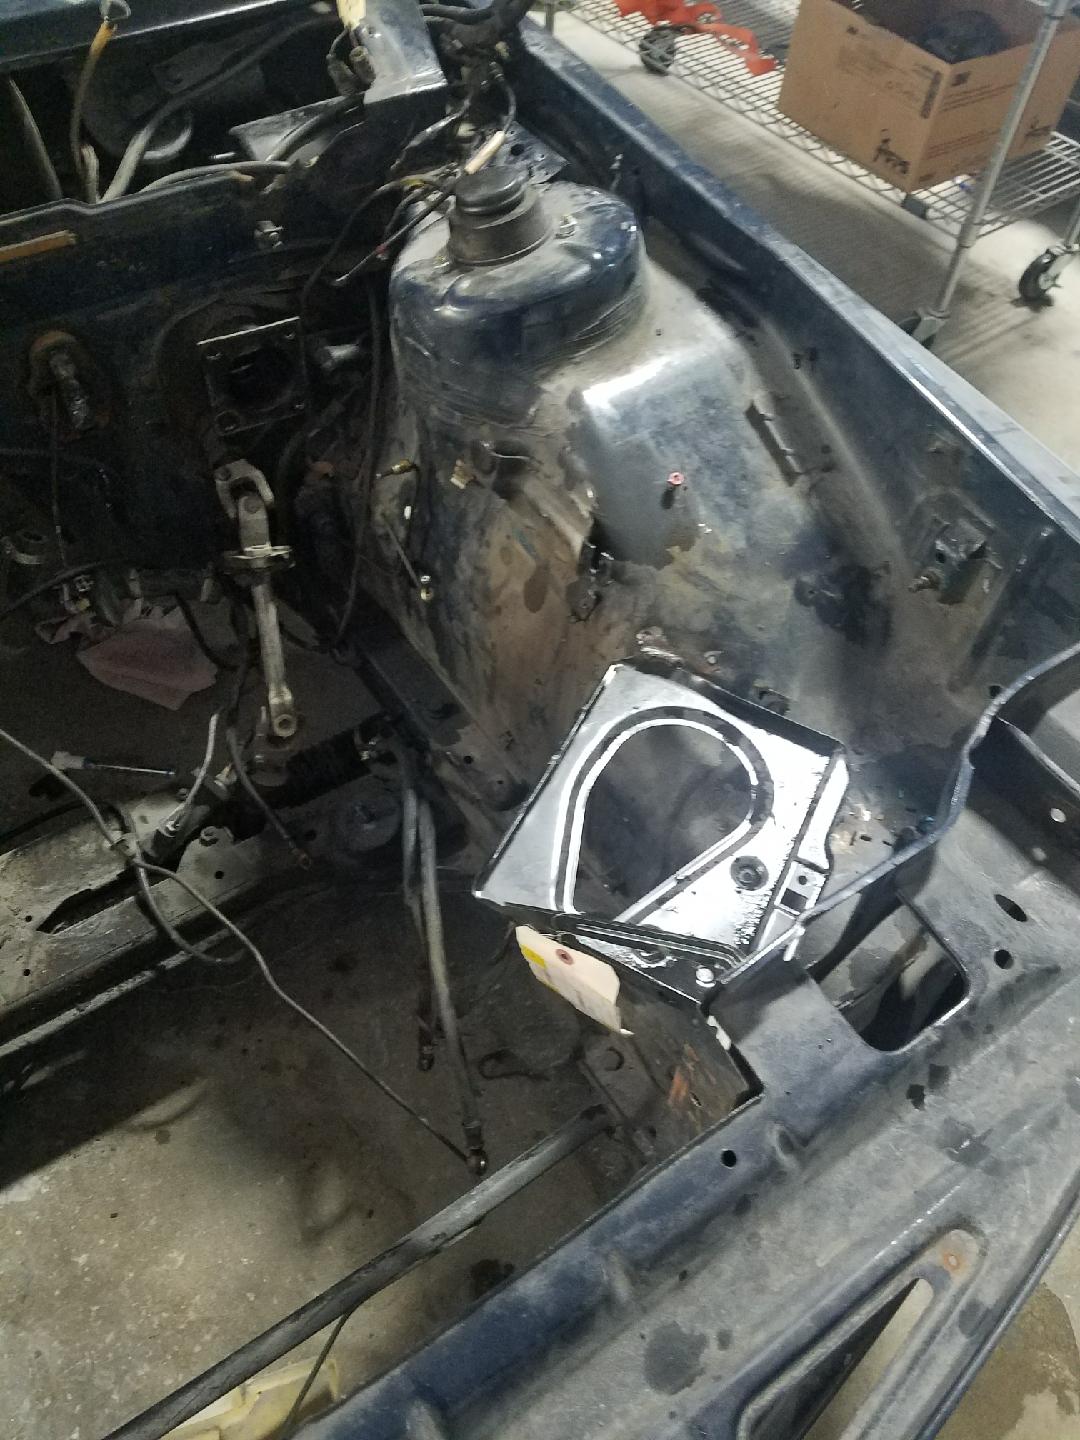
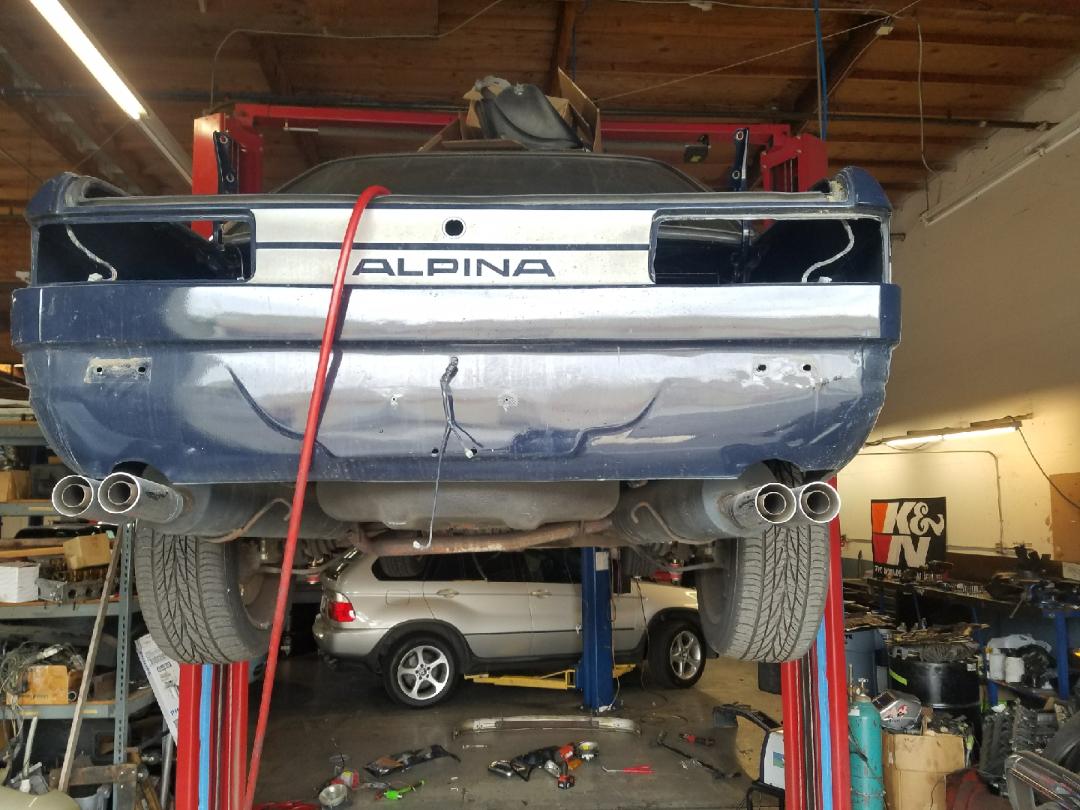
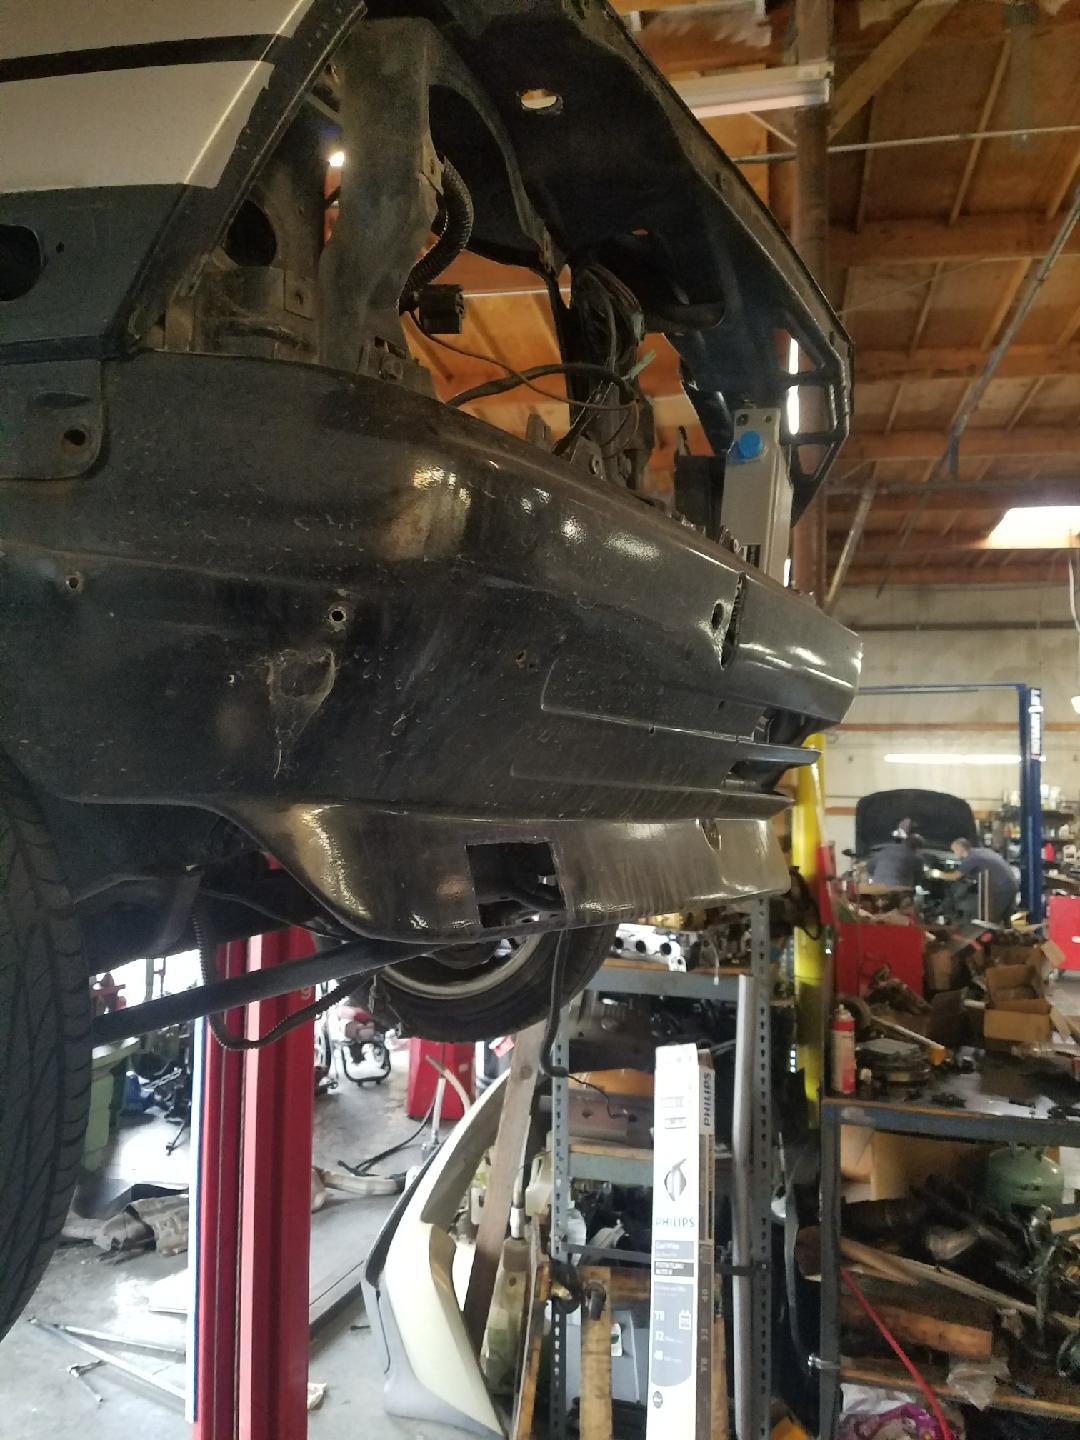
 And there were a lot of things I wanted to do to the car; one was take the battery out of the trunk and put it back in the engine compartment where it belongs. Sometime ago, by some owner a while back, the battery was moved to the trunk and the battery tray removed from the engine compartment. If the car wasn’t an Alpina, and just a nicely modded vintage BMW, I’d probably want the battery back in the truck. But, given my philosophy with this project, I wanted to keep it’s appearance stock. And the engine compartment needed some other work: wiring was messed up, the compartment was dirty and had a bunch of things added (like a now inoperable cruise-control), and there were several little holes drilled for various little things. And the car had air conditioning, which I don’t want (ironically, I removed much of it while reading Rob Siegel’s articles about installing a/c in his 635csi). These little things were too much for me and I needed a professional to weld up the little holes, replace the battery tray, etc. So, while it’s at the body shop getting that done…..
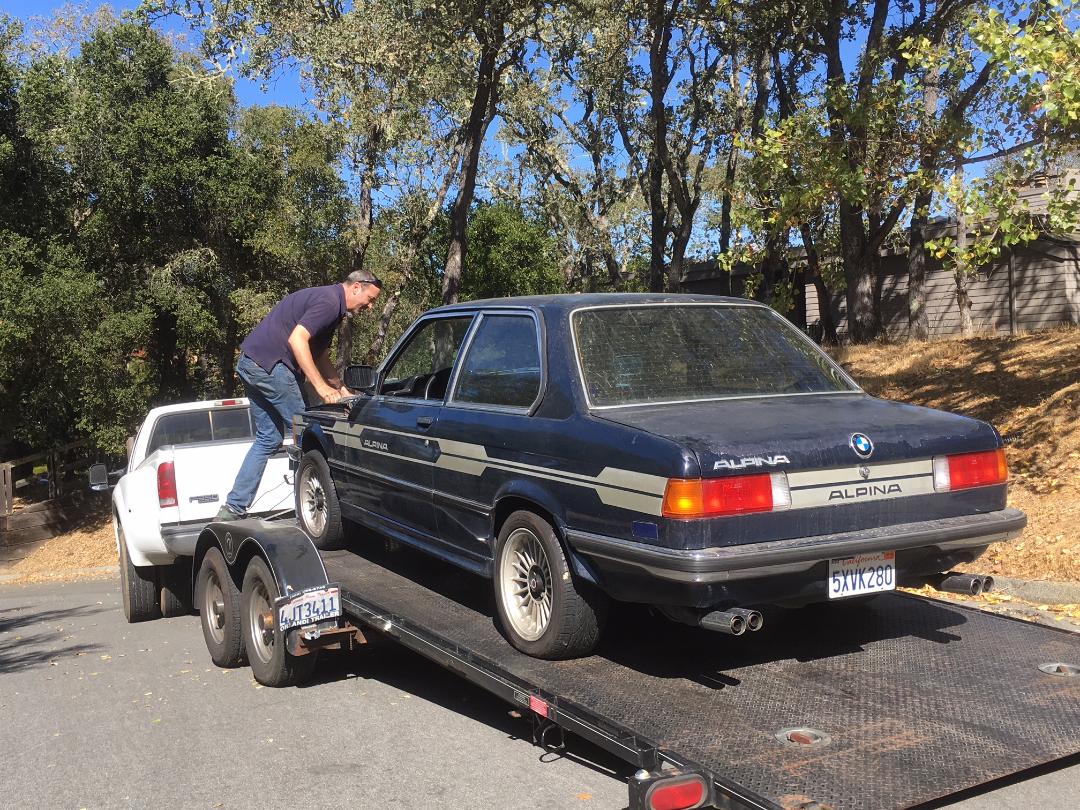
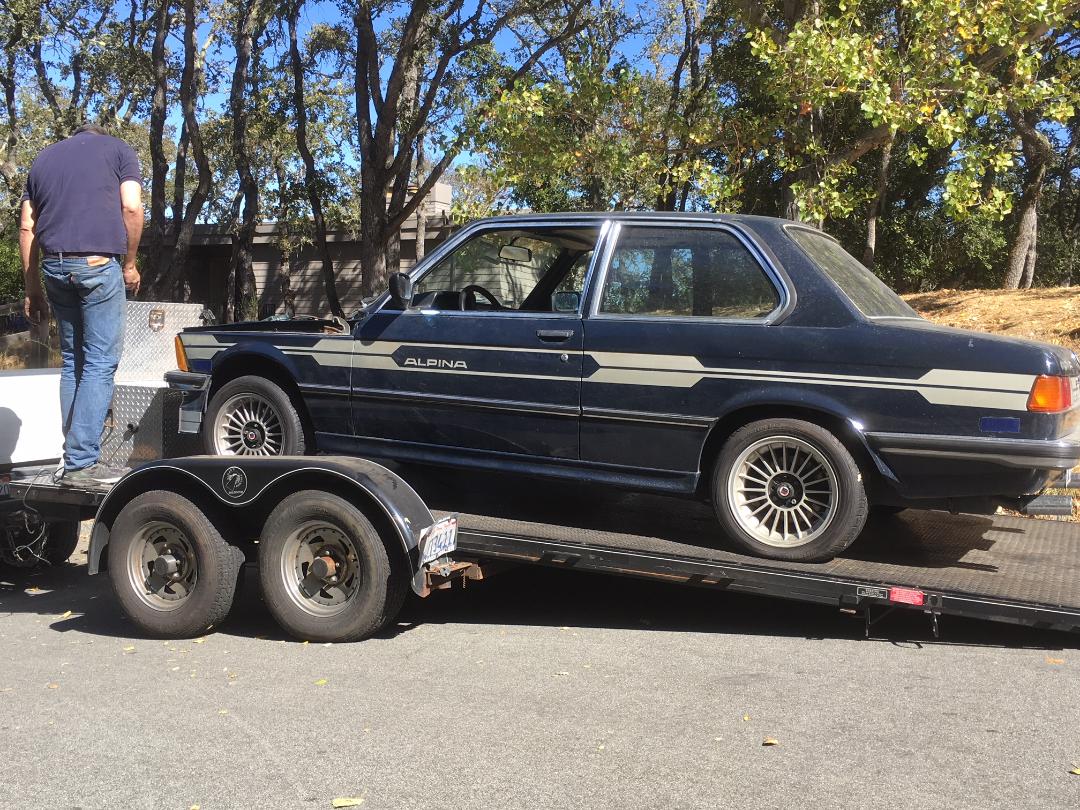
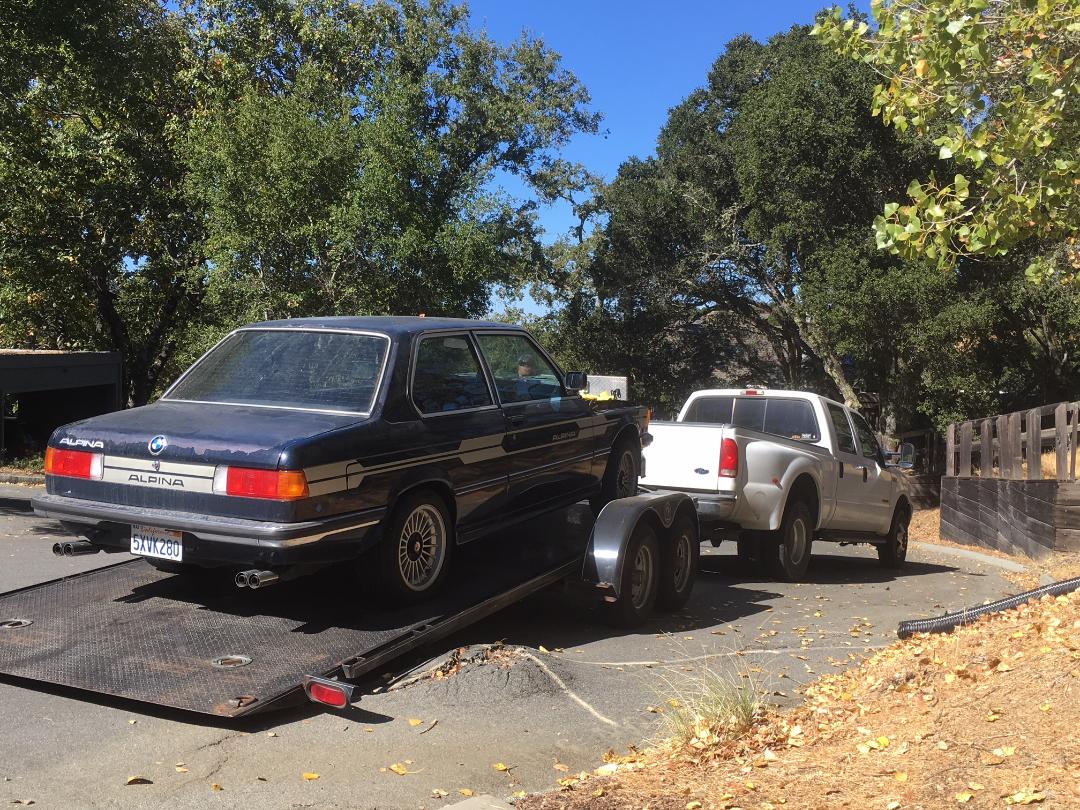
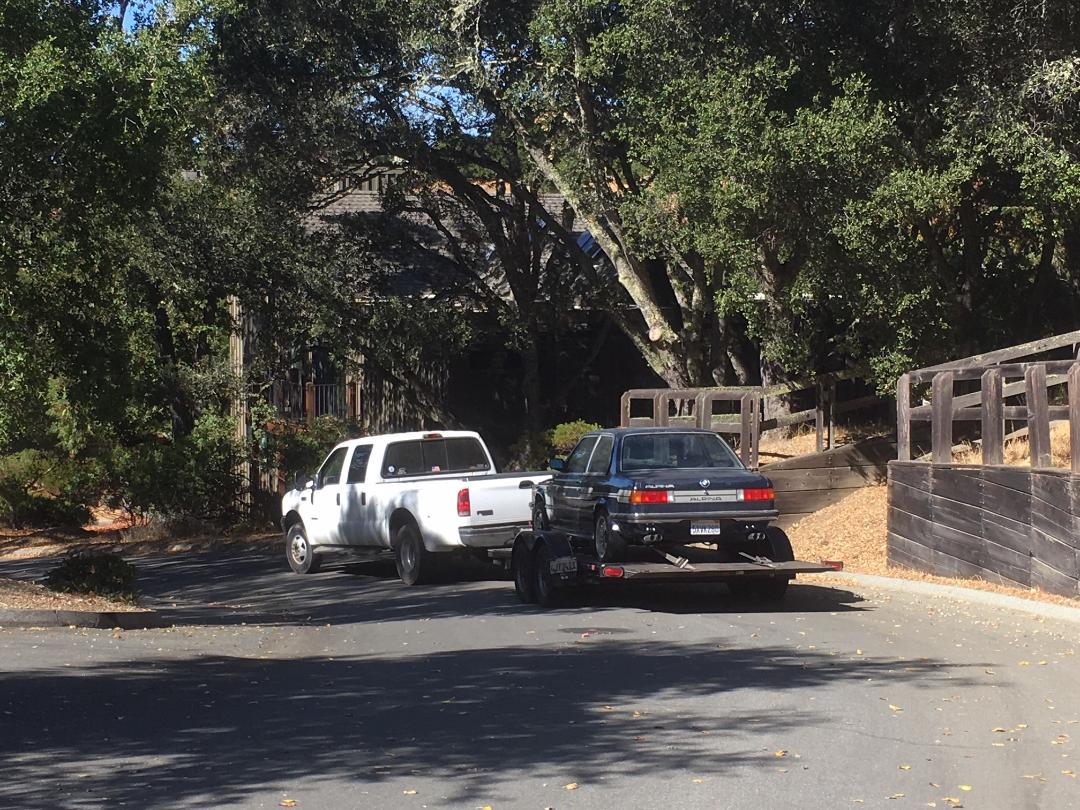 Suddenly I had an empty parking spot in my garage and Stu and his crew had a rough 1982 shell in the shop. Windshield out revealed a bunch of rust in the bottom corner, under the gasket.
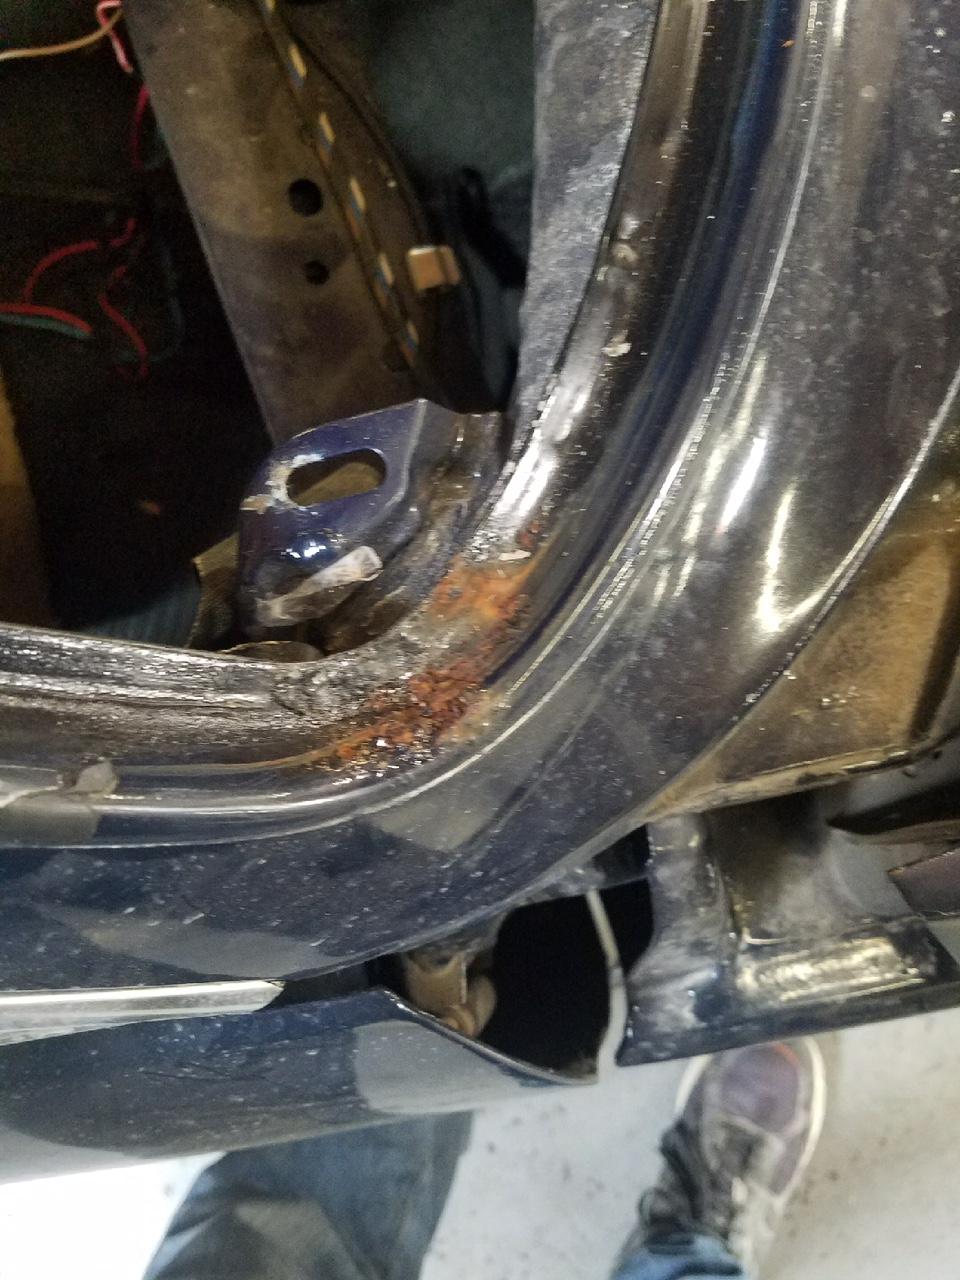 Dashboard removal revealed a banged-up heater control panel and JB Weld holding parts of the dash together. Stu already sent the dash off to Justdashes.com, where it will be returned to prior glory (I tried to find a good used, crack-free dash – but no such luck).
 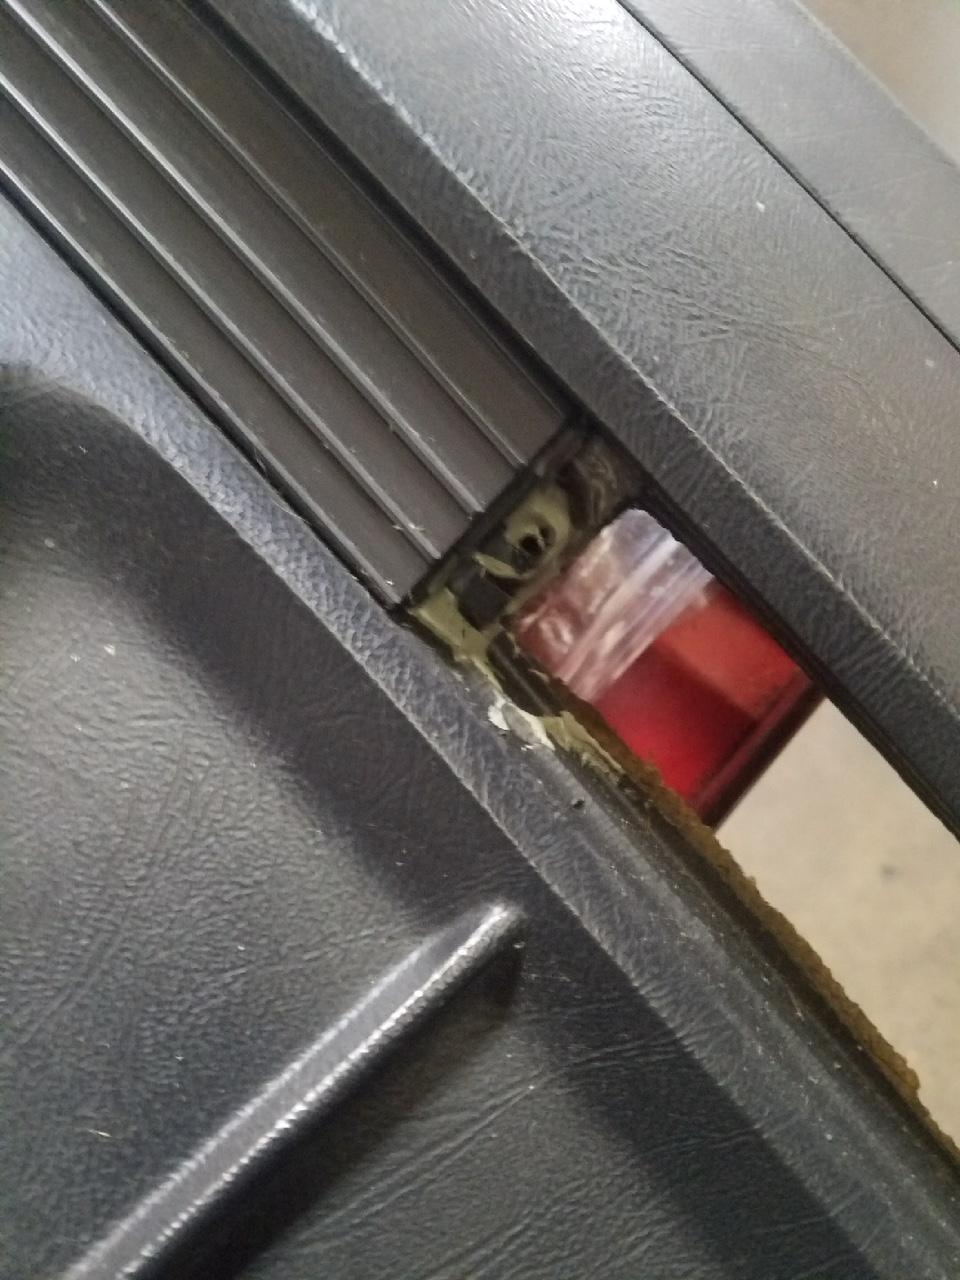 The gauge cluster, which looked fine installed in the car, once removed, looked like it bobbed across the ocean on the way over from Germany.
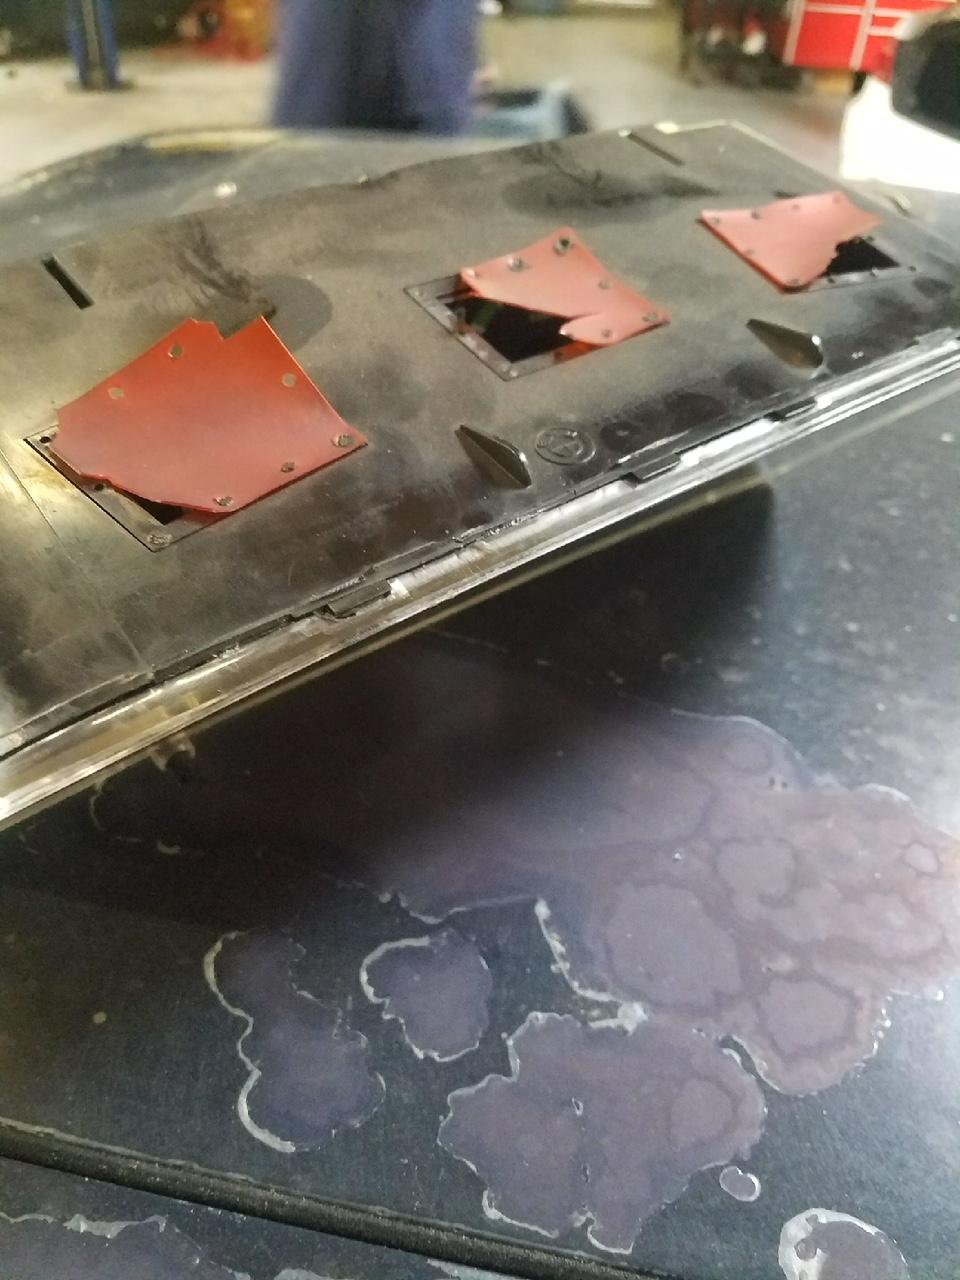 Each day, it seems, brings a new revelation.