Little by Little
May 3, 2021
A lot has happened since the last post in early December. At the same time, it feels like the project bounced around with little coming to completion. During the hour and a half drive up to Sacramento I’d often review the progress in my mind and wonder if it was time for a new post. But there was no arc to a story; plenty was being done, progress was (slowly) being made. But none of the things I’d been working on were completed—the stories had beginnings, some had middles, but no end. And that, I realized, is the story.
Ok, that’s not completely true. There have been a few things that have been completed. The transmission is in and the rest of the drivetrain buttoned up. Some pesky rust was found on the frame rail, ground out and plates welded in to cover the holes and ensure structural integrity. Yet much of the car—the fuel injection, the cooling system, the interior—is still a work in progress, and progress has been slow. And, little by little, it keeps moving forward.
The reoccurring theme with the car, at least in this drive-up-to-Sacramento phase, has been the trying to put together a car that someone else took apart years ago. The transmission exemplifies it: After the motor was dropped in, the transmission was put in—we put the car up high on the lift and lifted in the transmission by hand and stabbed it in the clutch. Once bolted in we realized that we had the wrong rear support bracket (it was from a 5-series) but the transmission was hanging there unsupported; we needed something to hold it up while sourcing the right part. I flipped over the 5-series bracket, which caught a corner of the transmission, barely holding it in place until we got the right part. That took a few weeks: the bracket was NLA and when I found a used one it took awhile to get shipped to my home; it was in the car on my next trip up to the shop.
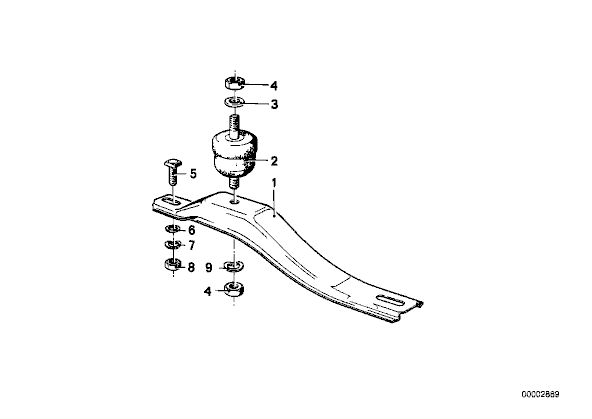
The NLA bracket
But eventually, the right support bracket was sourced and in the car, followed by a guibo and the shift linkage, clutch slave and a whole bunch of little things, resulting in a completed drivetrain. That was the good news from under the car.
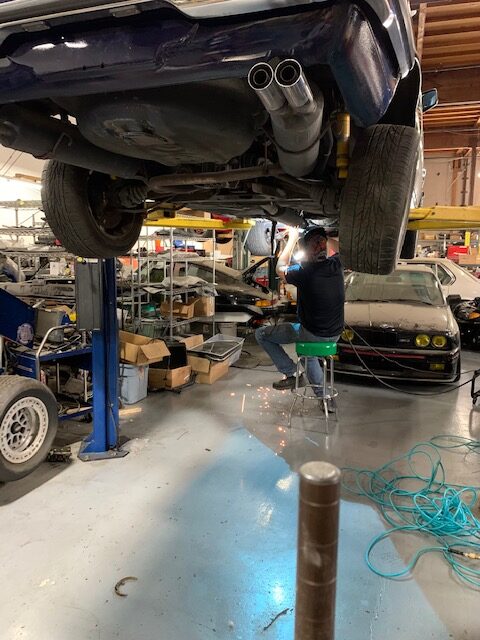
The bad news was I noticed bubbling on driver’s side frame rail. I poked it and it was crumbly, a sure sign it was rust. A couple of hours with the Dremel tool and I had 3 holes in the frame rail ranging in size from a dime to a quarter or maybe even a half-dollar. After grinding out all the rust, the metal was treated. We cut some plates from steel sheet metal and Stu welded them in over the holes. I ground down the welds and primed it.
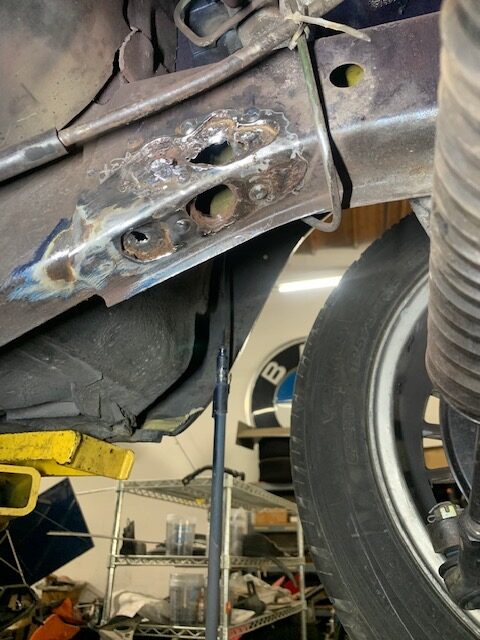
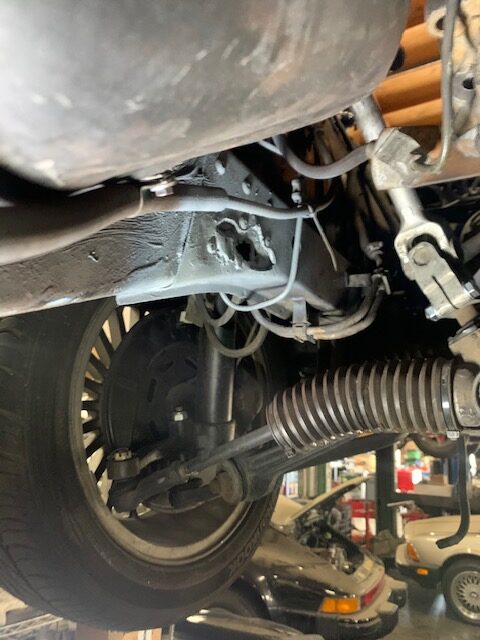
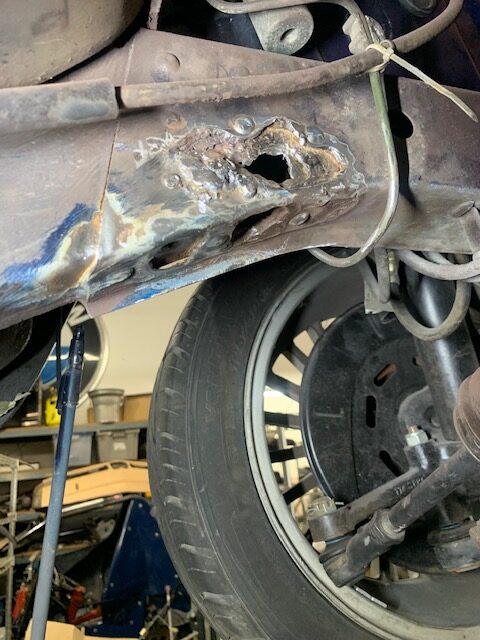
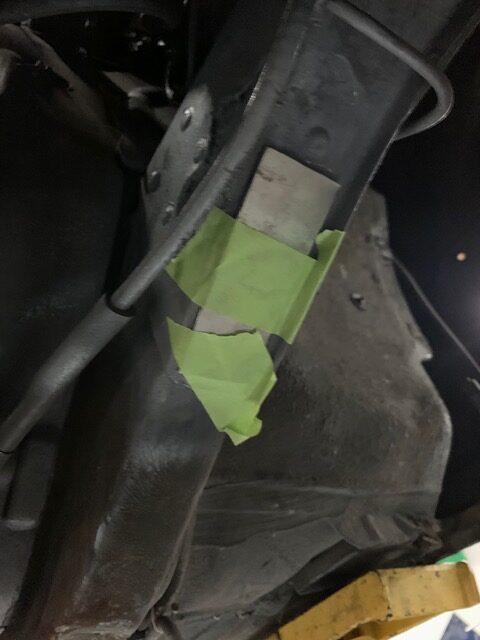
The plates being held in by tape, ready to weld
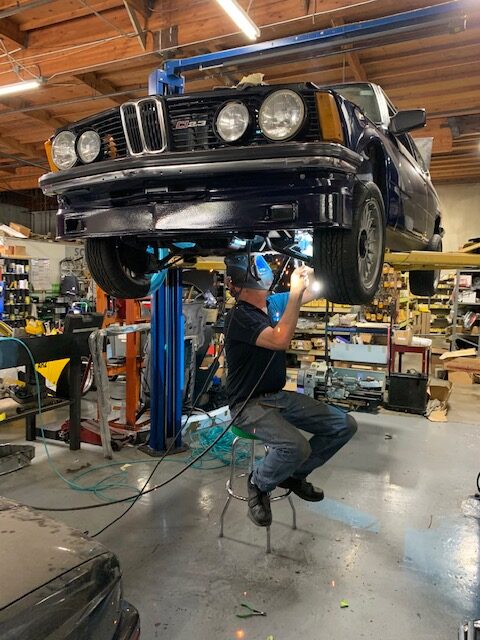
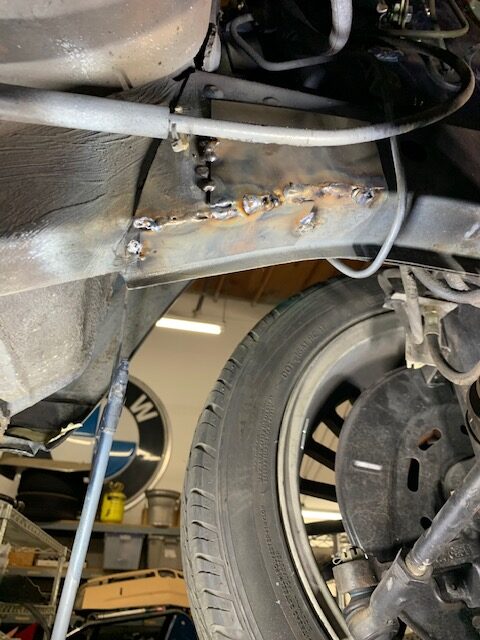
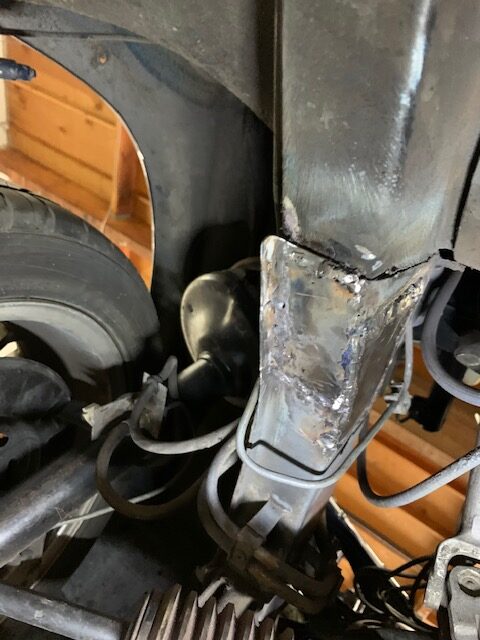
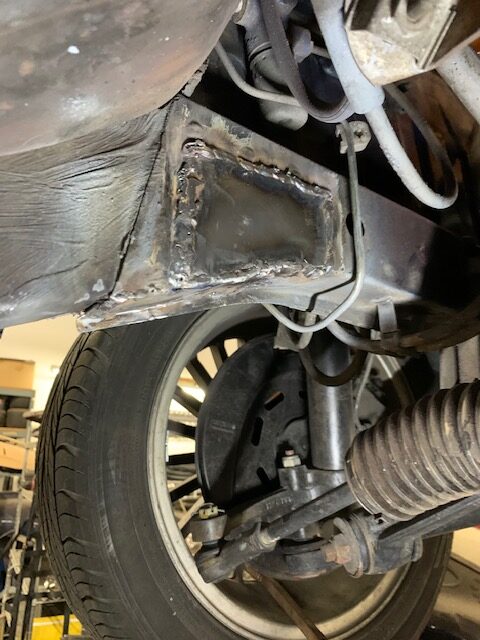
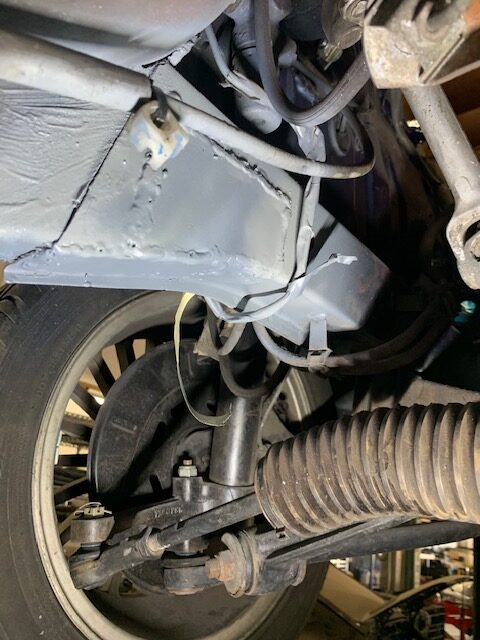
The welds ground down and the plates primed
Meanwhile, with the engine in, I started to populate it. First was the wiring, then the fuel injection. For the wiring, I asked a few folks on the FaceBook e21 page for pictures of the routing of the wiring; using those as guides, I laid out the wiring harness and connected the electrical components. That was relatively easy.
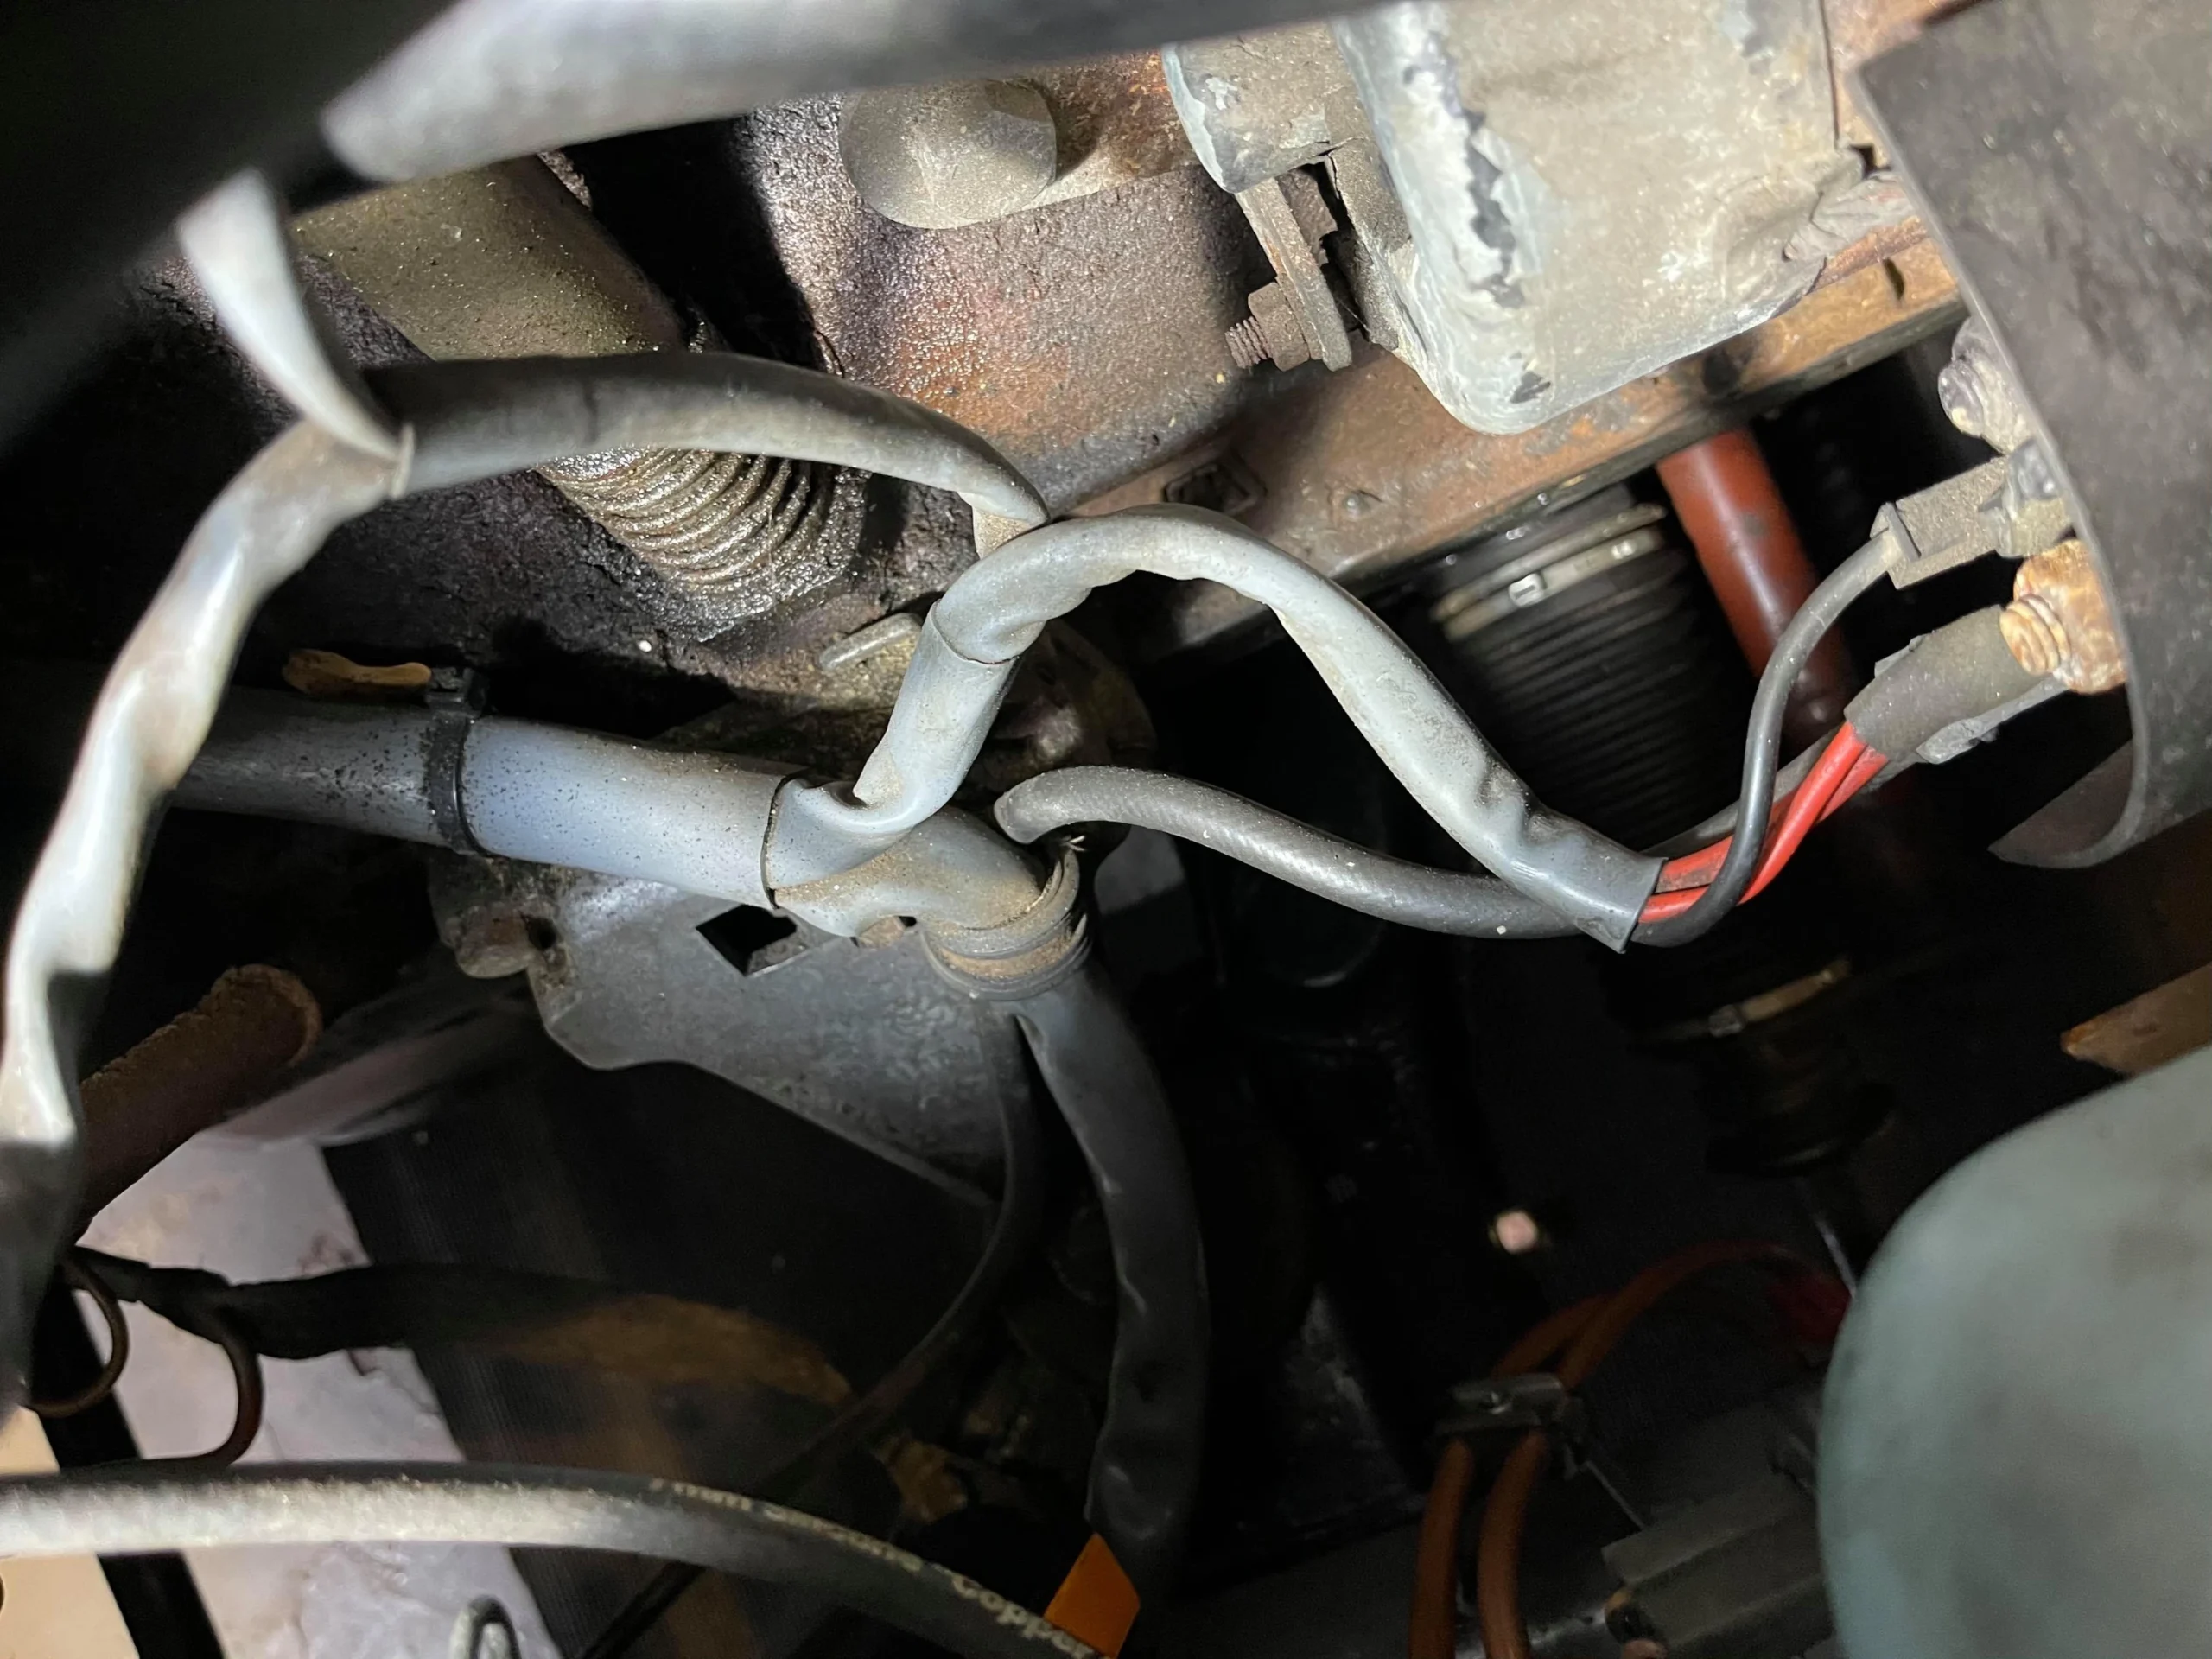
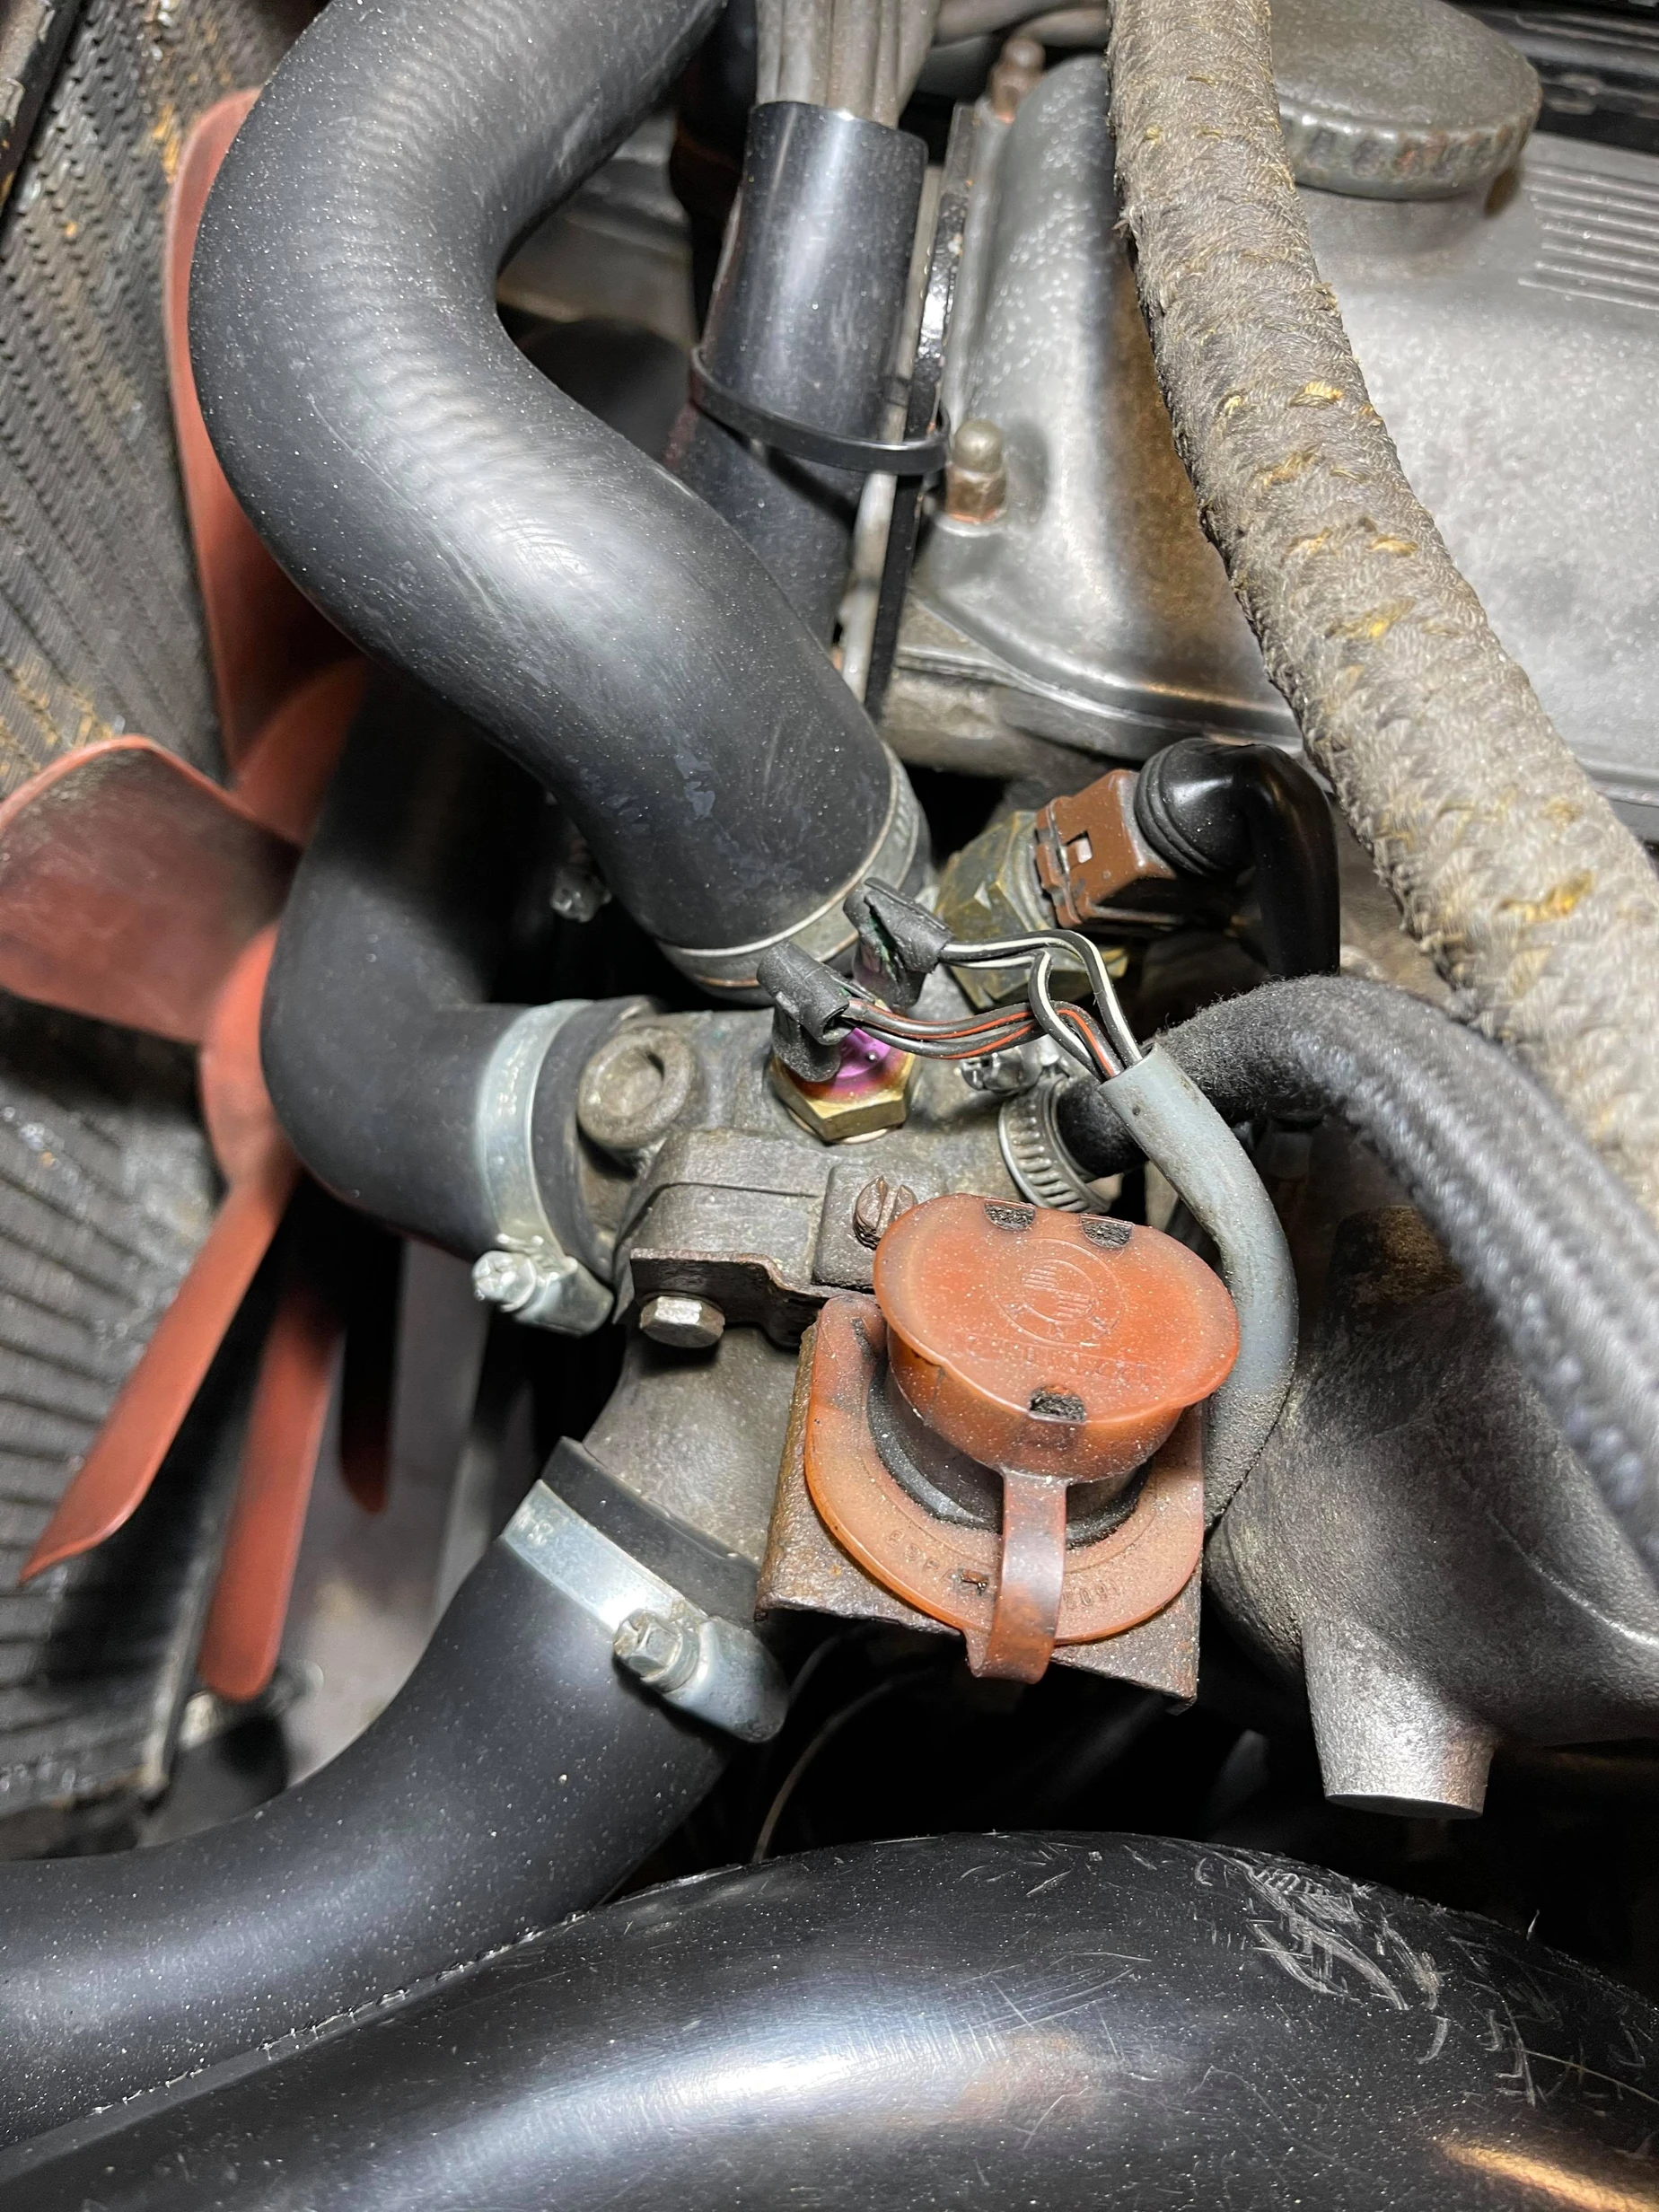
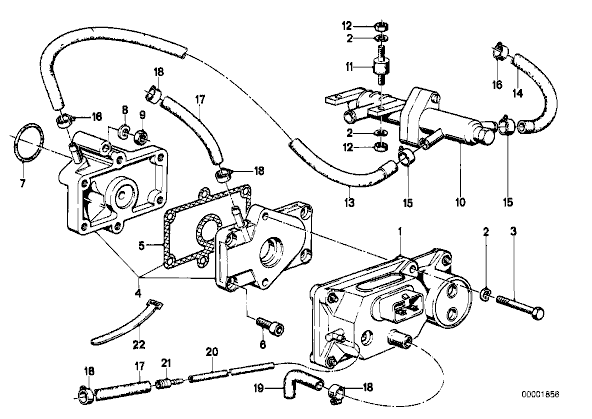
The fuel injection was more challenging. The basics of the Bosch K were easy enough but it wasn’t time for that yet. Figuring out the auxiliary air system was not so simple. I had too many parts and not enough space to fit it all. I consulted the parts pictures on Mobile Tradition website, which showed two different auxiliary air systems, one using electricity to heat it and another heated by the coolant. And I had parts for both. The parts catalog did not present it as an either-or situation and I spent a fair amount of time trying to figure out how the two systems worked together. I also wondered why would BMW have both systems in one car?
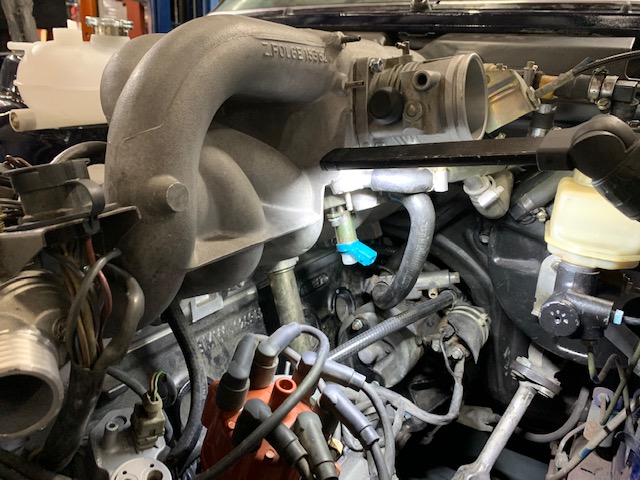
After consulting with other e21 323i owners, it became clear I was right to question both systems working in tandem; it was either-or and that my car used the coolant-based system when I tore it apart years ago. Later, I figured out that the second system was from the spare intake manifold I had. I could have used either but decided to stick with what the car came with, even though it was more complicated. (An interesting side-note: both systems used coolant as a warming agent on the intake system. The system I call coolant based system has coolant run under the fuel pressure regulator (in pic below) and then to the auxiliary air valve. The so-called electrical system uses an electronically warmed auxiliary air valve but runs coolant through the throttle body, I guess to warm the air as it goes into the intake manifold. Why they wanted to do that, I don’t know!)
The coolant based system
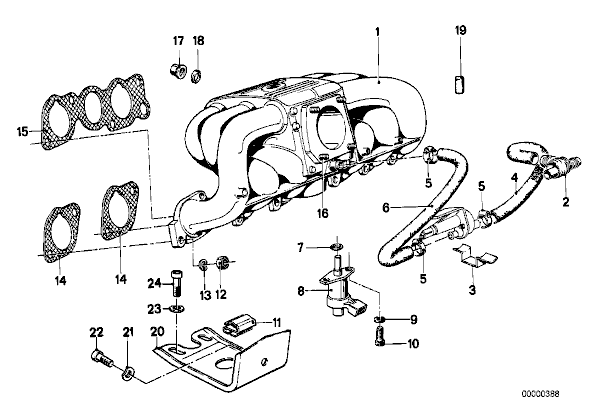
The electrical system
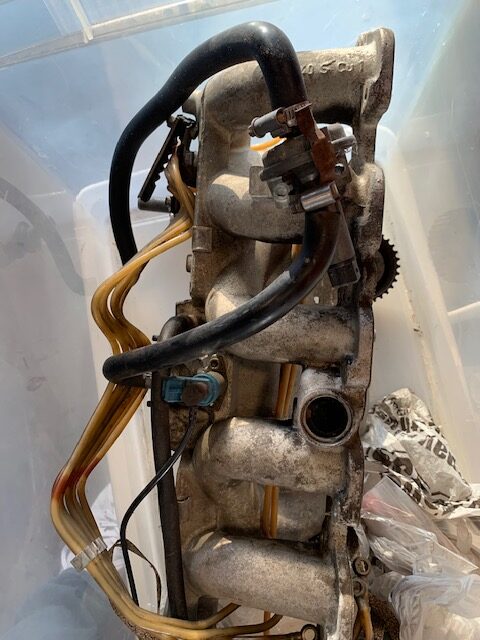
The extra intake manifold with the electric auxiliary air valve
Once I knew which system I wanted to use, I needed to figure out the routing of the hoses. With that done, it was simply a matter of attaching the hoses and bolting the actual valve to the underside of the manifold. Of course, I wanted to replace worn hoses—and was both easy and difficult. It’s easy to attach new hoses and to source standard sized ones that don’t have weird twist and turns in them. But some were special order parts, further delaying progress because the only way to get them was from Walloth and Nesch in Germany. For some inexplicable “reason” BMW has a schizophrenic policy on US vendors selling euro-only parts. Some euro-only parts can be sourced by US vendors without any drama, but for others you have to show a registration proving you own such a car—and sometimes after doing that BMW still won’t allow them to be sold here. When that happens, the parts have to be ordered from German suppliers or foreign eBay vendors. If I can’t find the parts on eBay, Walloth and Nesch is often the solution, but given their 49 euro shipping charge, I try to bundle parts into a single order, causing even more delays.
The auxiliary air system installed
Planning ahead—and bundling parts orders—has been a challenge for me, given my myopic approach of simply attacking what is in front of me. I’ve been trying to teach myself to think ahead and, in that vein, I realized I’d need to put in the headers soon. The car had came with SuperSprint headers but they were old and rusty.
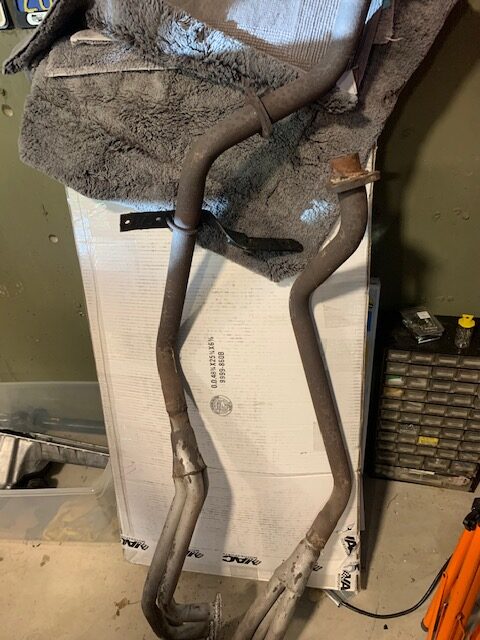
Old rusty headers
So, I took them to a header shop and had them welded up and ceramic coated. They look great now. It was nice, too, to do this in advance of actually needing them and not delaying the project while they were getting restored. Score one for the home team!
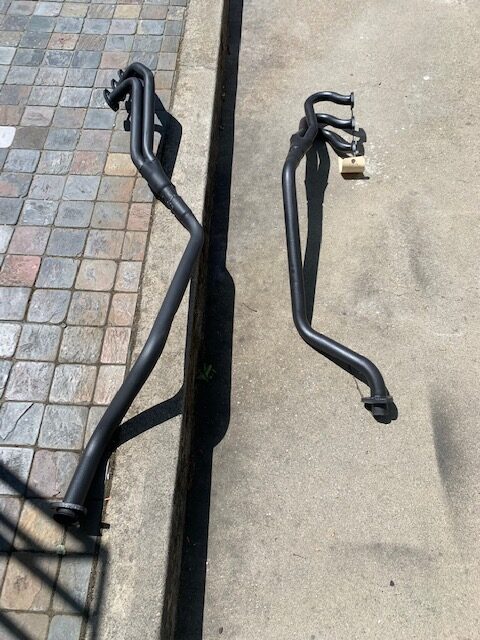
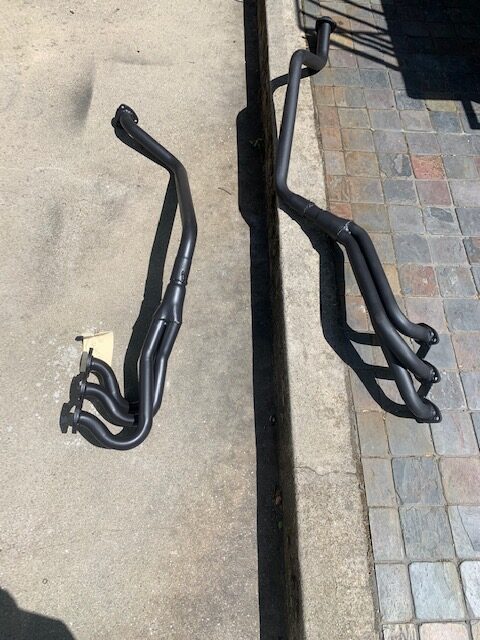
Restored headers
A bunch of little tasks have been completed, too. For example, the door panels are back on, with the handles, cranks, and arm rests (which were found in the strangest places in the shop). A new radiator and coolant overflow were ordered from Walloth and Nesch; including the 49 euro shipping, they were over $100 cheaper than a US vendor, believe it or not!
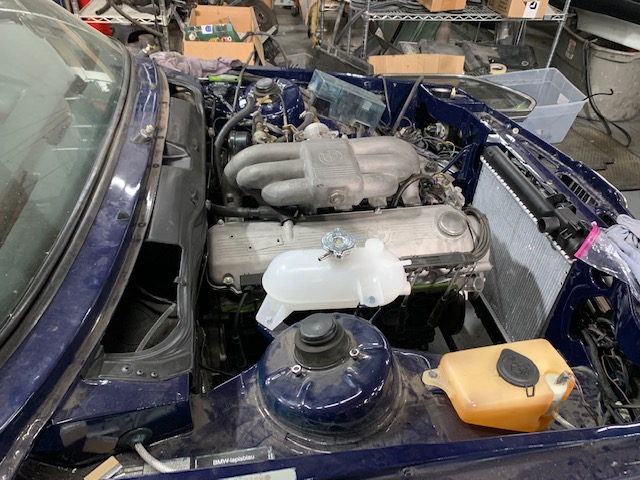
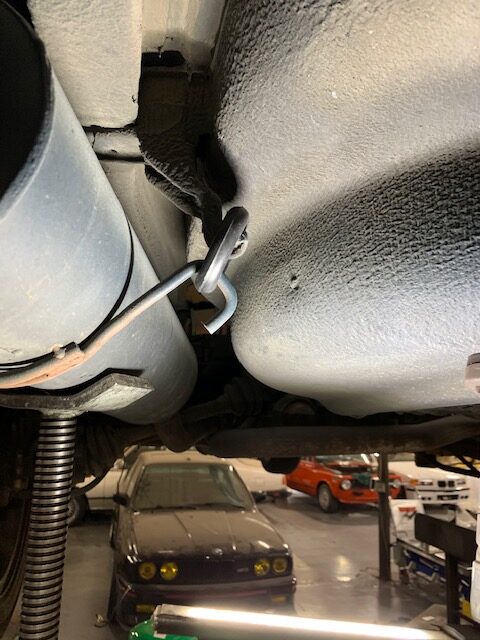
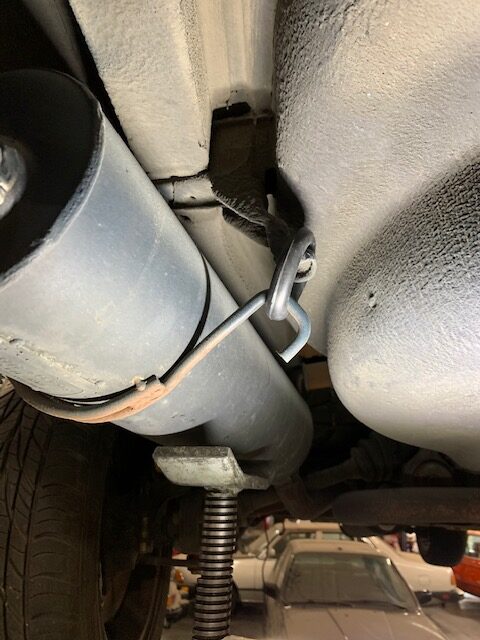
The exhaust was just hanging there, without the “doughnut” supports.
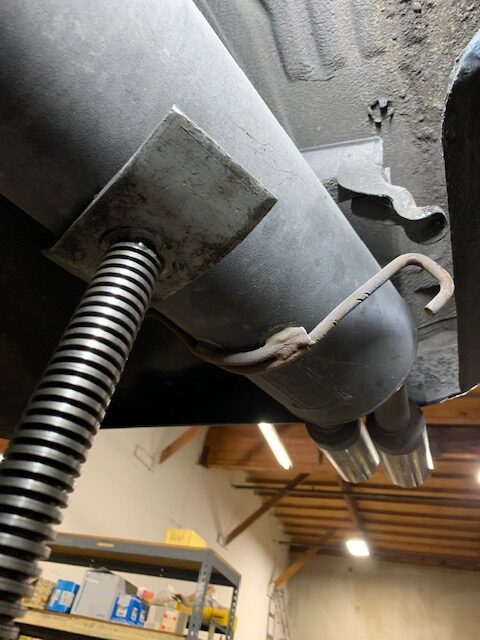
Five minutes later (after a week of waiting for the part), it was done. Were it was all that easy!
We all knew that eventually the fuel injection would be installed on the engine and that day finally came. Because of the modifications to the motor, the stock fuel injection wasn’t going to keep up with the fuel demands of the mild cam increase and significant extra displacement. So I Frankensteined together a bunch of Bosch K parts that Porsche used on the 2.7 liter euro 911S; that motor put out about 210 horsepower, so it flowed enough fuel for my motor. I also arrived at these parts in consultation with another C1 2.3 owner who built a similar motor.
Because the parts were Frankensteined together, I did a test fit (which I didn’t quiet finish yet). But first I had to clean up the remaining parts that I was using. The air box got cleaned and painted. The support base that connects the air flow sensor to the air box went into the media blaster to get cleaned up too.
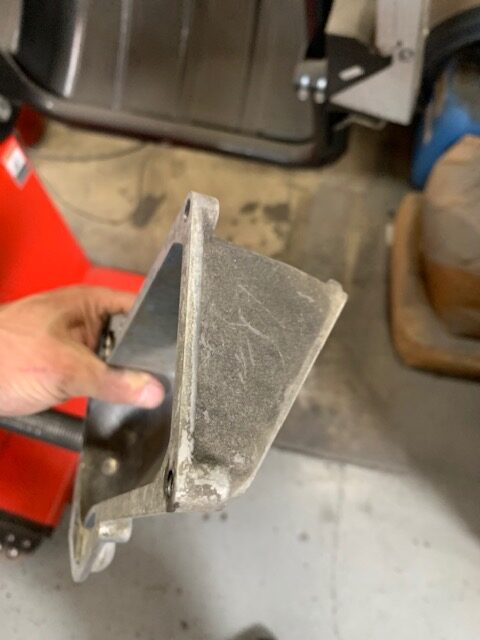
The support bracket before getting blasted.
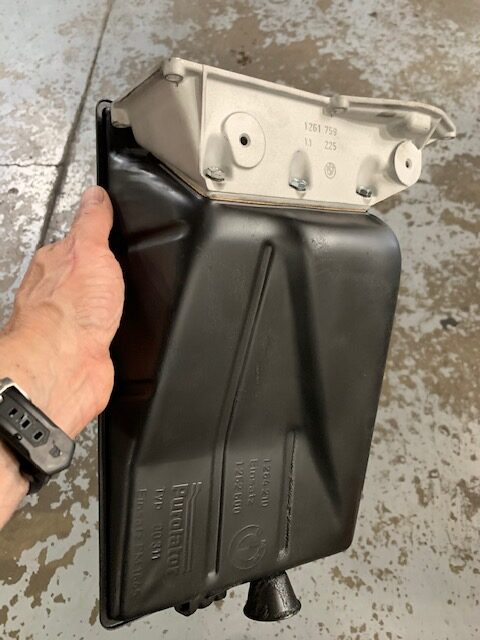
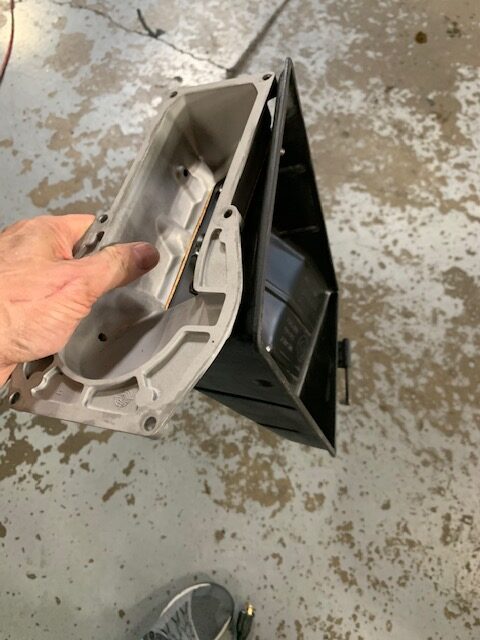
The support bracket cleaned and on half of the air box
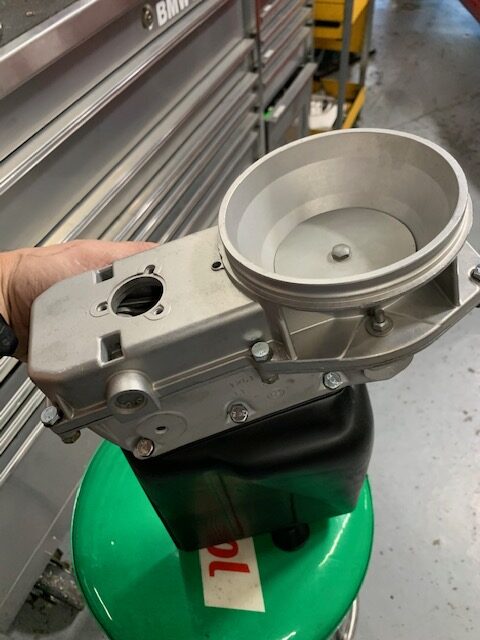
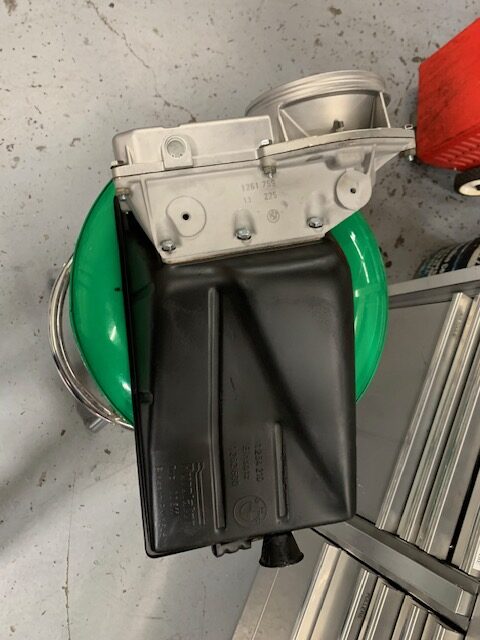
Bolting the air flow sensor on was straight-forward
Before going further, those components needed to be test-fitted. I also needed to figure out what other parts were necessary to install the fuel injection. A couple more things were ordered and the car put away until they arrive.
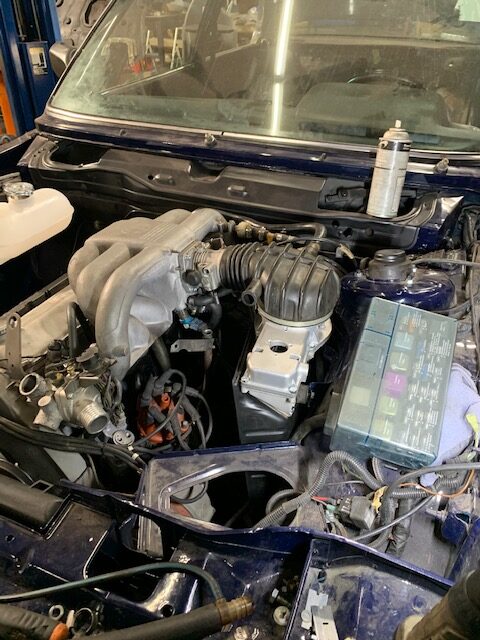
Fuel injection test fit
After every session, the car has to be raised up and a very, very dusty e30 M3 is tucked in underneath. Good company!
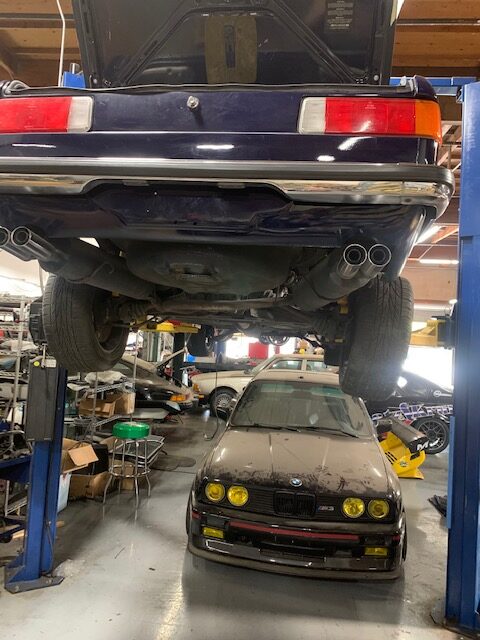
Alas, the list of things to be done is still long: finish the fuel injection, figure out how to wire in the coil, install the headers, finish the headliner, install the sunroof, populate the dash (gauges, heater controls, etc.) that was disassembled when it was sent to Just Dashes to repair the cracks. Once that is done, it can be fired up and see if the damn thing even runs. Feels like that is months away. My goal was to drive the car to Monterey this August for car week. It feels like that is slipping further and further into the unlikely category….
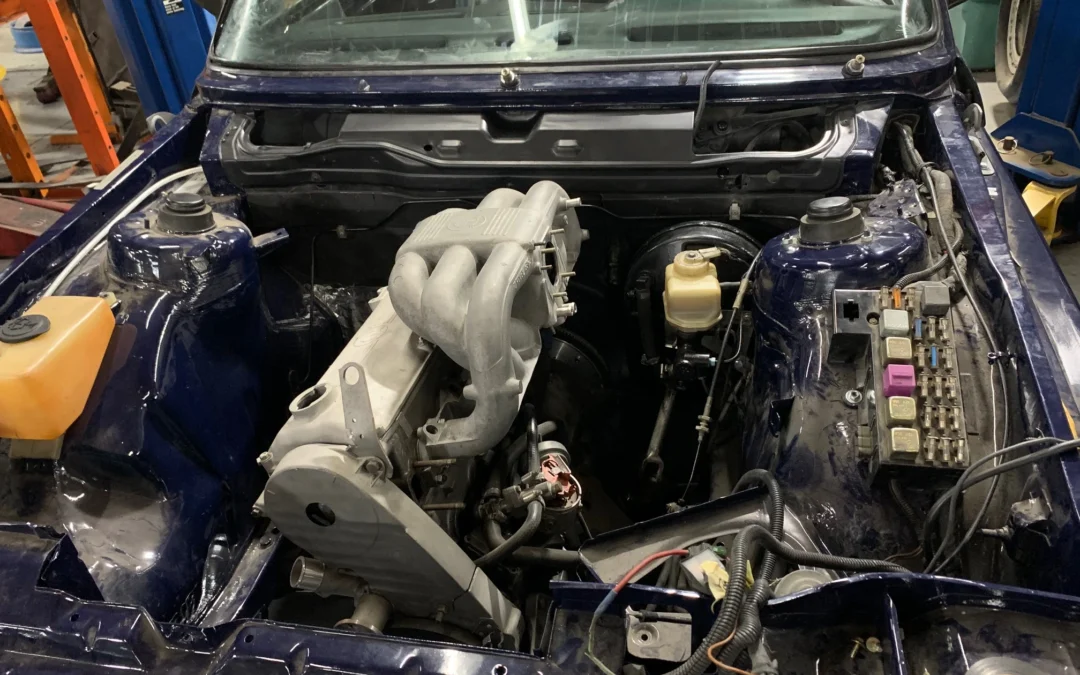
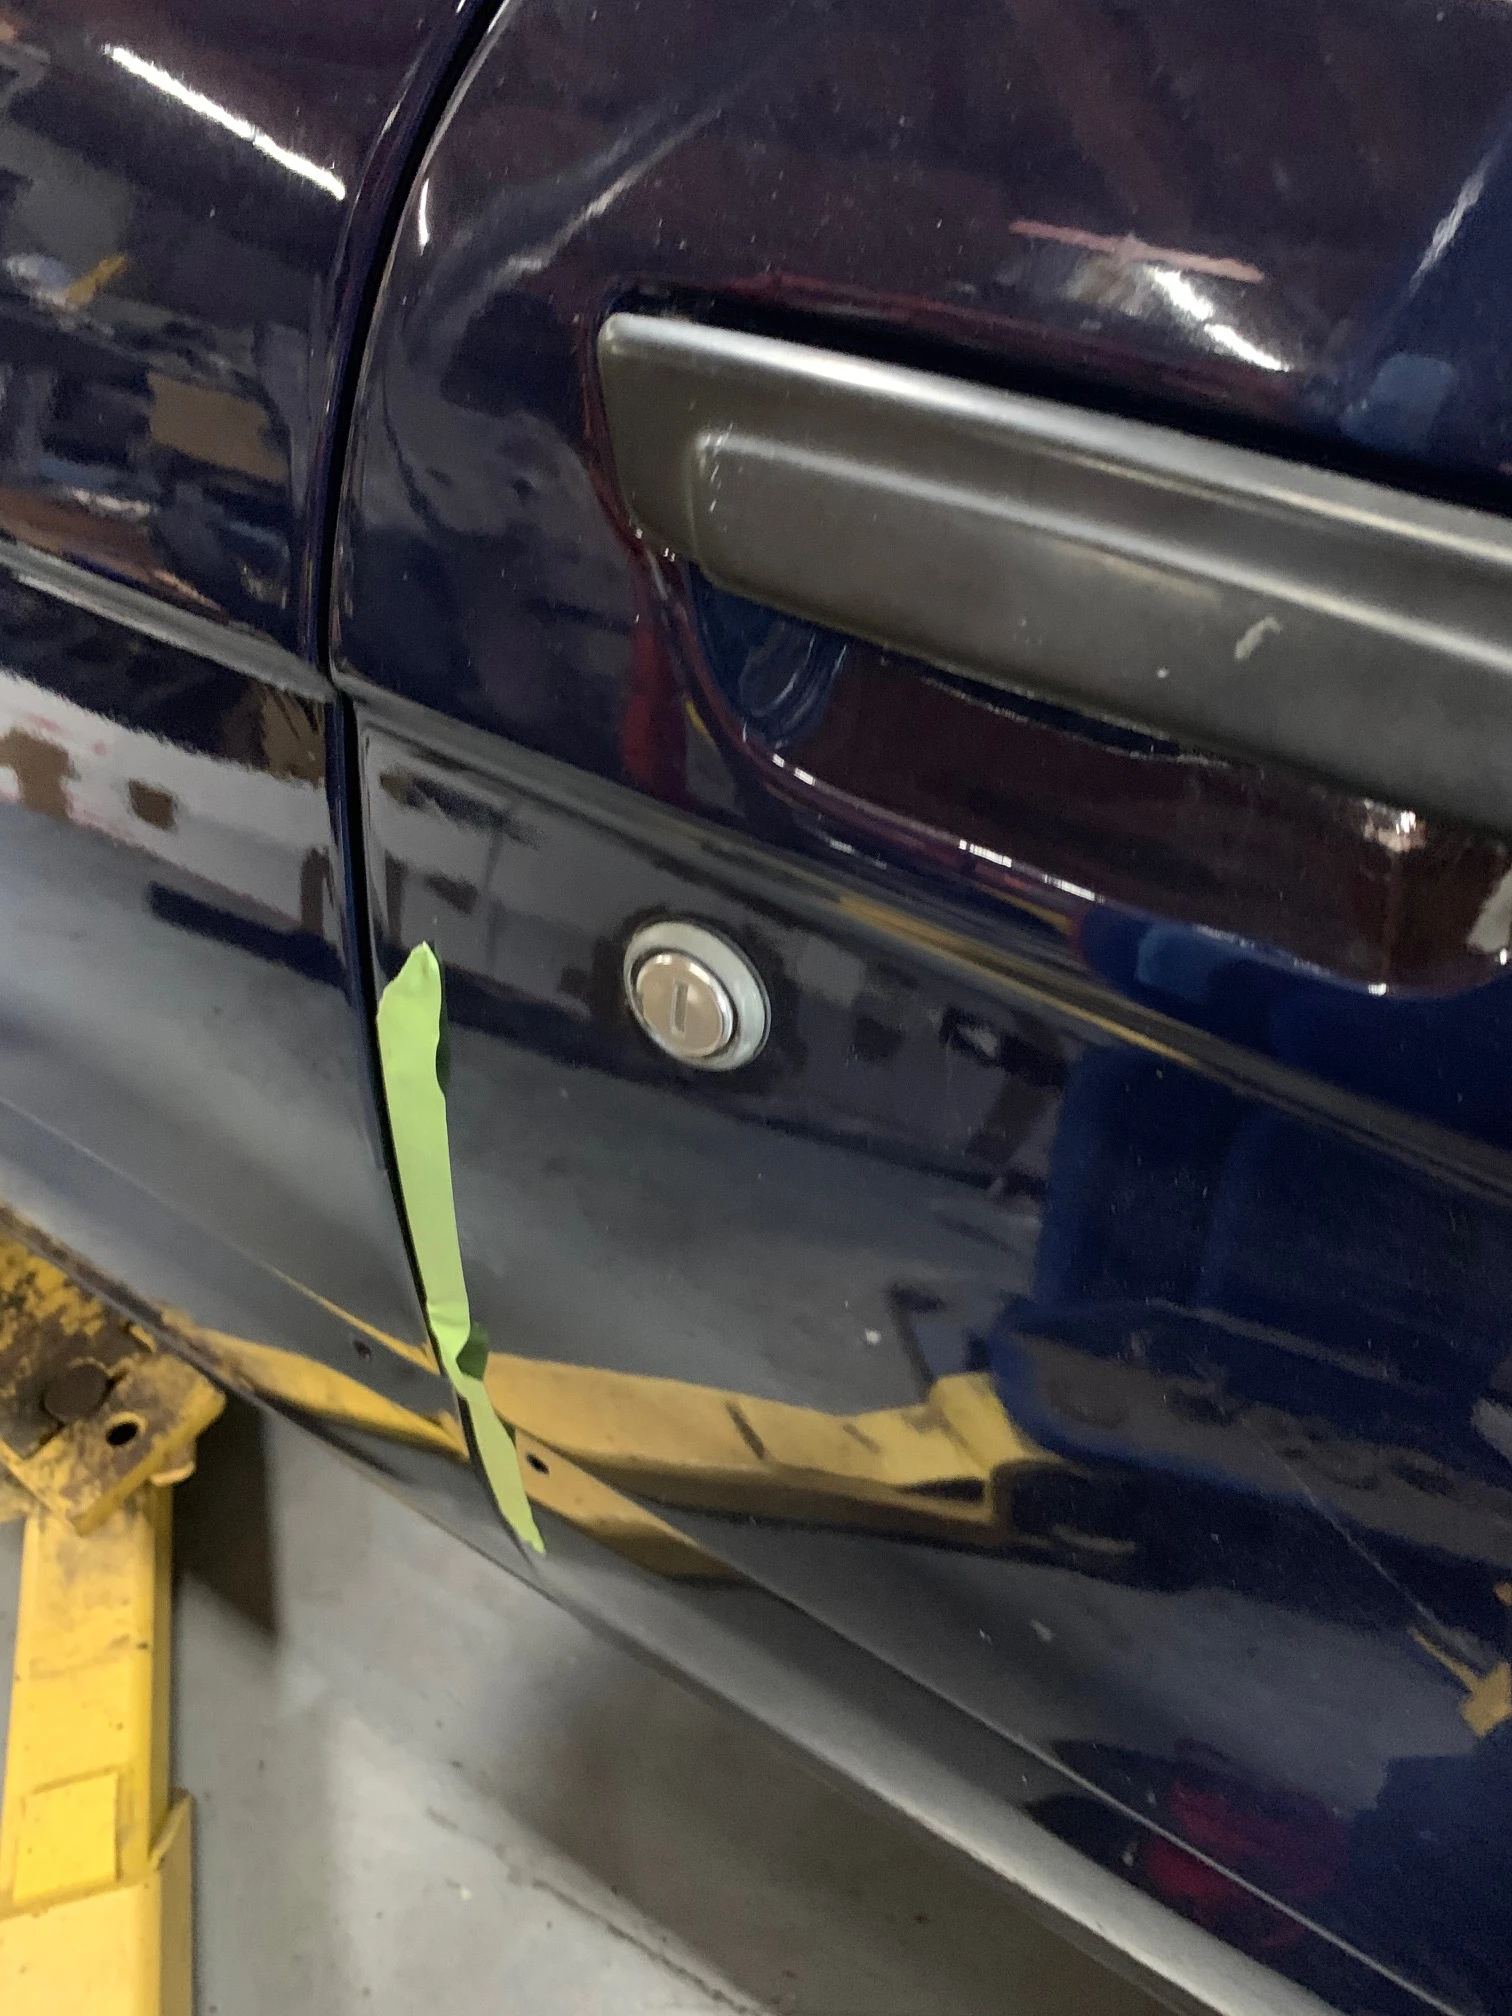
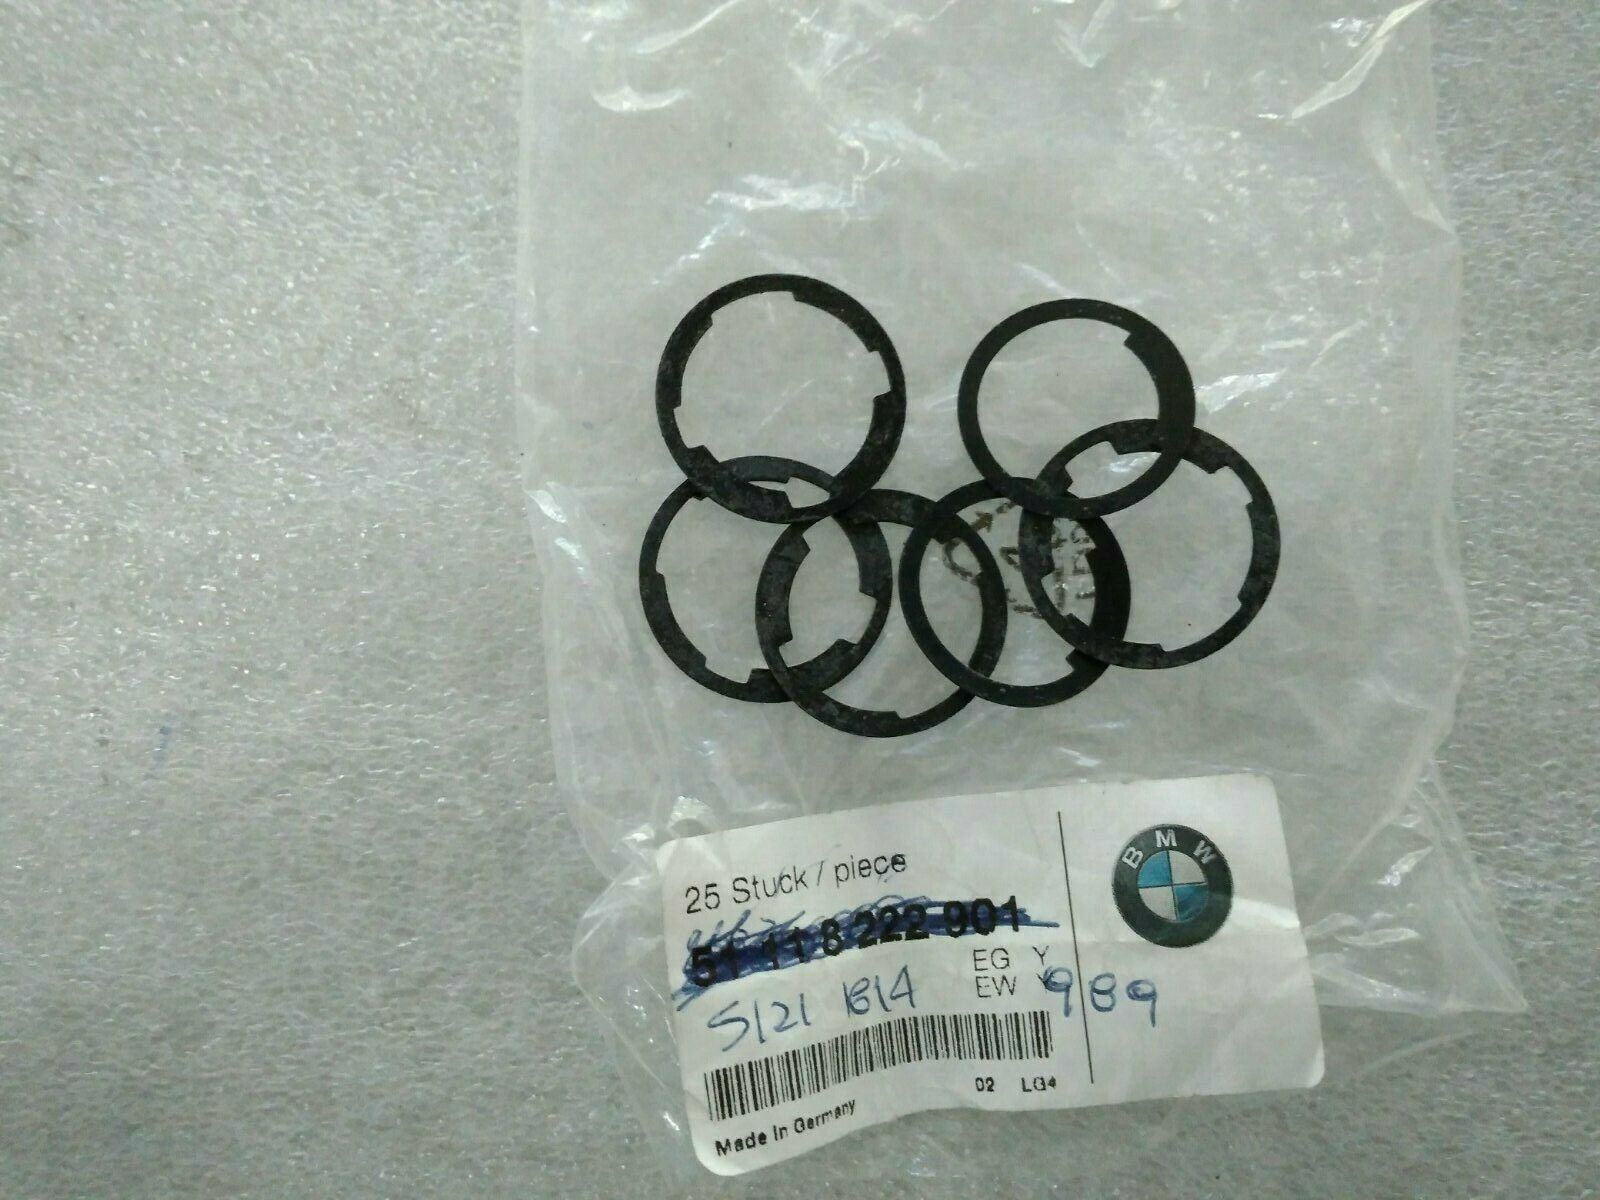 Four weeks later DHL delivered the gaskets and I finally had everything needed to put in the door locks. Getting the lock cylinder into the door was a trick, at least for someone like me who has never done it before. I started with the passenger side. The cylinder seemingly did not fit into the hole in the door; after fruitlessly trying to wiggling it in, I got more and more forceful, pushing it and then finally I held it centered on the hole and hit it with the palm of my hand. It barely went in and fell out as soon as I touched it. But, progress (however slight). A small hammer and gentle taps and it was in, but not by much—maybe a quarter-inch. Hit it a little harder and it went further in. Even harder and it was halfway in. Consistent gentle taps slowly morphed into firmer hits and it was getting closer and closer; it took a mere half an hour to get it firmly planted in the door. Learning how hard I could hit it took time; the fit was so tight it needed some serious force but I didn’t want to wack it too hard and damage the door. Then it took me 15 minutes to figure out how to attach little arm on the back of the cylinder to the lock; adding to the frustration was working in a tight space with no good line-of-sight. But, I figured out what parts of the door innards to disassemble to get room and sight; once I did, it was an easy job. The passenger side took 45 minutes (most of that being the learning curve), but the second one was finished in less than ten minutes. Knowledge is a powerful tool!
 Another challenge was figuring out how the bundle of wires was supposed to routed through the engine compartment. I looked at the harness, which had an ugly re-wrap in electrical tape, and it was not at all apparent how to get from the fusebox to the headlights and horns. I inquired on the FaceBook e21 group and I found someone who restored a similar C1 2.3 (really, any e21 would have been fine, but it was great to find someone who did such a great job and documented it with photos). He sent pictures of his wiring and I was in business. I re-wrapped the harness in friction tape and routed it through the engine compartment.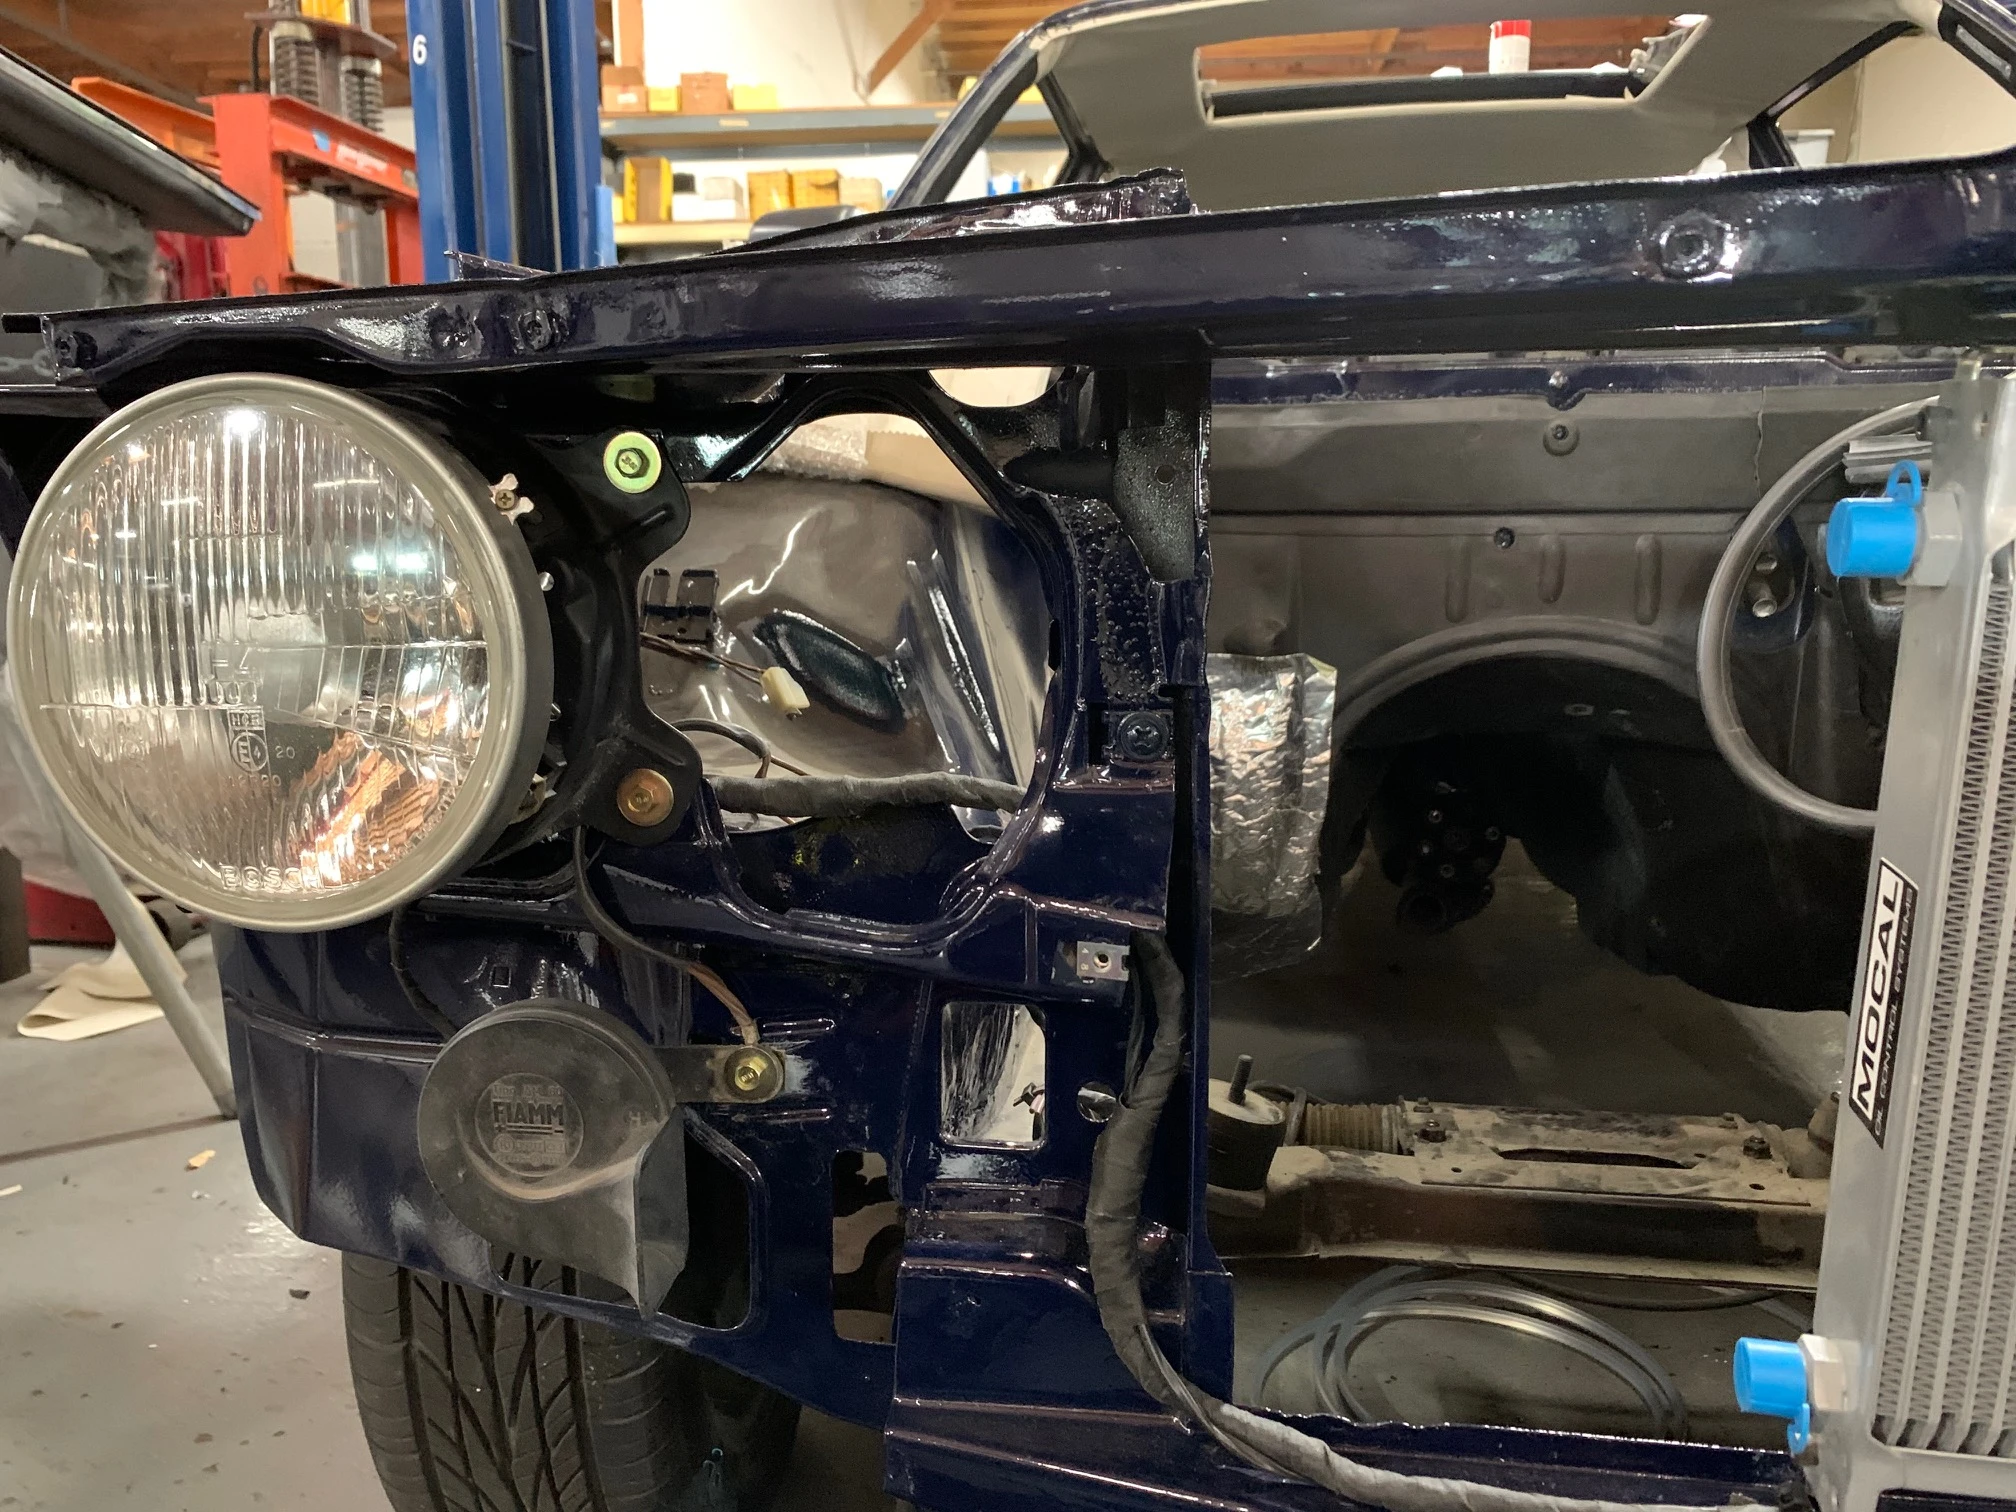
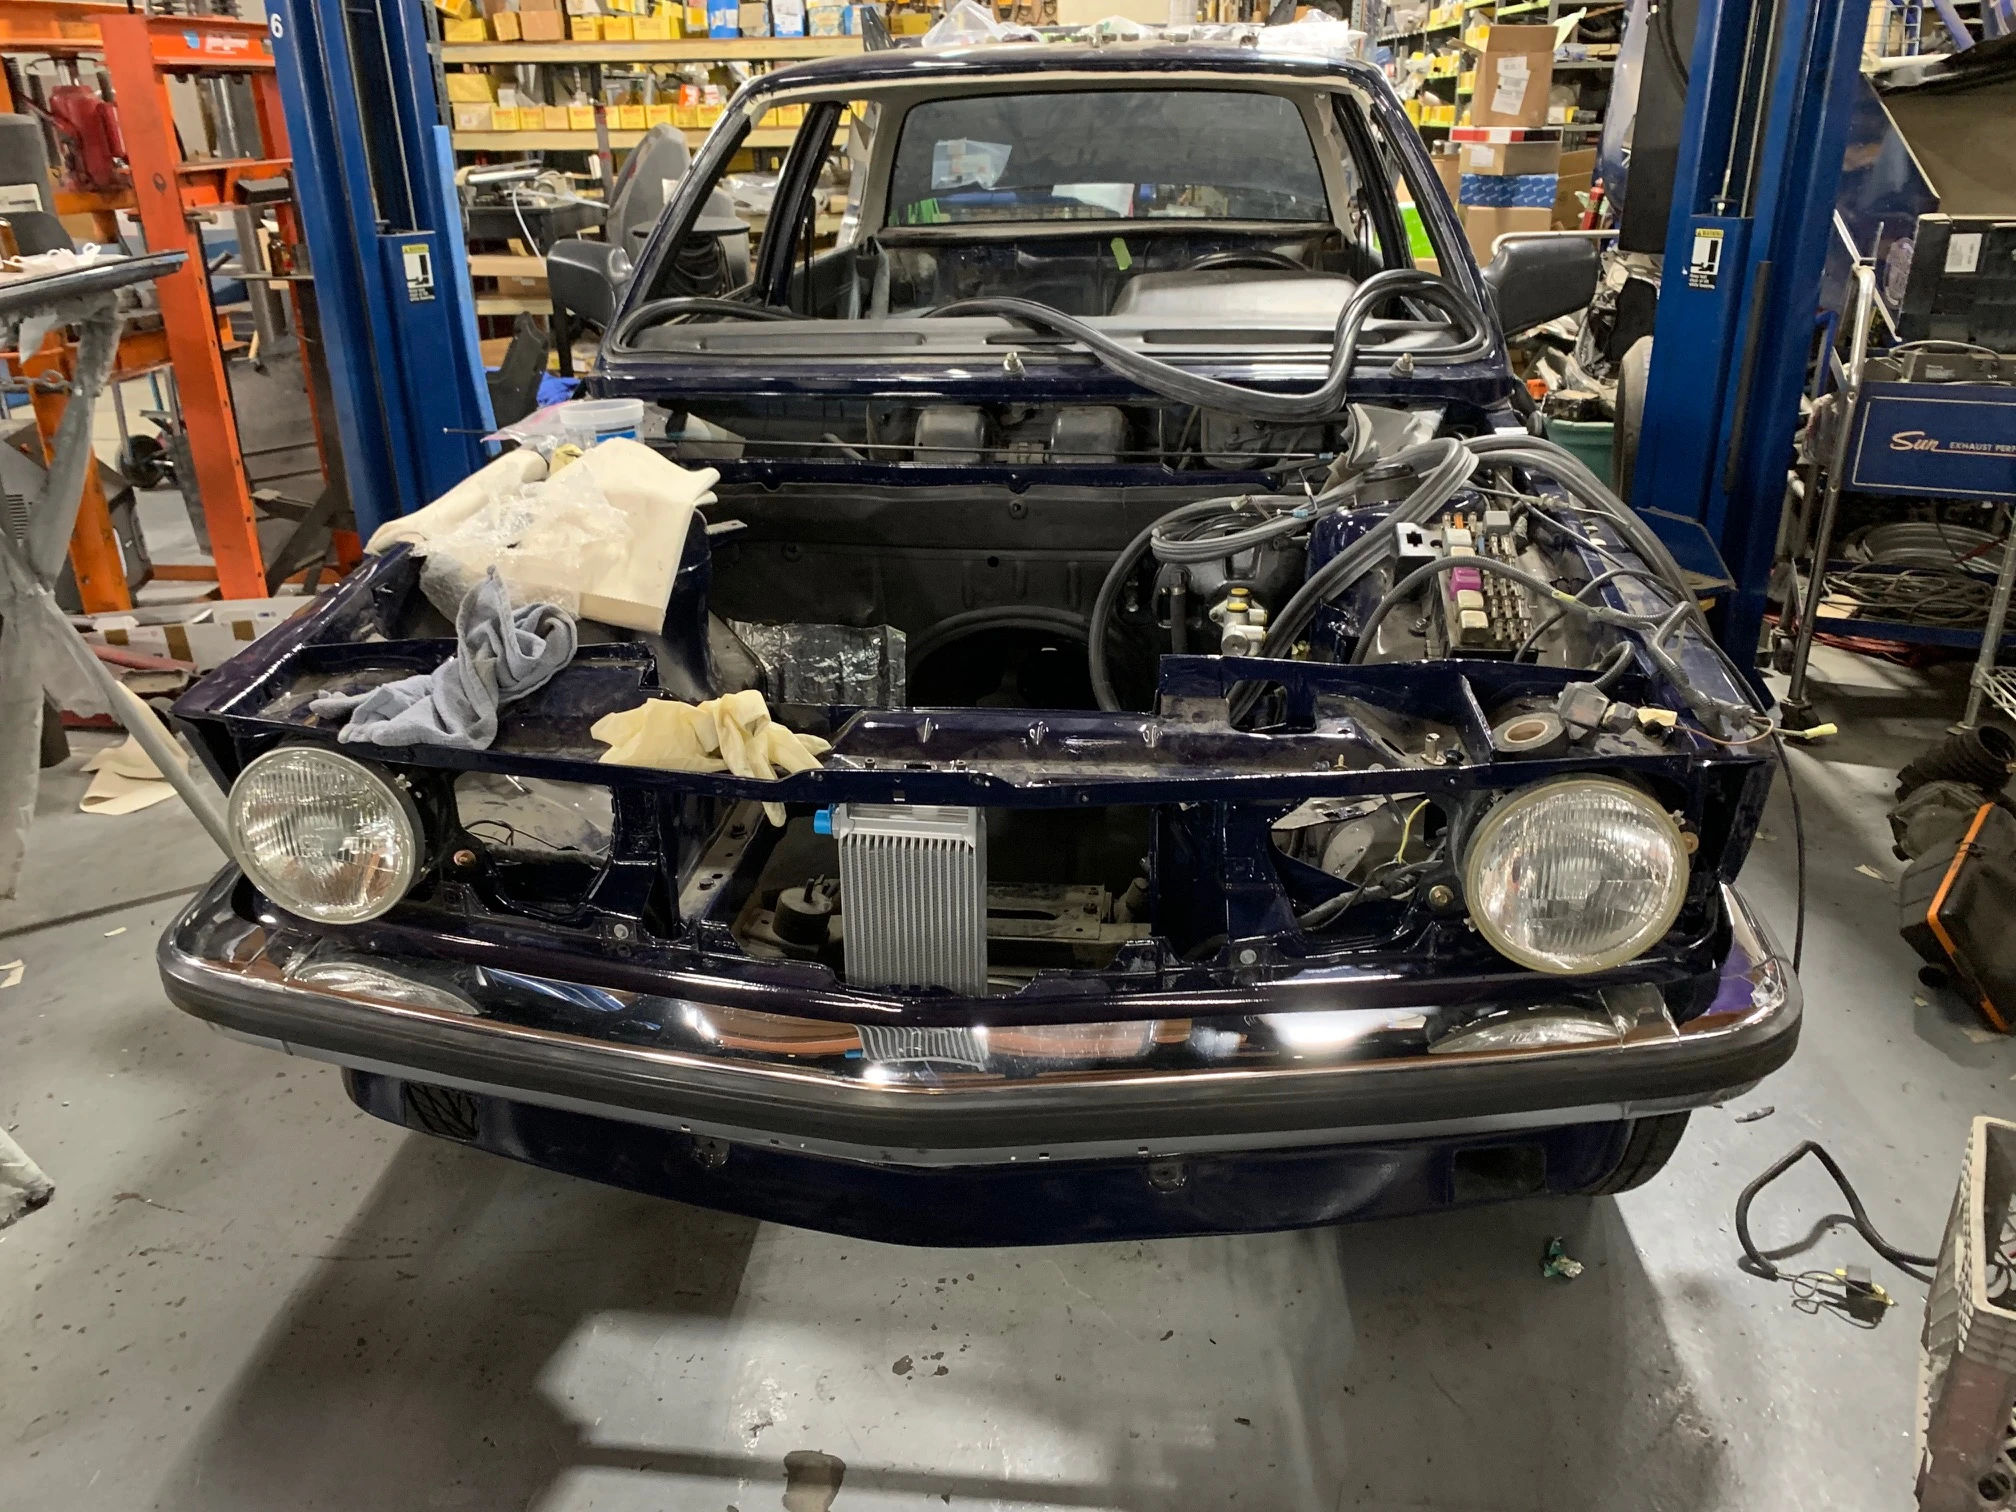
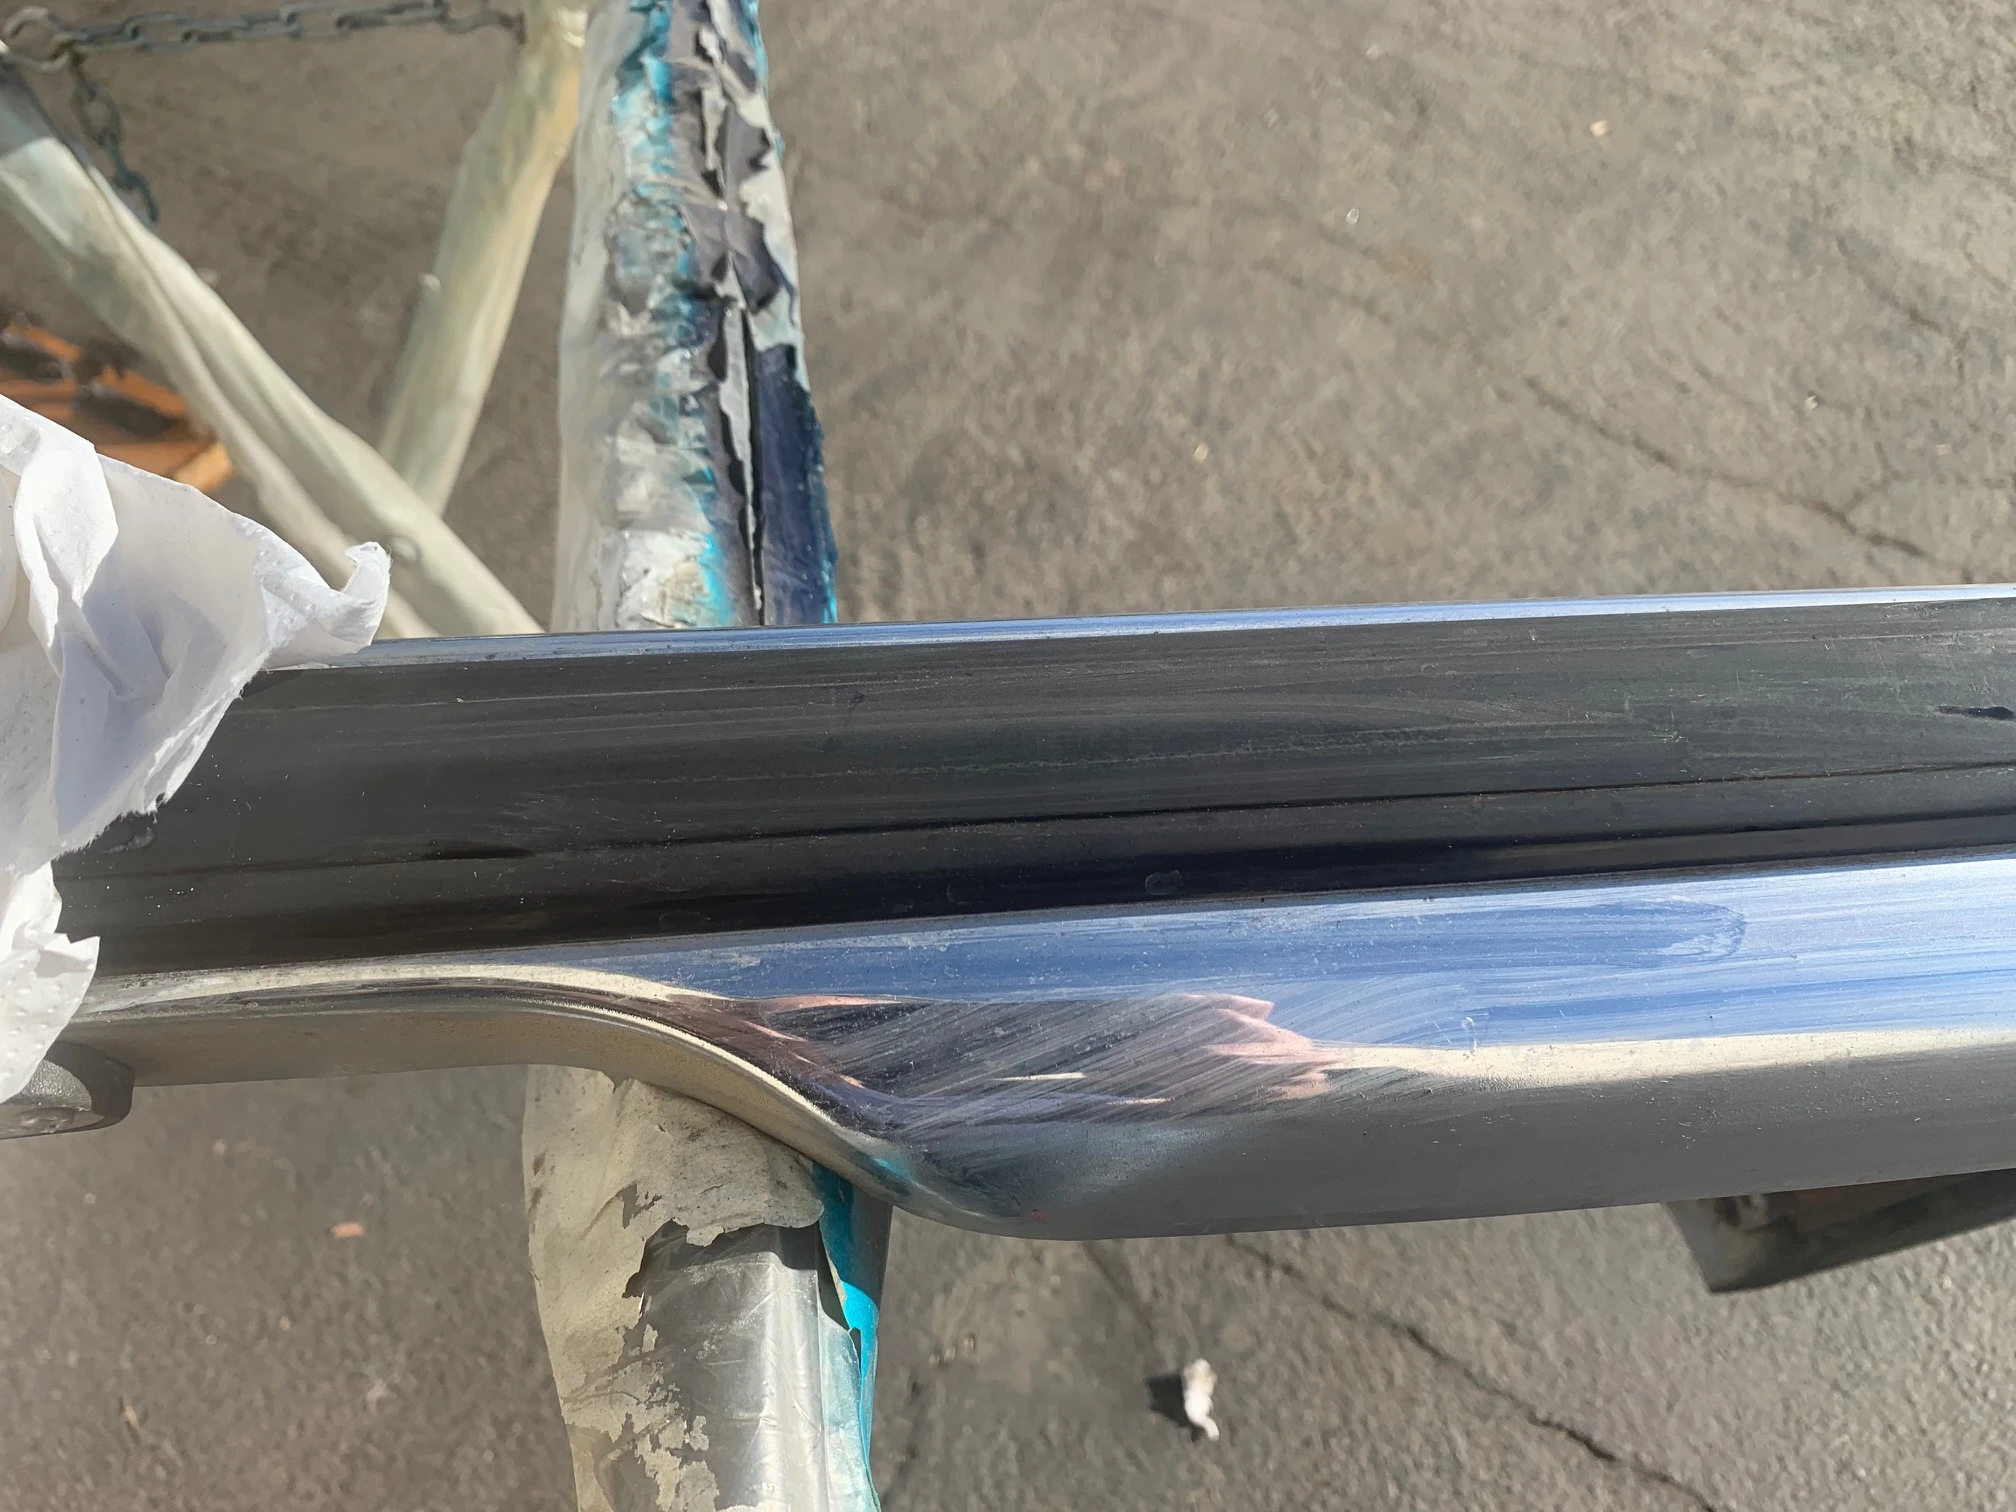
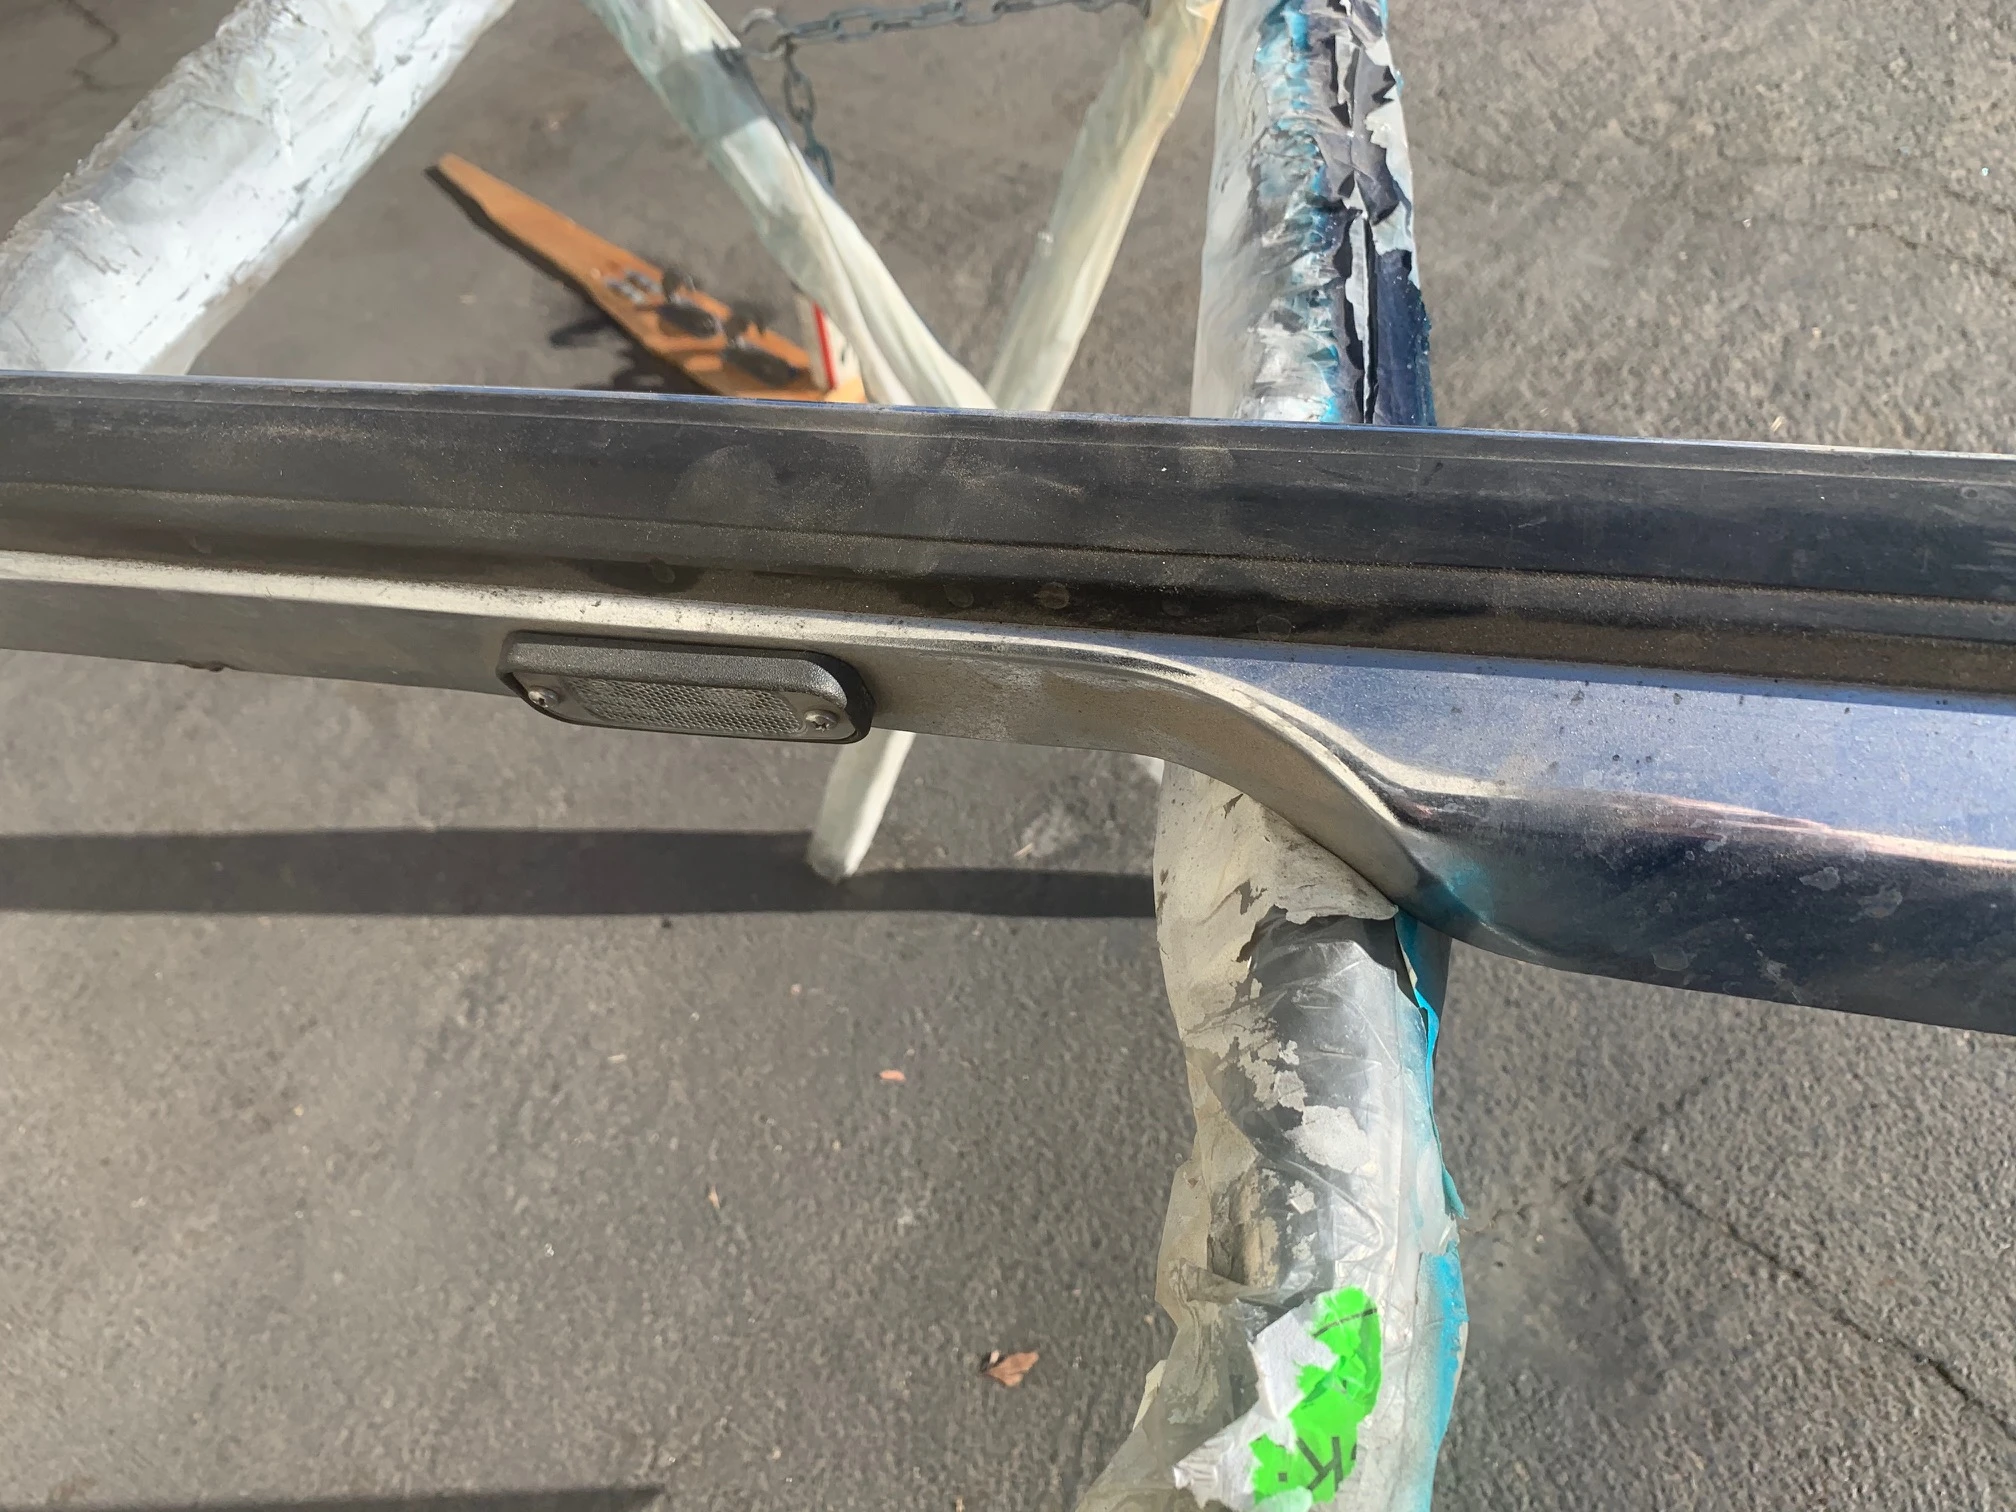
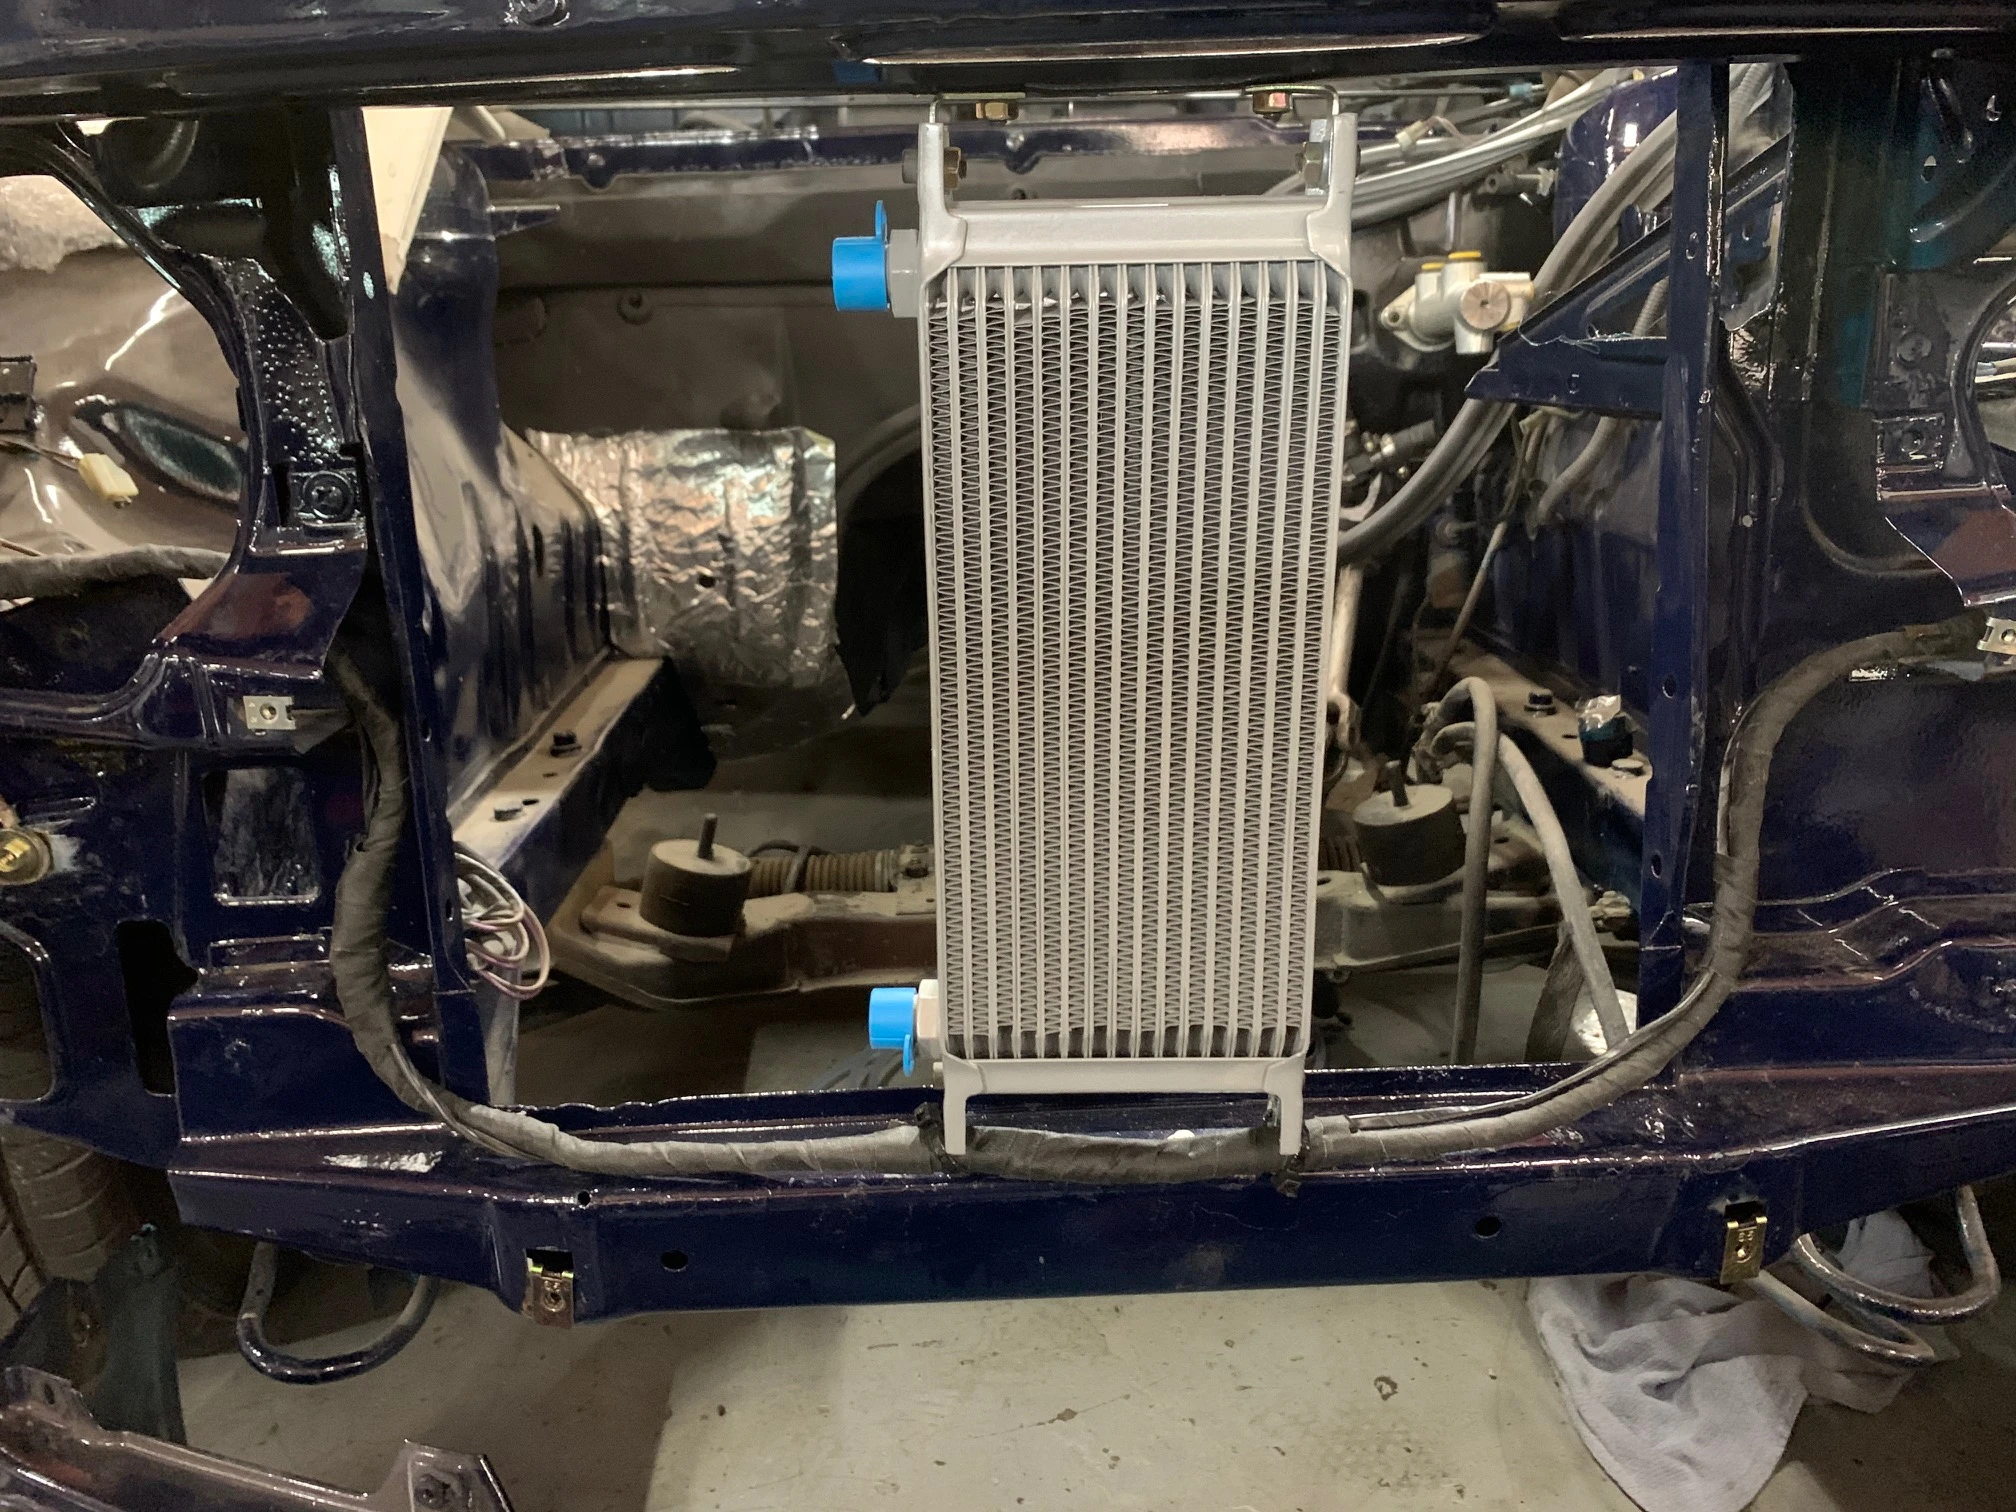 With the wiring in, next was the bumpers. They had been sitting around the shop literally collecting dust. I washed them off and then installed them.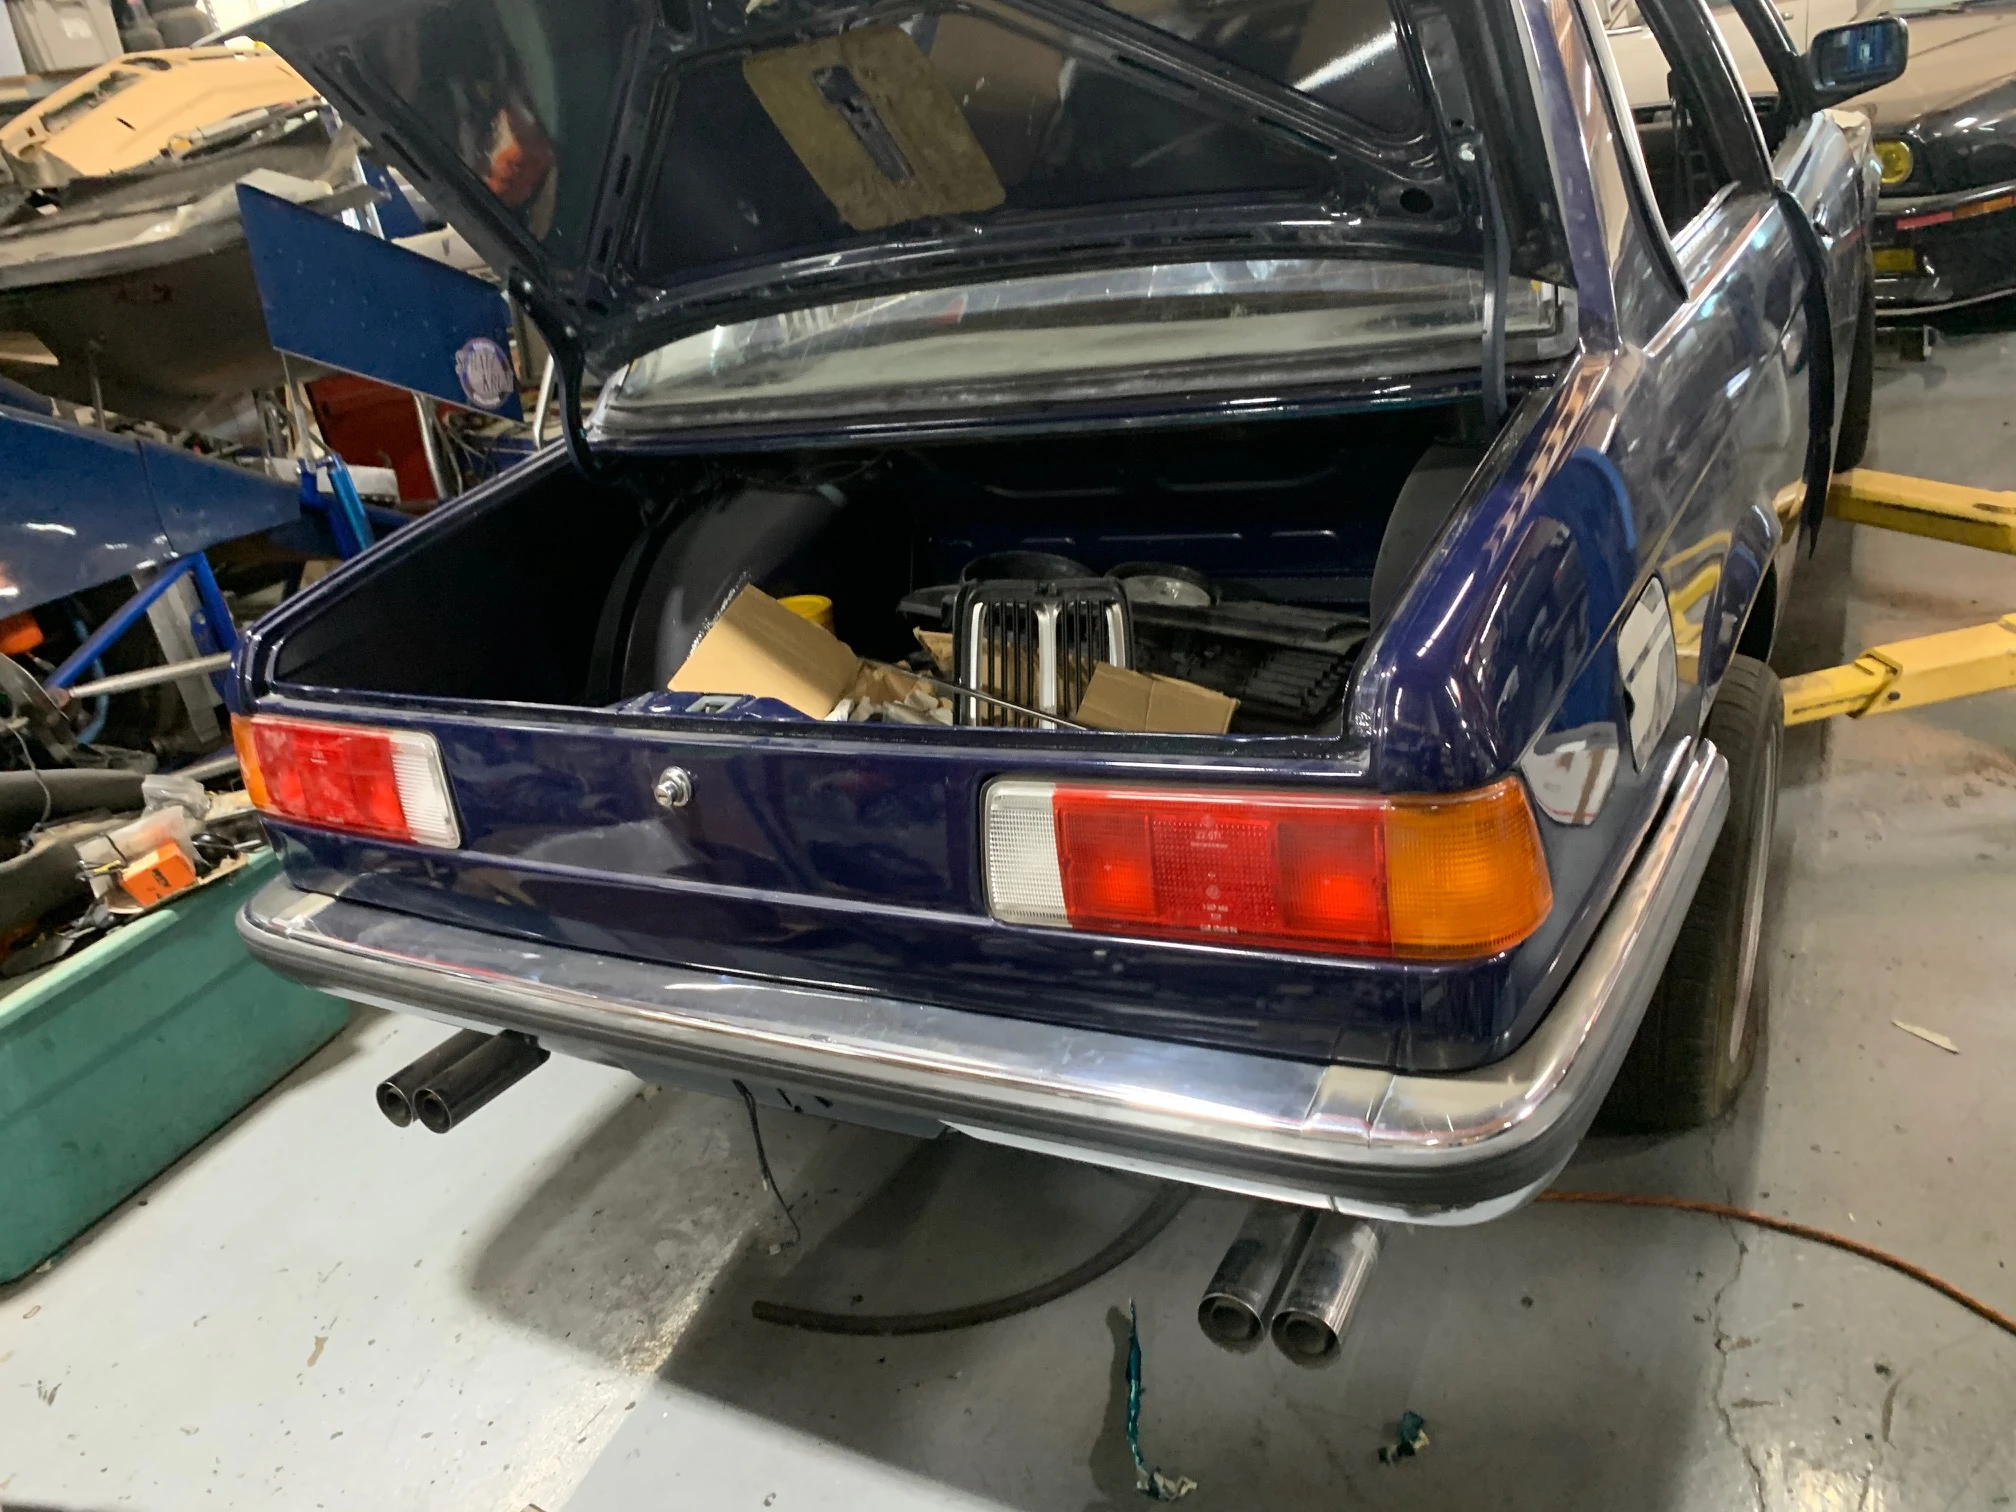
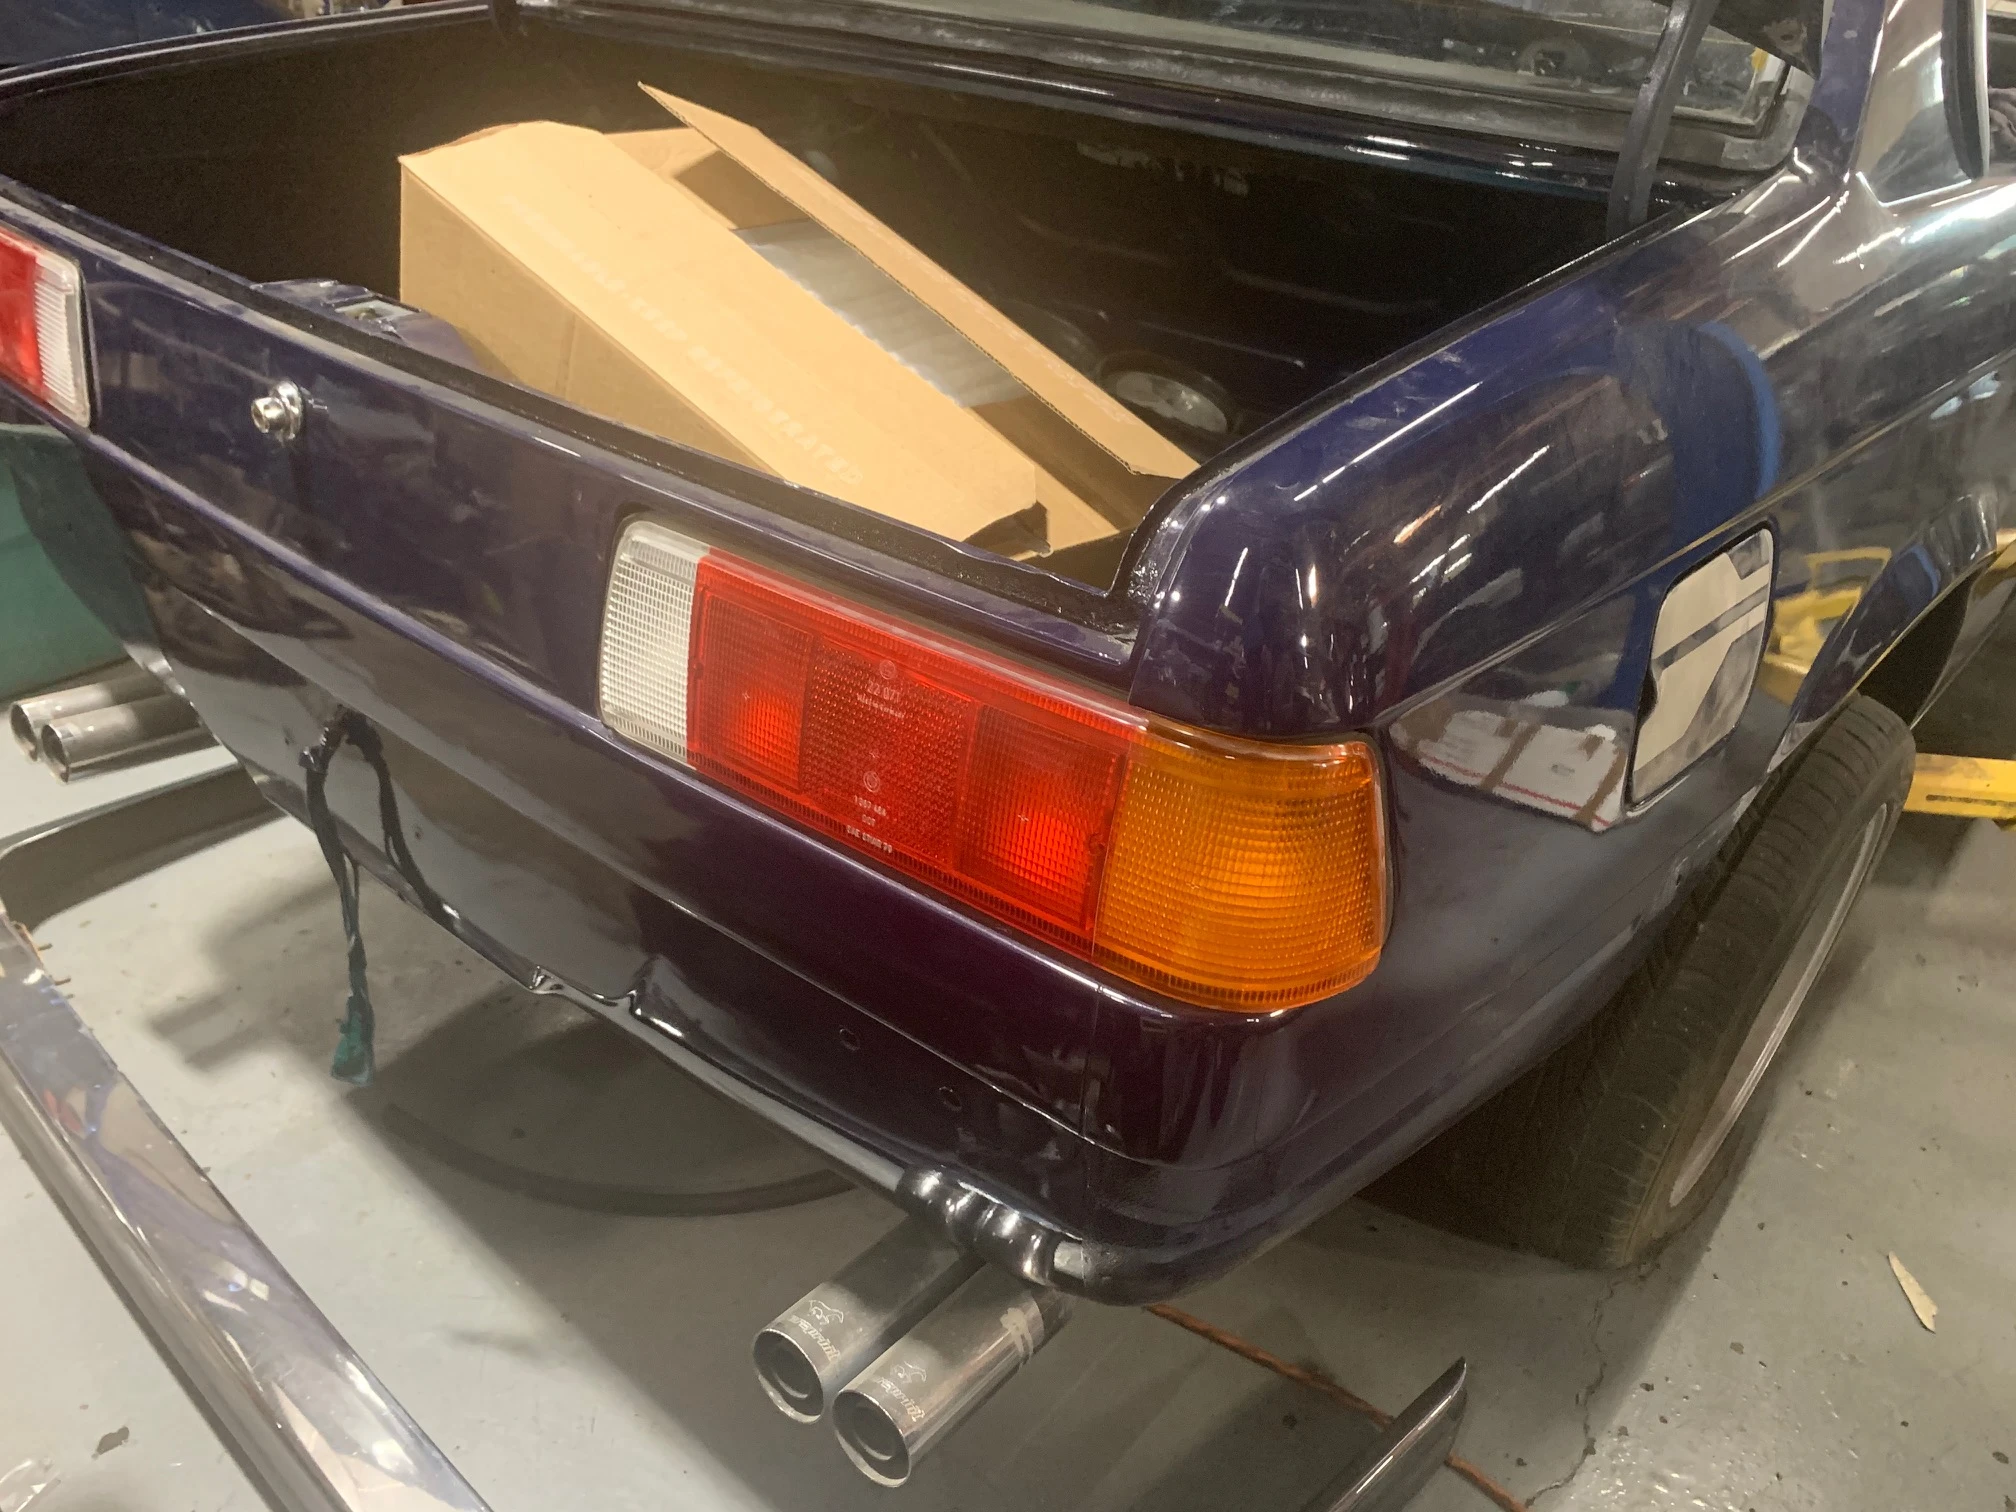
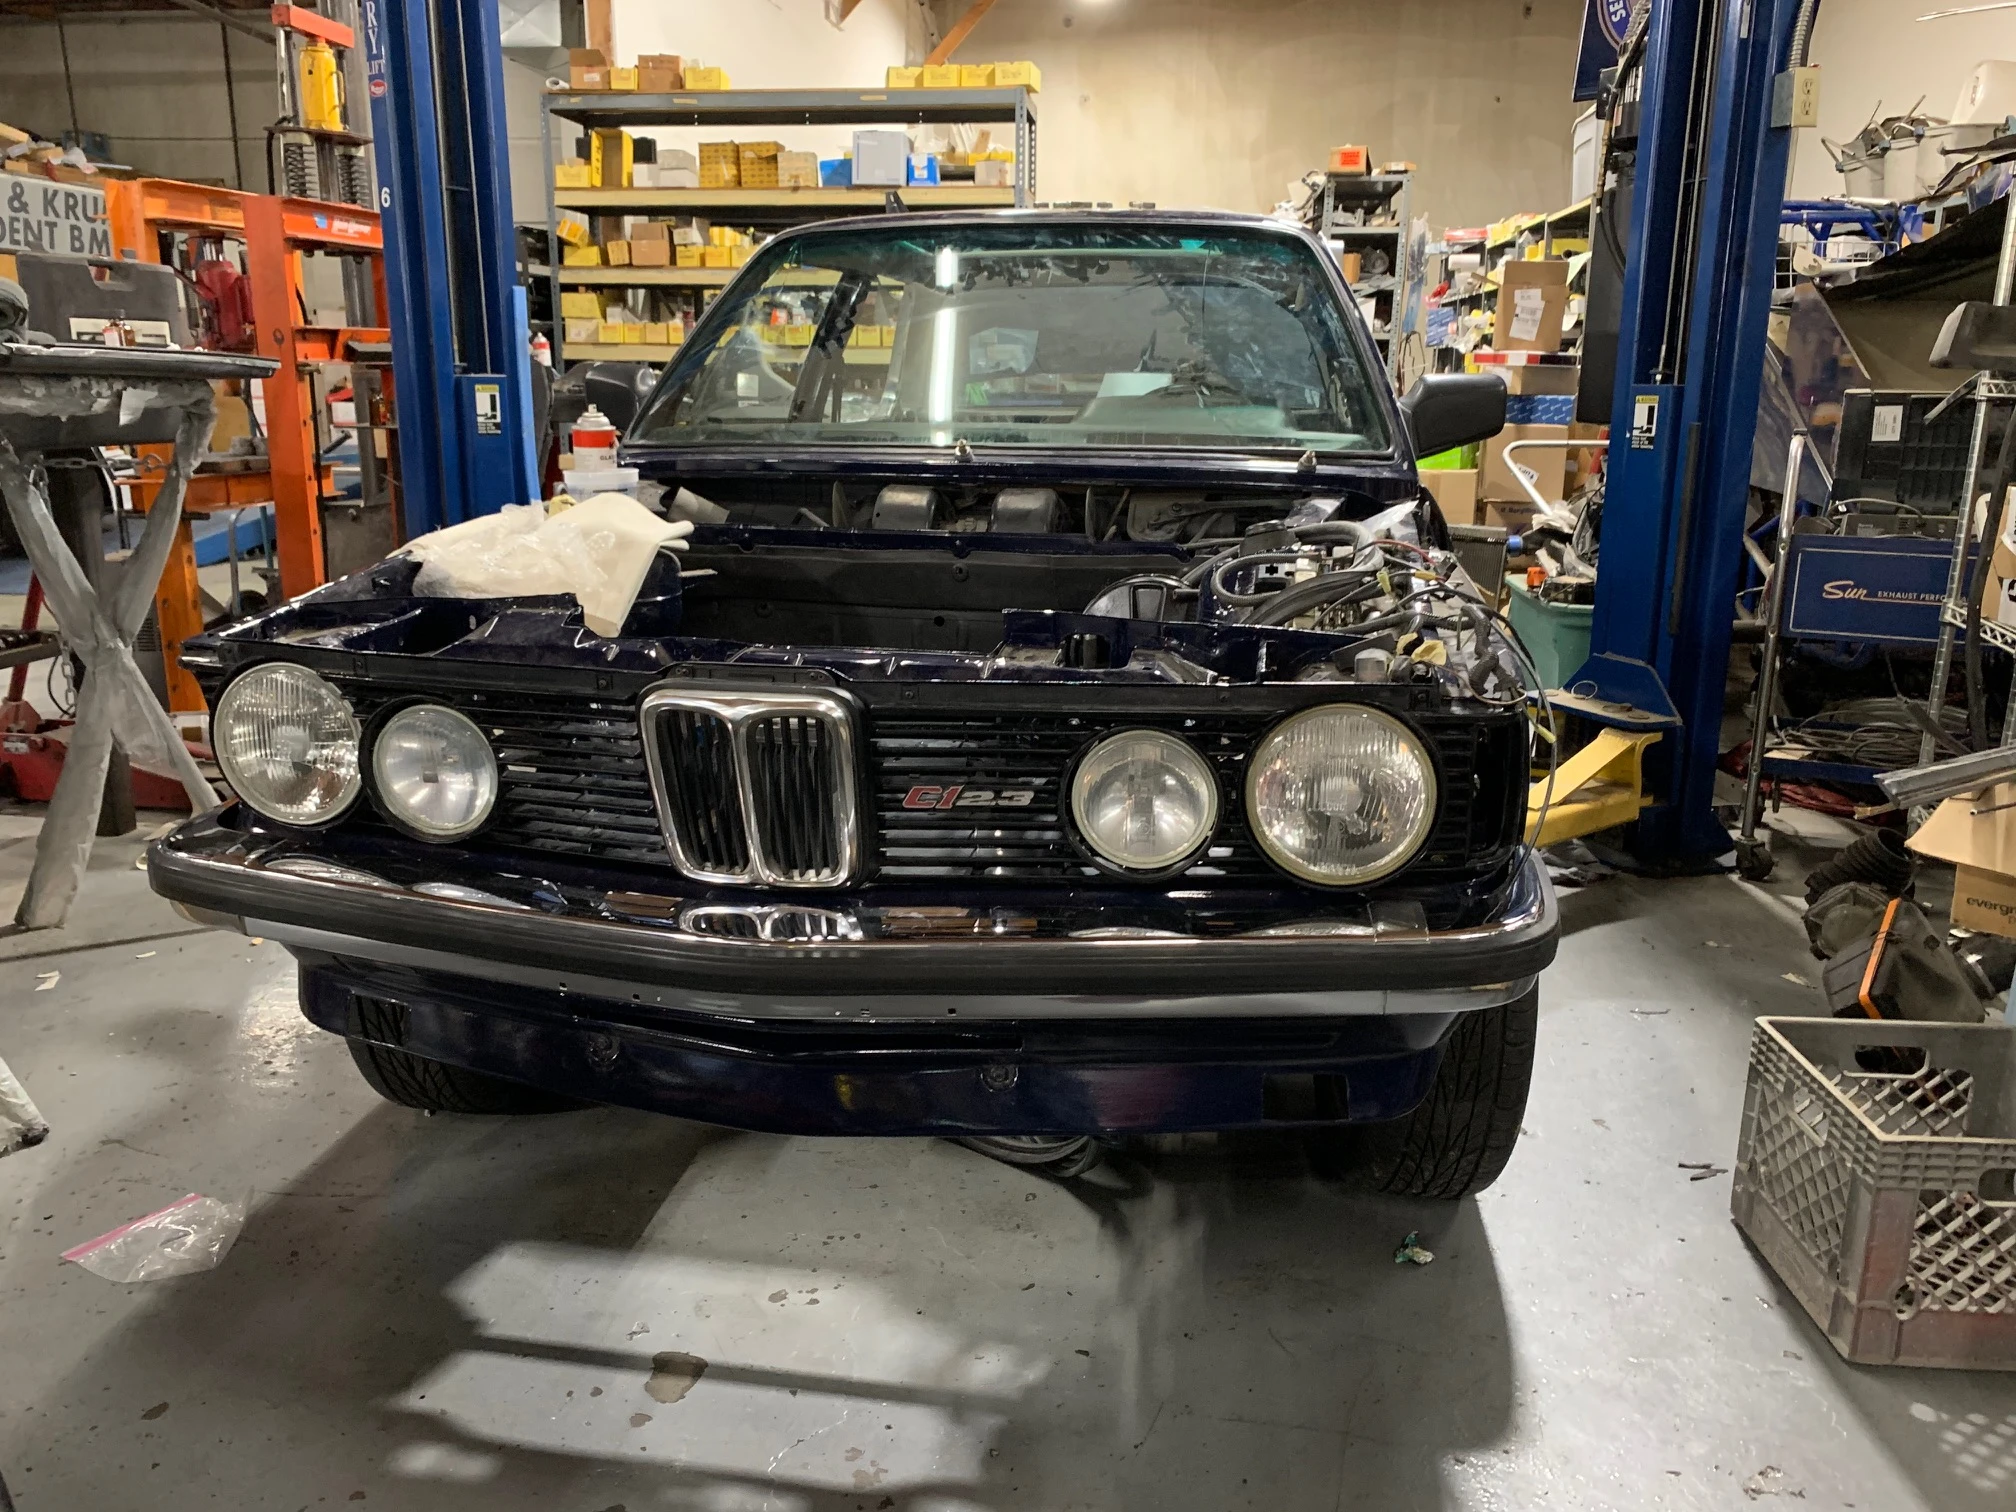
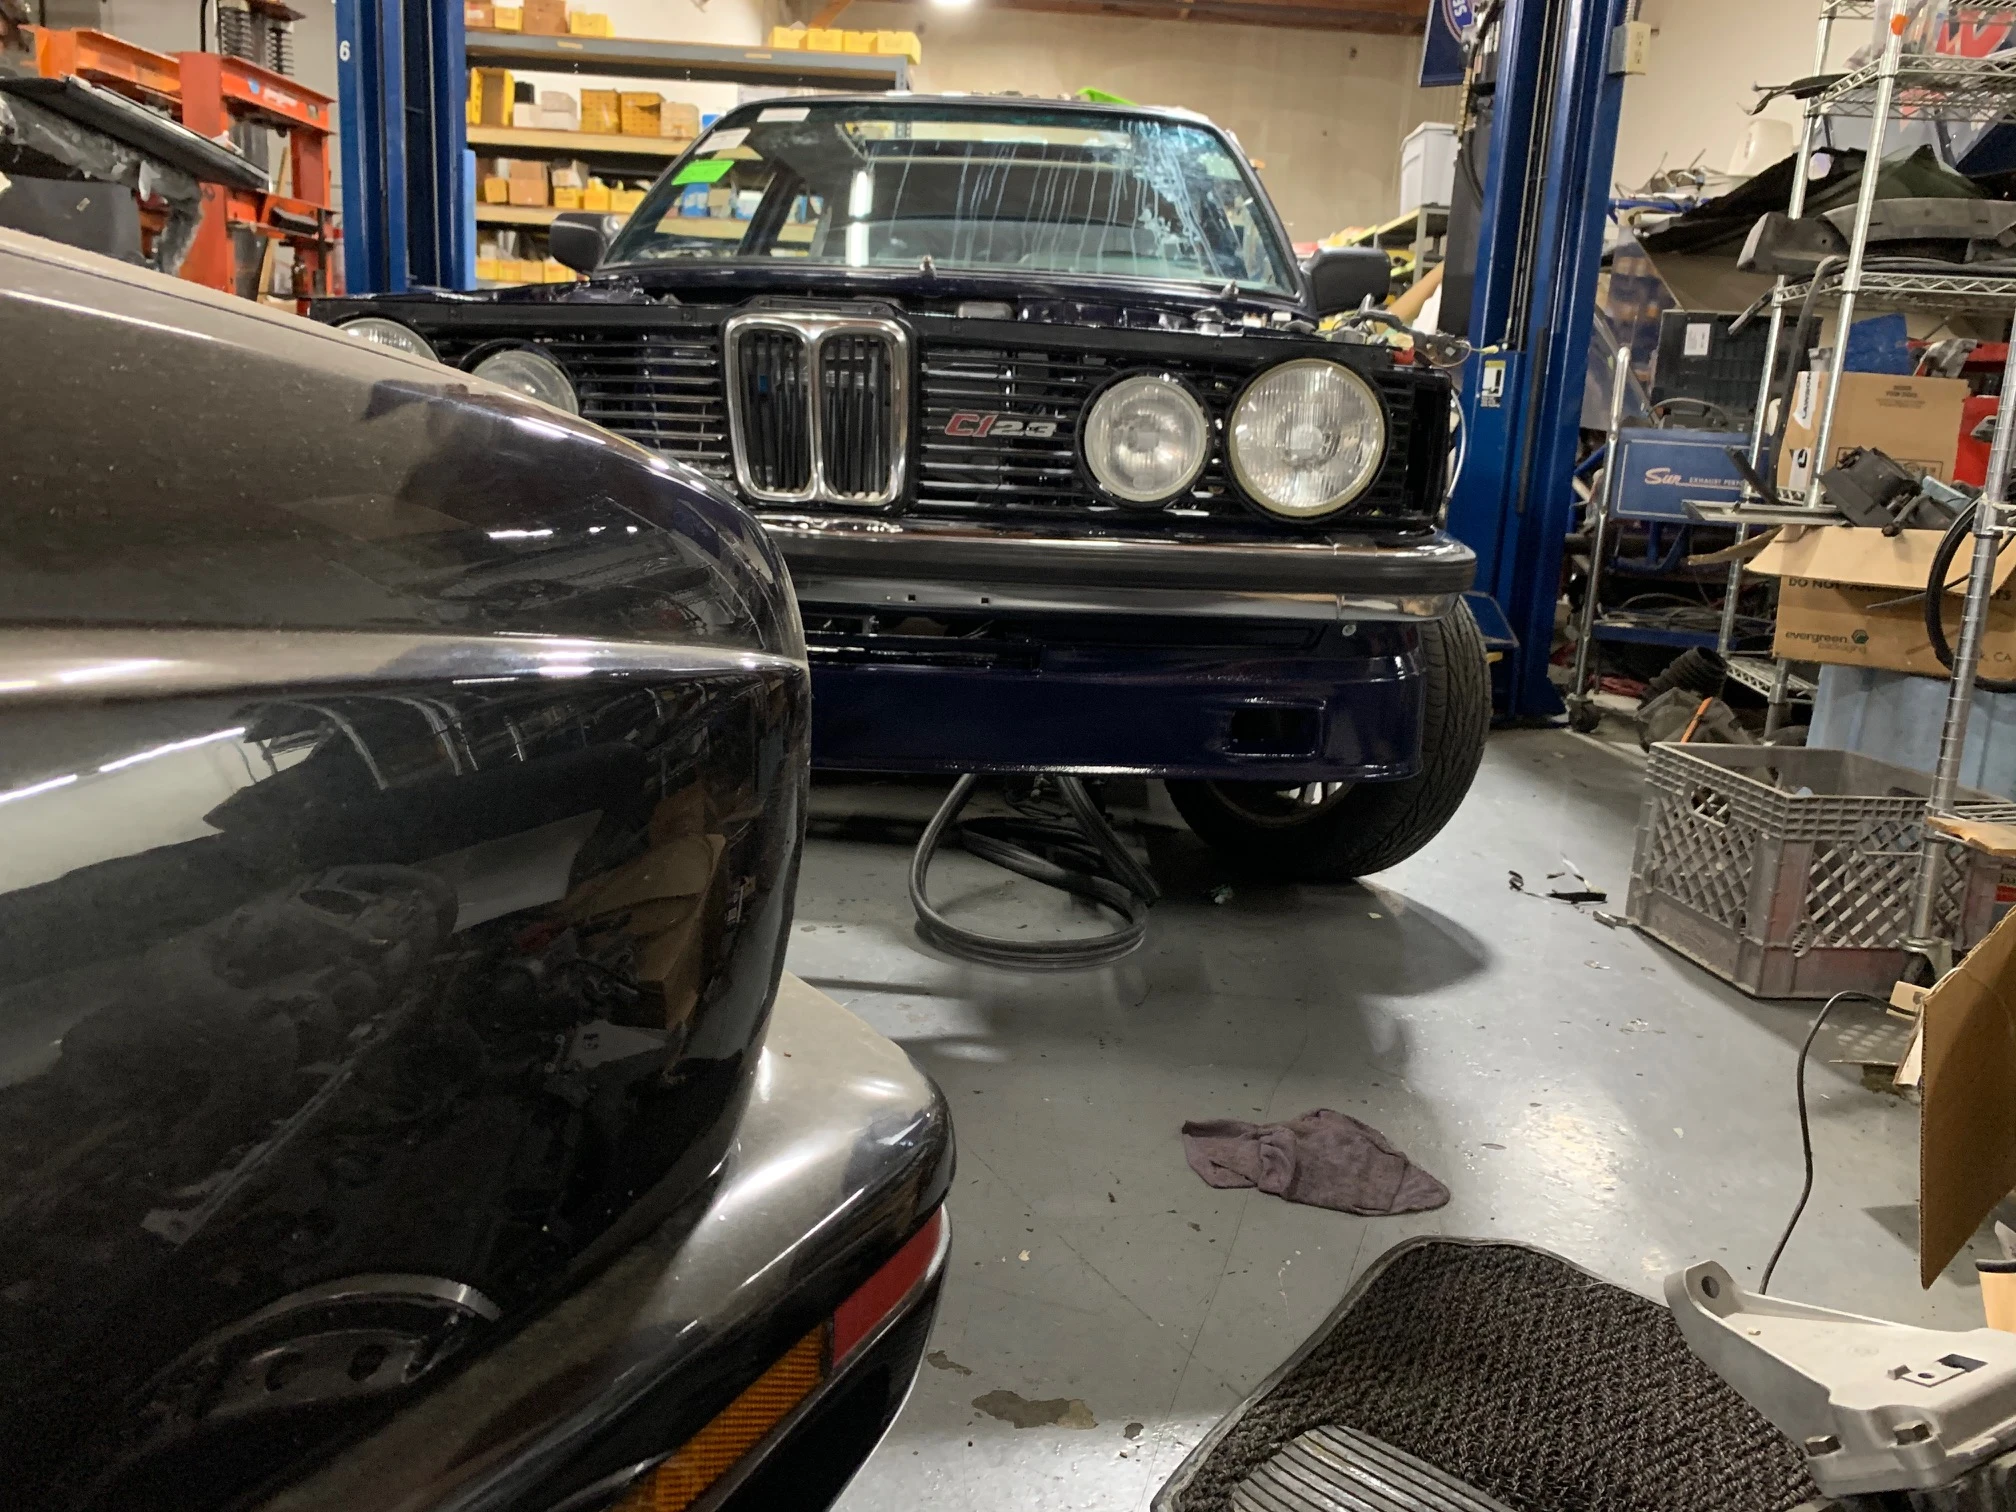
 Then I installed the horns and lights and then grills.
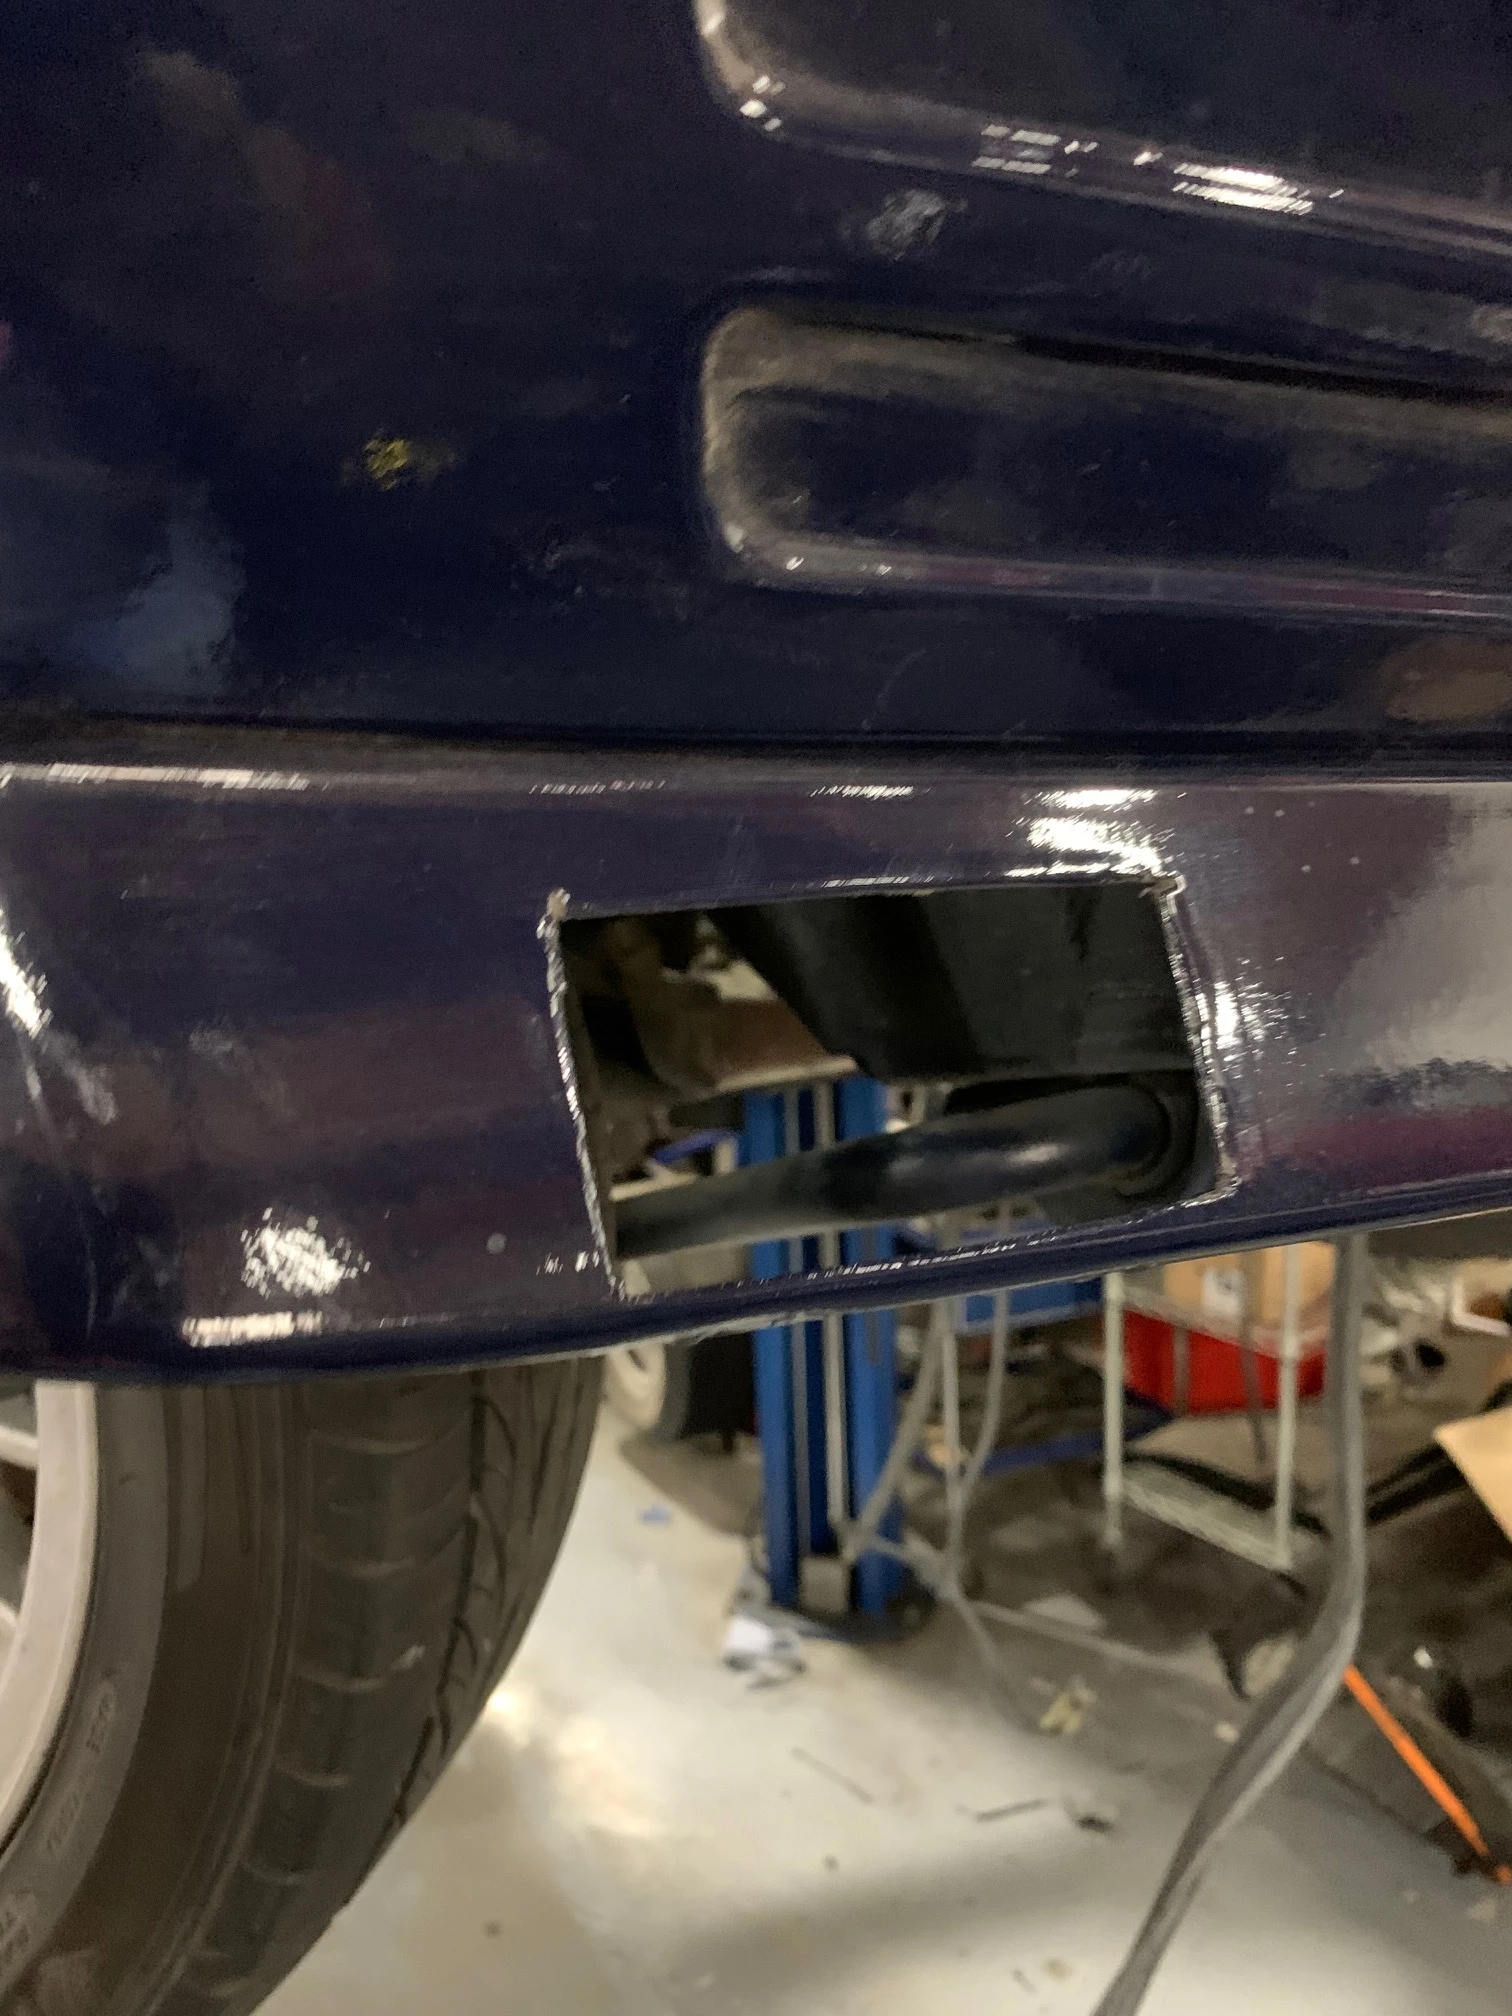
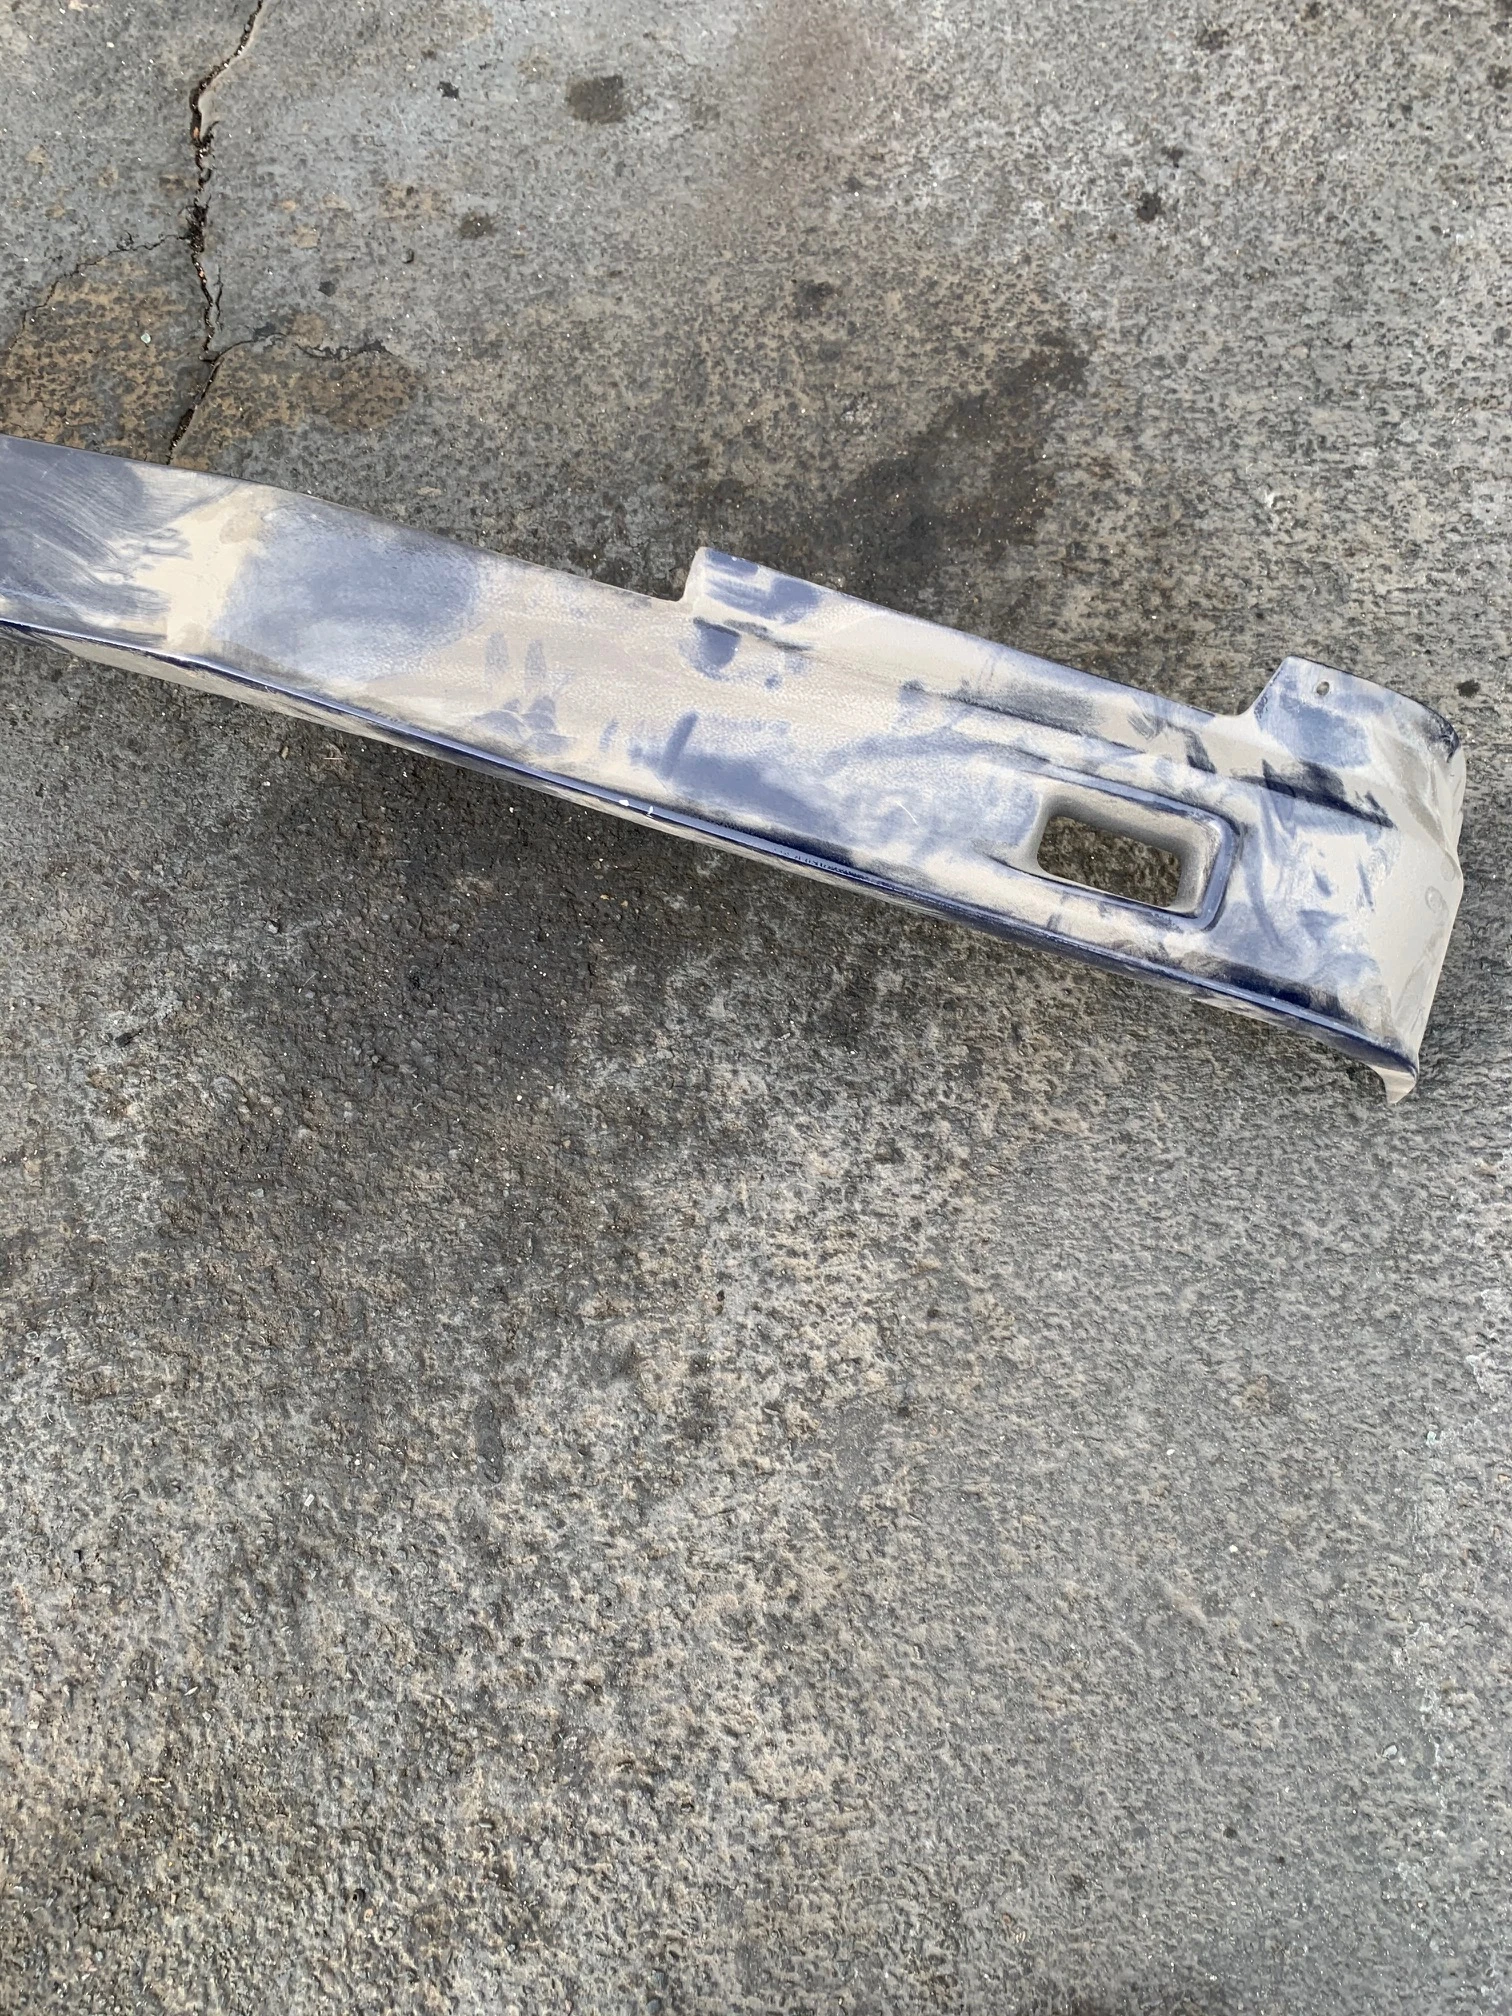 Putting the air dam on the car was one of the interesting archaeological parts of the restoration. The air dam has brake cooling ducts but behind the ducts on a stock body is the lower valance. So the boys at Buchloe cut a rectangle out of the valance to allow the air to flow to the brakes. Those cuts were uneven and kind of primitive. Honestly, they looked like something I would do in my garage!
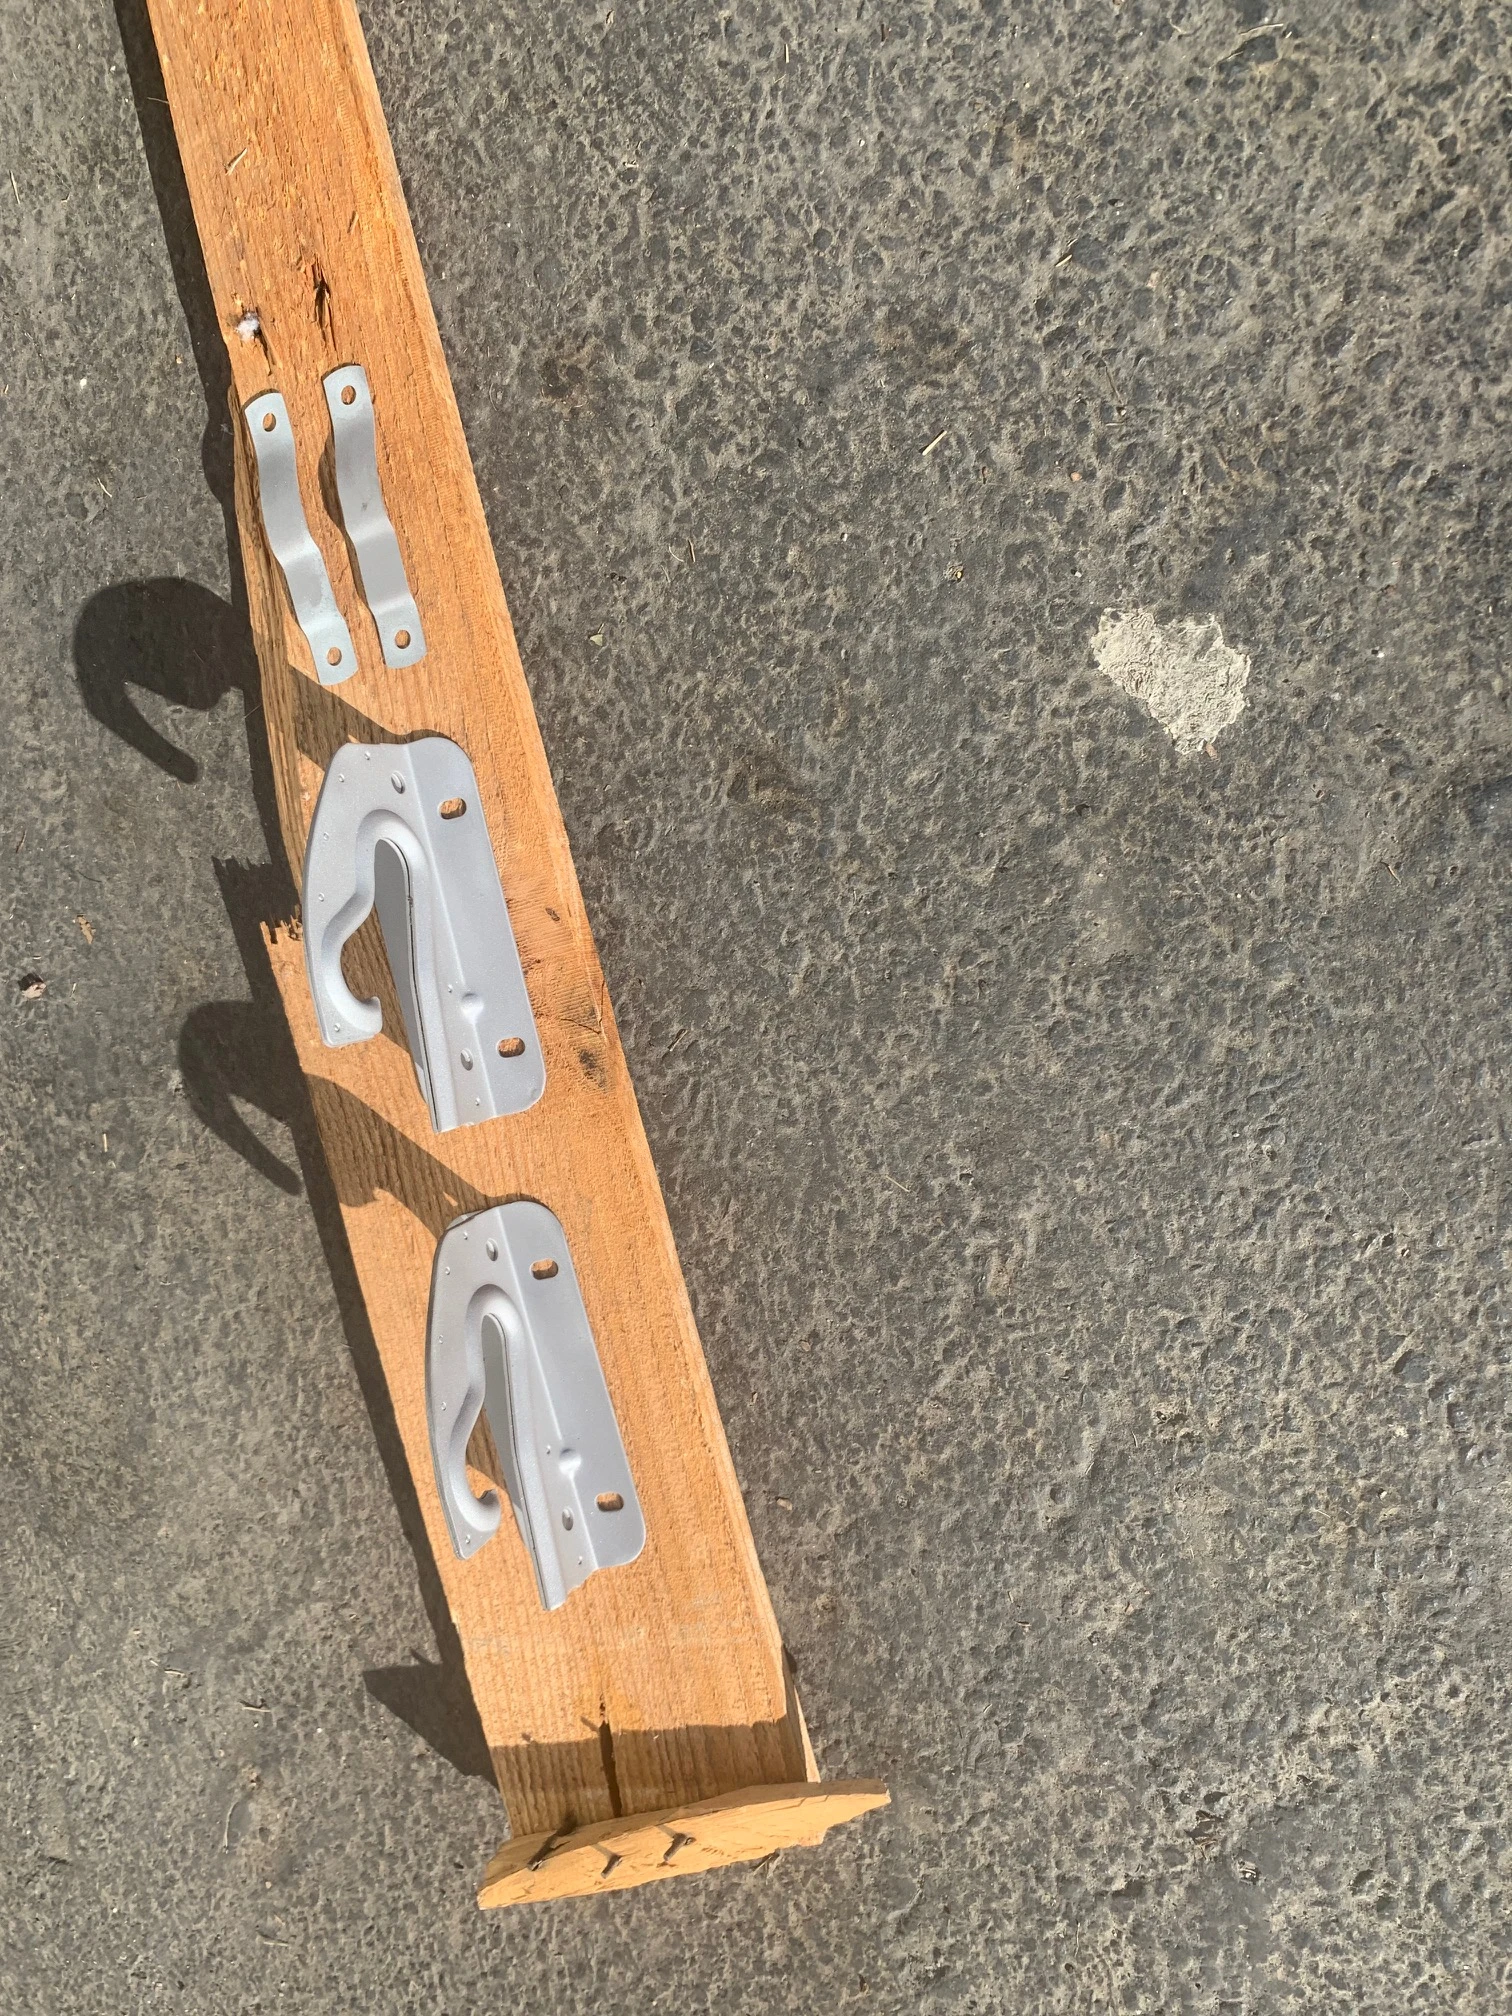
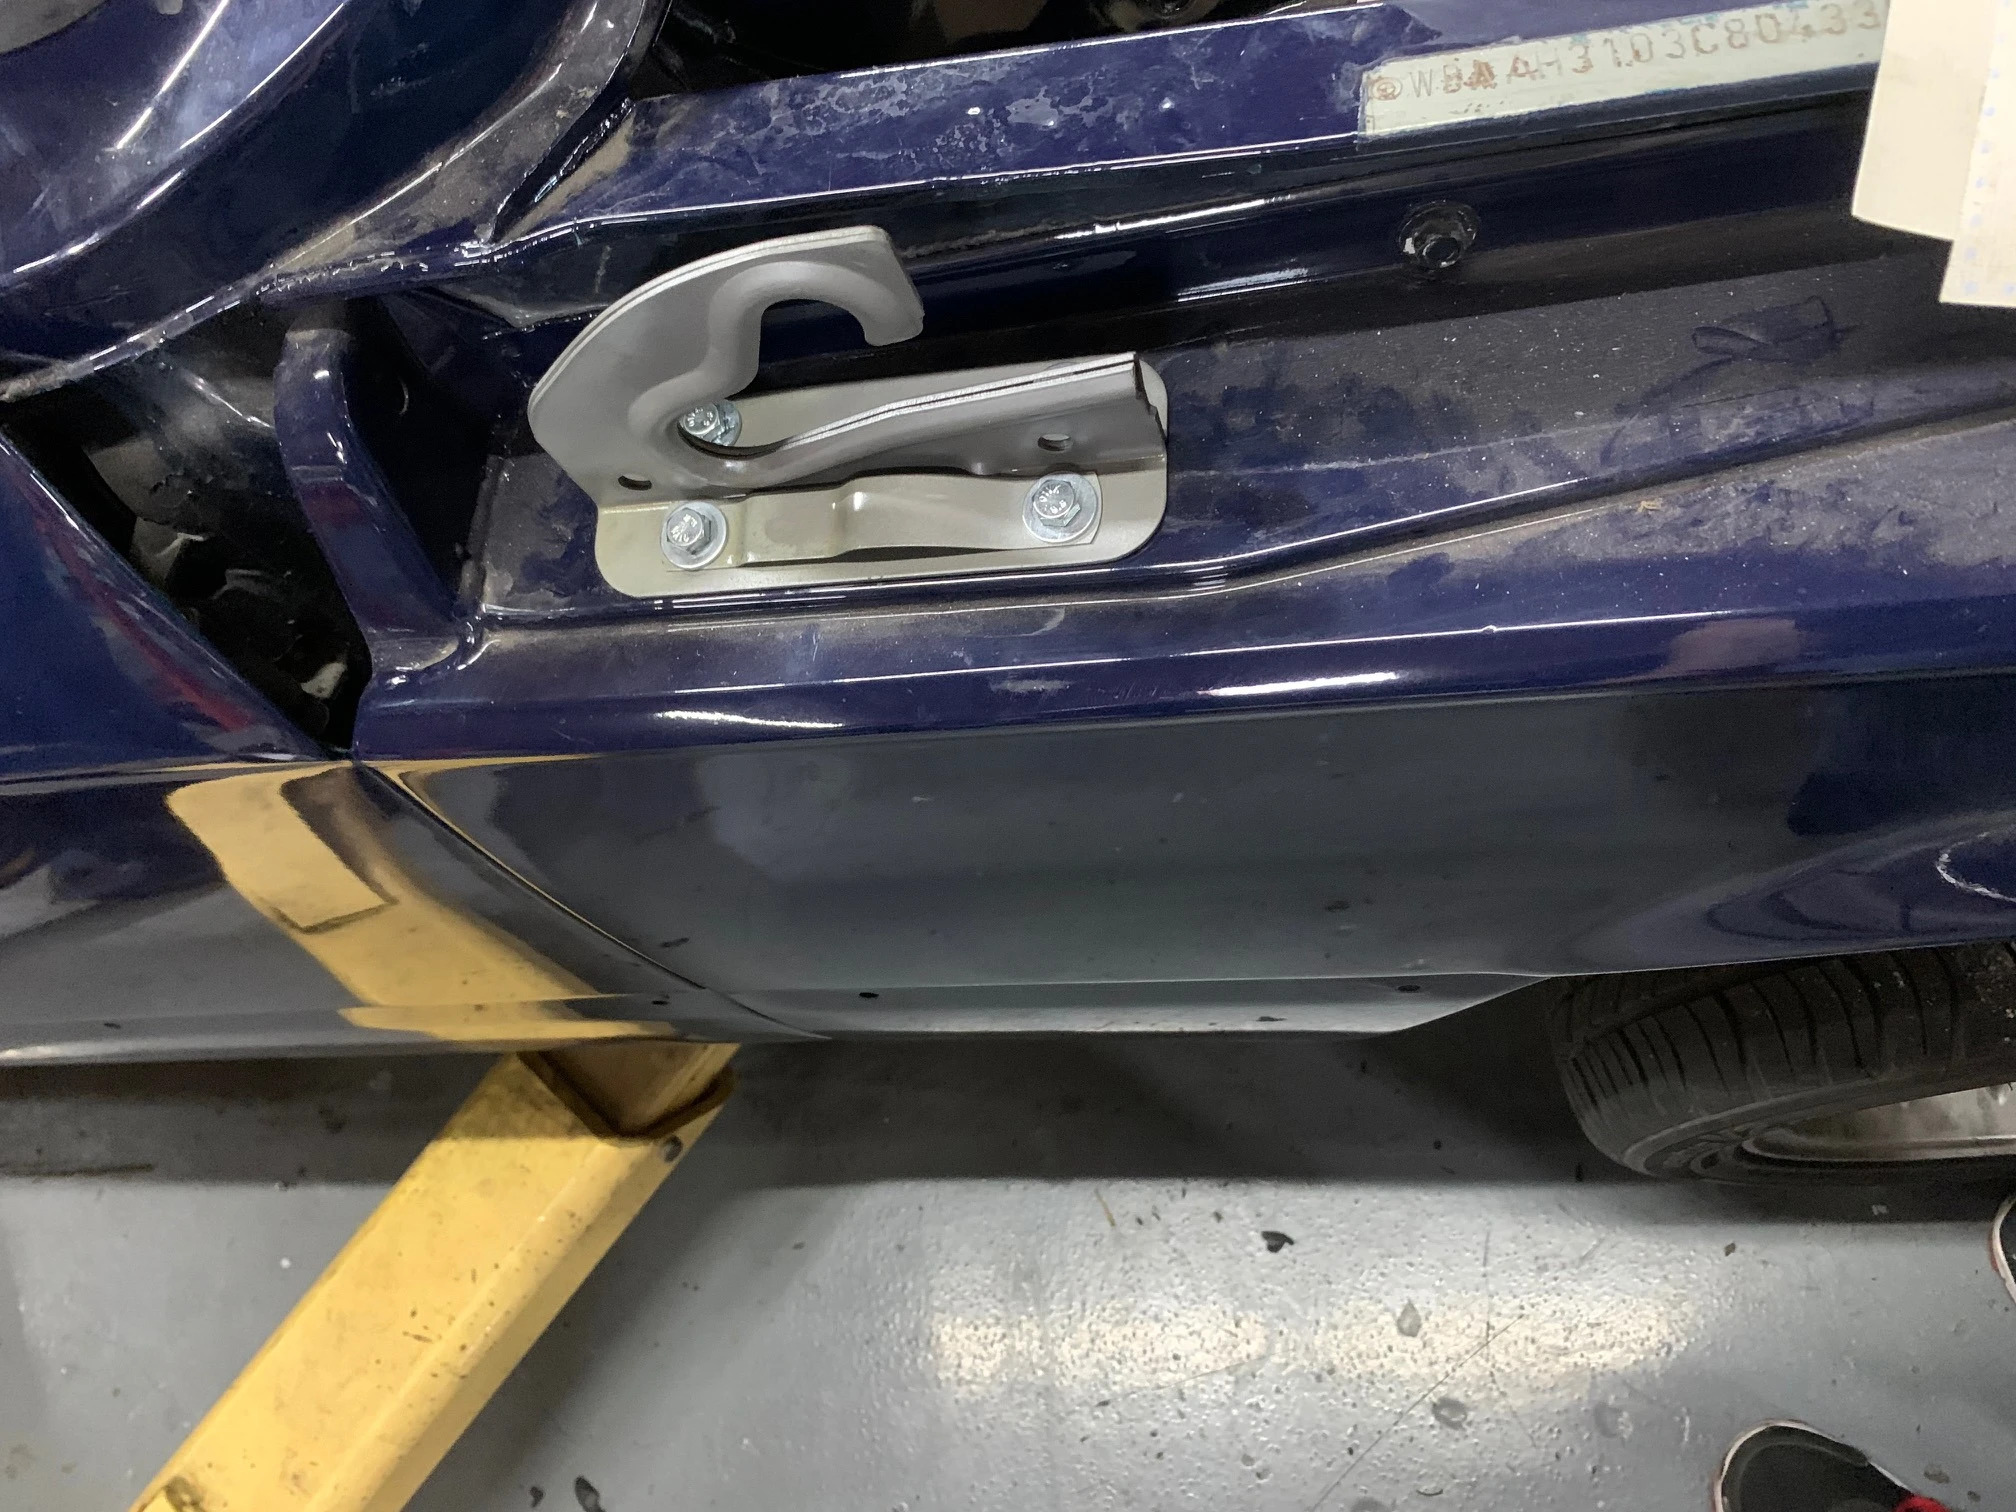
 And sometimes it’s just fun cleaning things up and making them look spiffy; the hood latches were old and rusty, so into the media blaster they went. Quickly they were cleaned up and sprayed with lacquer. A serious improvement.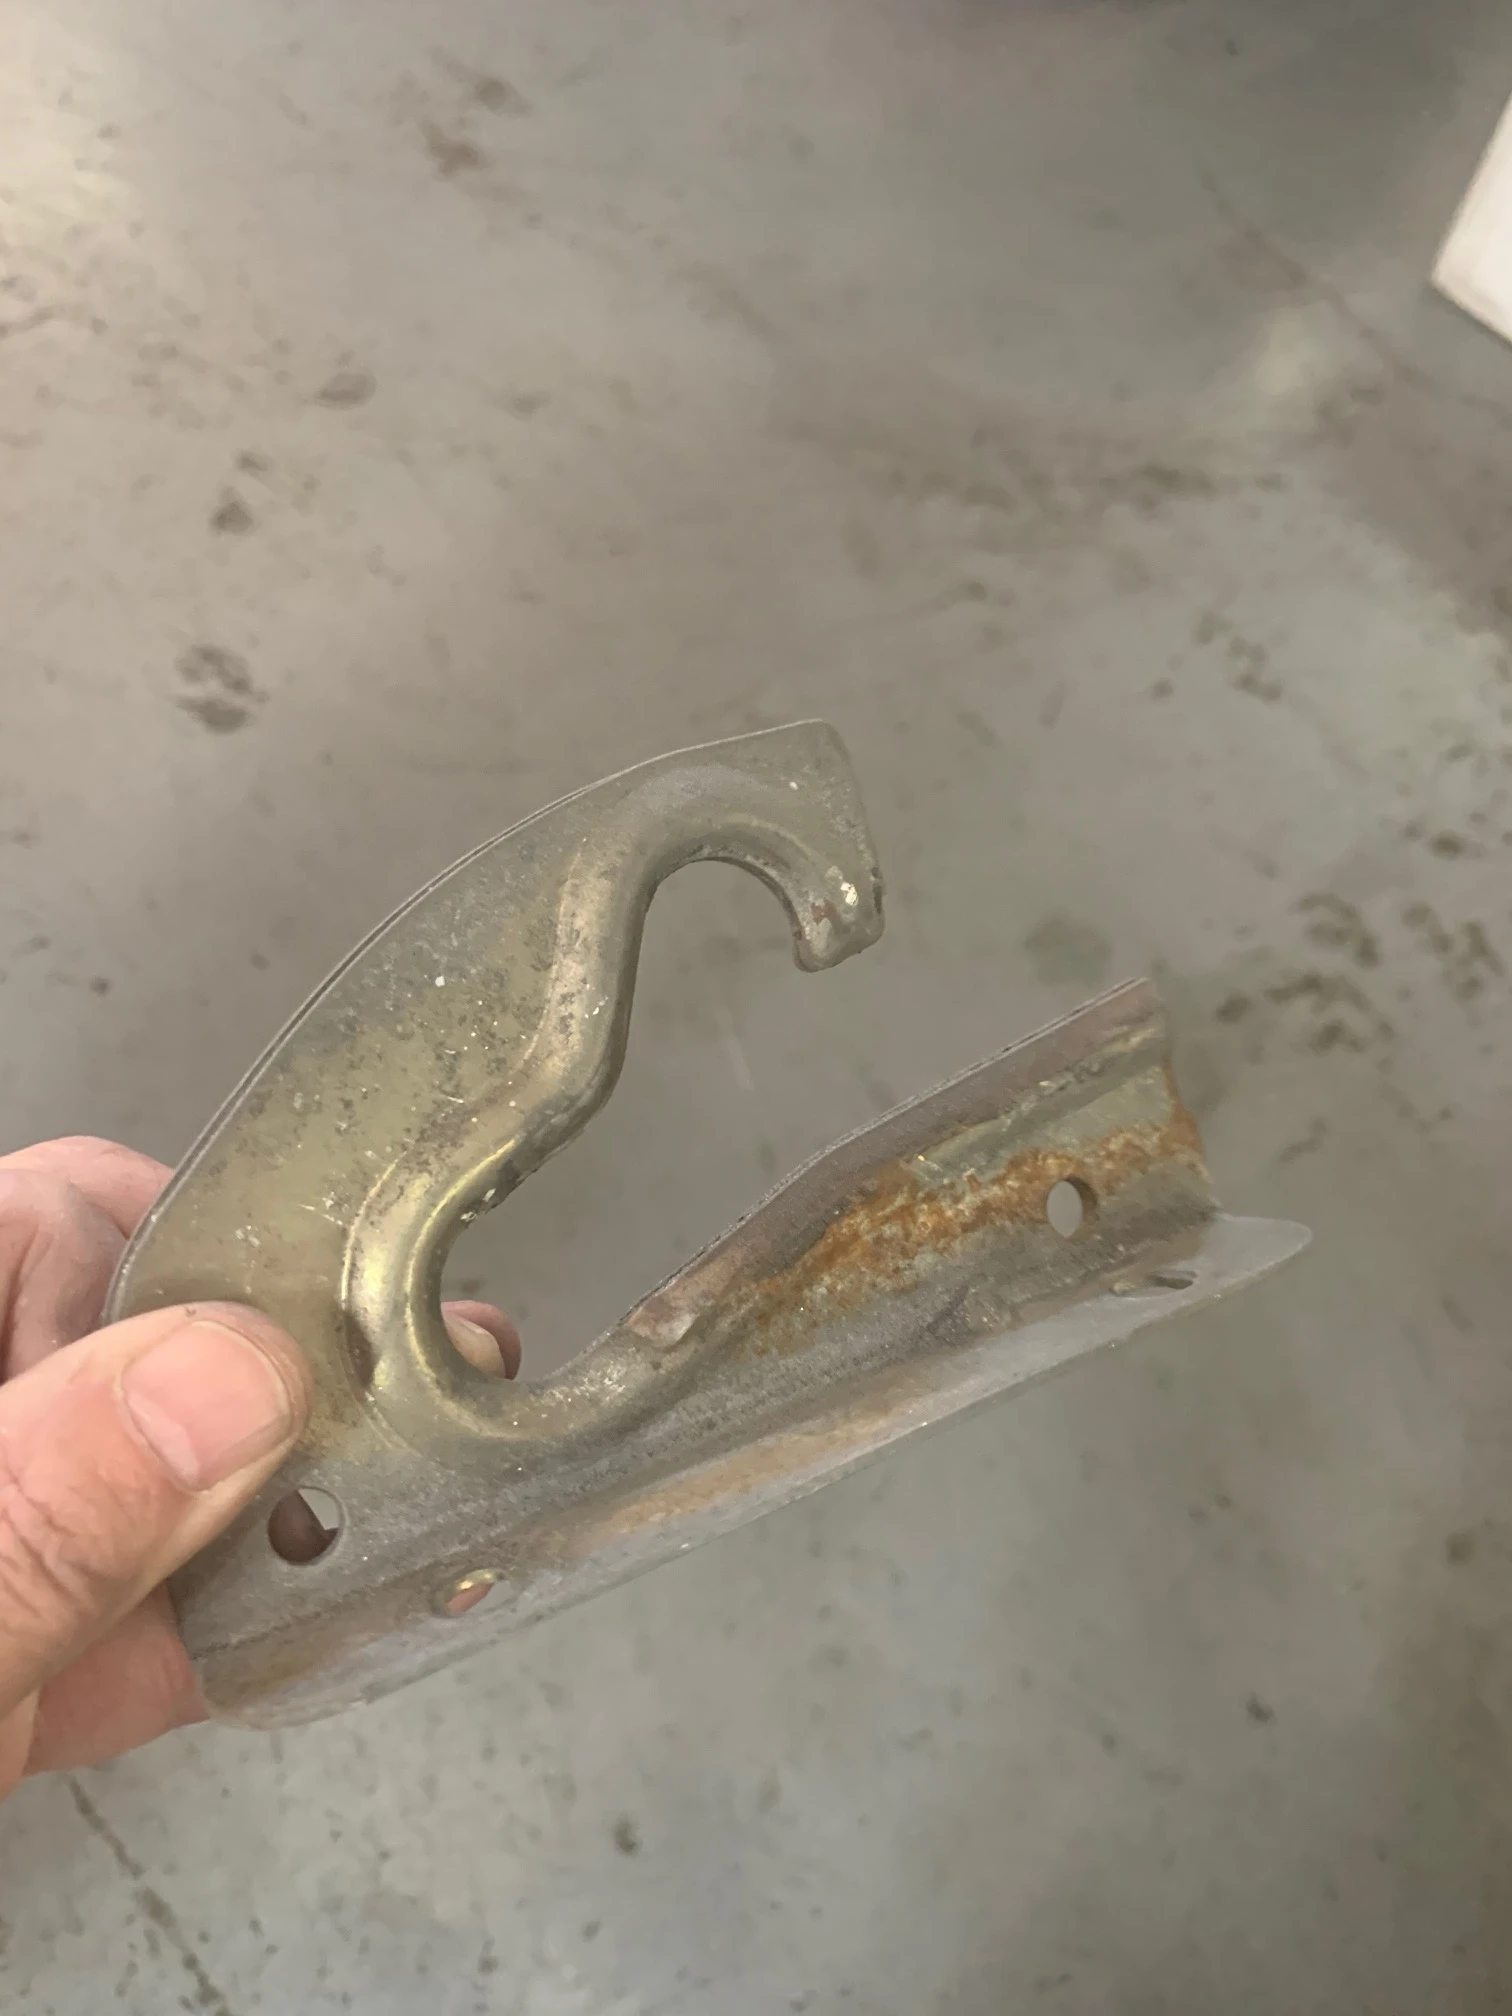
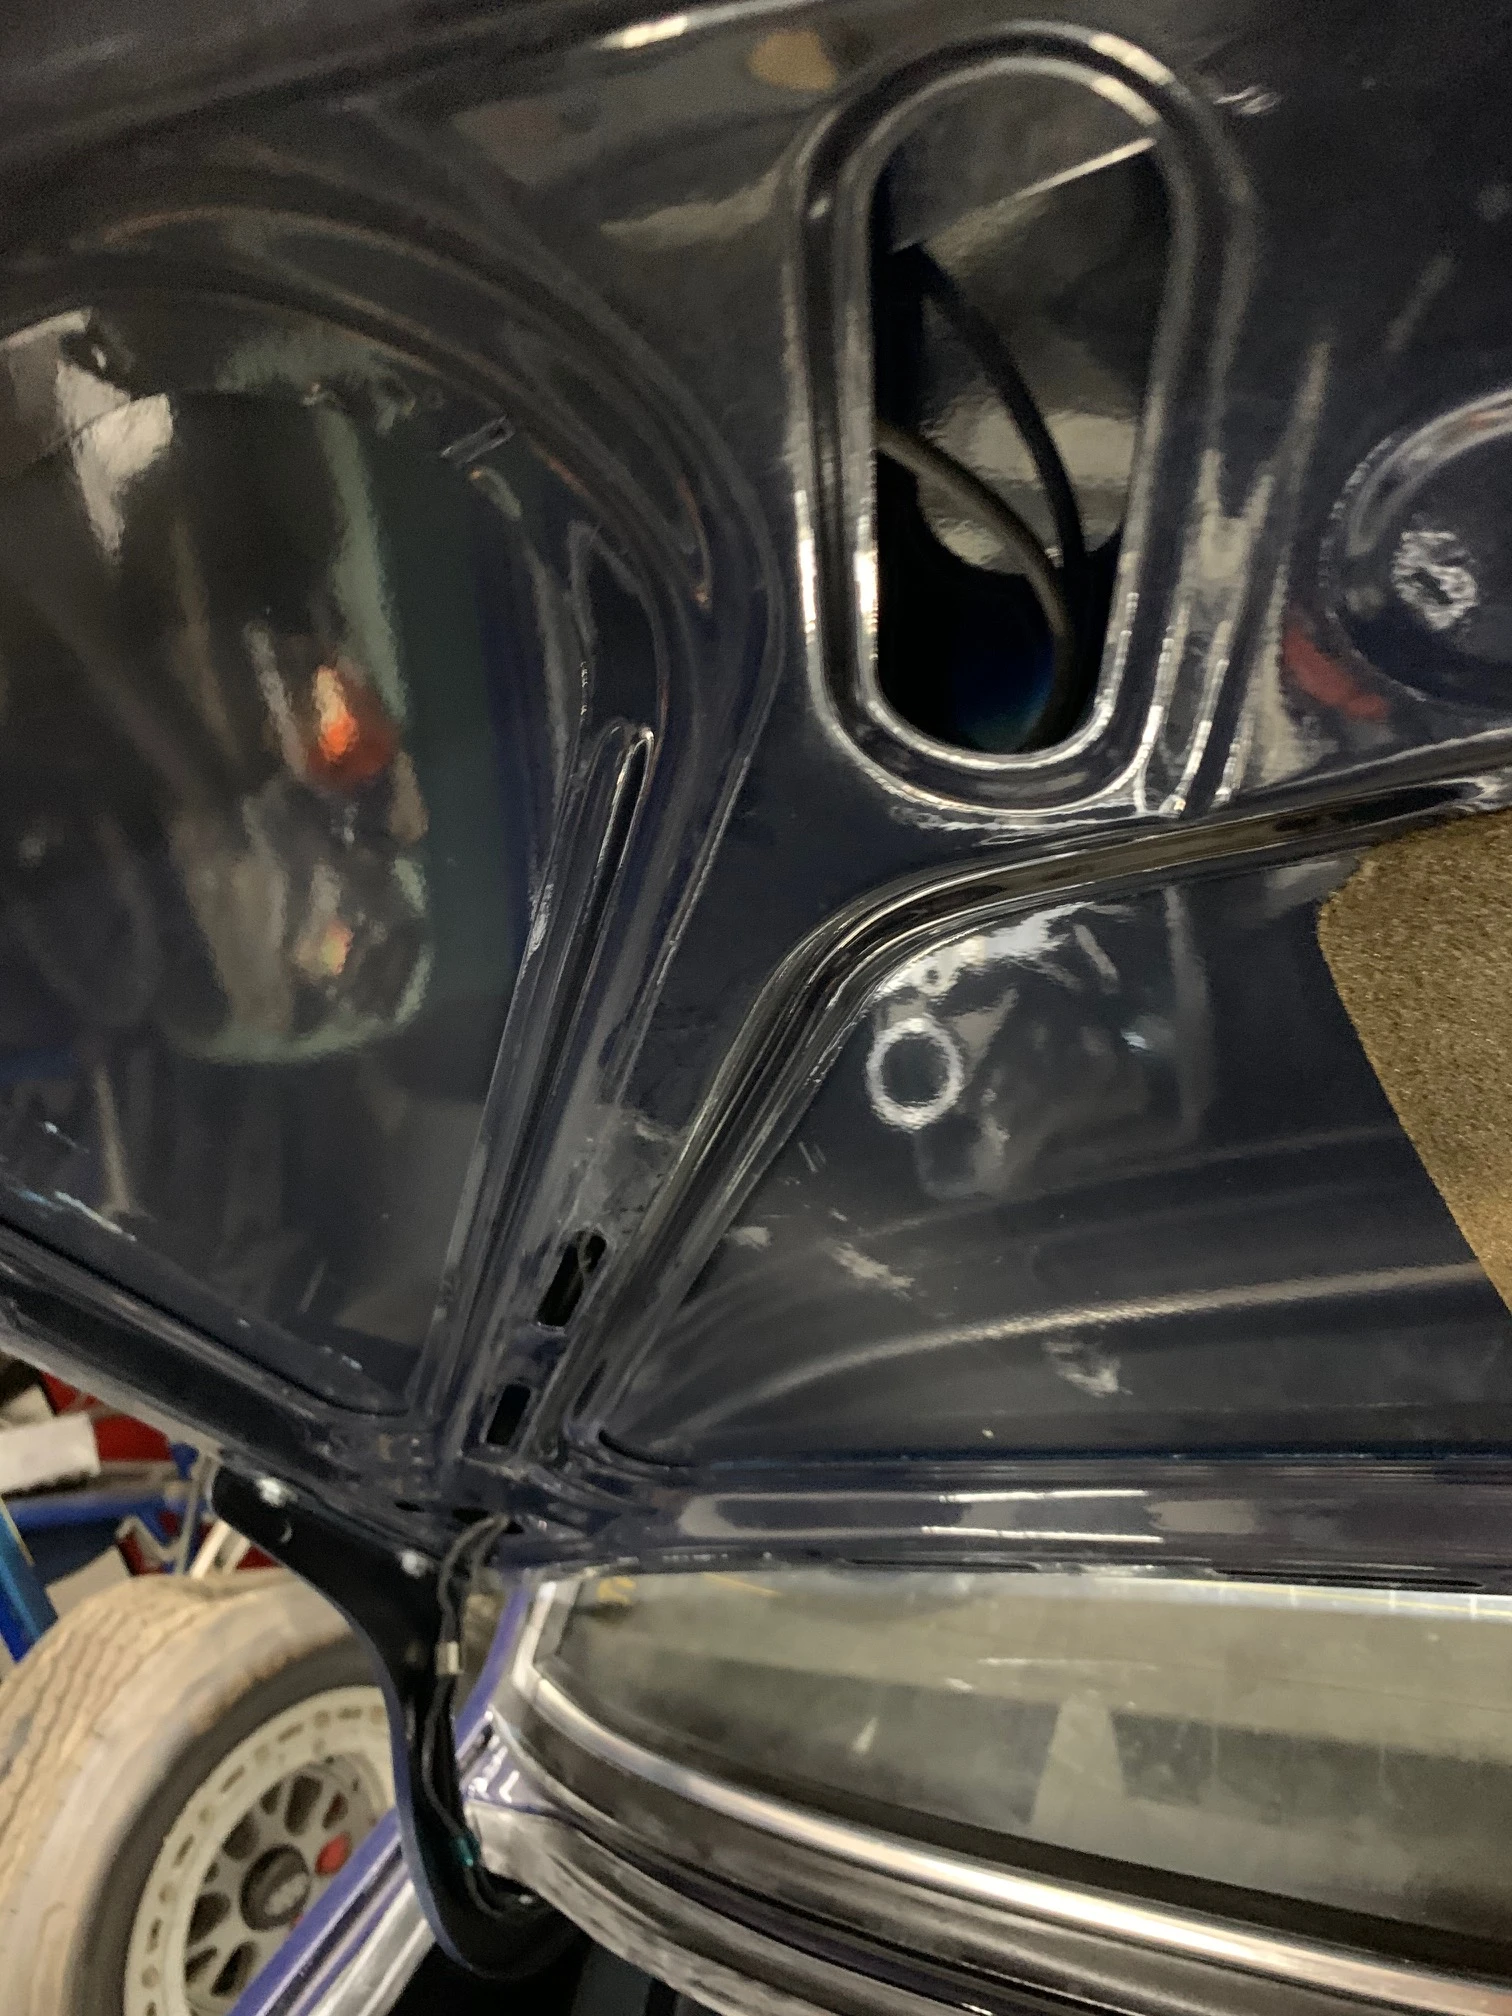
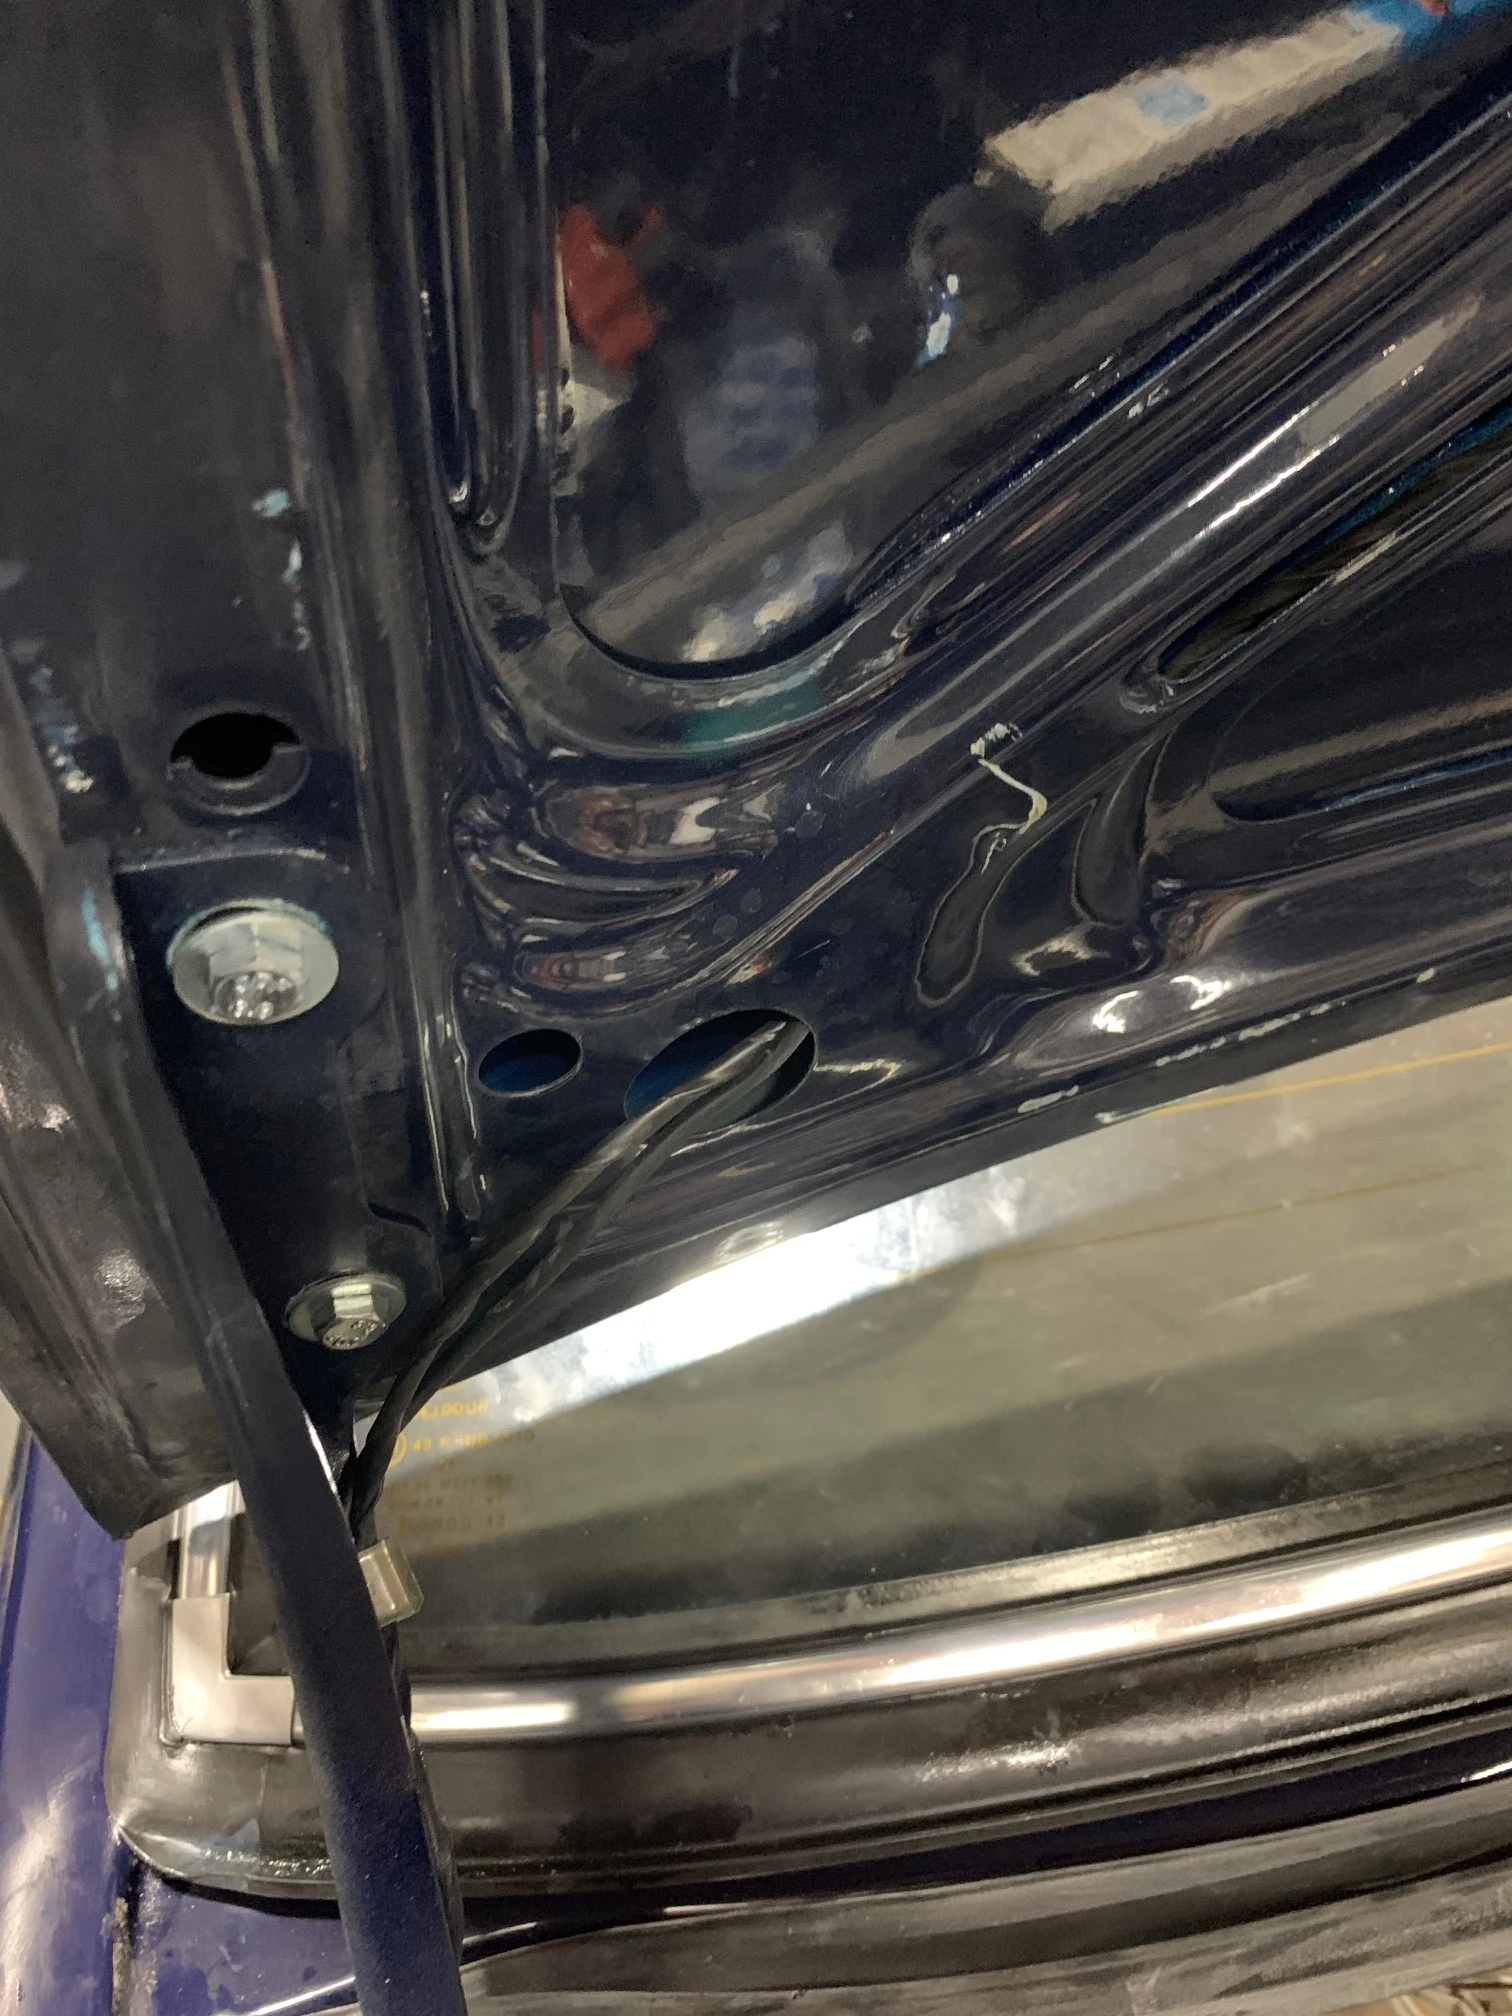
 A project like this has a ton of small things that need to be done, like running the wire back through the small channels on the inside of the trunk lid. Fitting the wiring through those channel can be a challenge, but patience and persistence pay off.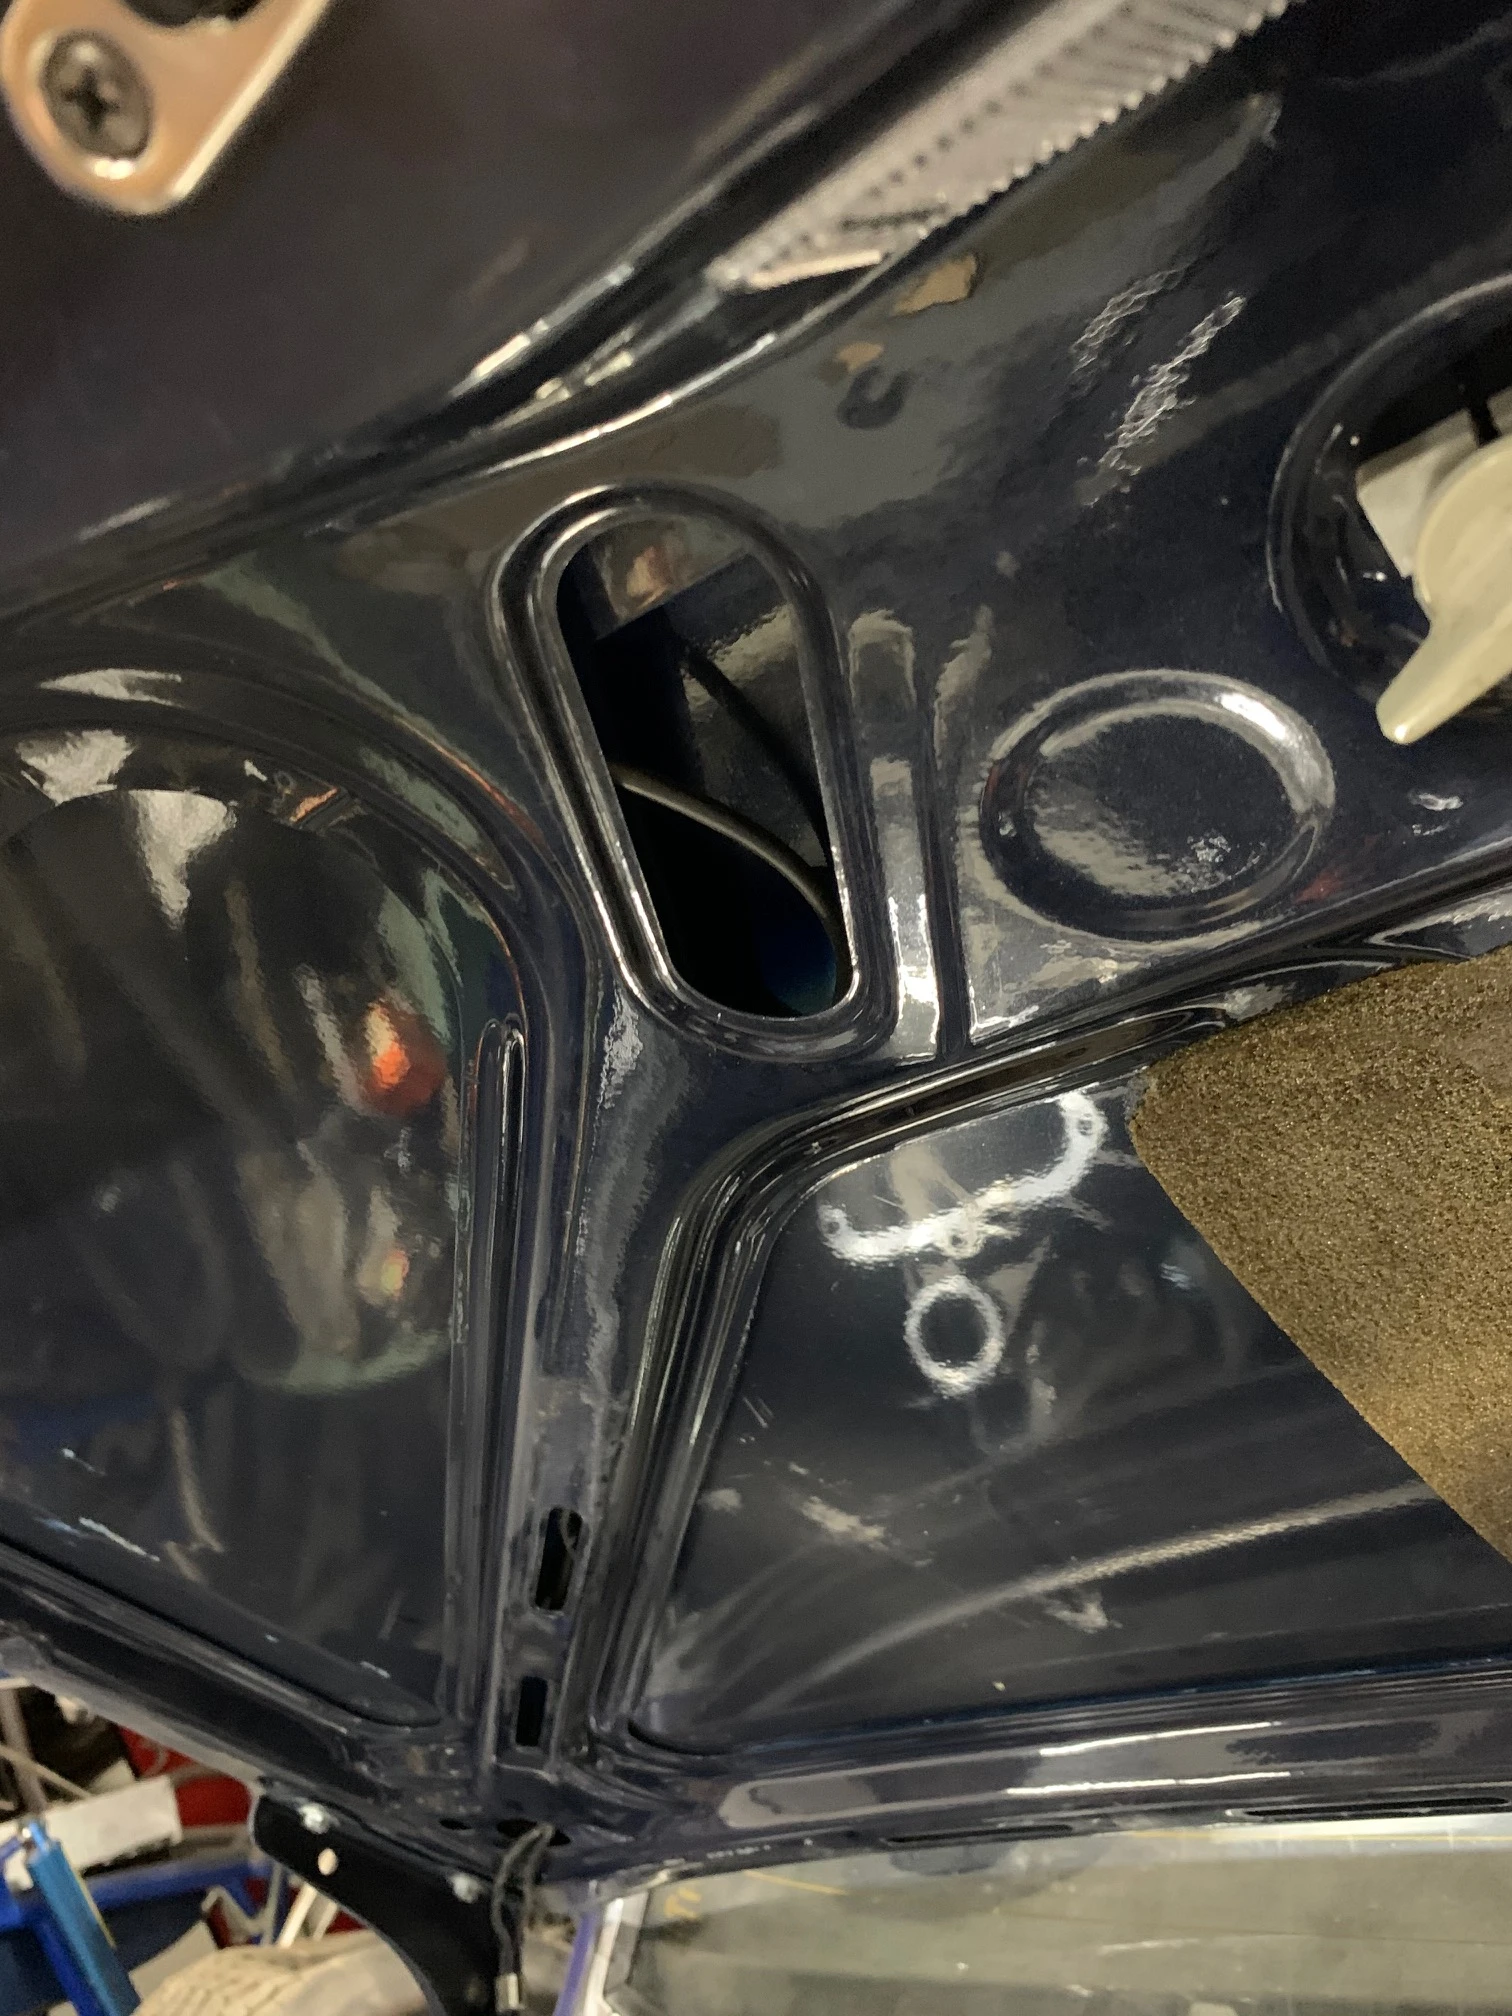
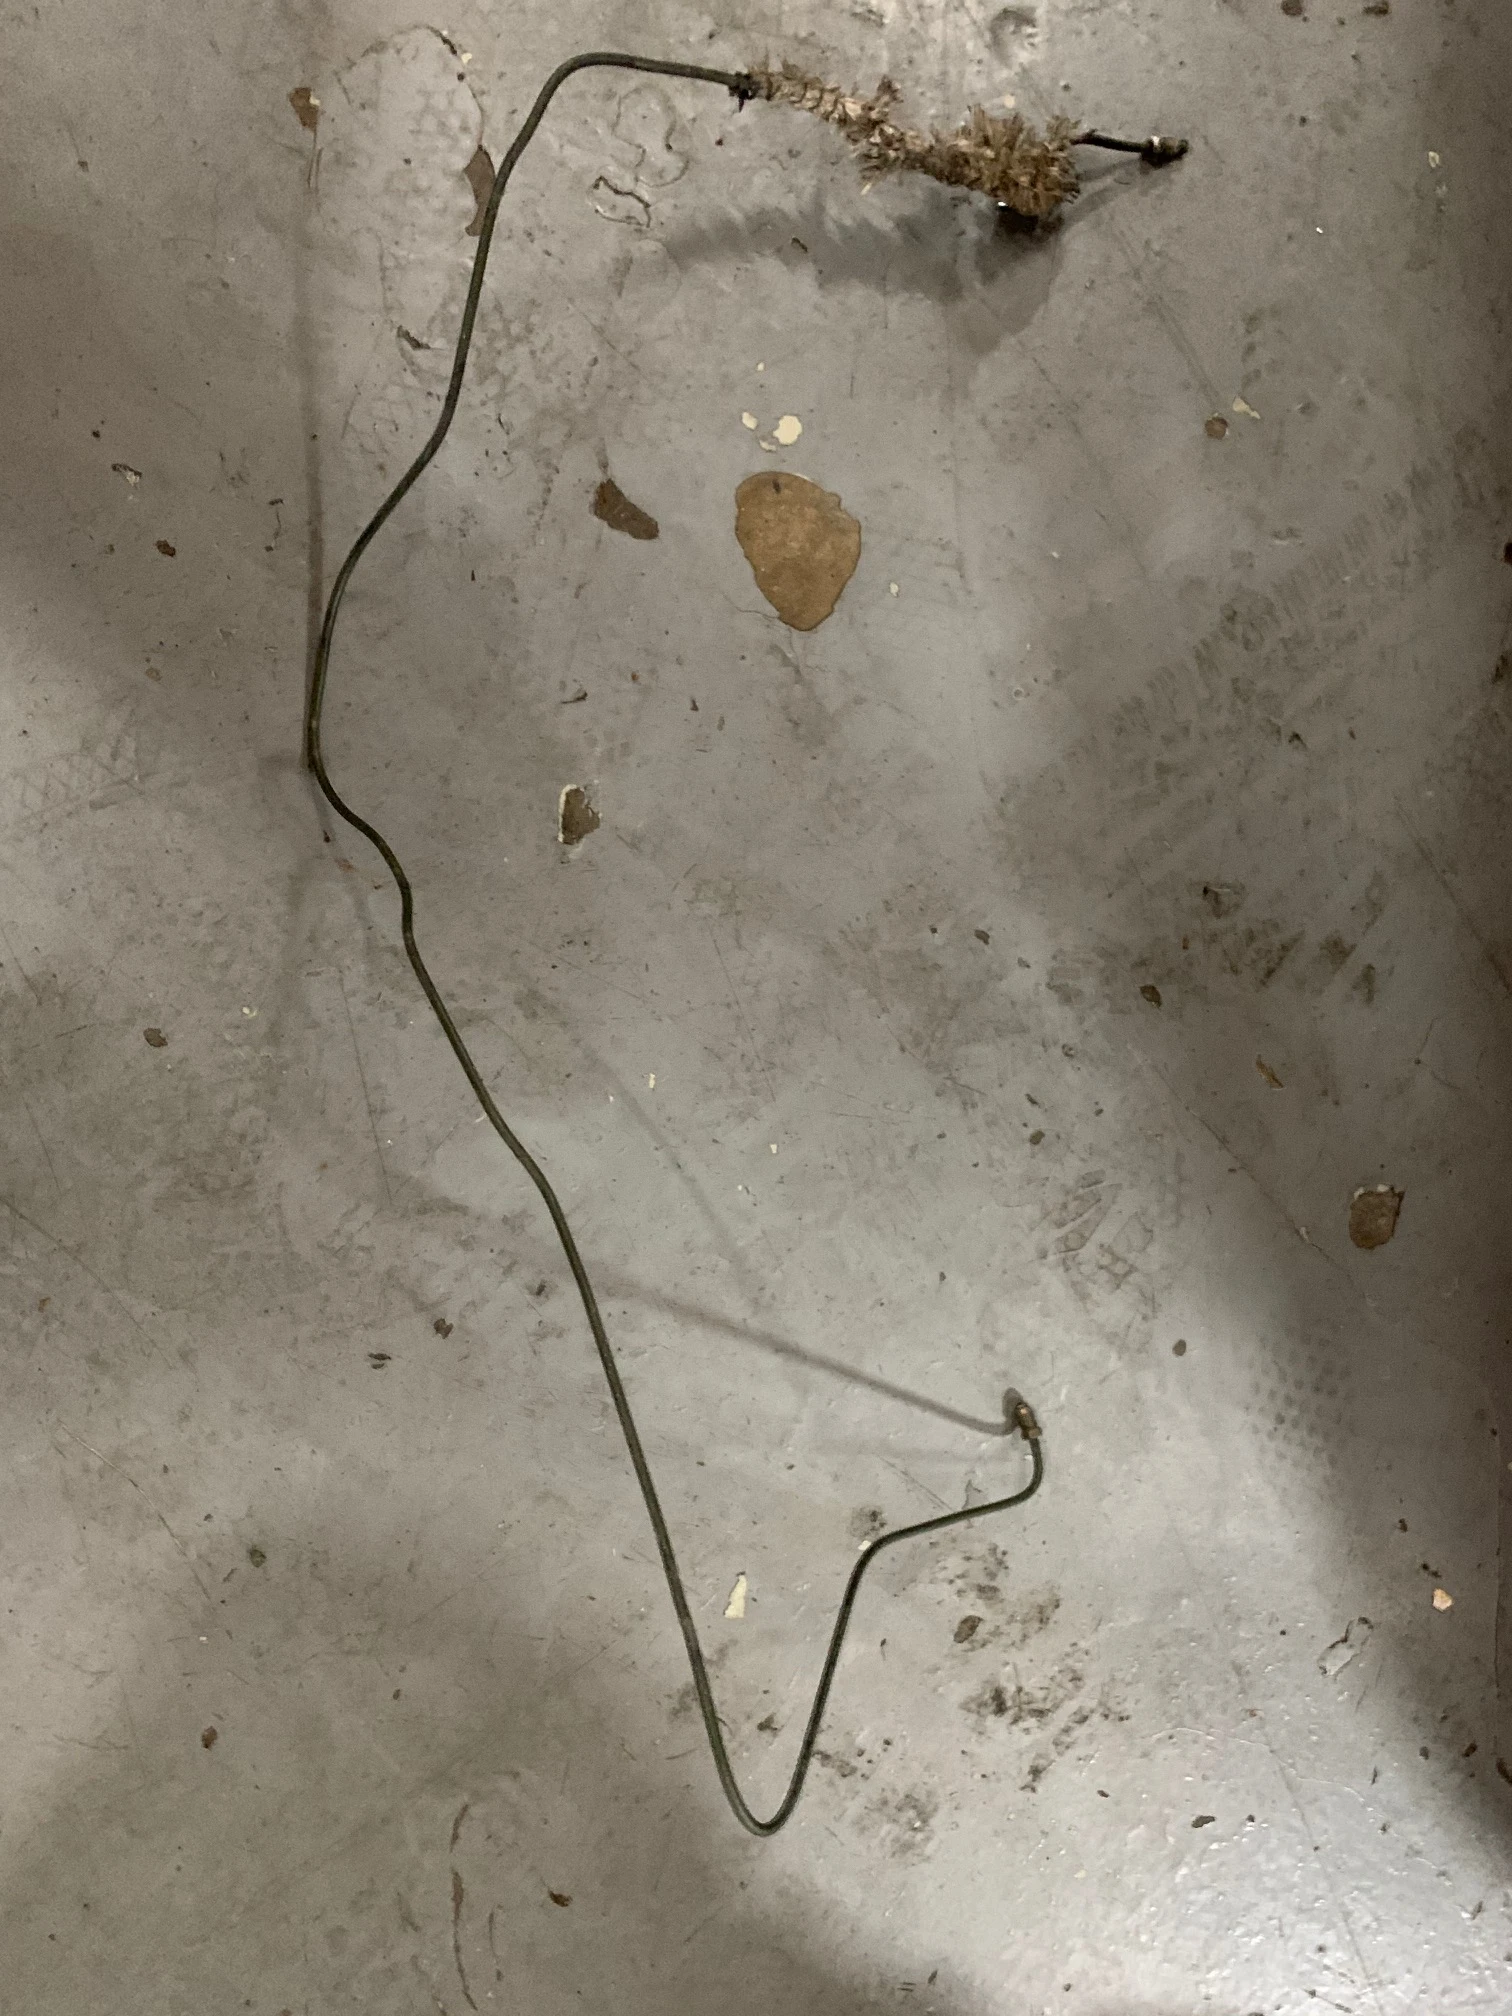
 But it also has some significant challenges. One was the metal brake line to the caliper on the front passenger side. The original one was bent, weak, and just ugly.
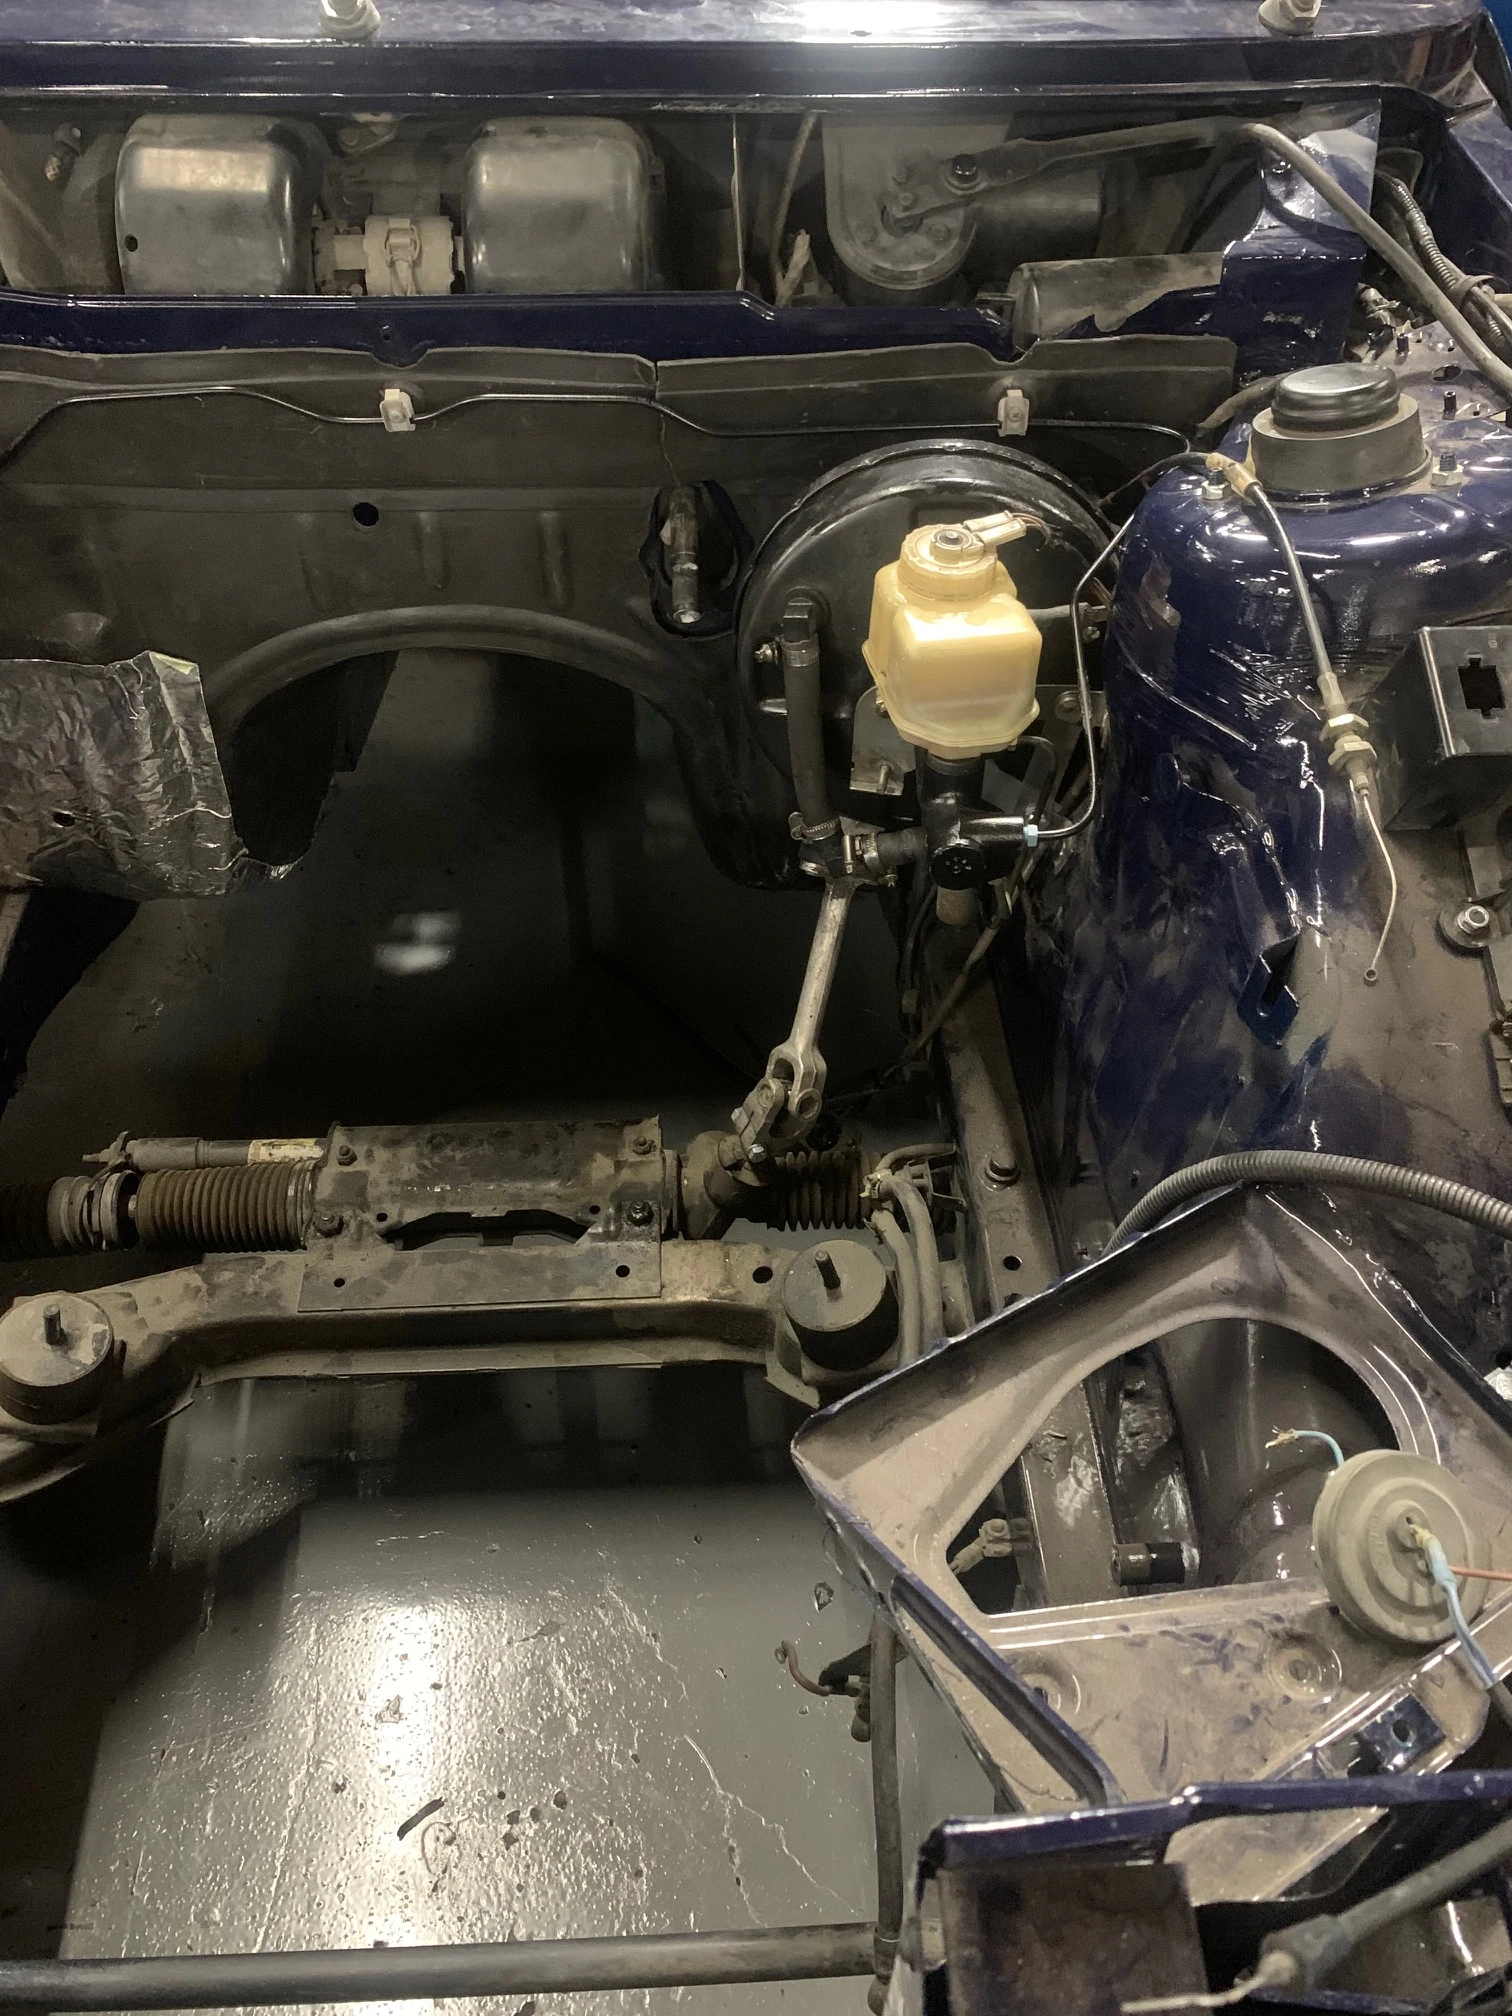
 After that, the rest of the brake system—booster, new master cylinder, and reservoir—get installed. The brake master was one of those problems with the delayed project. Four years ago I ordered a new one but when I went to install it, the fittings where the brakes lines screwed in were in the wrong places. Too late to return it, I had to get another new one, this one fitting just right.
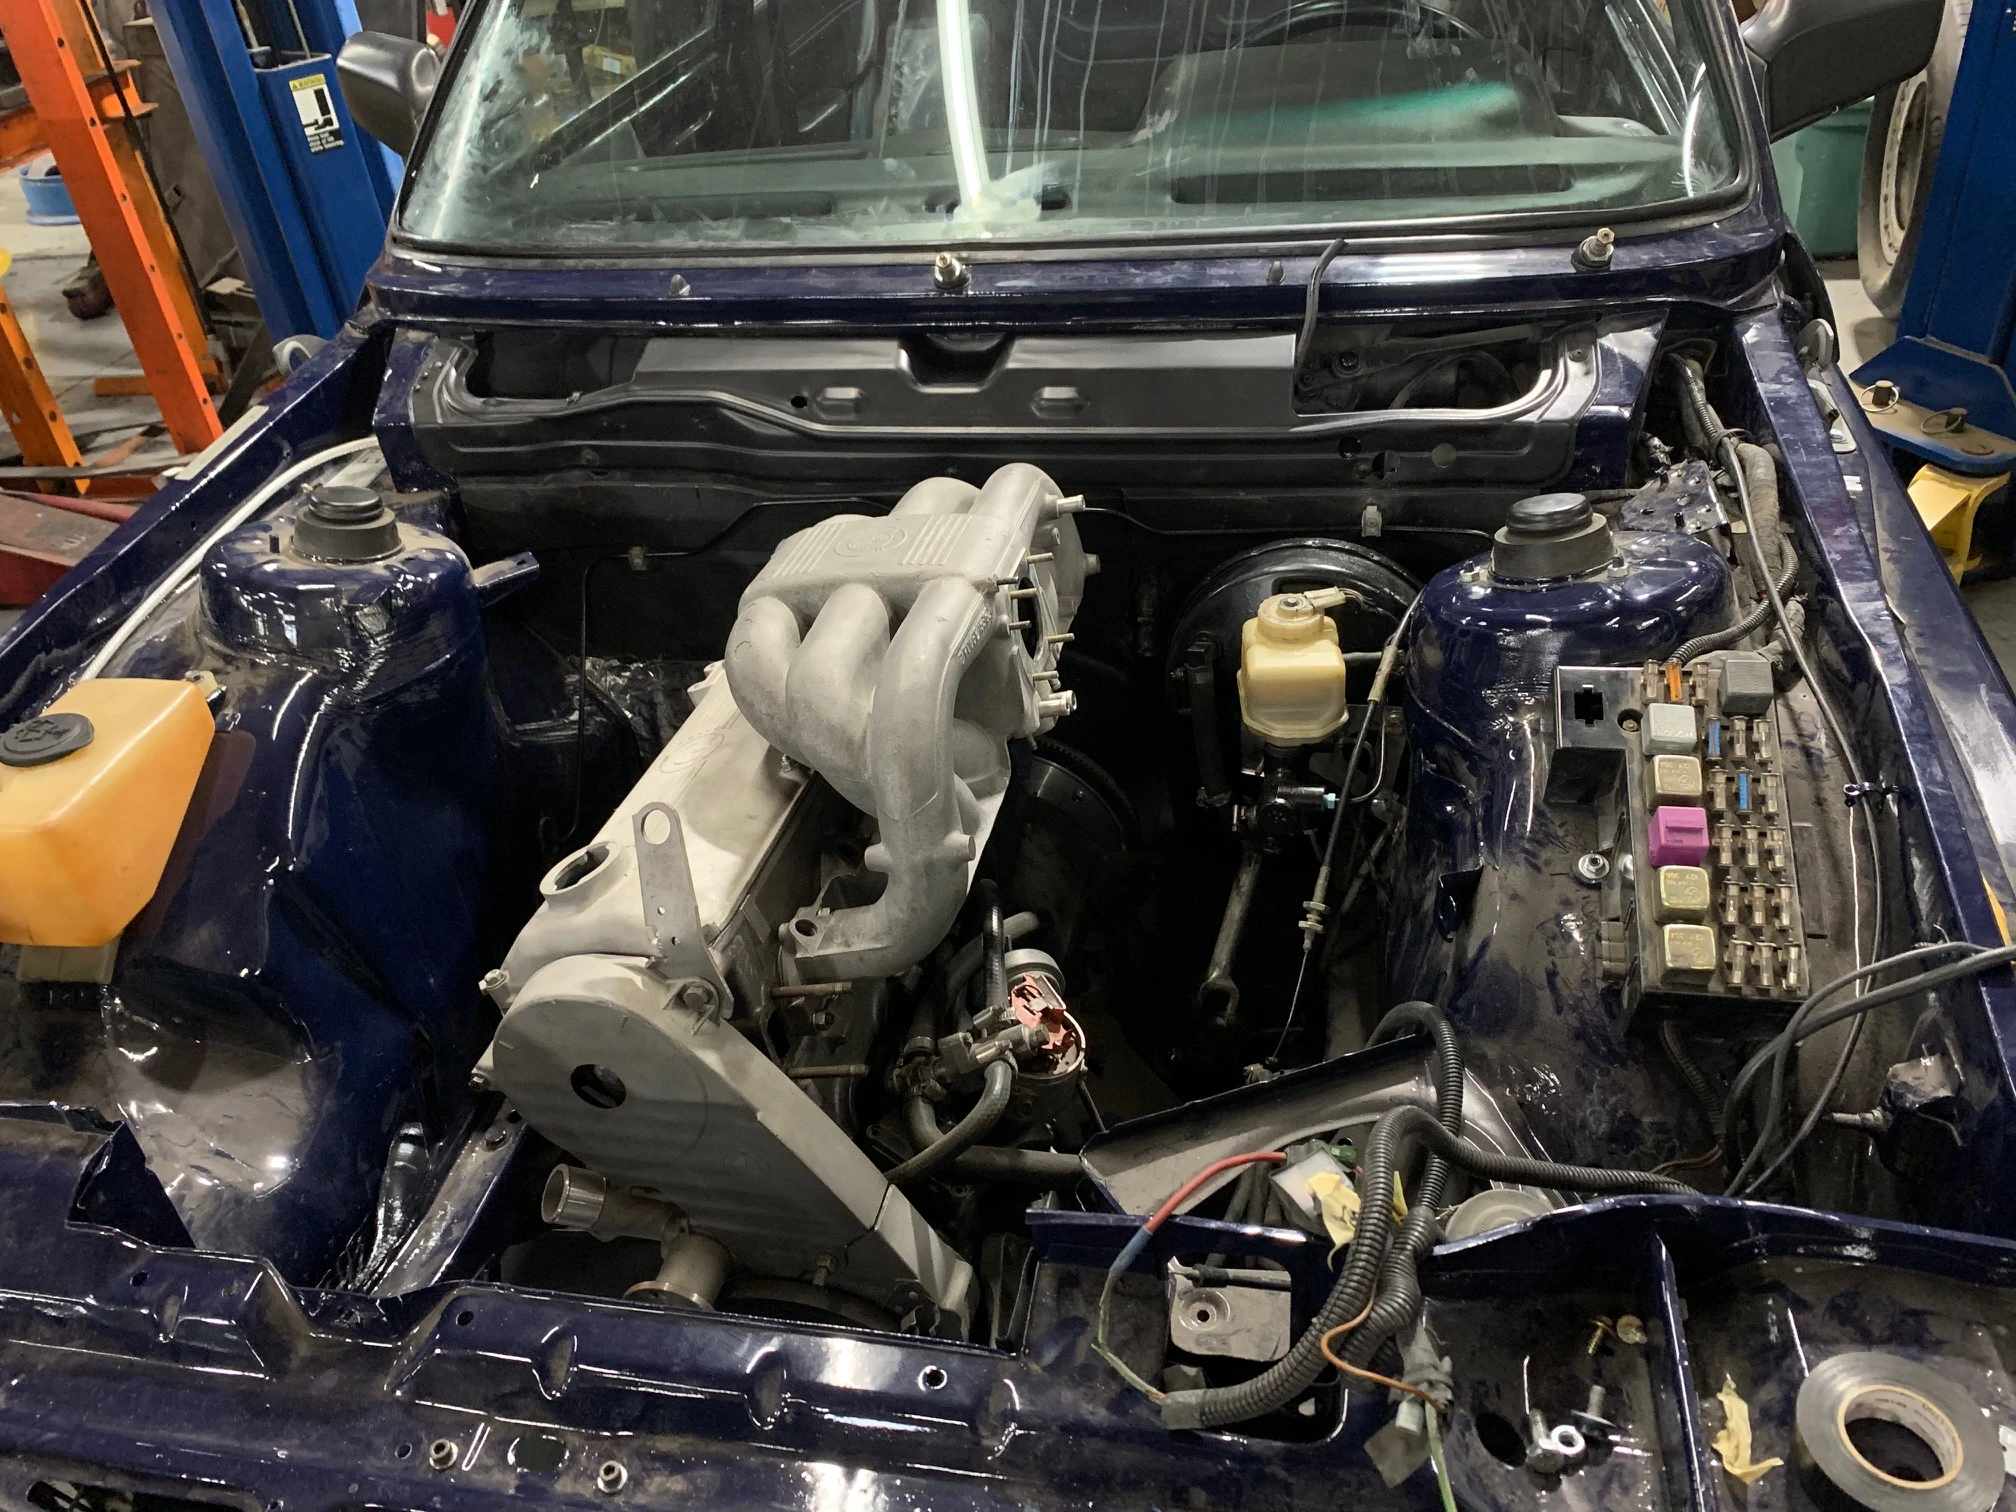
 With most of the work done to the engine compartment, it was time to drop-in the motor. Putting in the motor was pretty straight-forward and two nuts later, it was part of the car again.
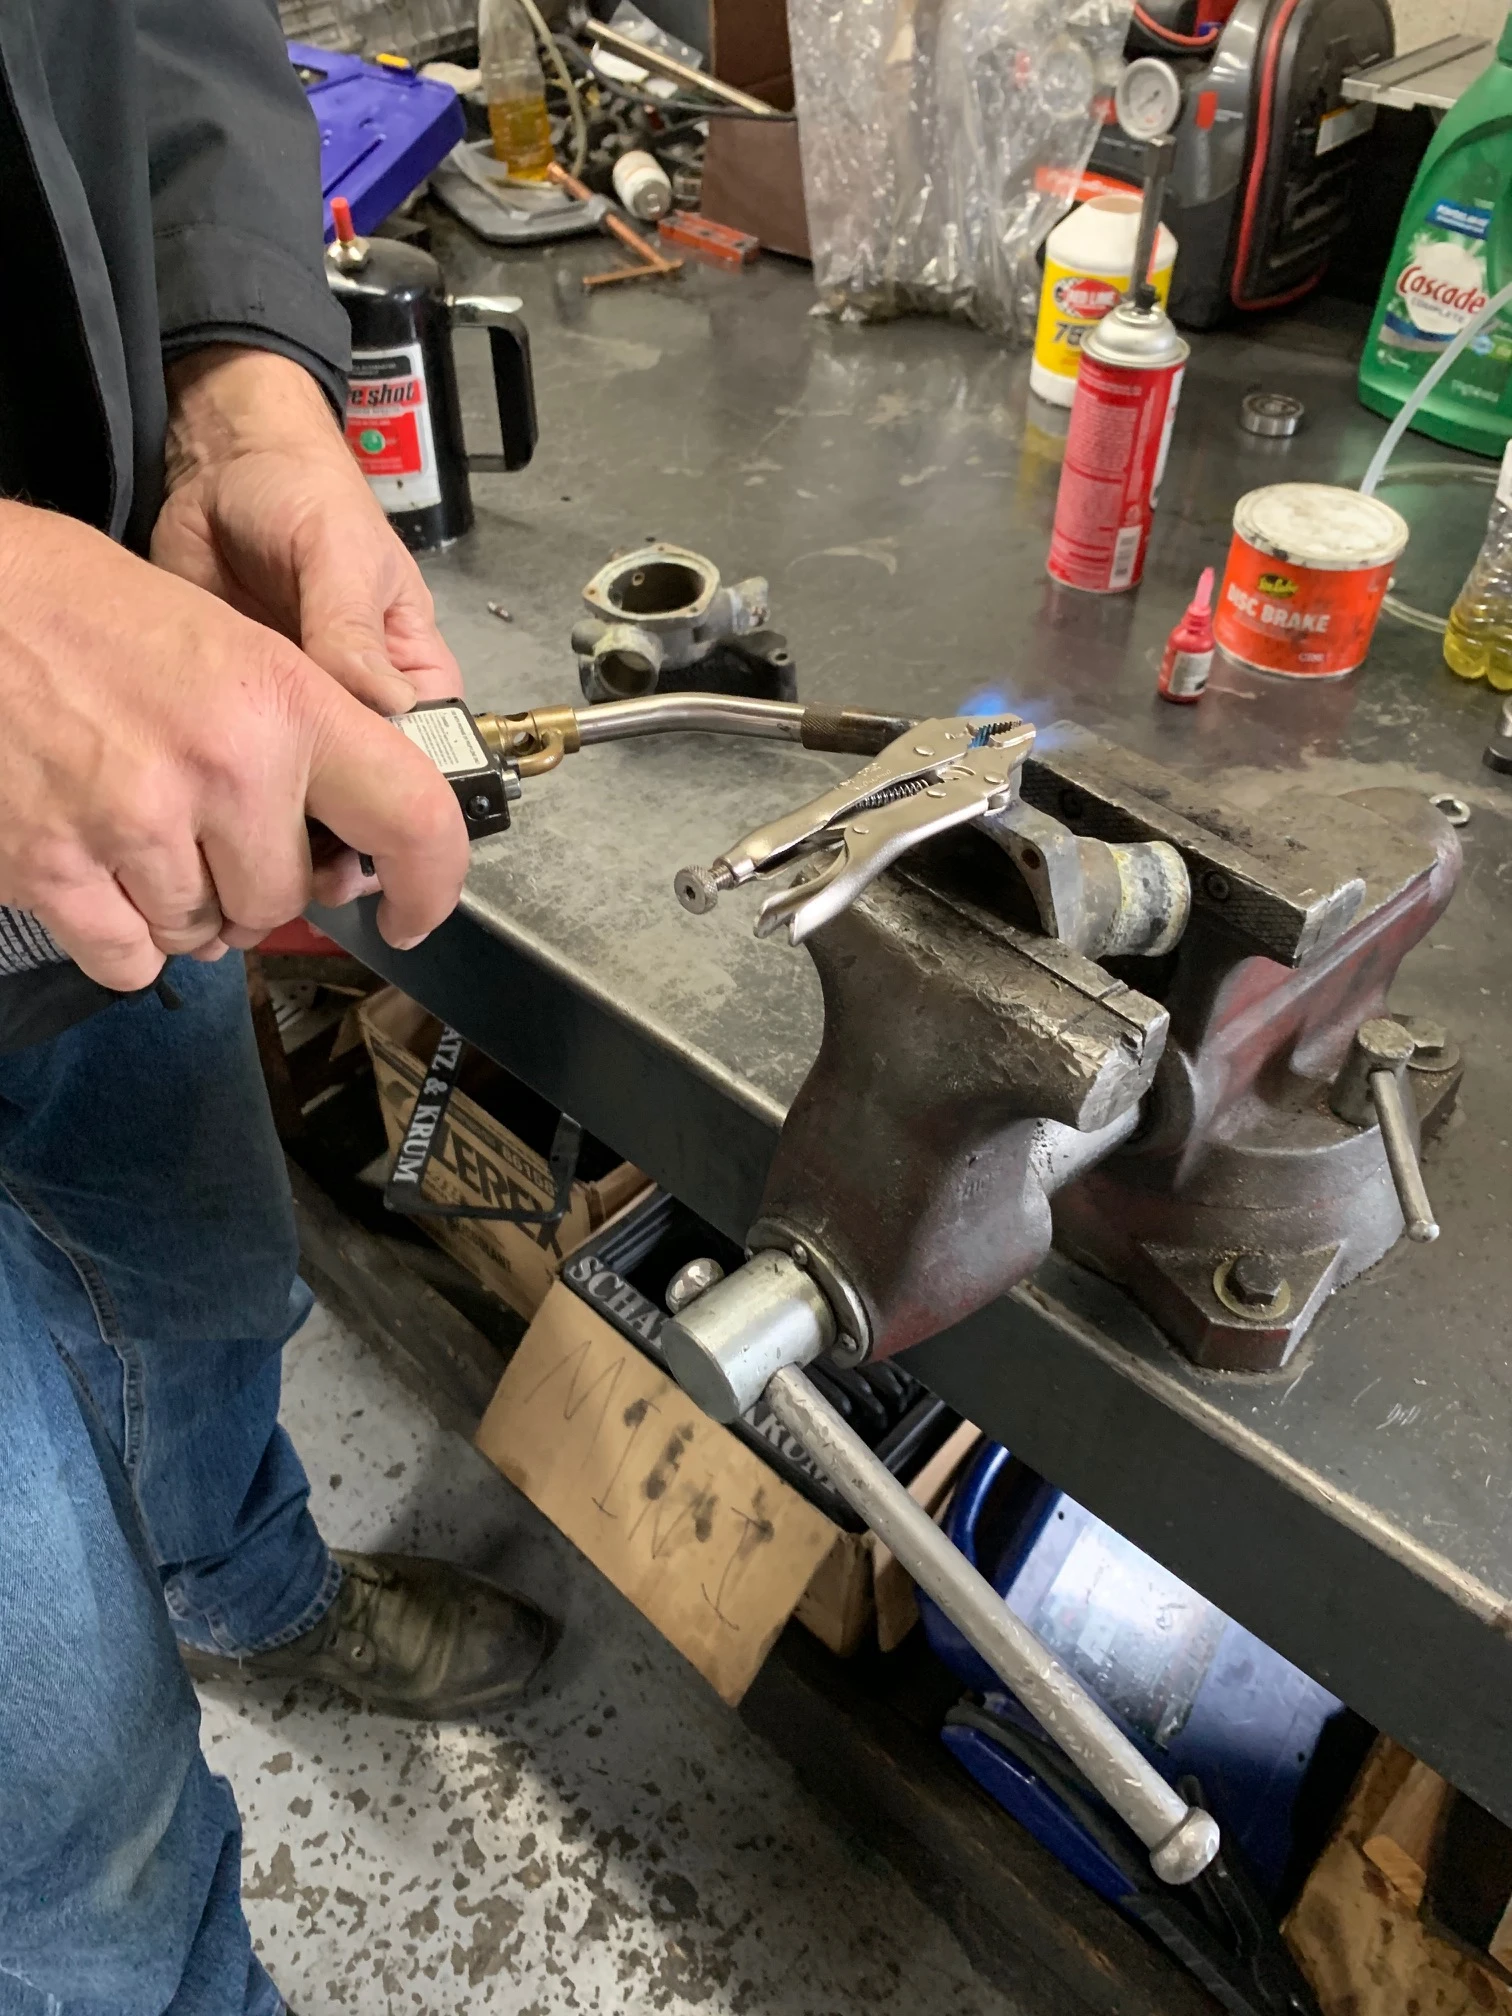
 With the long block in, building it up to be a working motor was up next. The old thermostat manifold was not in great shape and need some heat to take it apart.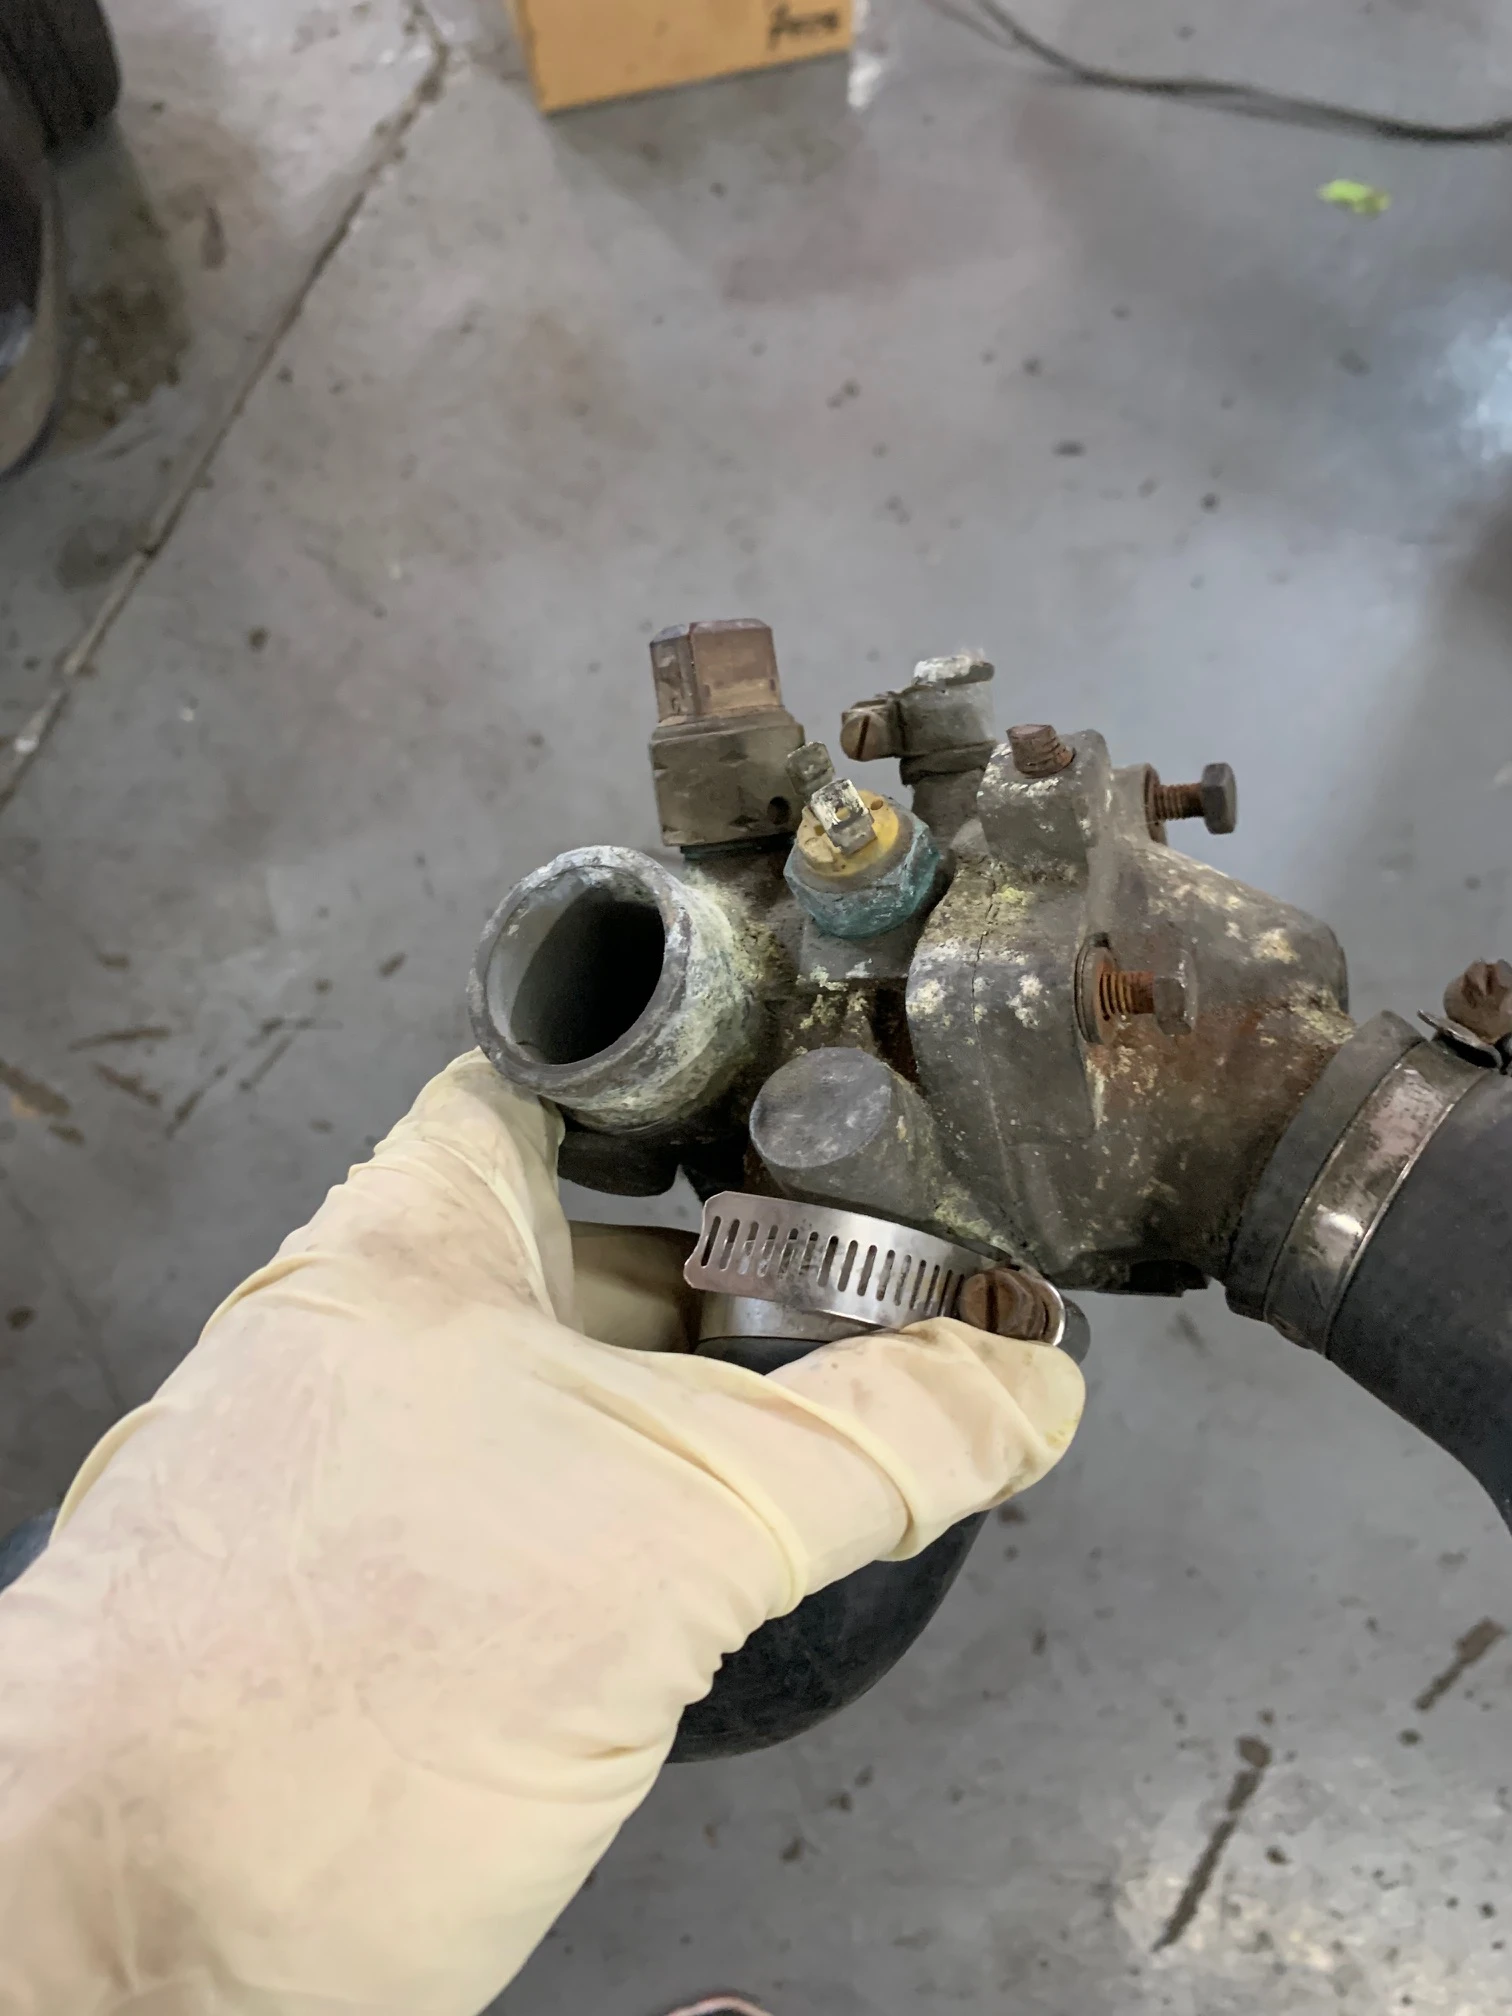
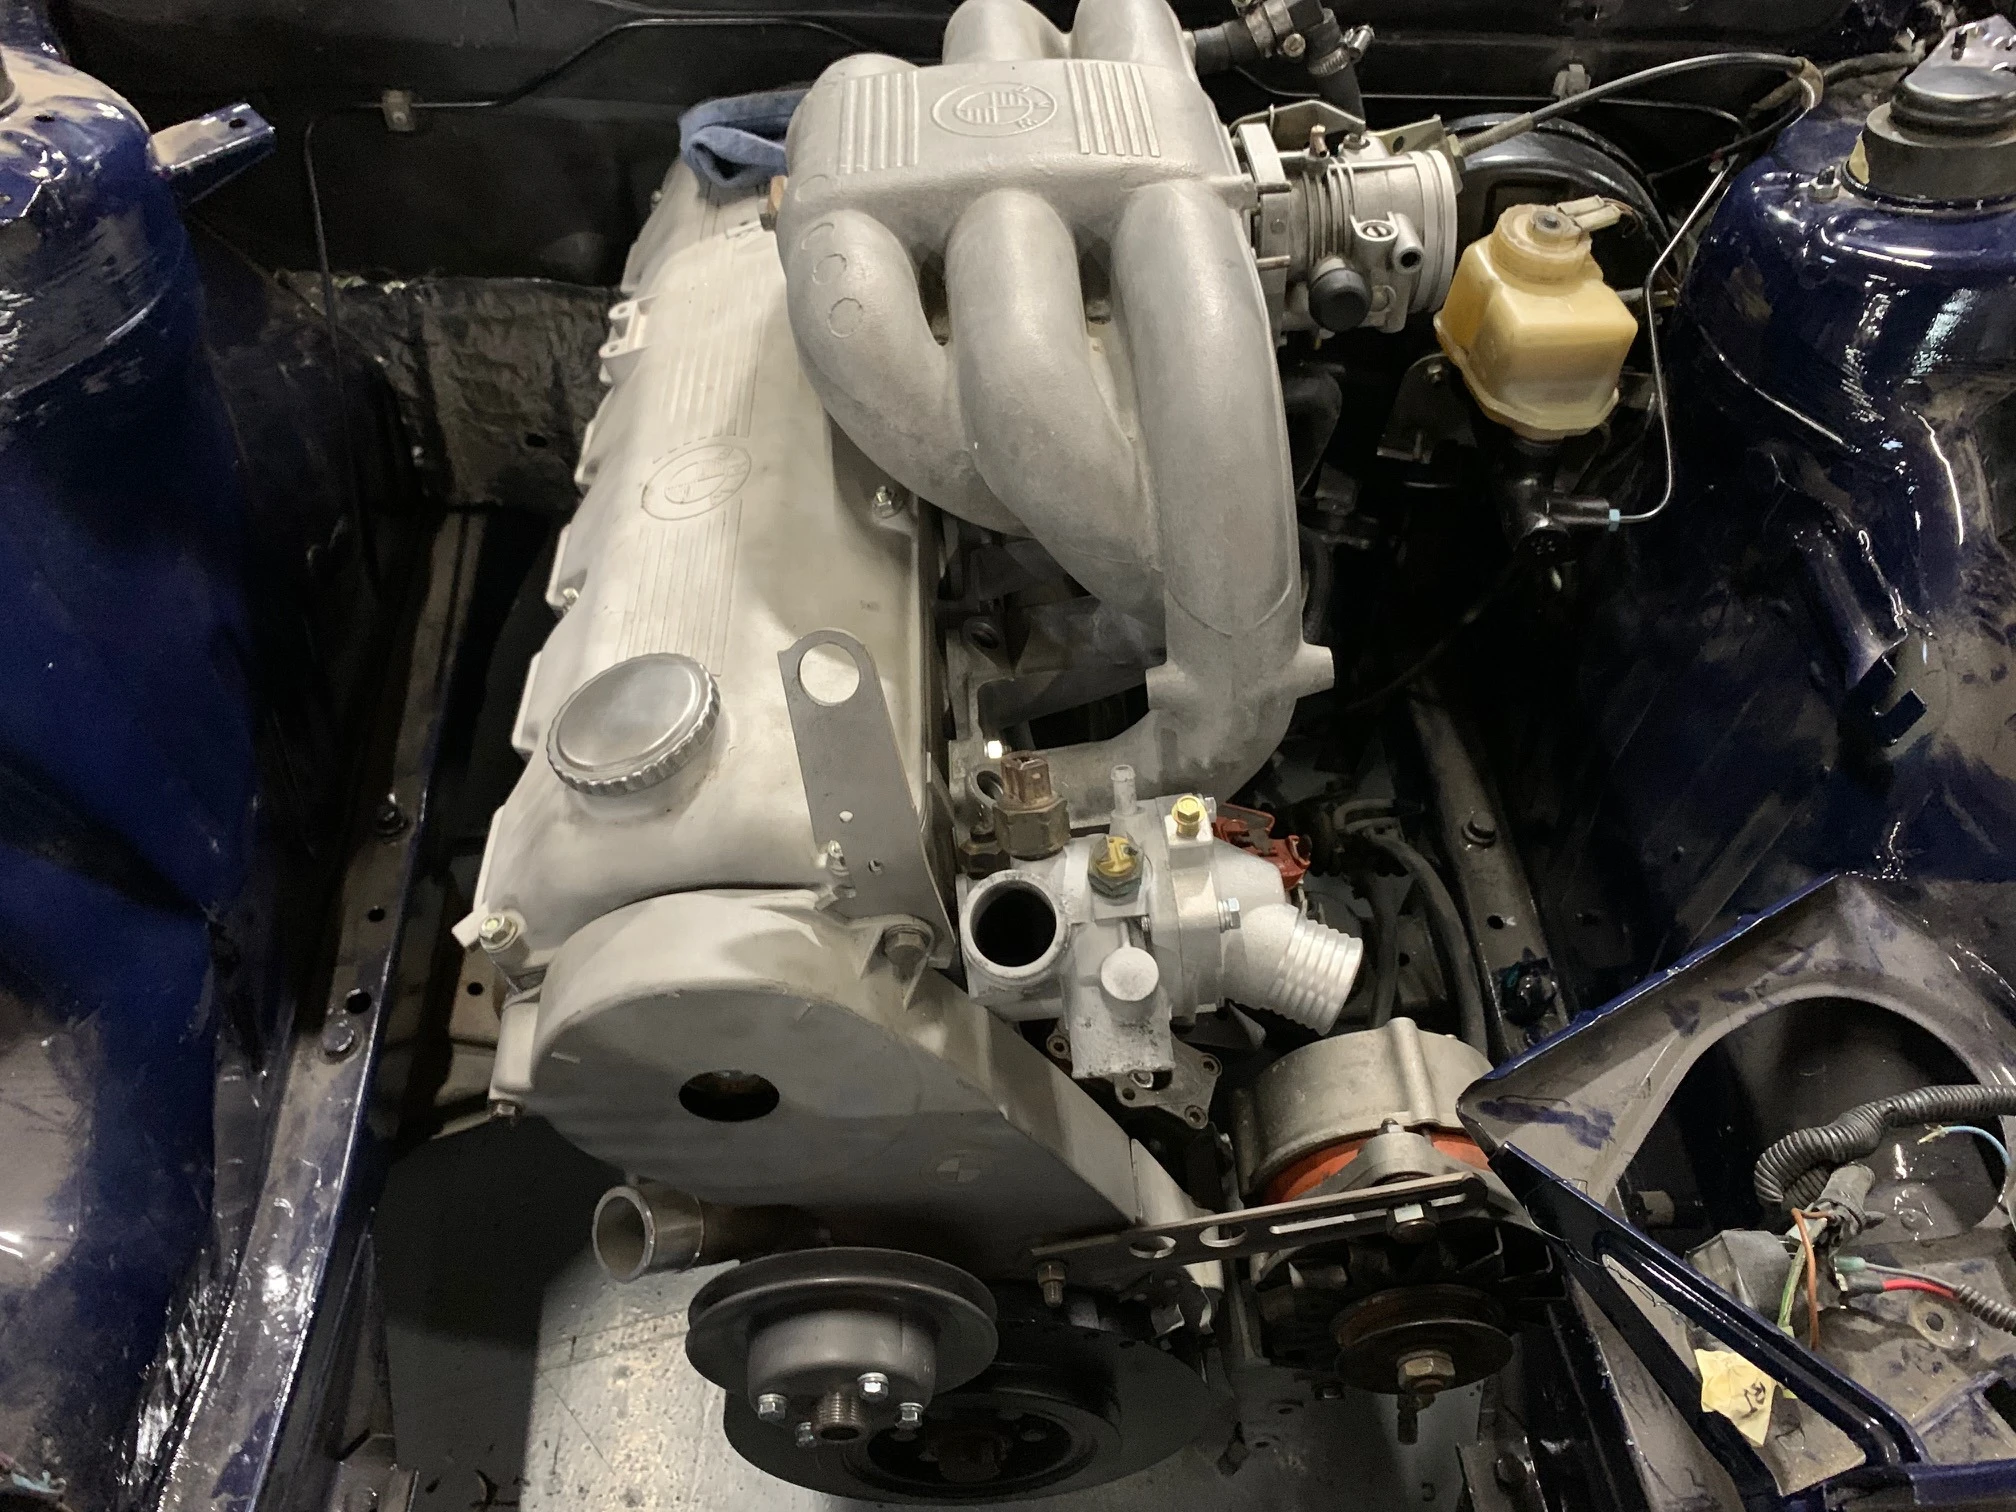 The fuel injection is up next but offers some challenges. With the bigger displacement, the stock 323i/C1 fuel injection won’t flow enough fuel. Four years ago, I bought the necessary parts (I’ll describe those in a future post) but Stu swears he doesn’t have them and I can’t find them in my parts stash. Luckily, Stu had similar ones in his parts stash and we should, soon, be good to go on that front…..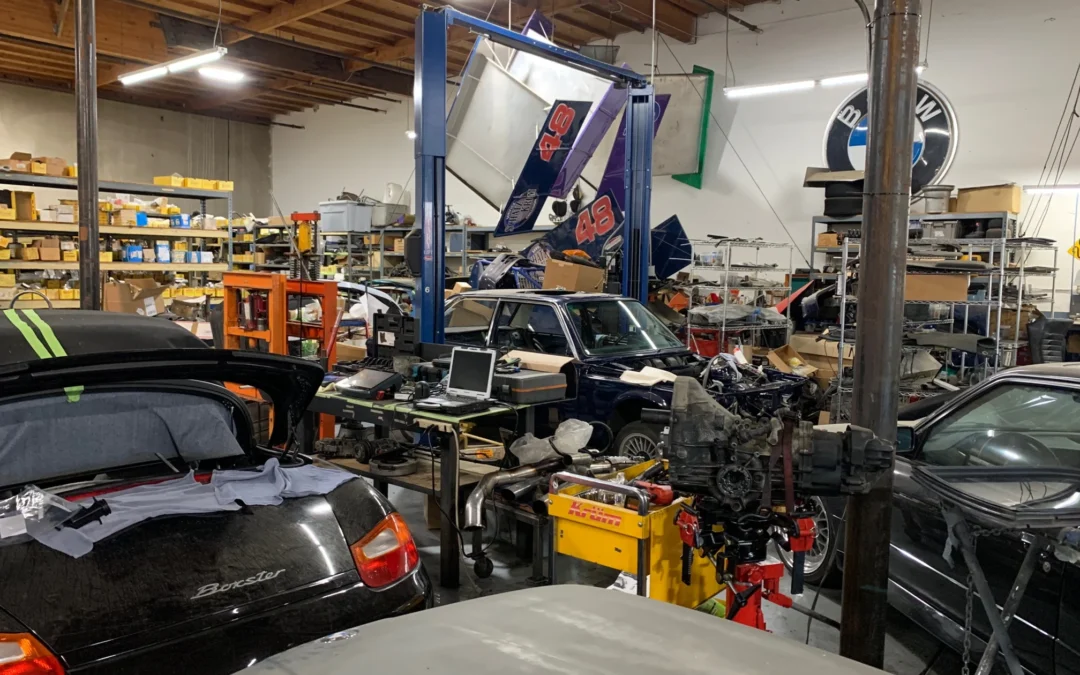
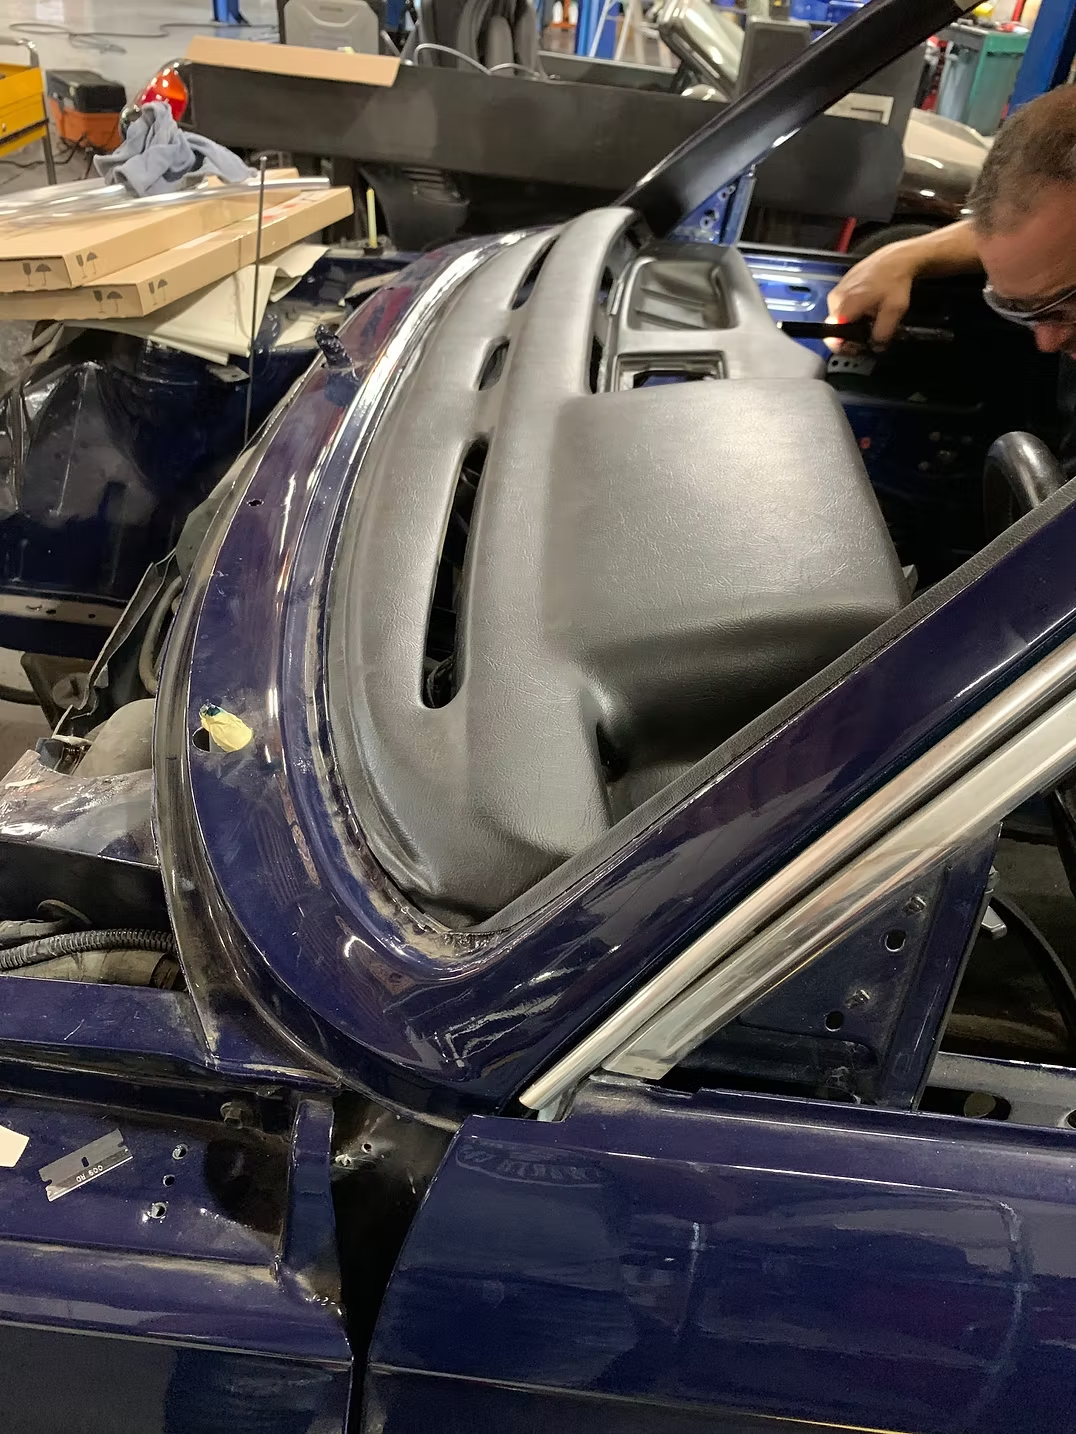 Stu worked on installing the new the headliner.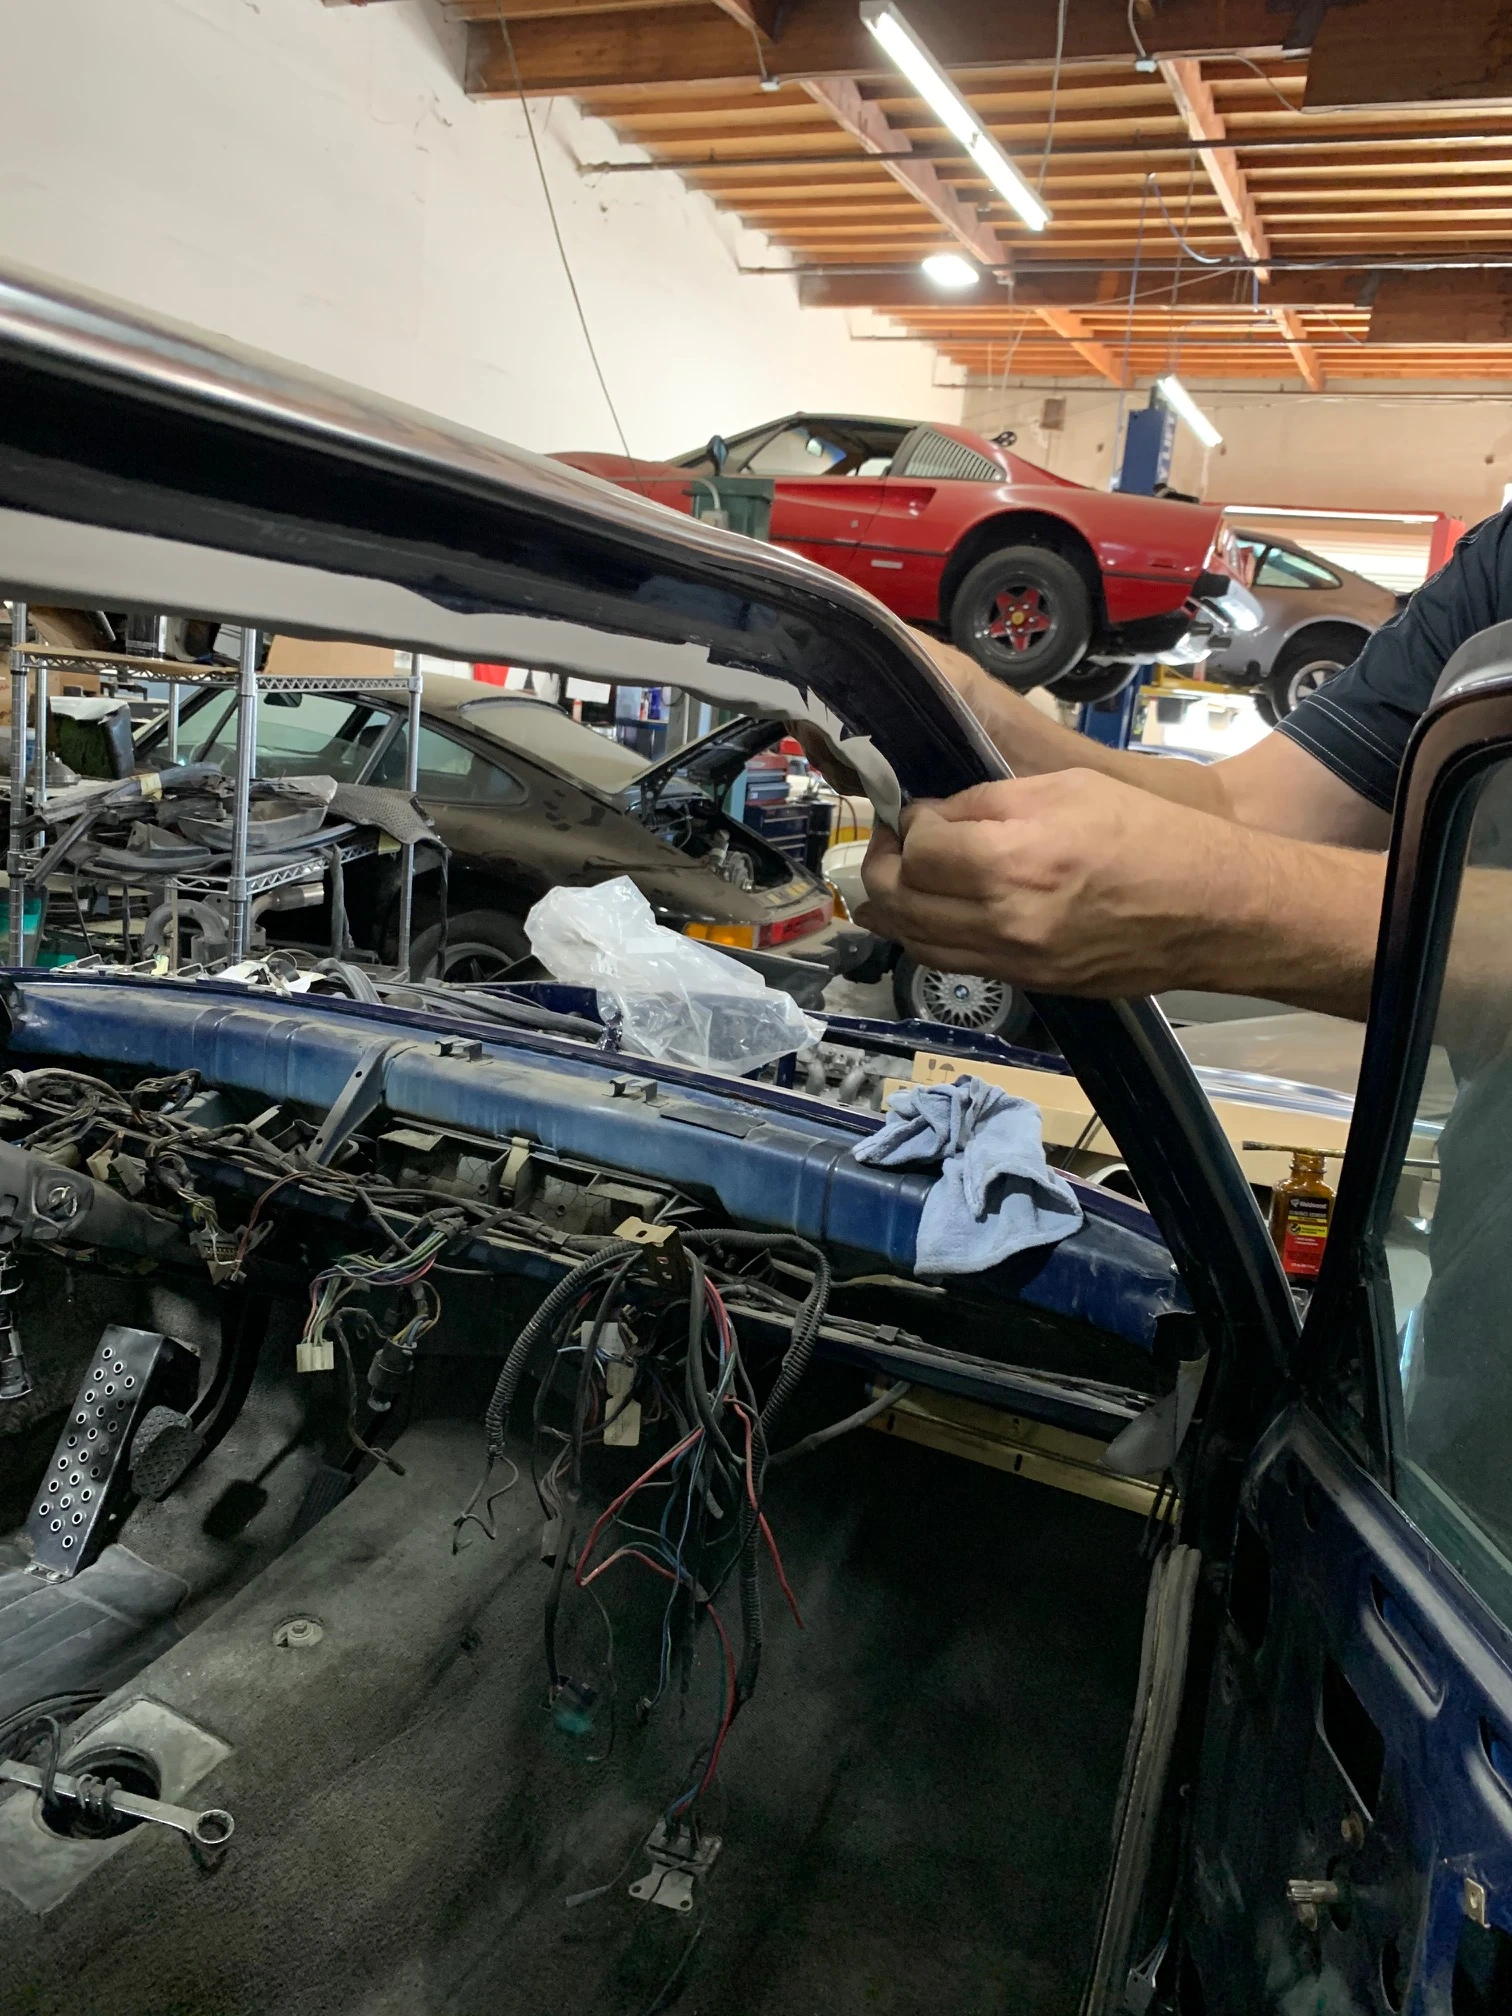
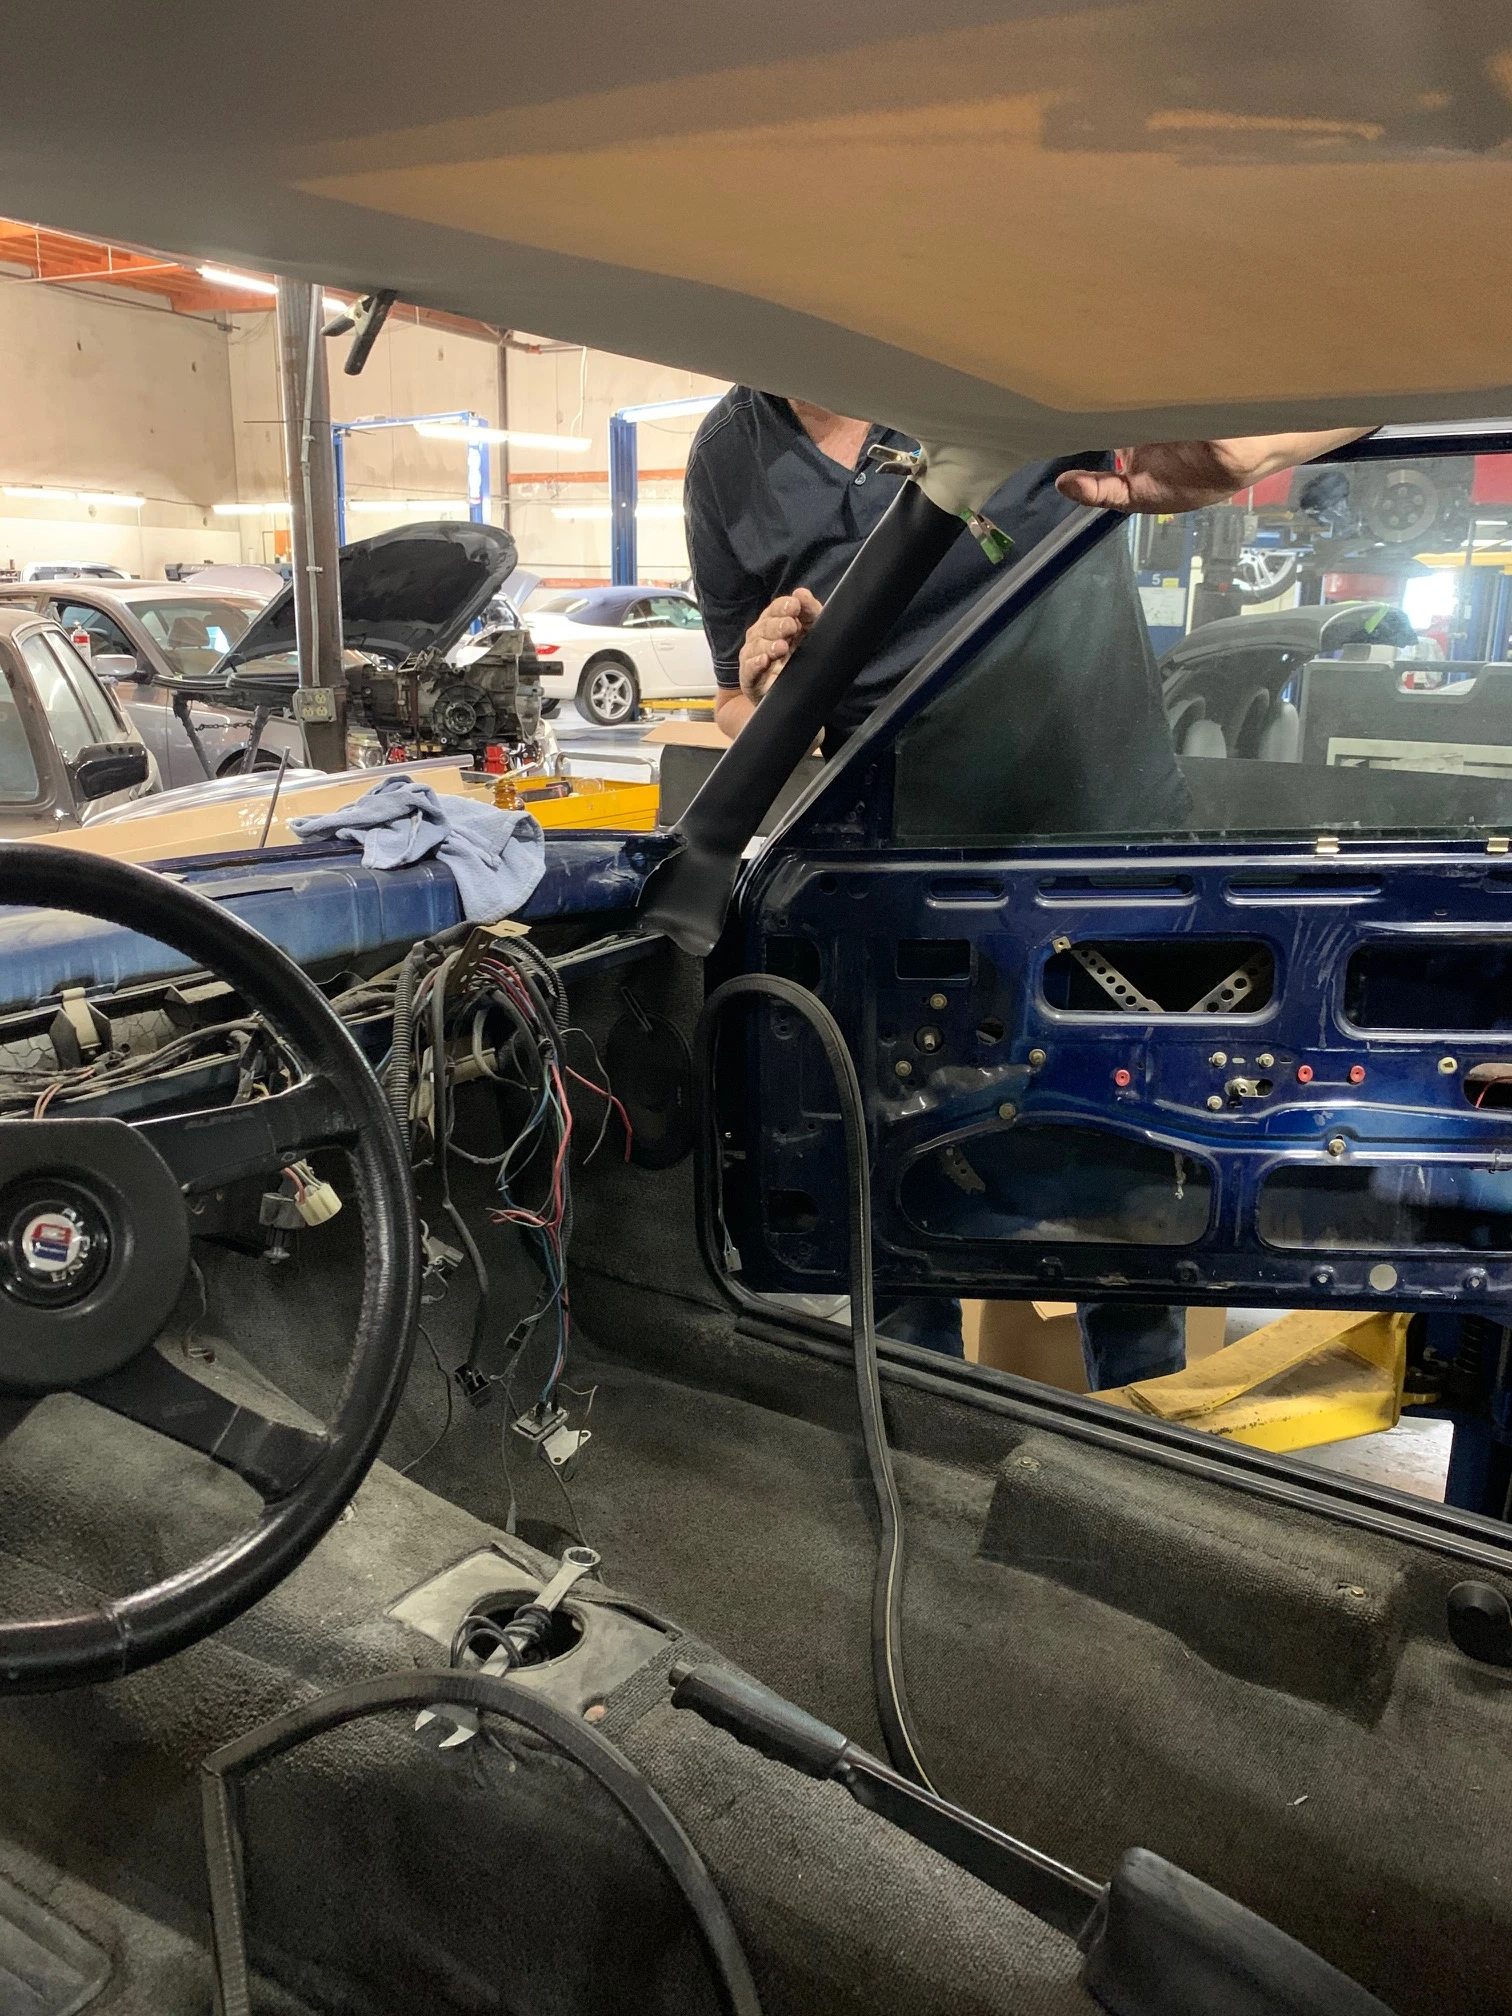
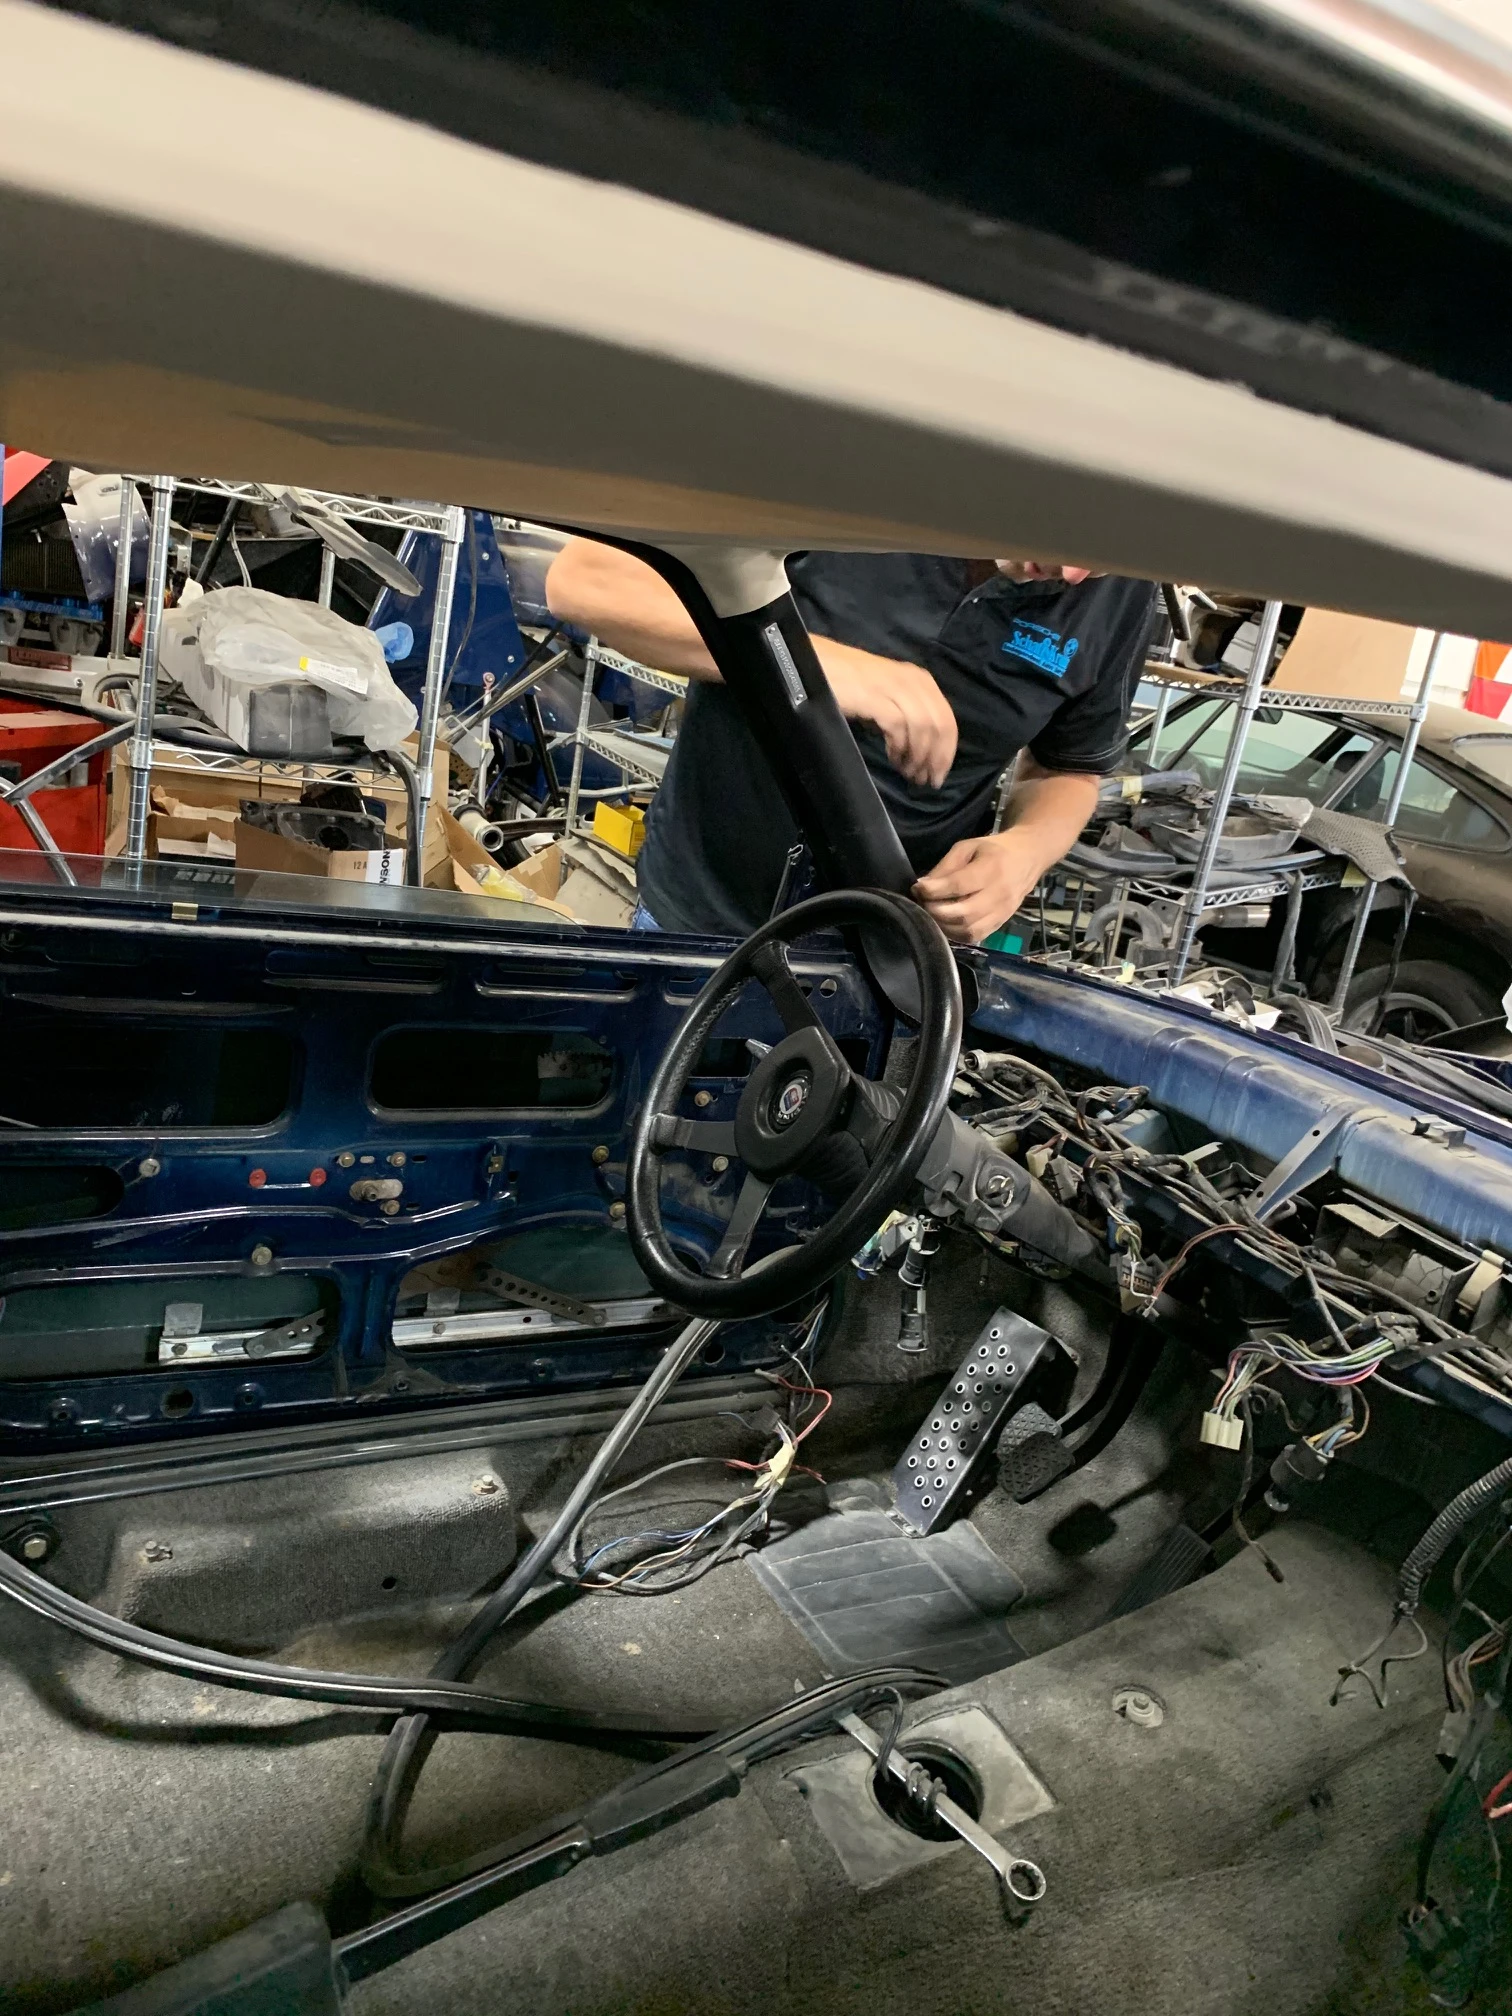 The three of us put in the windshield.
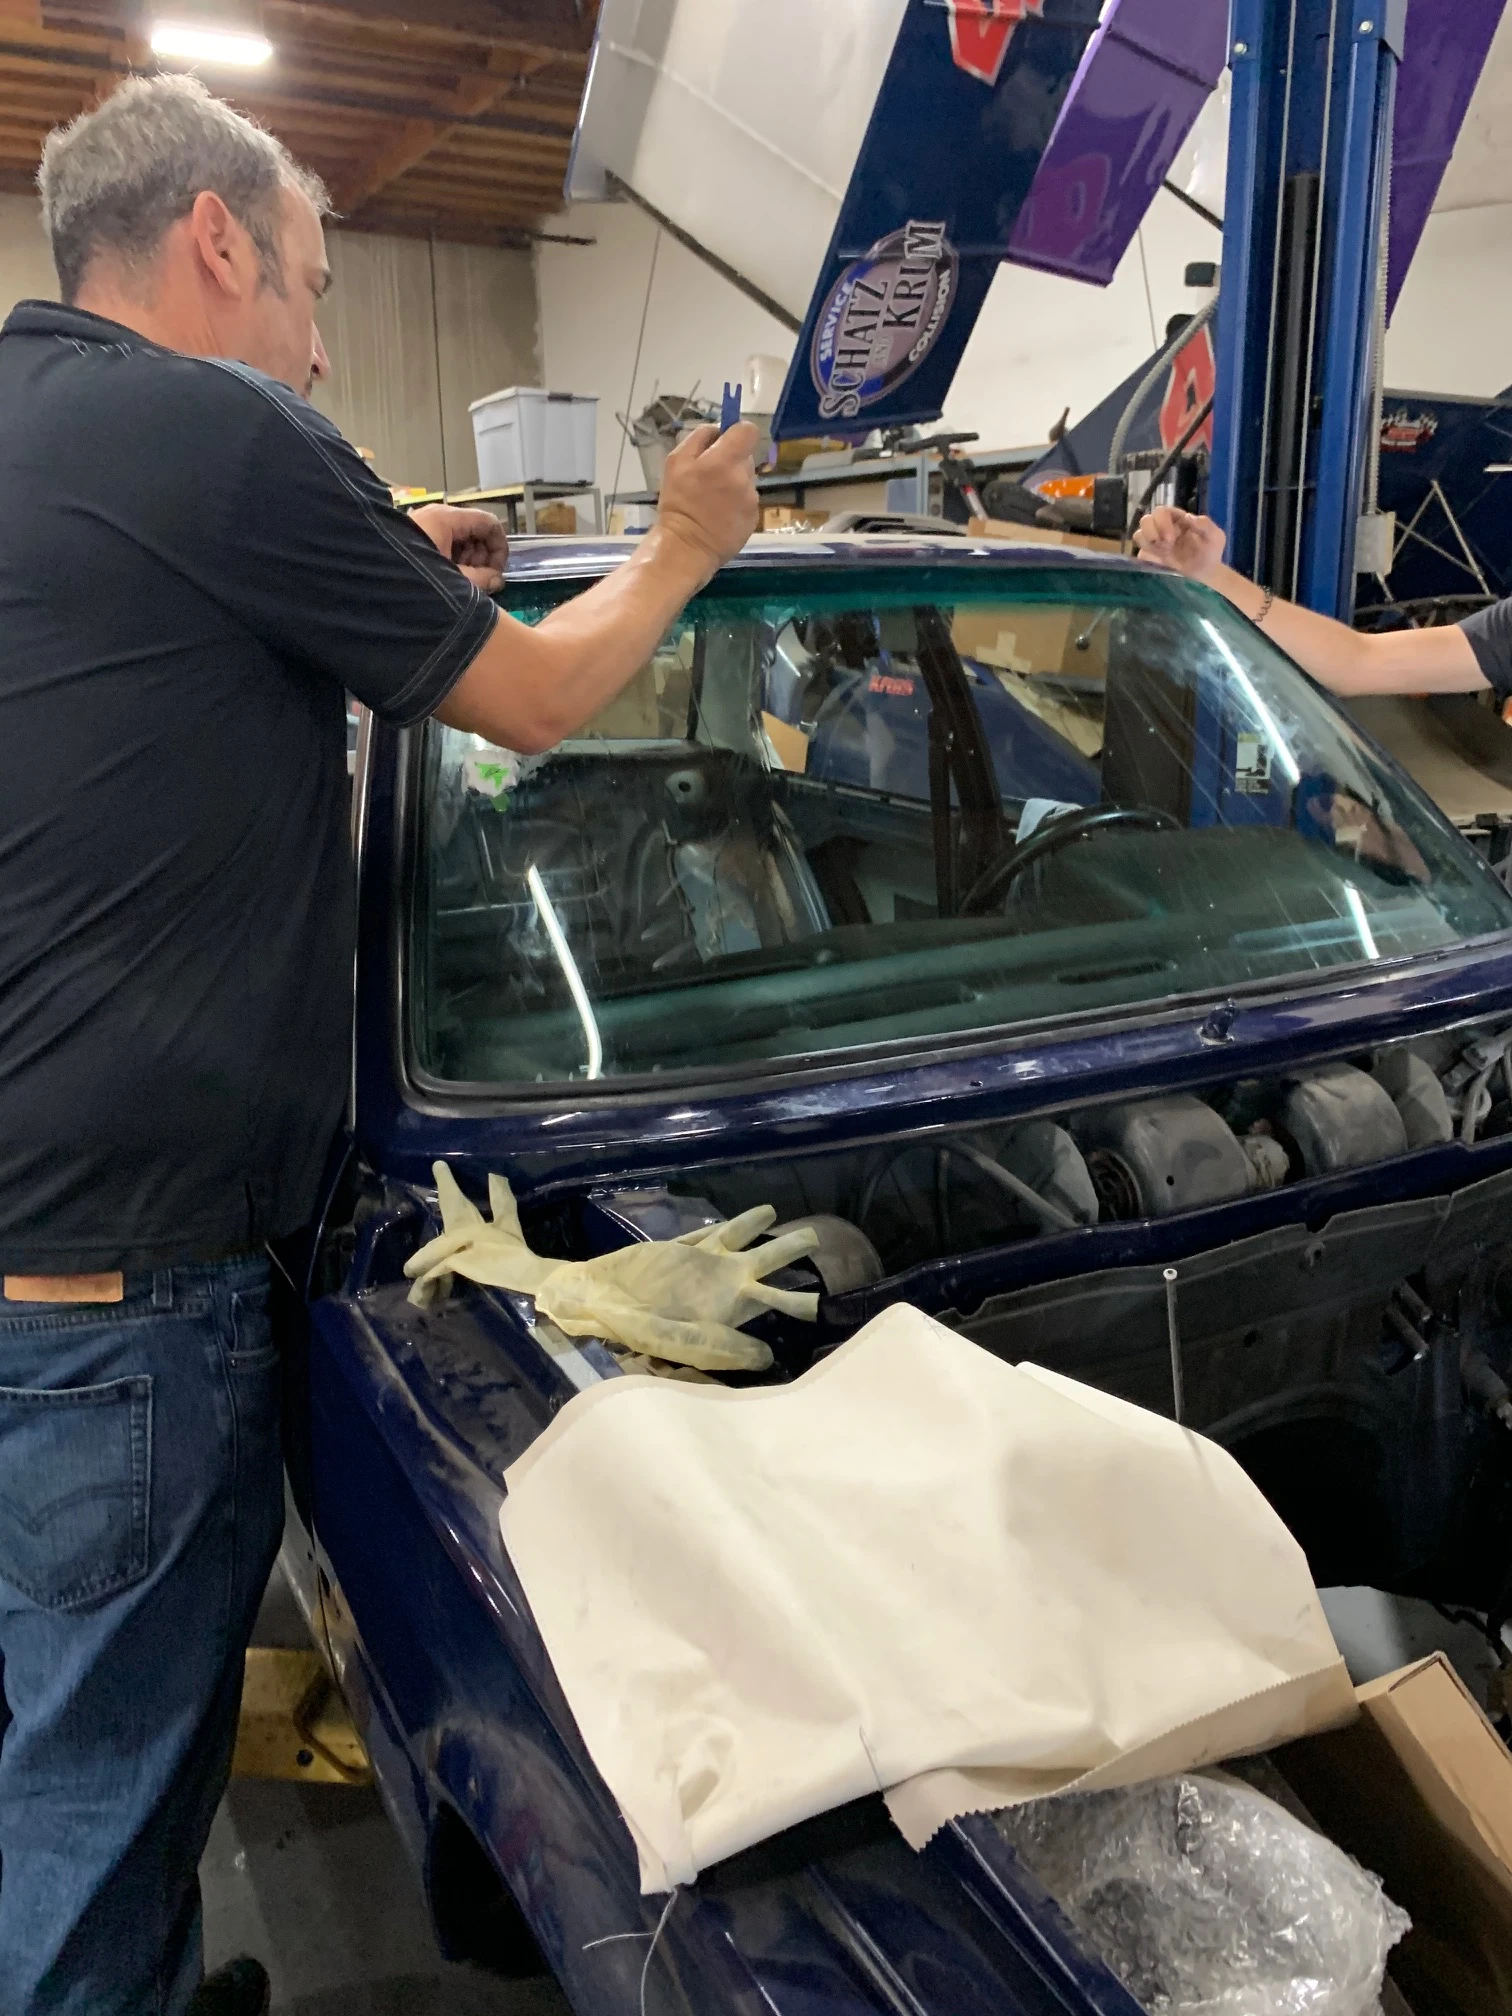 And I bolted up the valance panel.
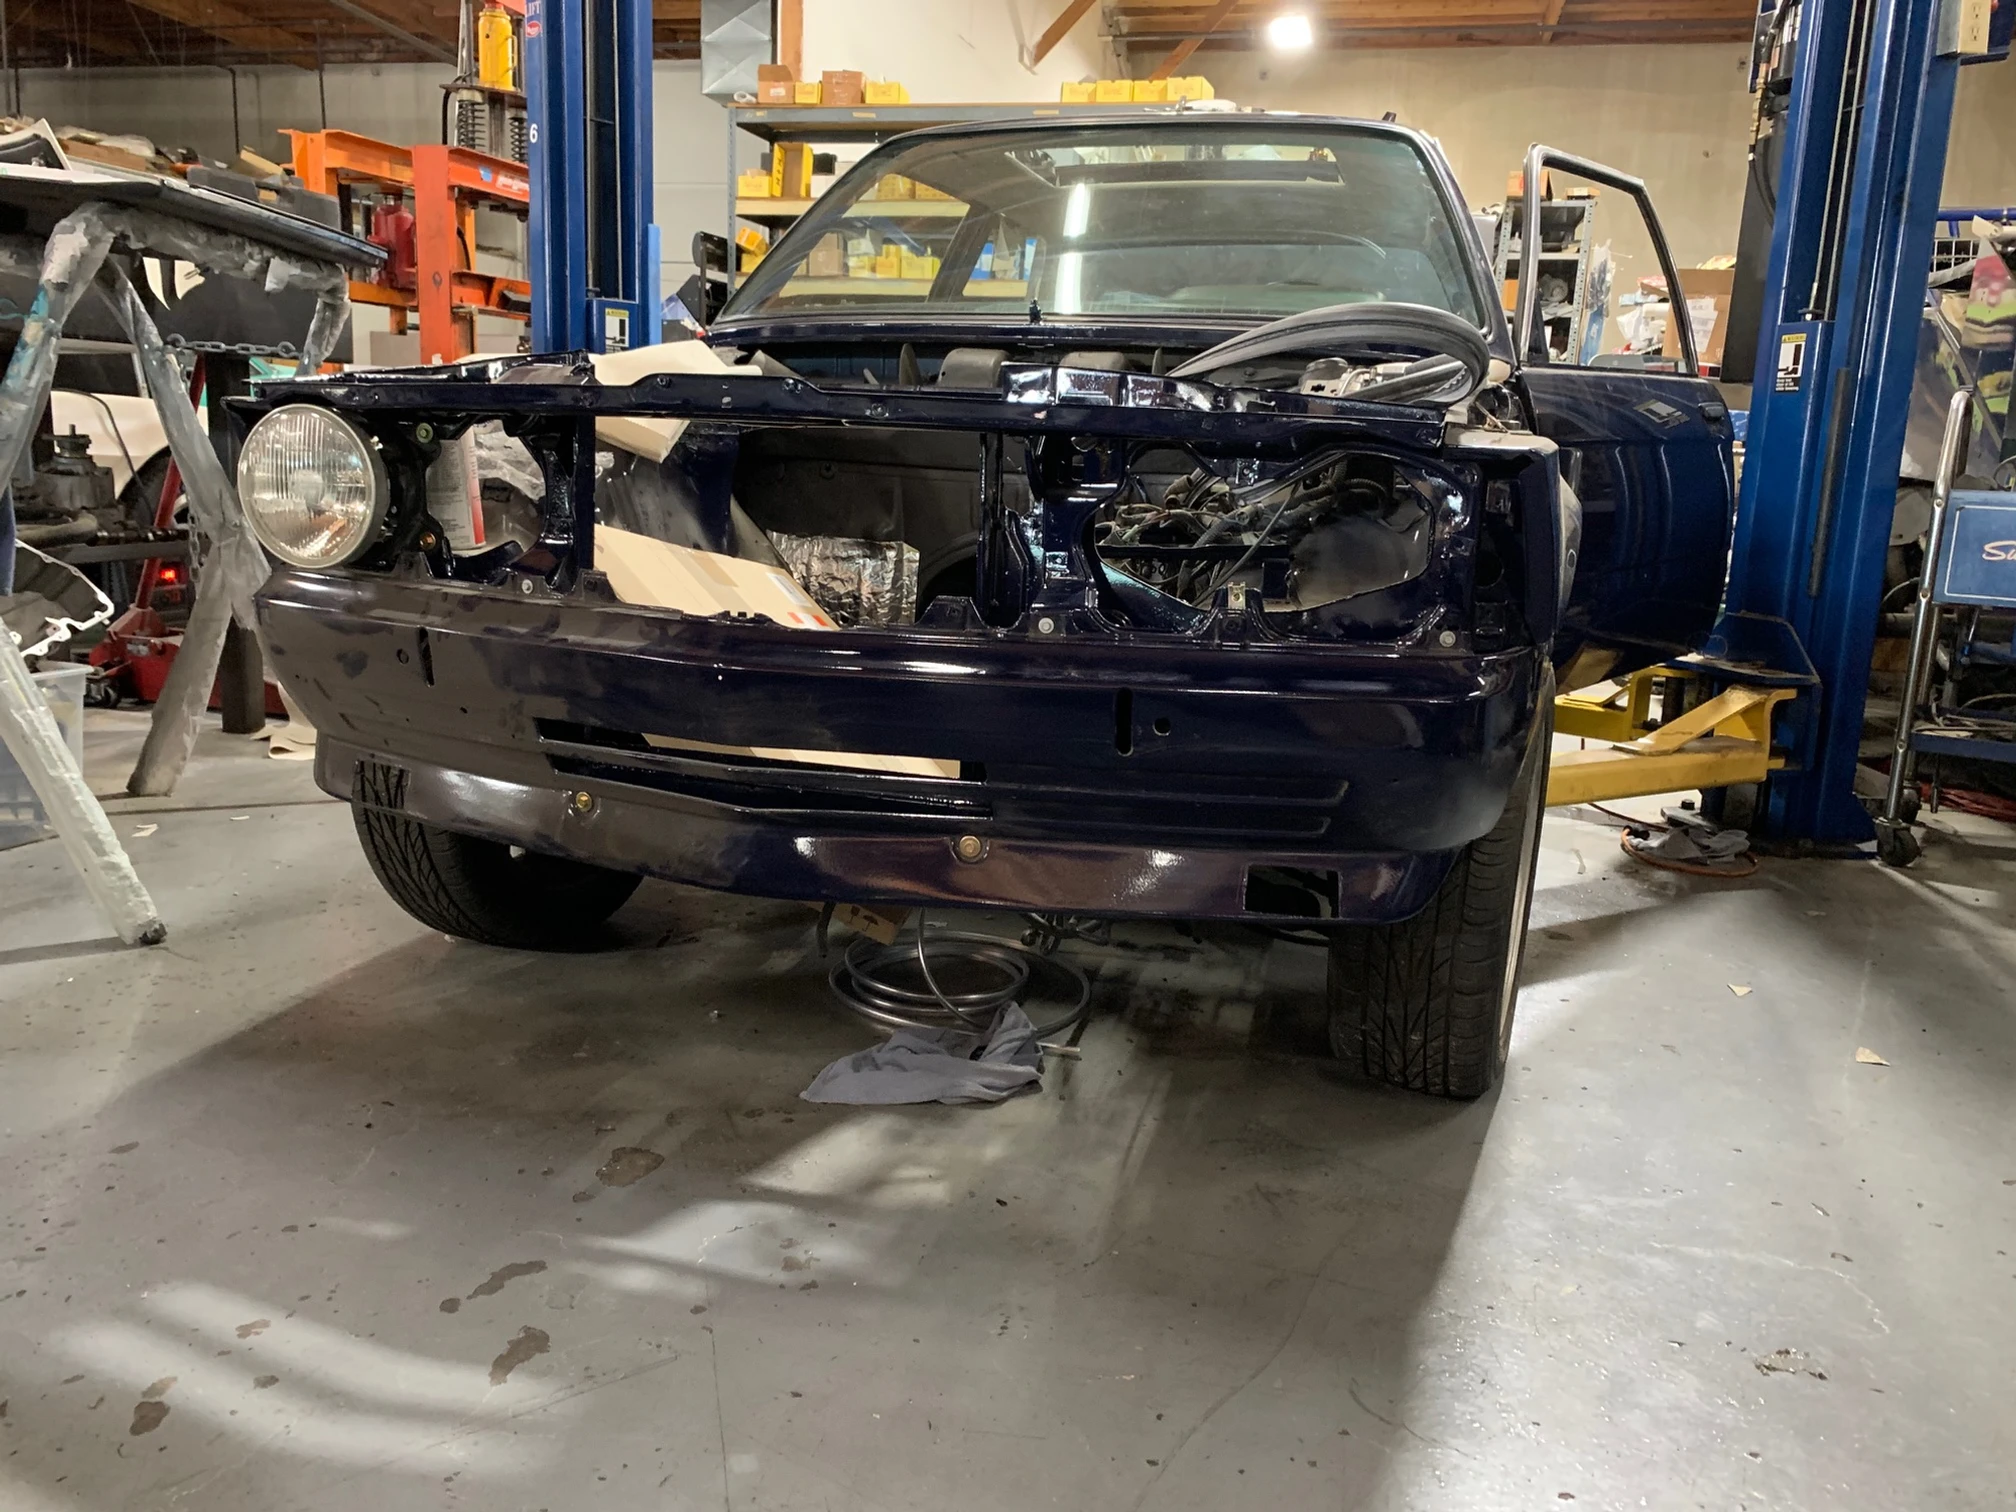 Much of my time was spent organizing the parts taken off in disassembly, which took a good amount of time. The guys at the body shop took it apart assuming they’d be putting it back together immediately so the disassembly was not organized in anticipation of a multi-year project. Finding everything more than two years later was (and continues to be) a challenge, but not an insurmountable one. While searching for unlabeled, haphazardly placed parts is not particularly fun, the project is: all my past restorations have been mechanical or interior work. Reassembling a car striped for paint is a new experience. And a good portion of the satisfaction of a project for me is the connection, the bond, one gets with a car when restoring it. And I’m feeling a special bond with his project, with its new (to me) challenges; challenges akin to building a car anew.
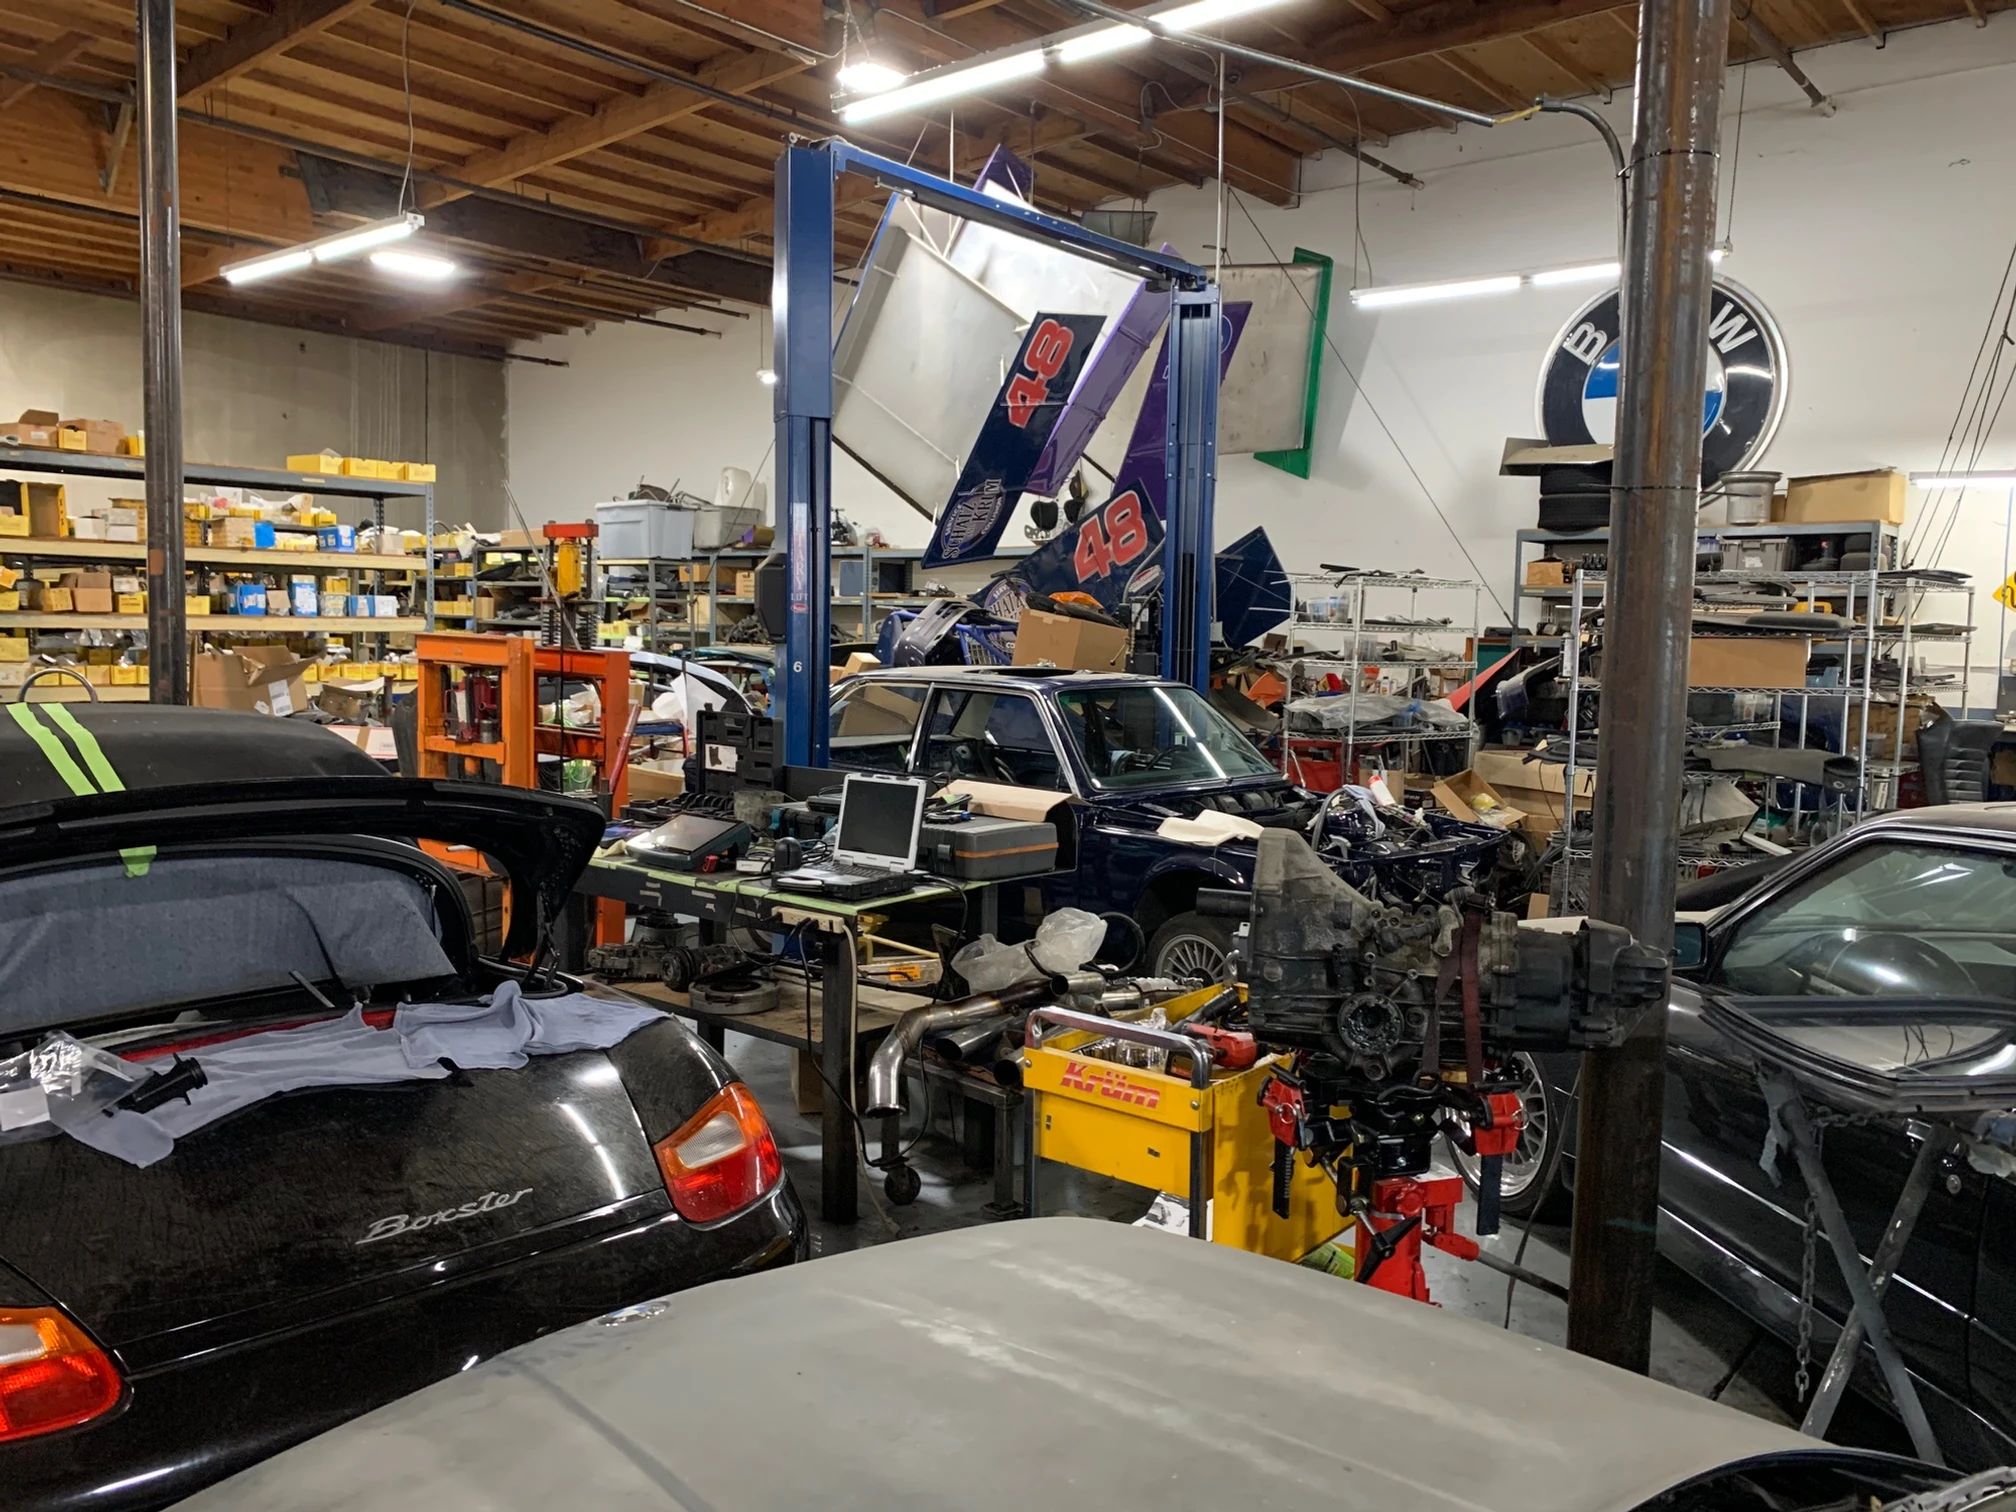 Our plan is for me to keep going up to Sacramento until we get the car to a point that it can be put on the back of a trailer, driven back down to my house where I’ll finish the work.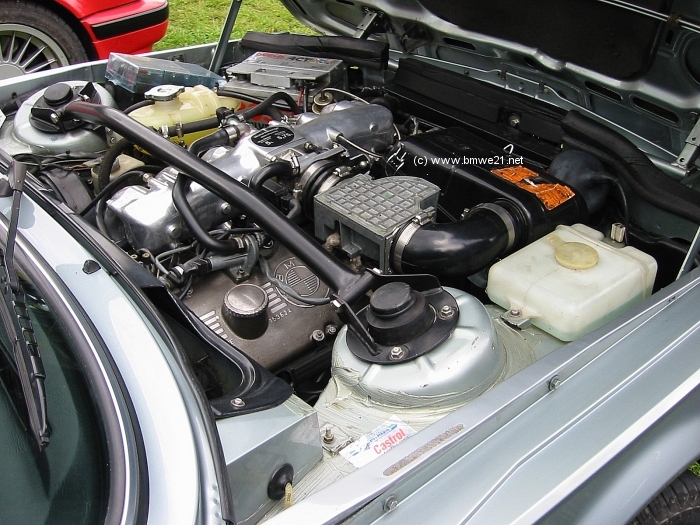
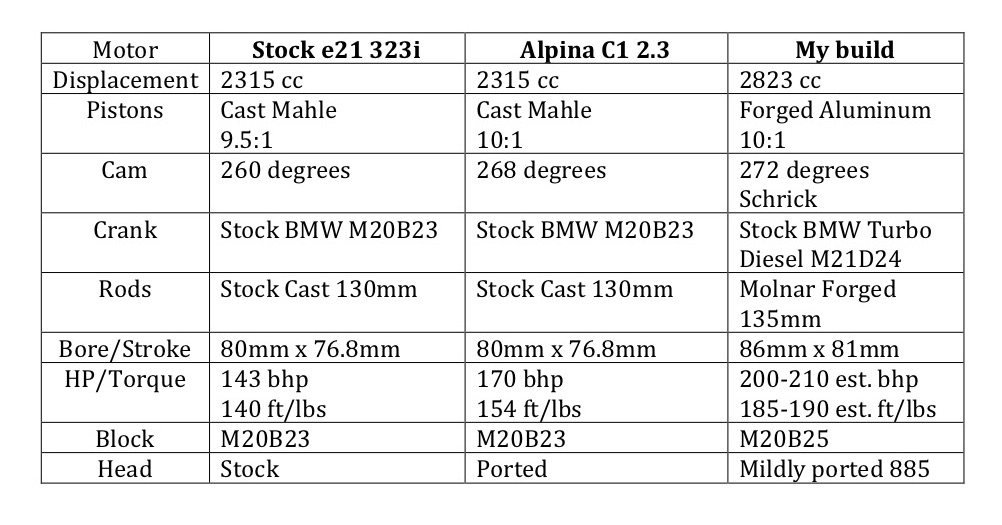 Virtually every decision-point was vetted. Twenty-eight hundred cc displacement was chosen because I wanted to use a turbo-diesel crank (it’s a very stout crack, able to withstand the high pressures of the diesel motor) and I always kinda liked the e30 c2 2.7, based on the same crank and big bore. The pistons were an easy decision, given the crank and desire to get at least 2700cc. I didn’t feel the need for a much bigger bore and knew that several folks had successfully used a 86 mm bore on the stock 325i M20 block.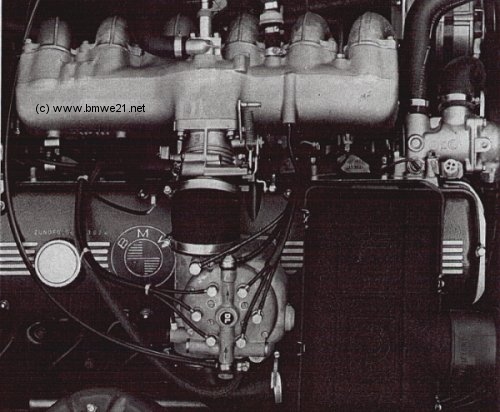
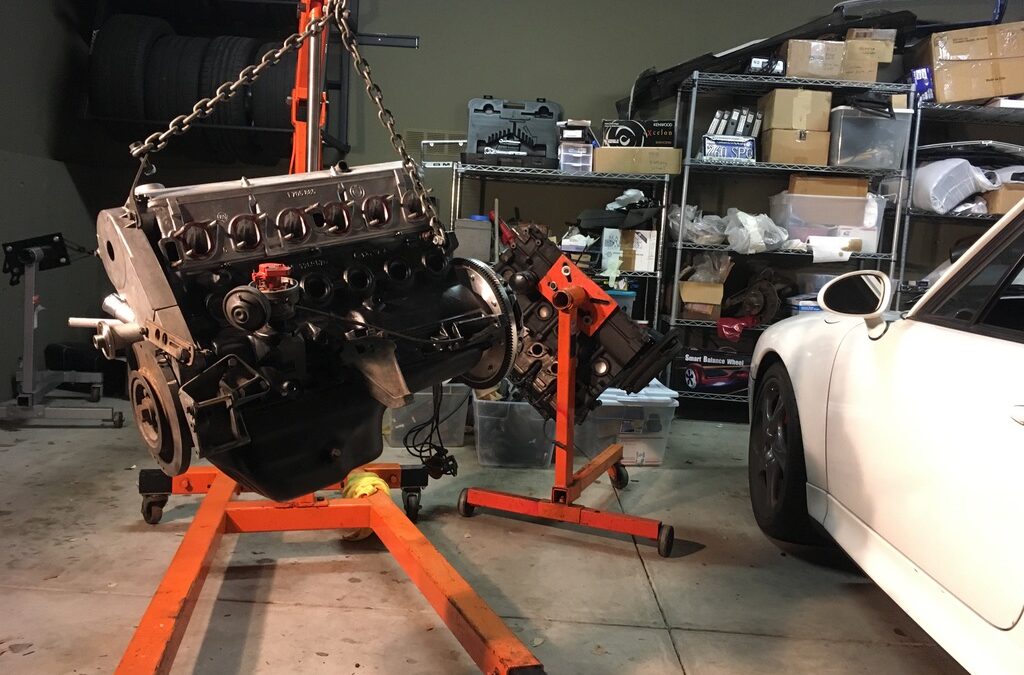
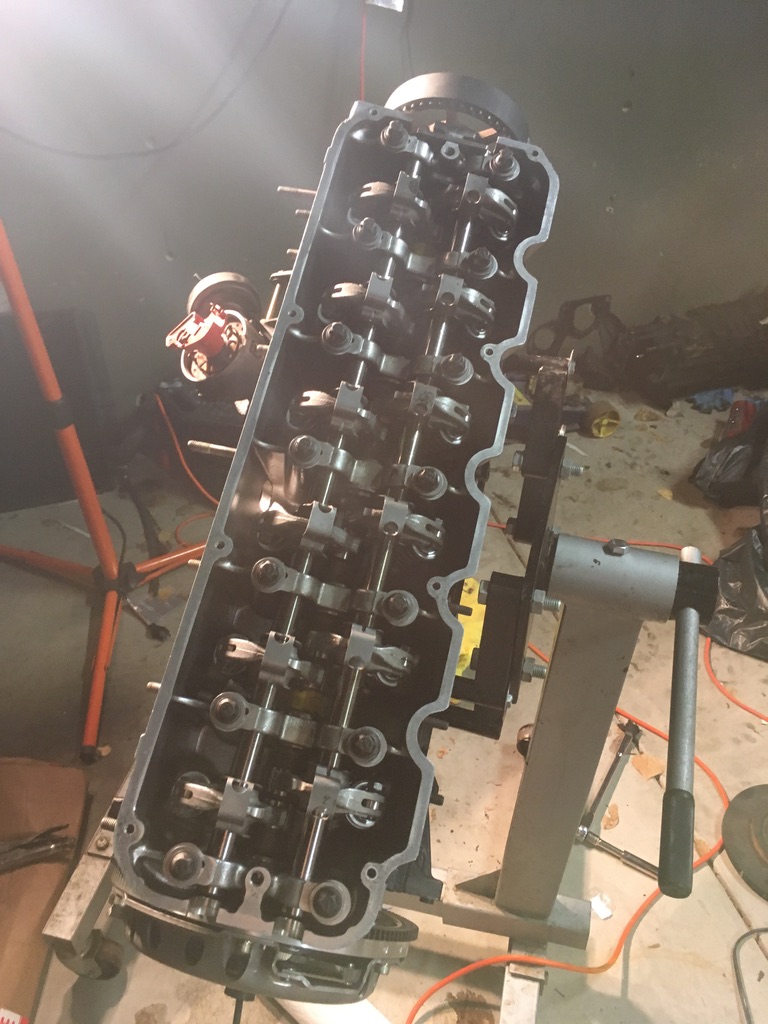 And then the drive belt and the pulleys.
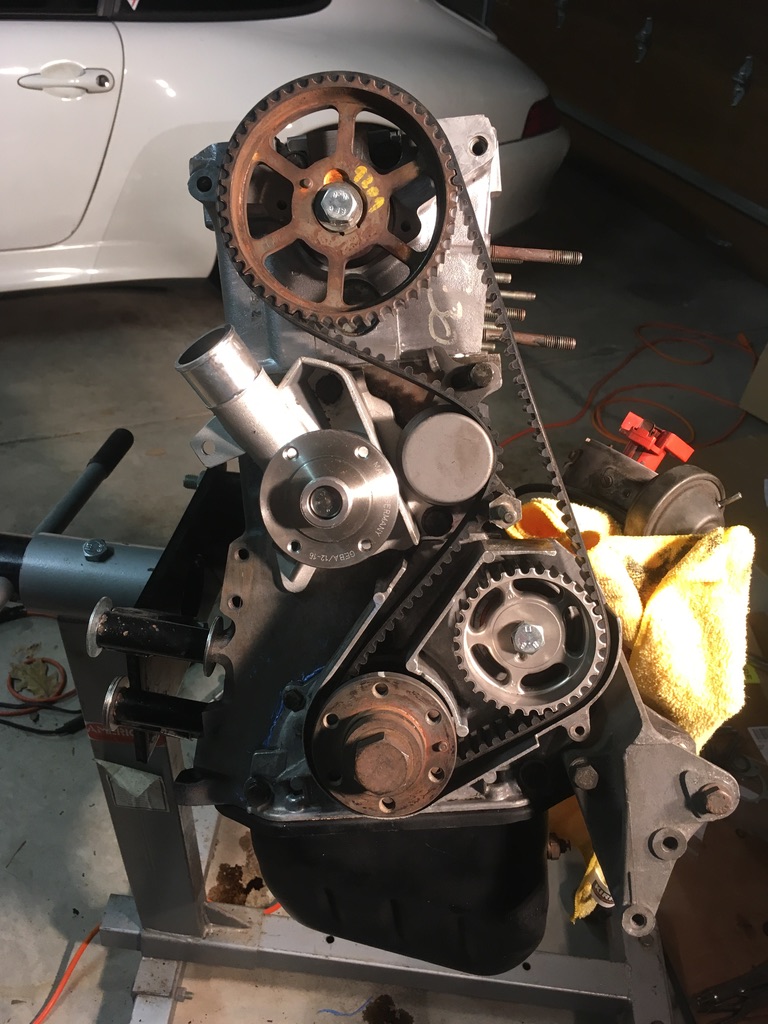 Then the oil pan was ready to go on.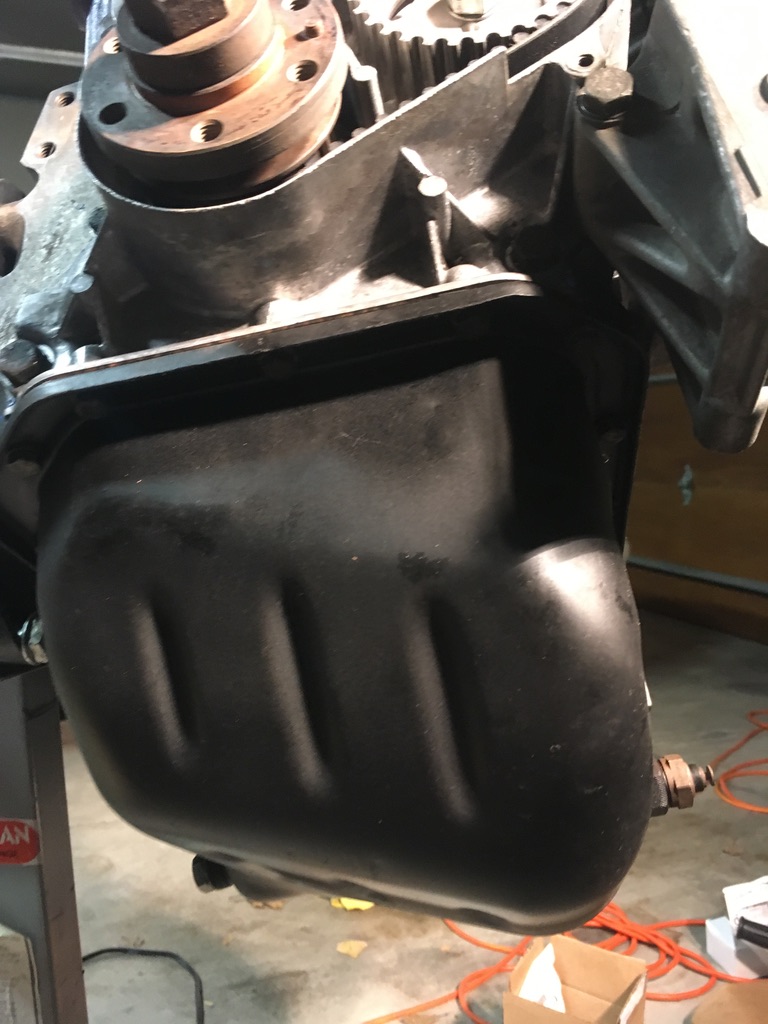
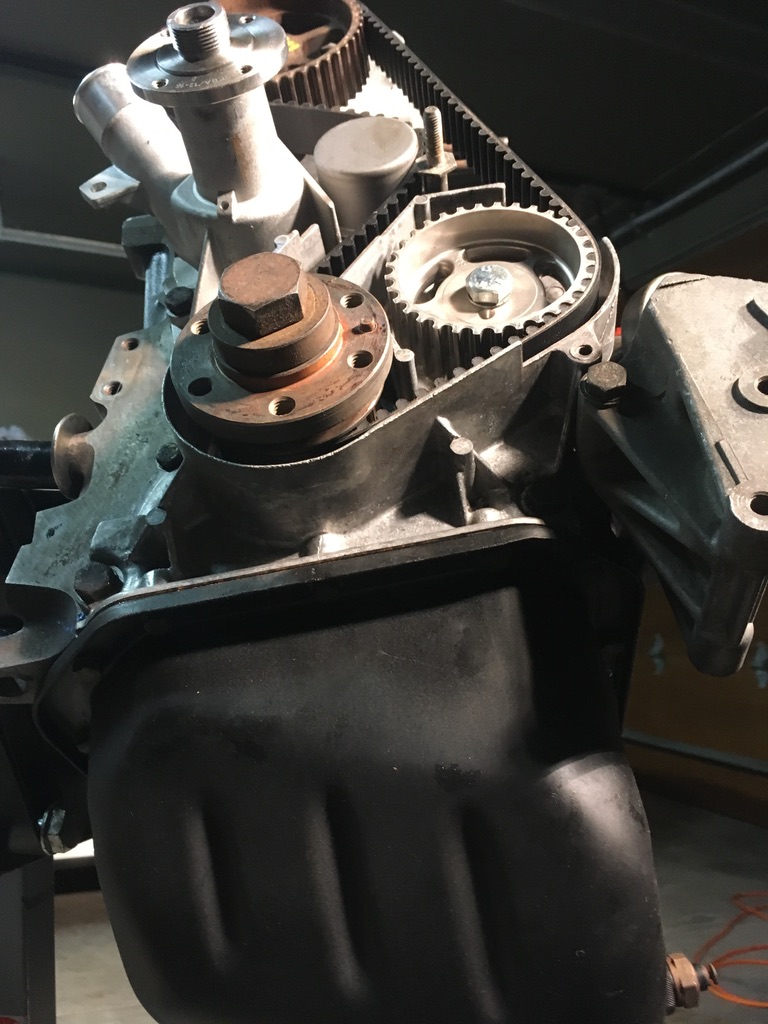 And then the rest of the rotating mass and the front covers.
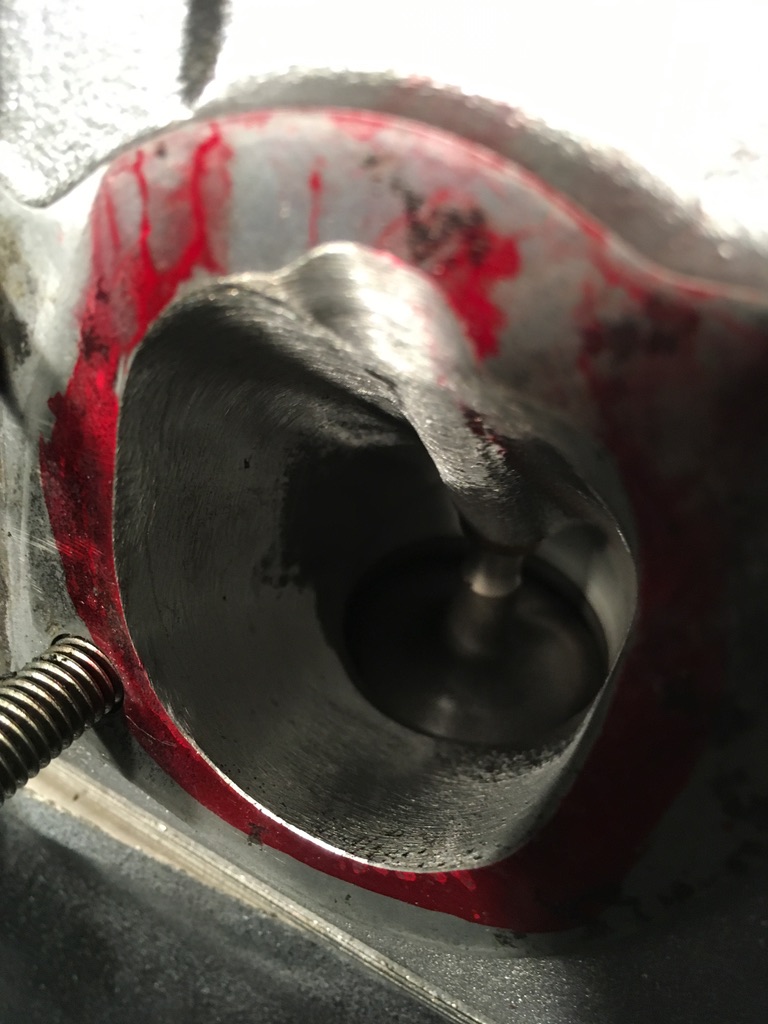
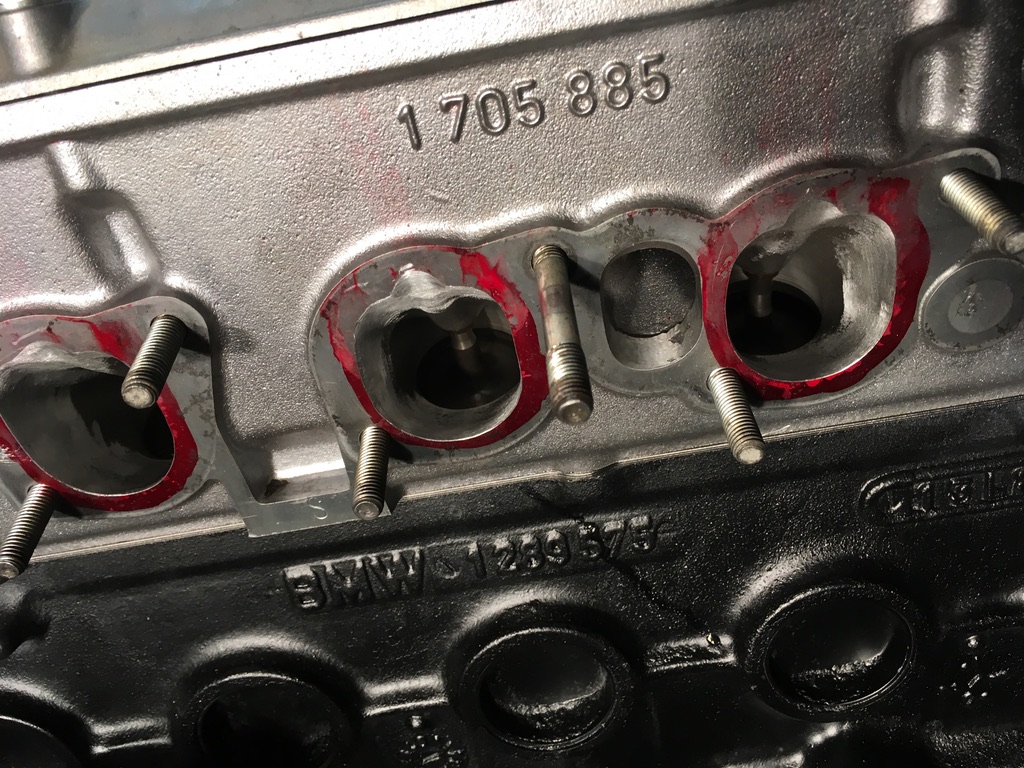
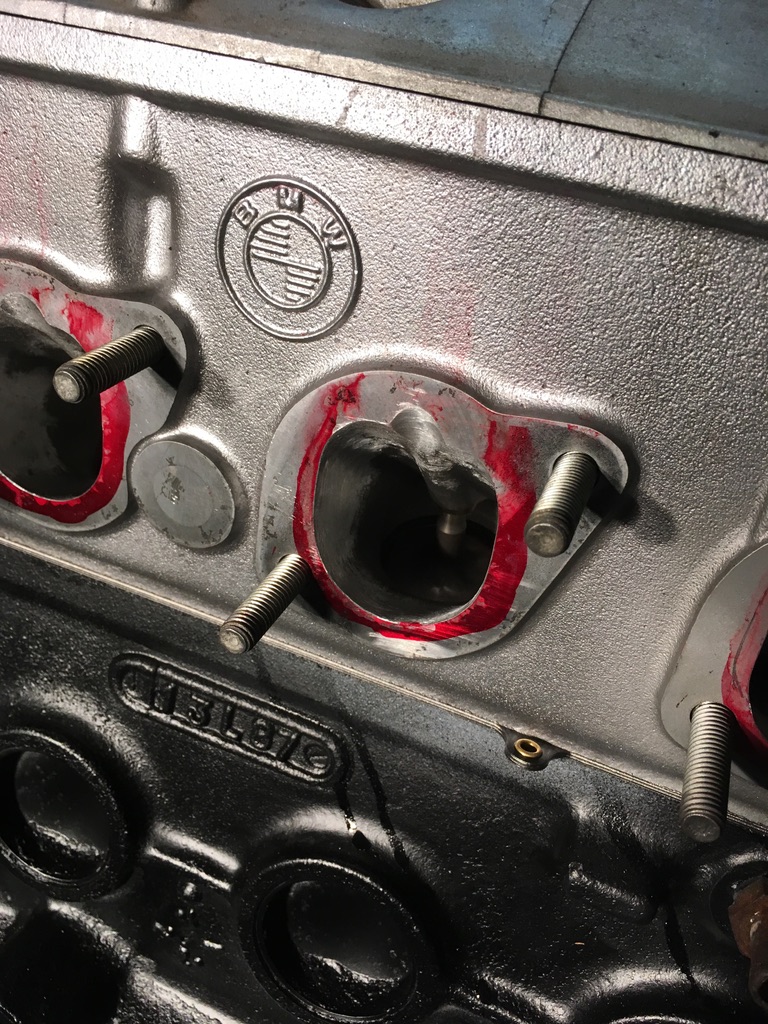
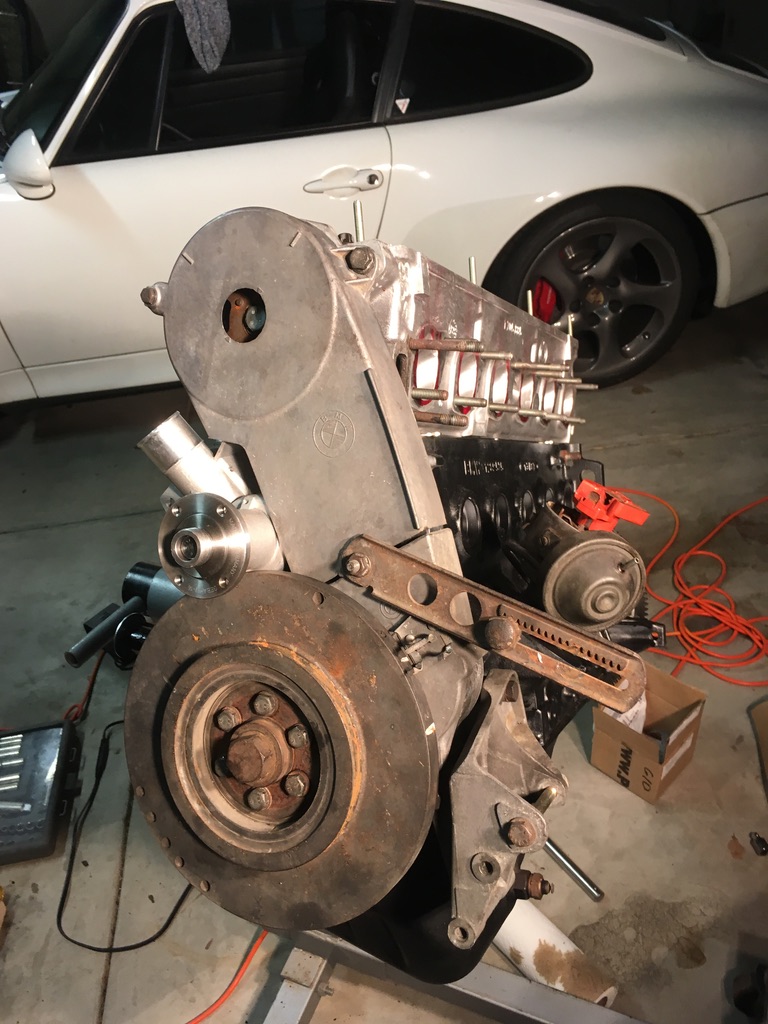 Once the motor was assembled, I was able to take some time to appreciate the machine work. Here, the intake ports were gasket matched to the intake manifold.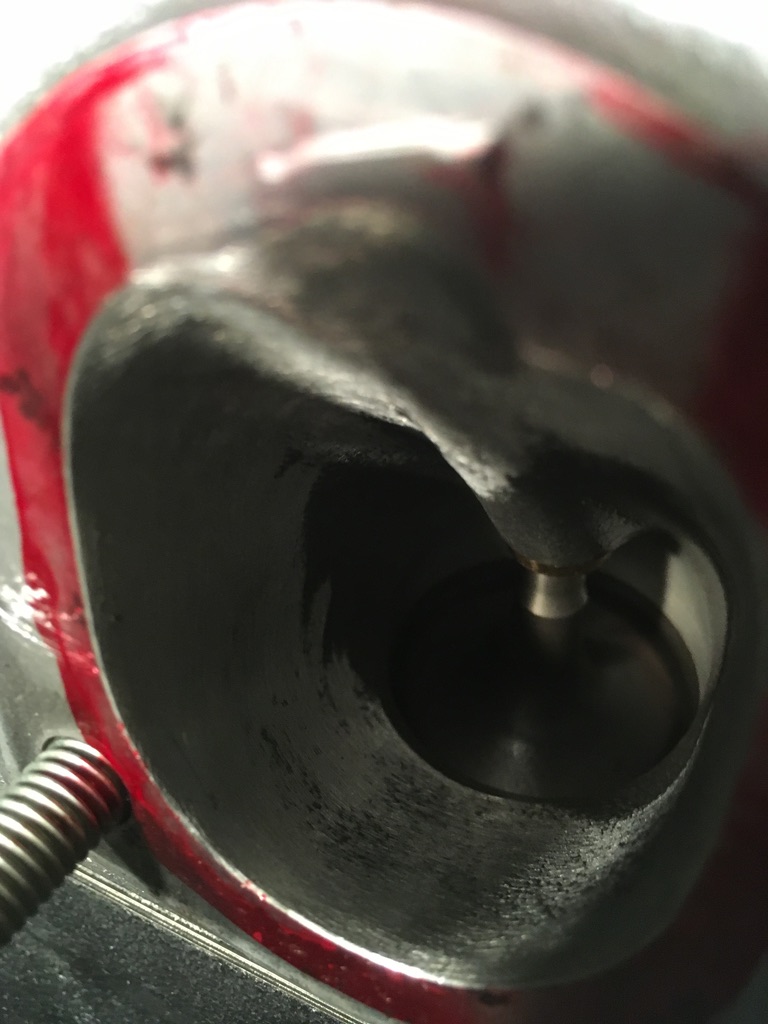
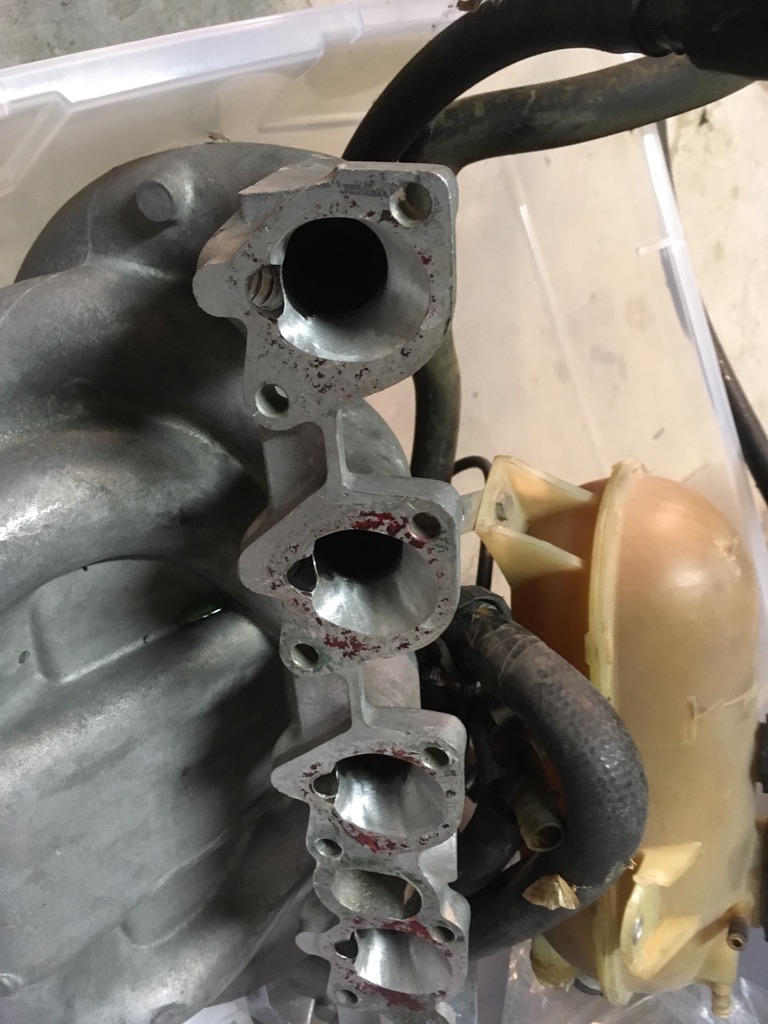
 And visa-versa for the intake manifold.
  I made plans with Stu for him to bring his X5 down to my house and pick up the motor and the various parts. That meant next up for me was organizing the other parts. Got a couple or four bins of parts together.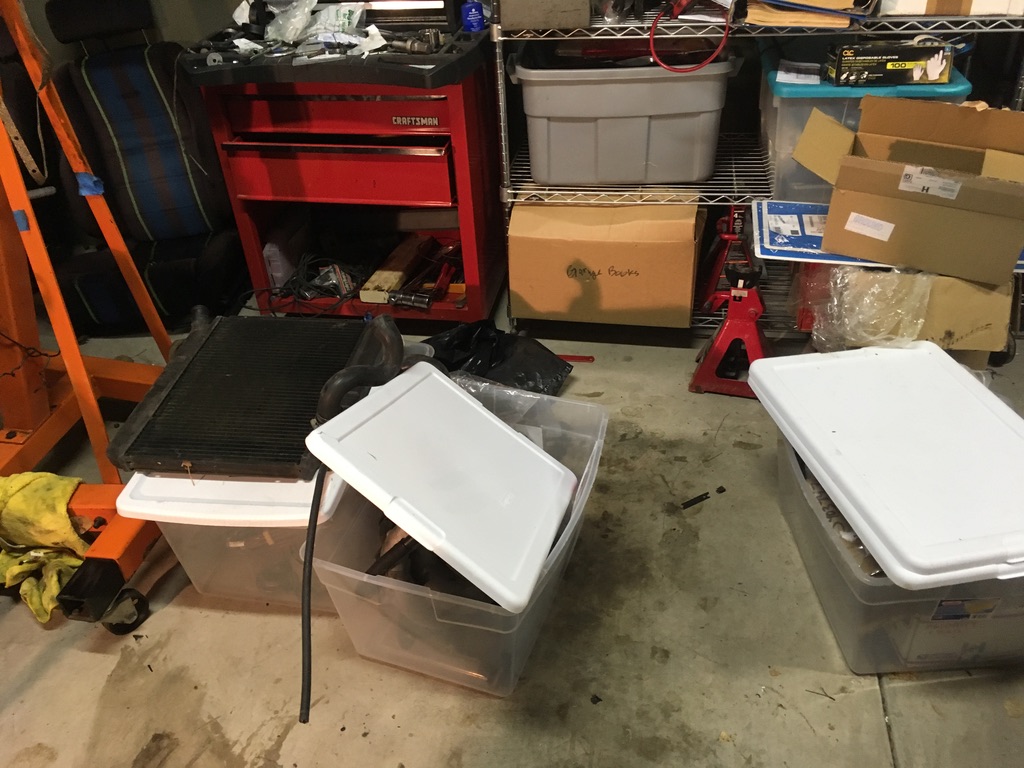
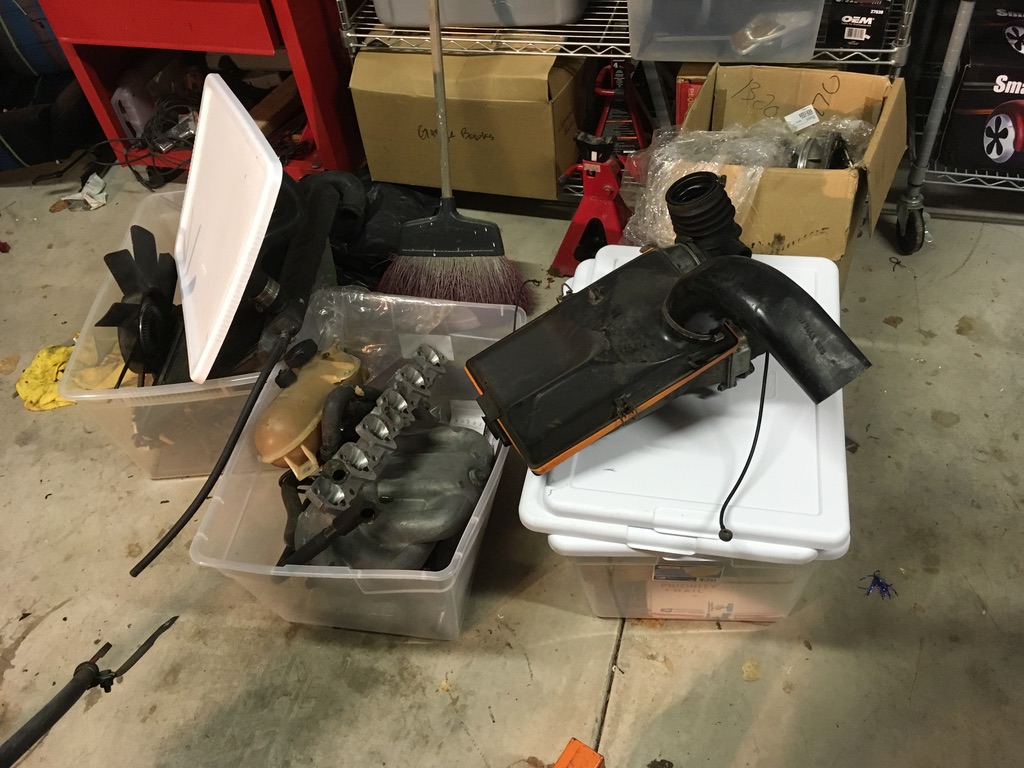 And put the motor on the cherry picker.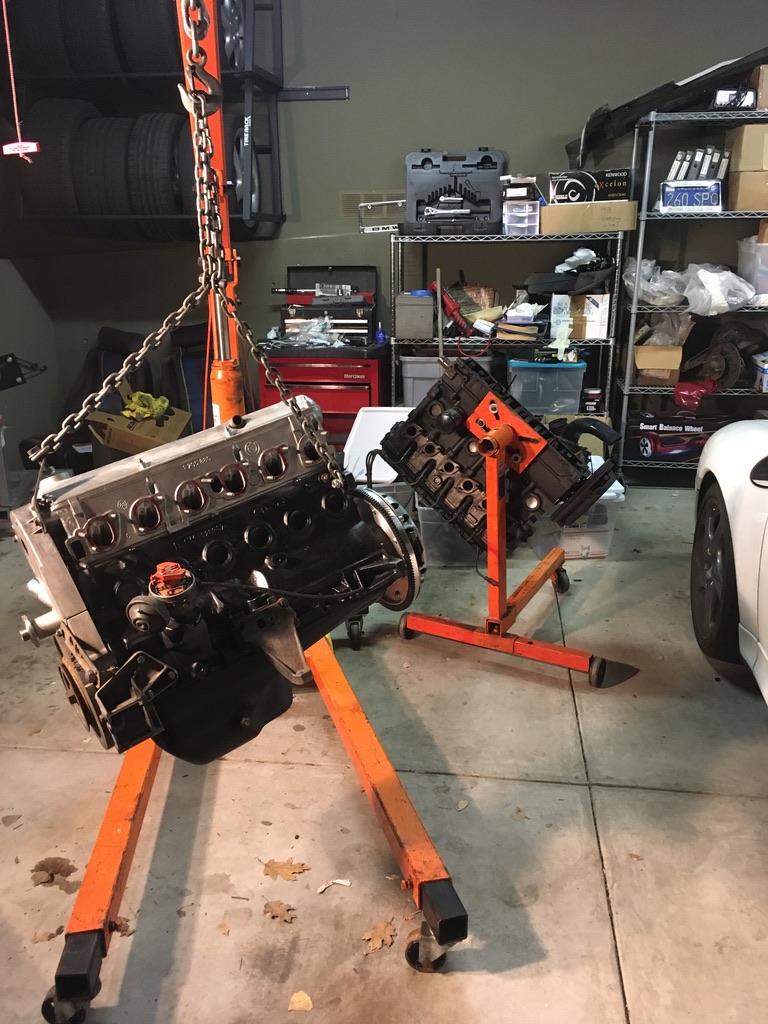
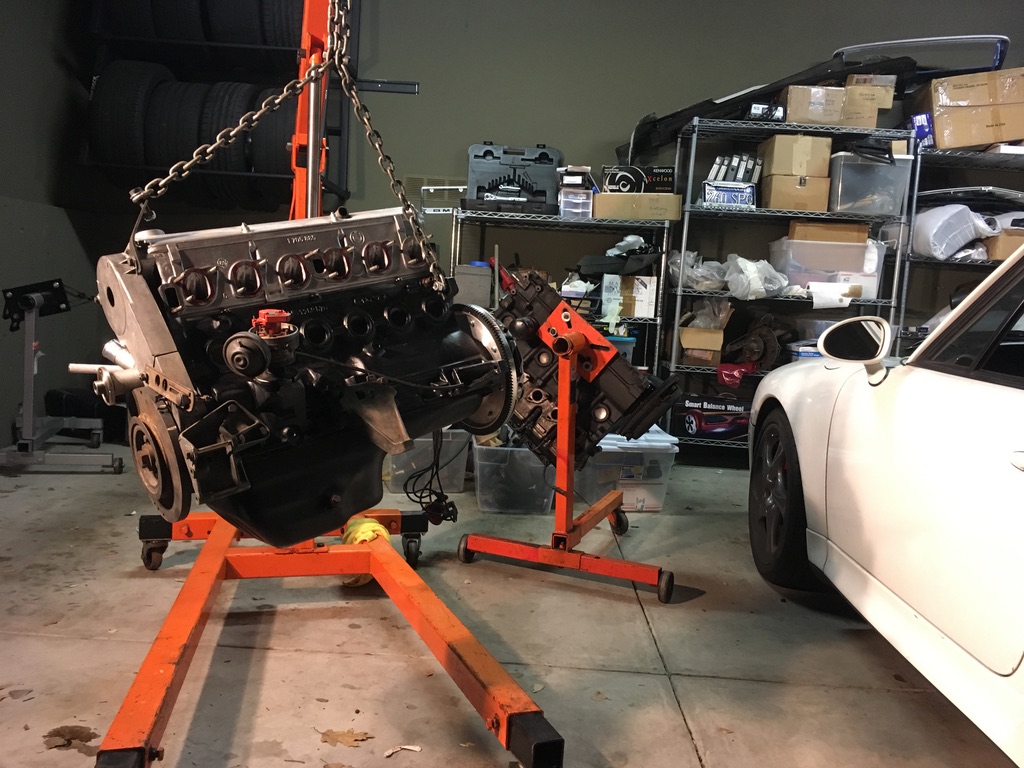
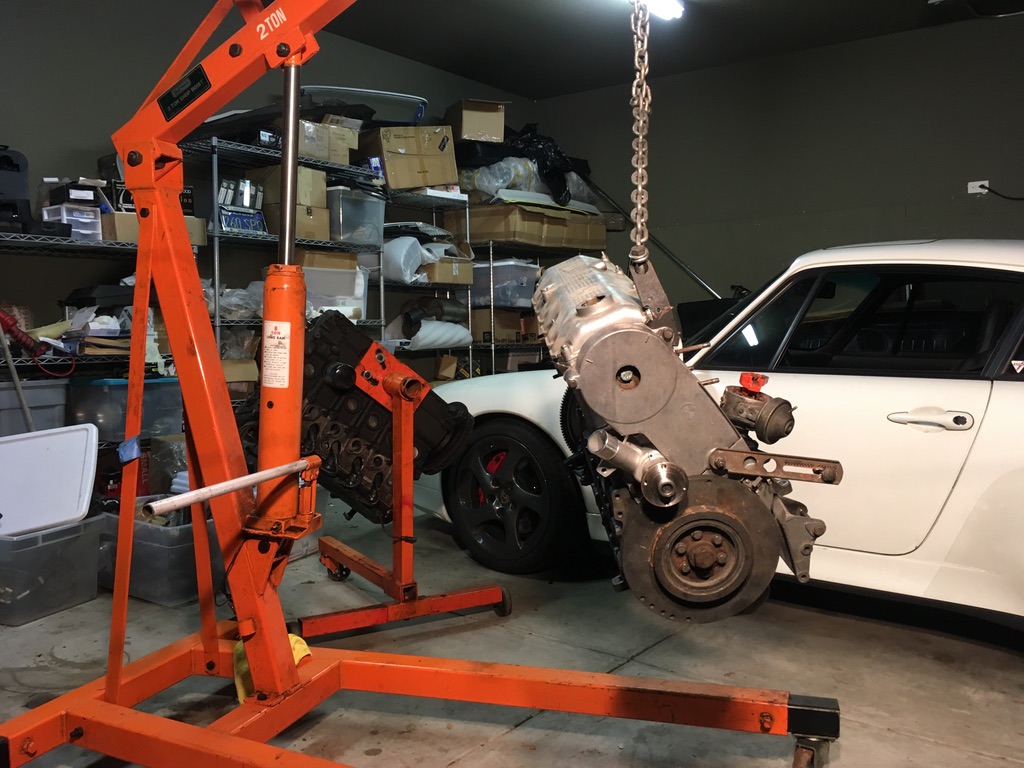 Stu came and picked up the motor late one night, and after getting it to his shop, he had a chance to look it over. After looking at the intake manifold, he asked if it was ok for him to smooth the porting out a little. Of course! He also wants to pretty up the front covers and the harmonic balancer on the front crank pulley. Why not! I’m sure these will delay the project some more, but I clearly am not making my original goal of a late August debut at Monterey, so I have another year to get everything done.
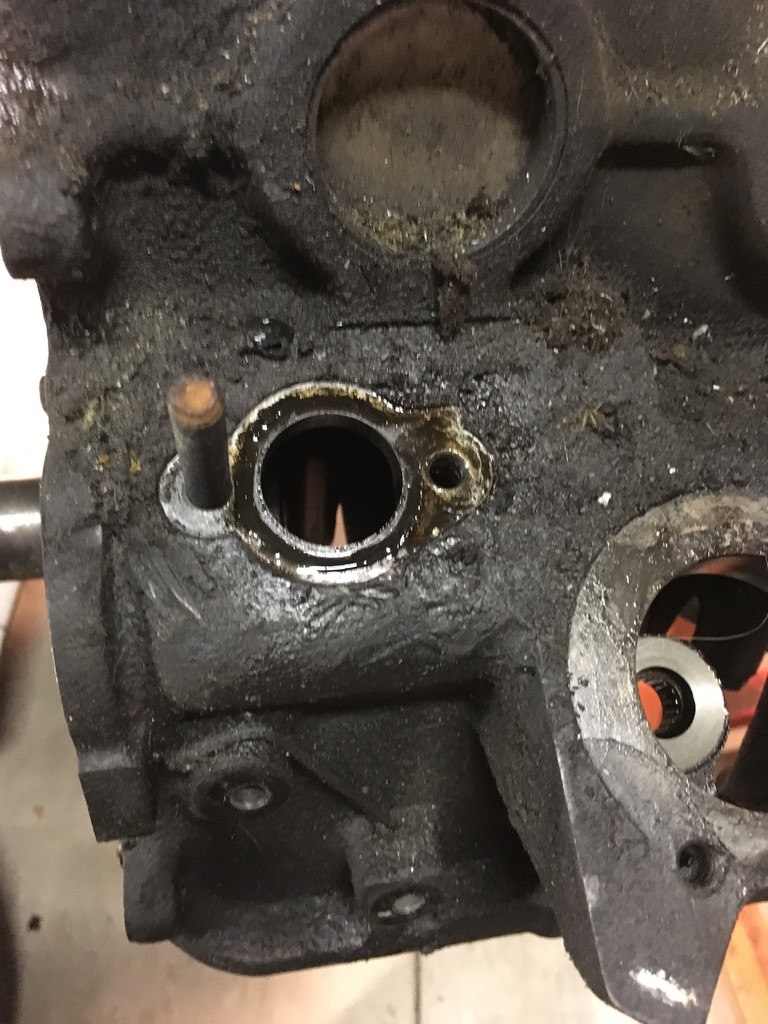
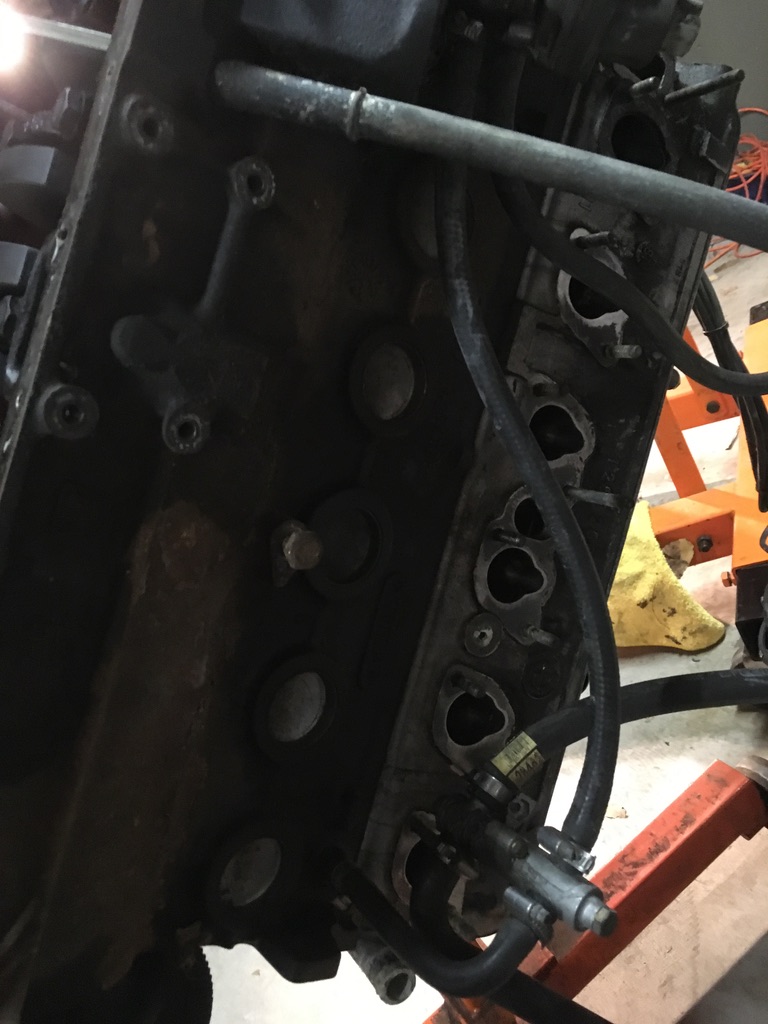 When wrenching on that, something interesting was discovered. The warm-up regulator bolts to the block (on top of a manifold that has coolant running through it). When unbolting those for Stu to take to Sacramento, we found the bottom of the manifold is exposed to the sump, with a bore through the block and a nice rubber gasket to keep it sealed. Why? What does that accomplish? The m10 K-Jet doesn’t do that and we can’t figure out why the M20 does – so, is it necessary to bore out the new block? We don’t think so, but if you know otherwise, feel free to let me know.
 Next up is pulling the Alpina motor apart and figuring out what is in there and whether the head gasket is blown. Then I’ll clean it up and freshen up the innards.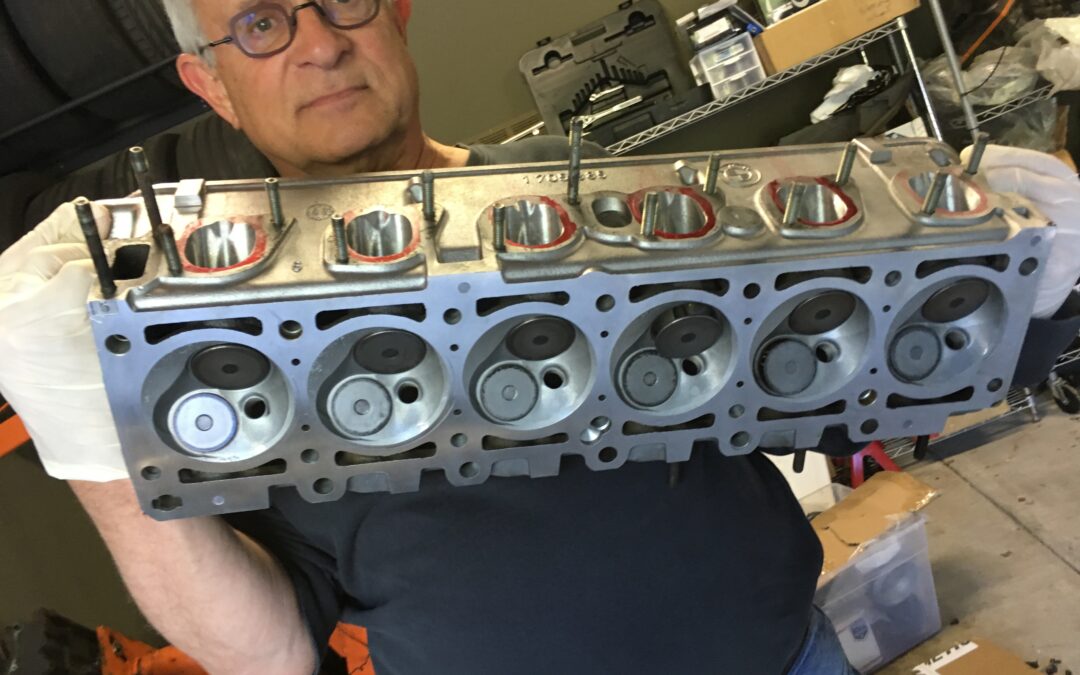
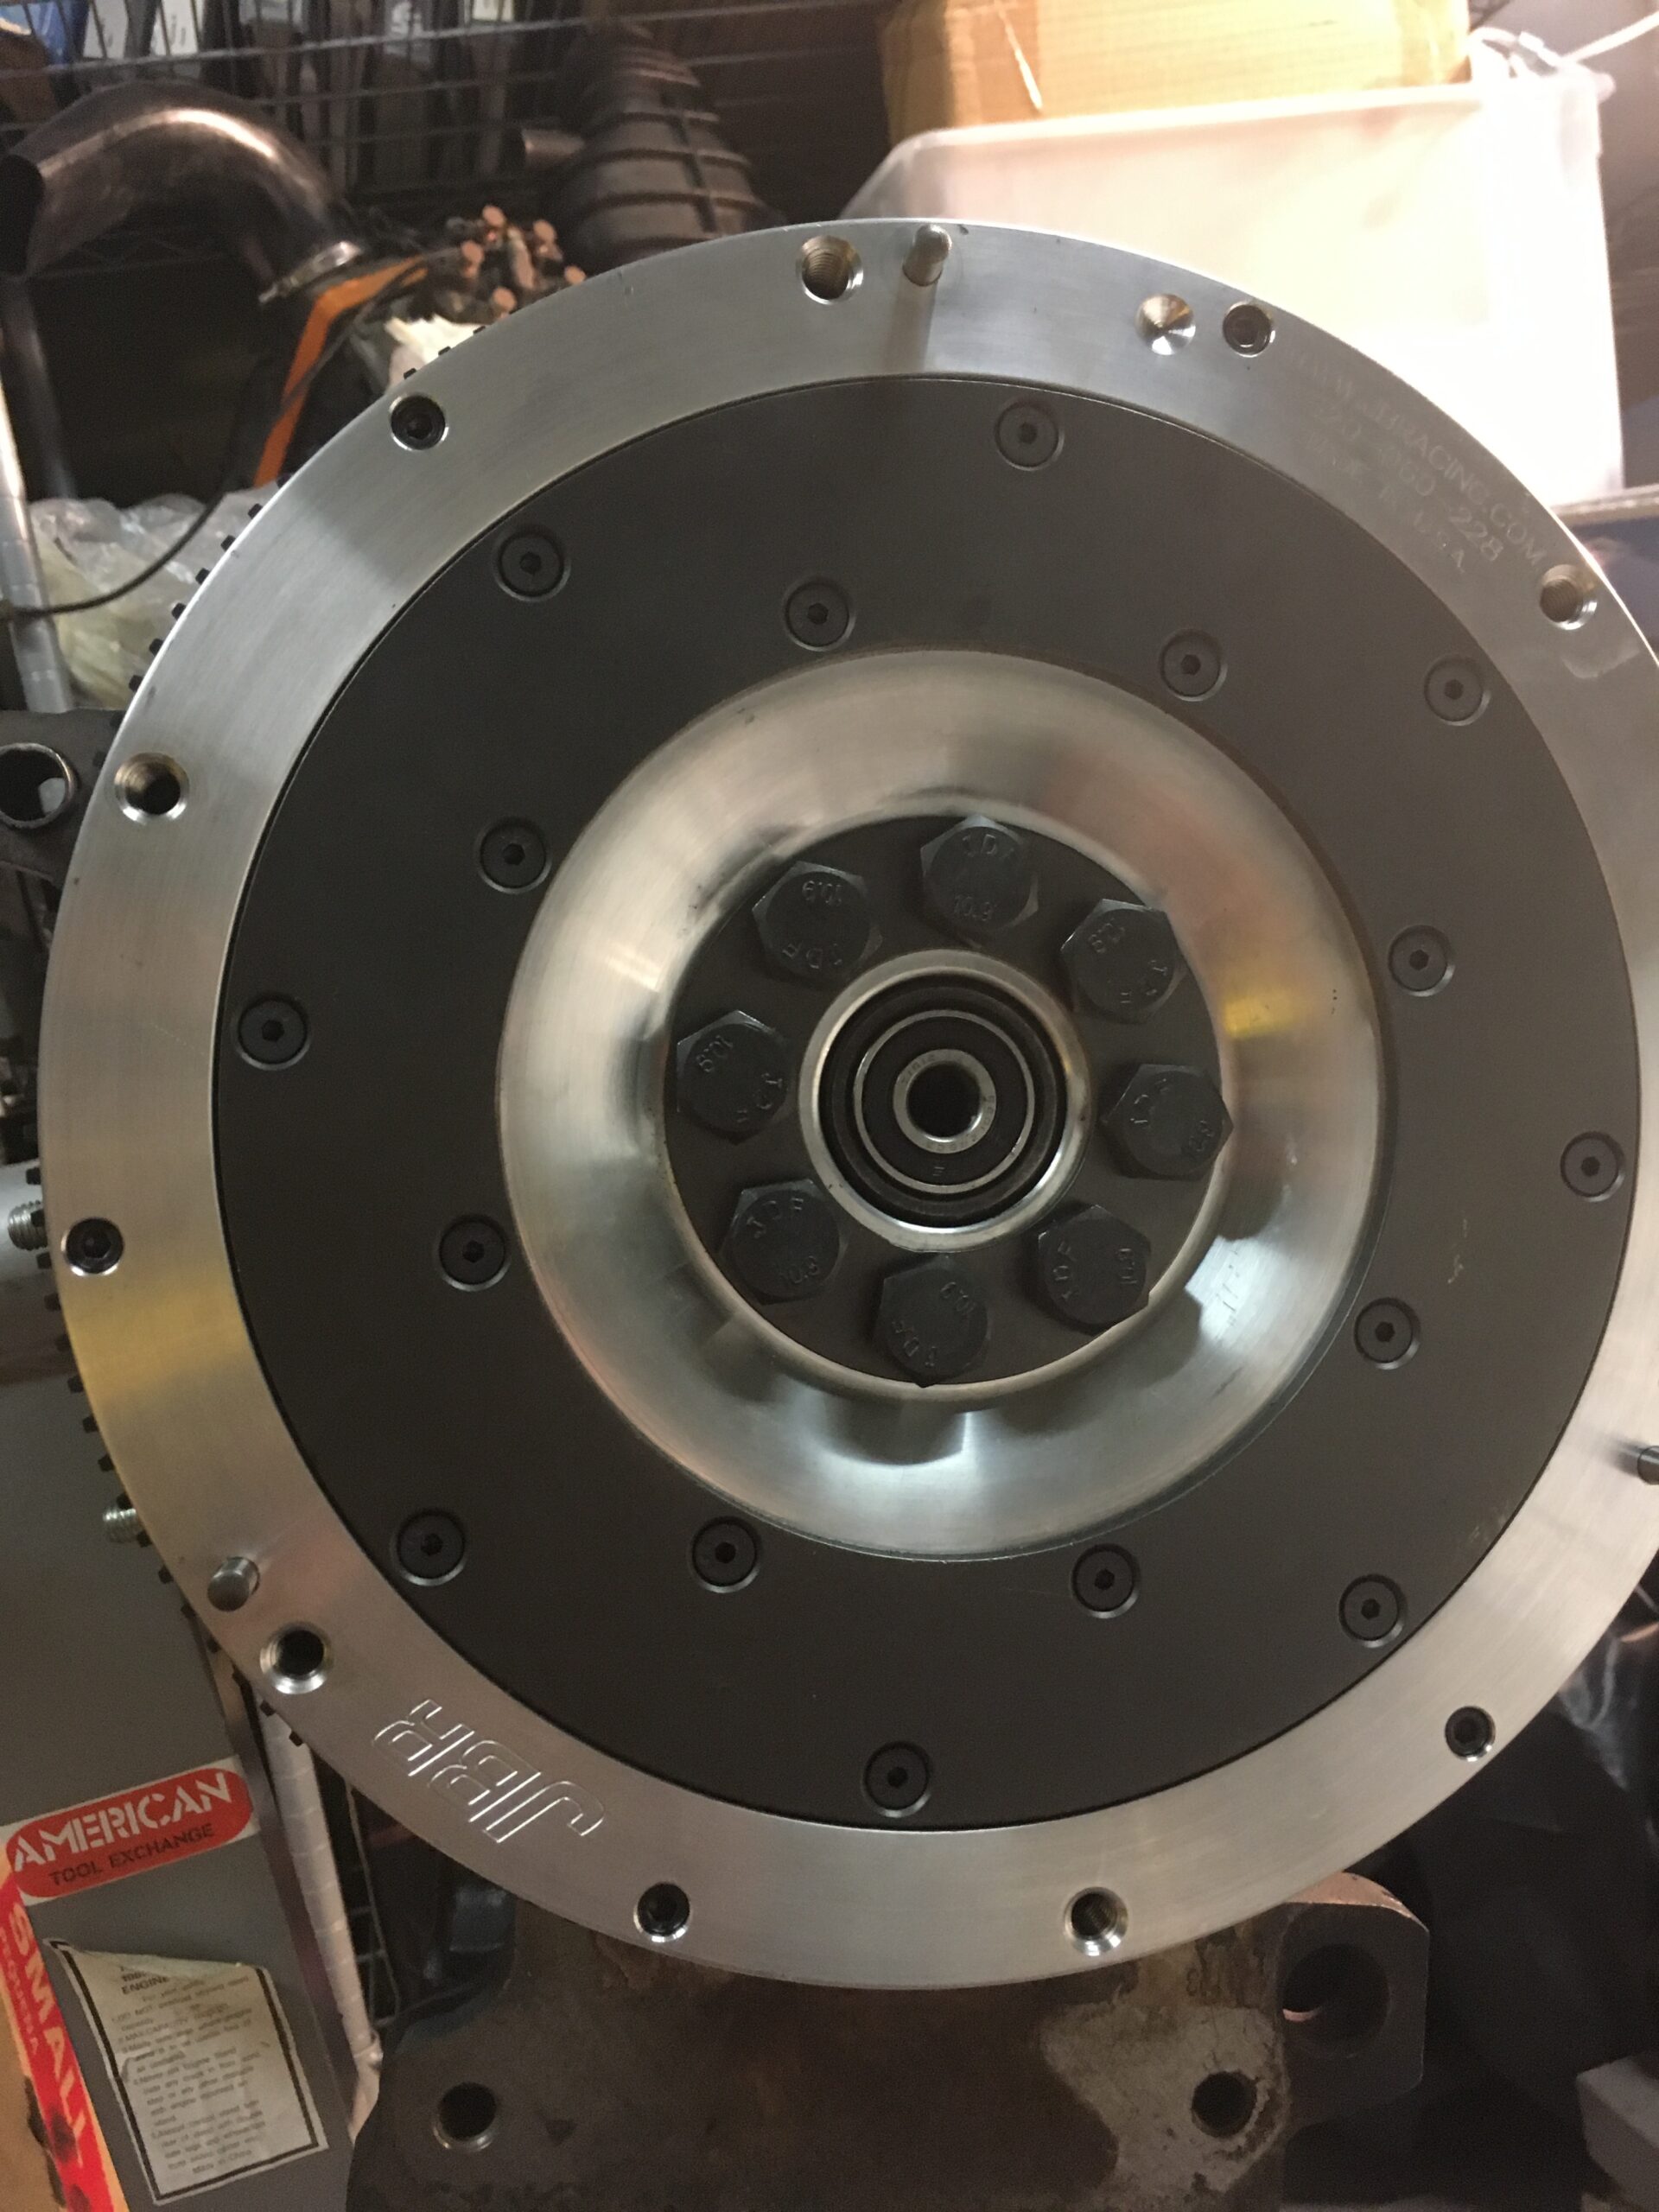
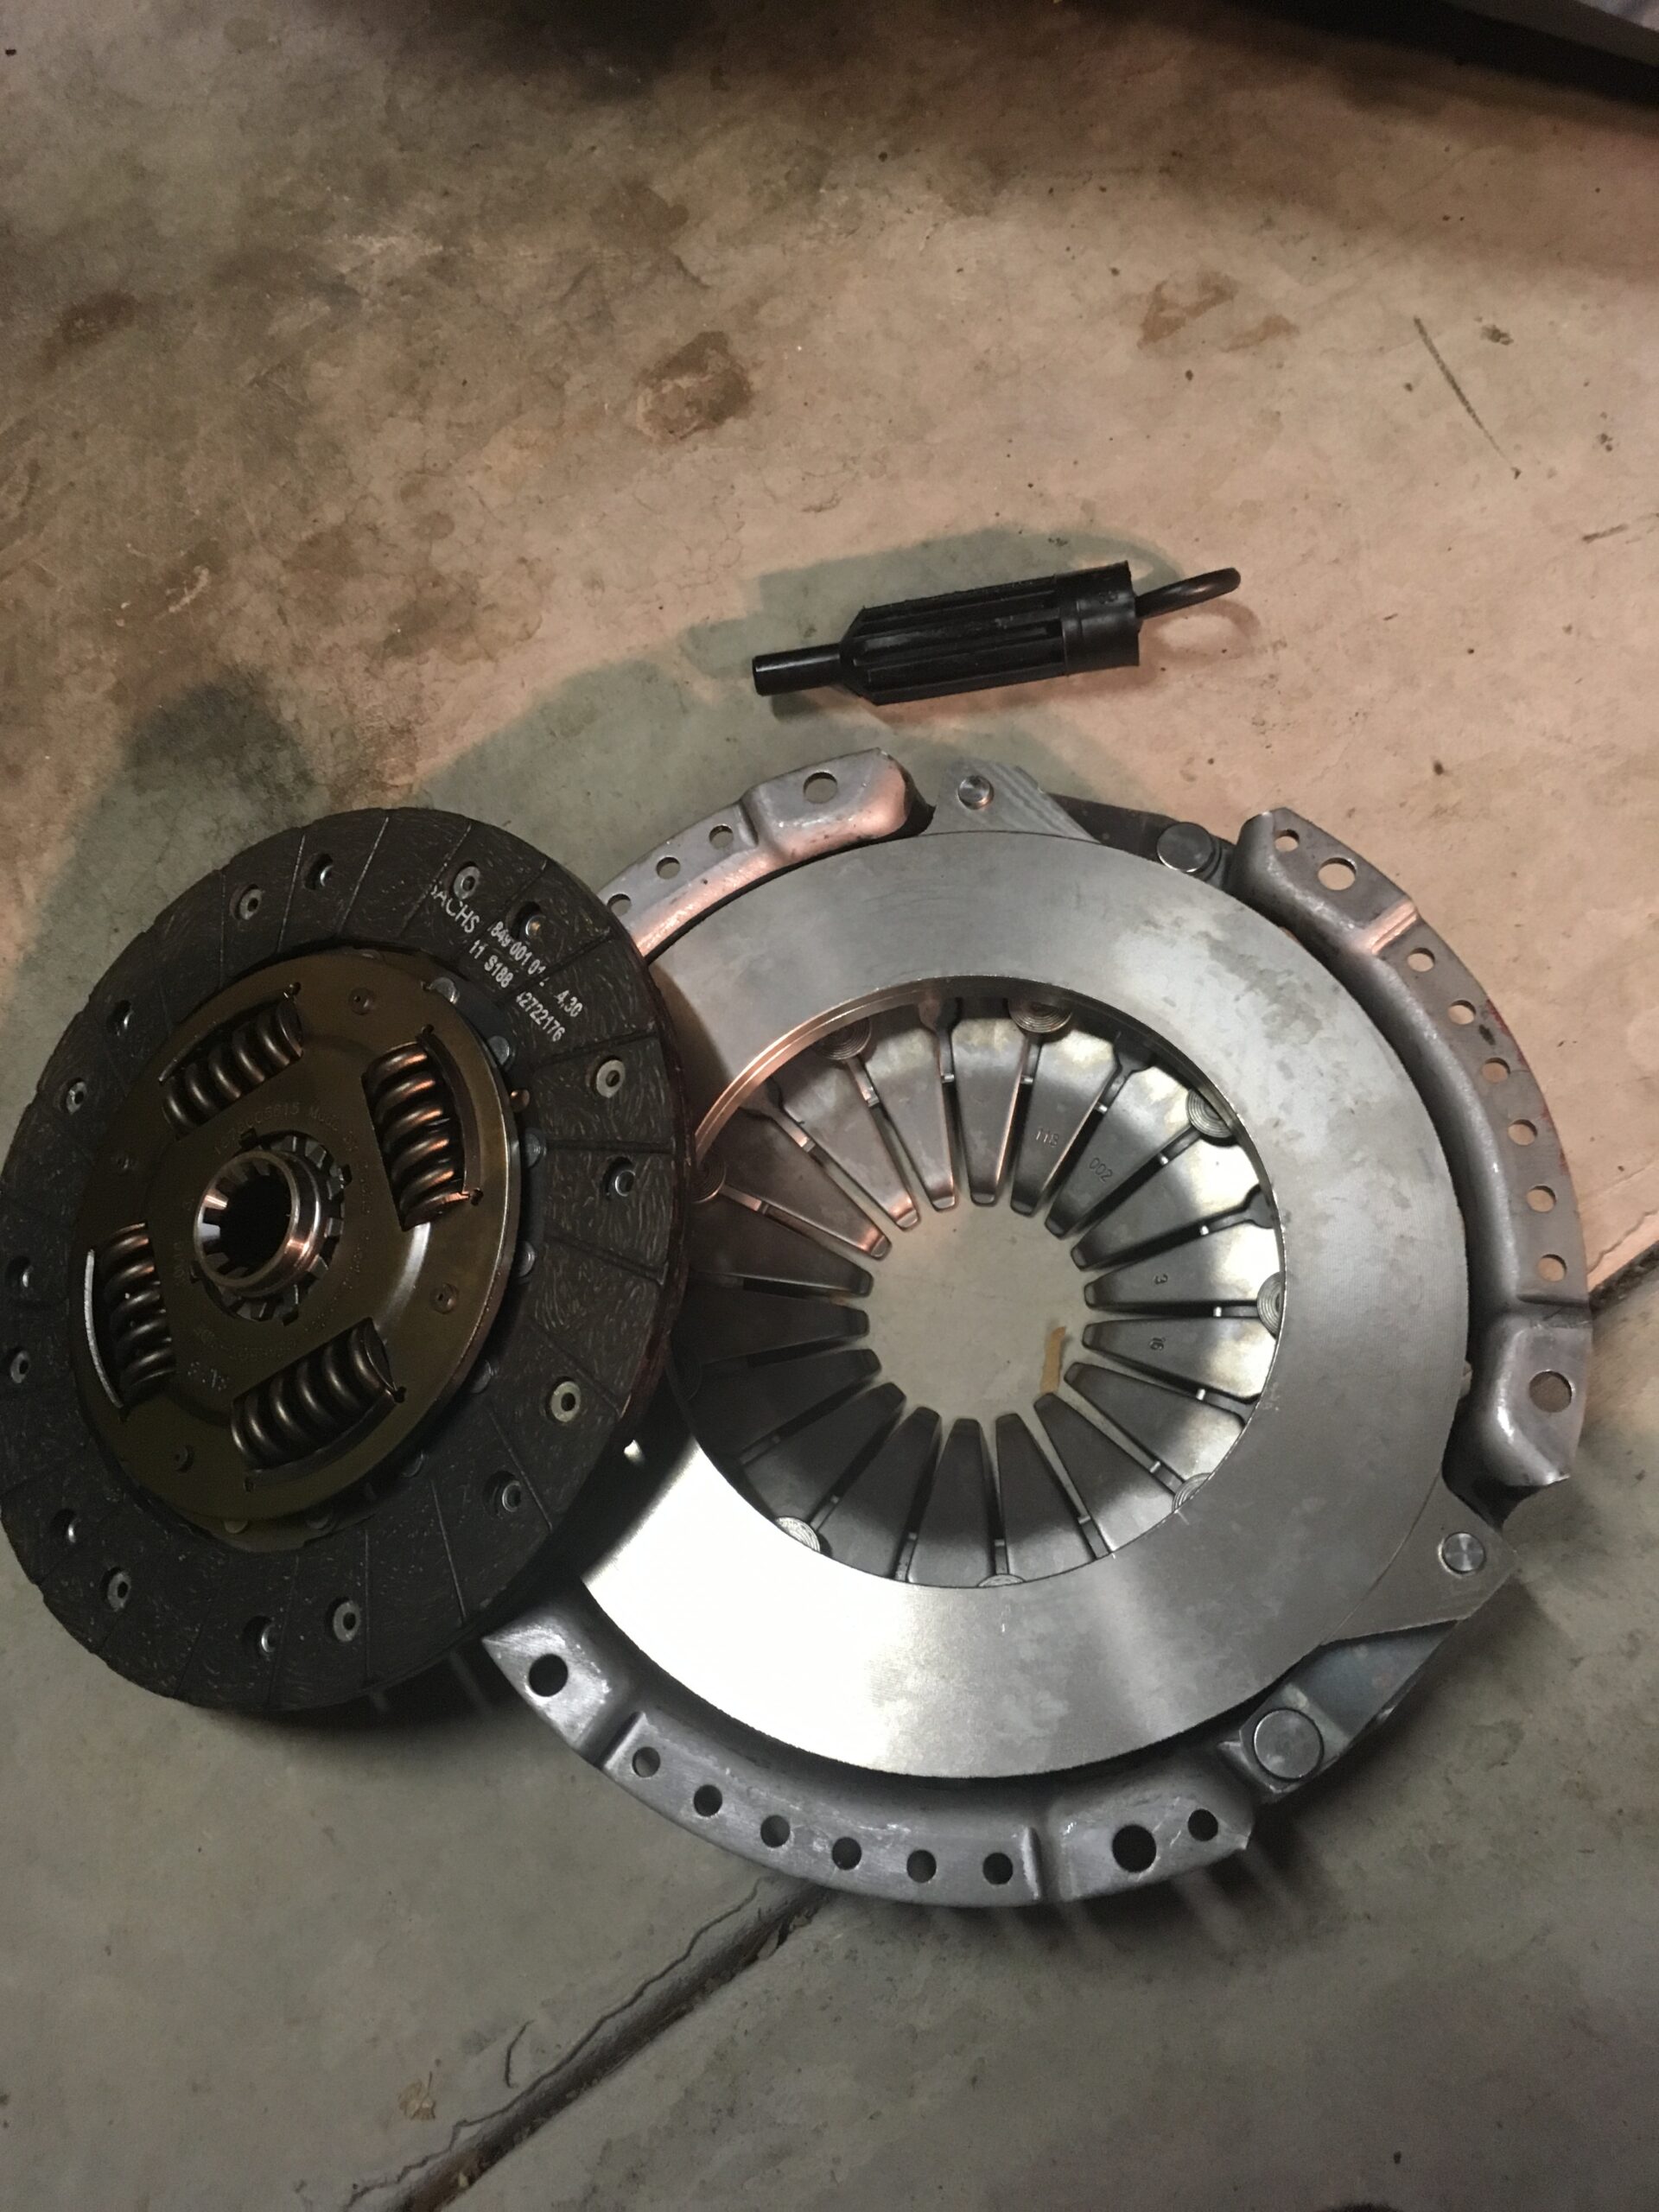
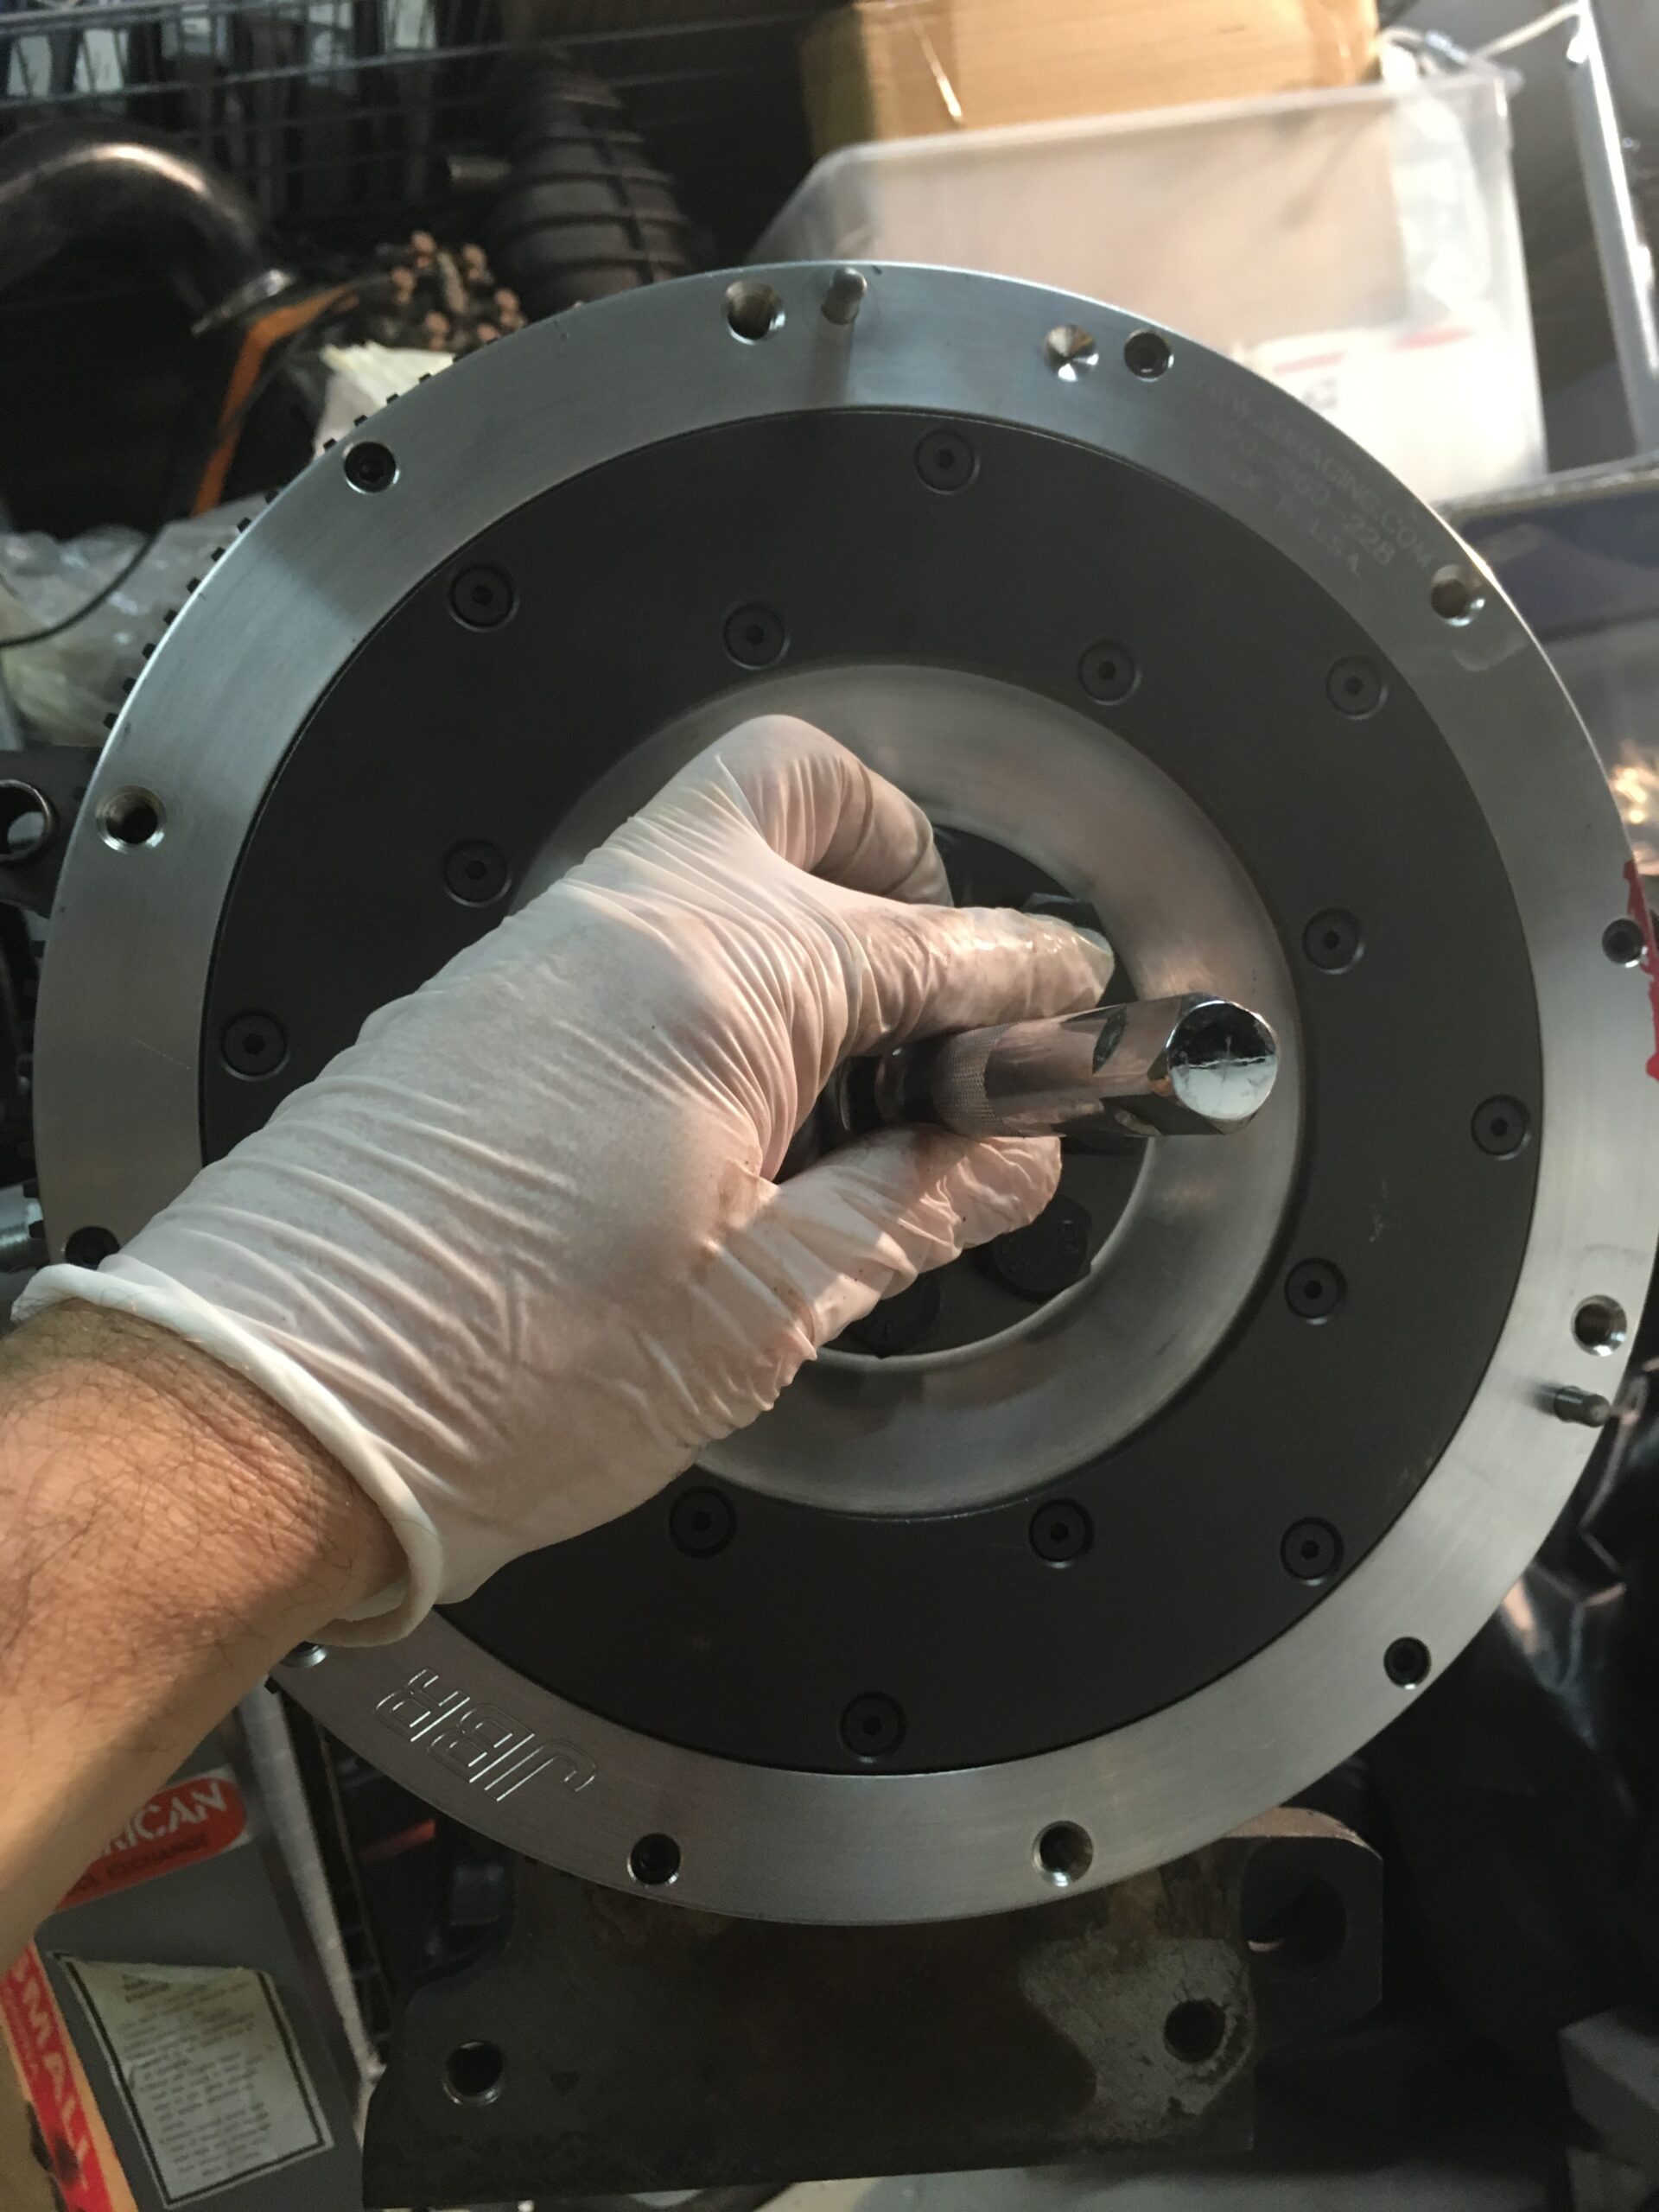
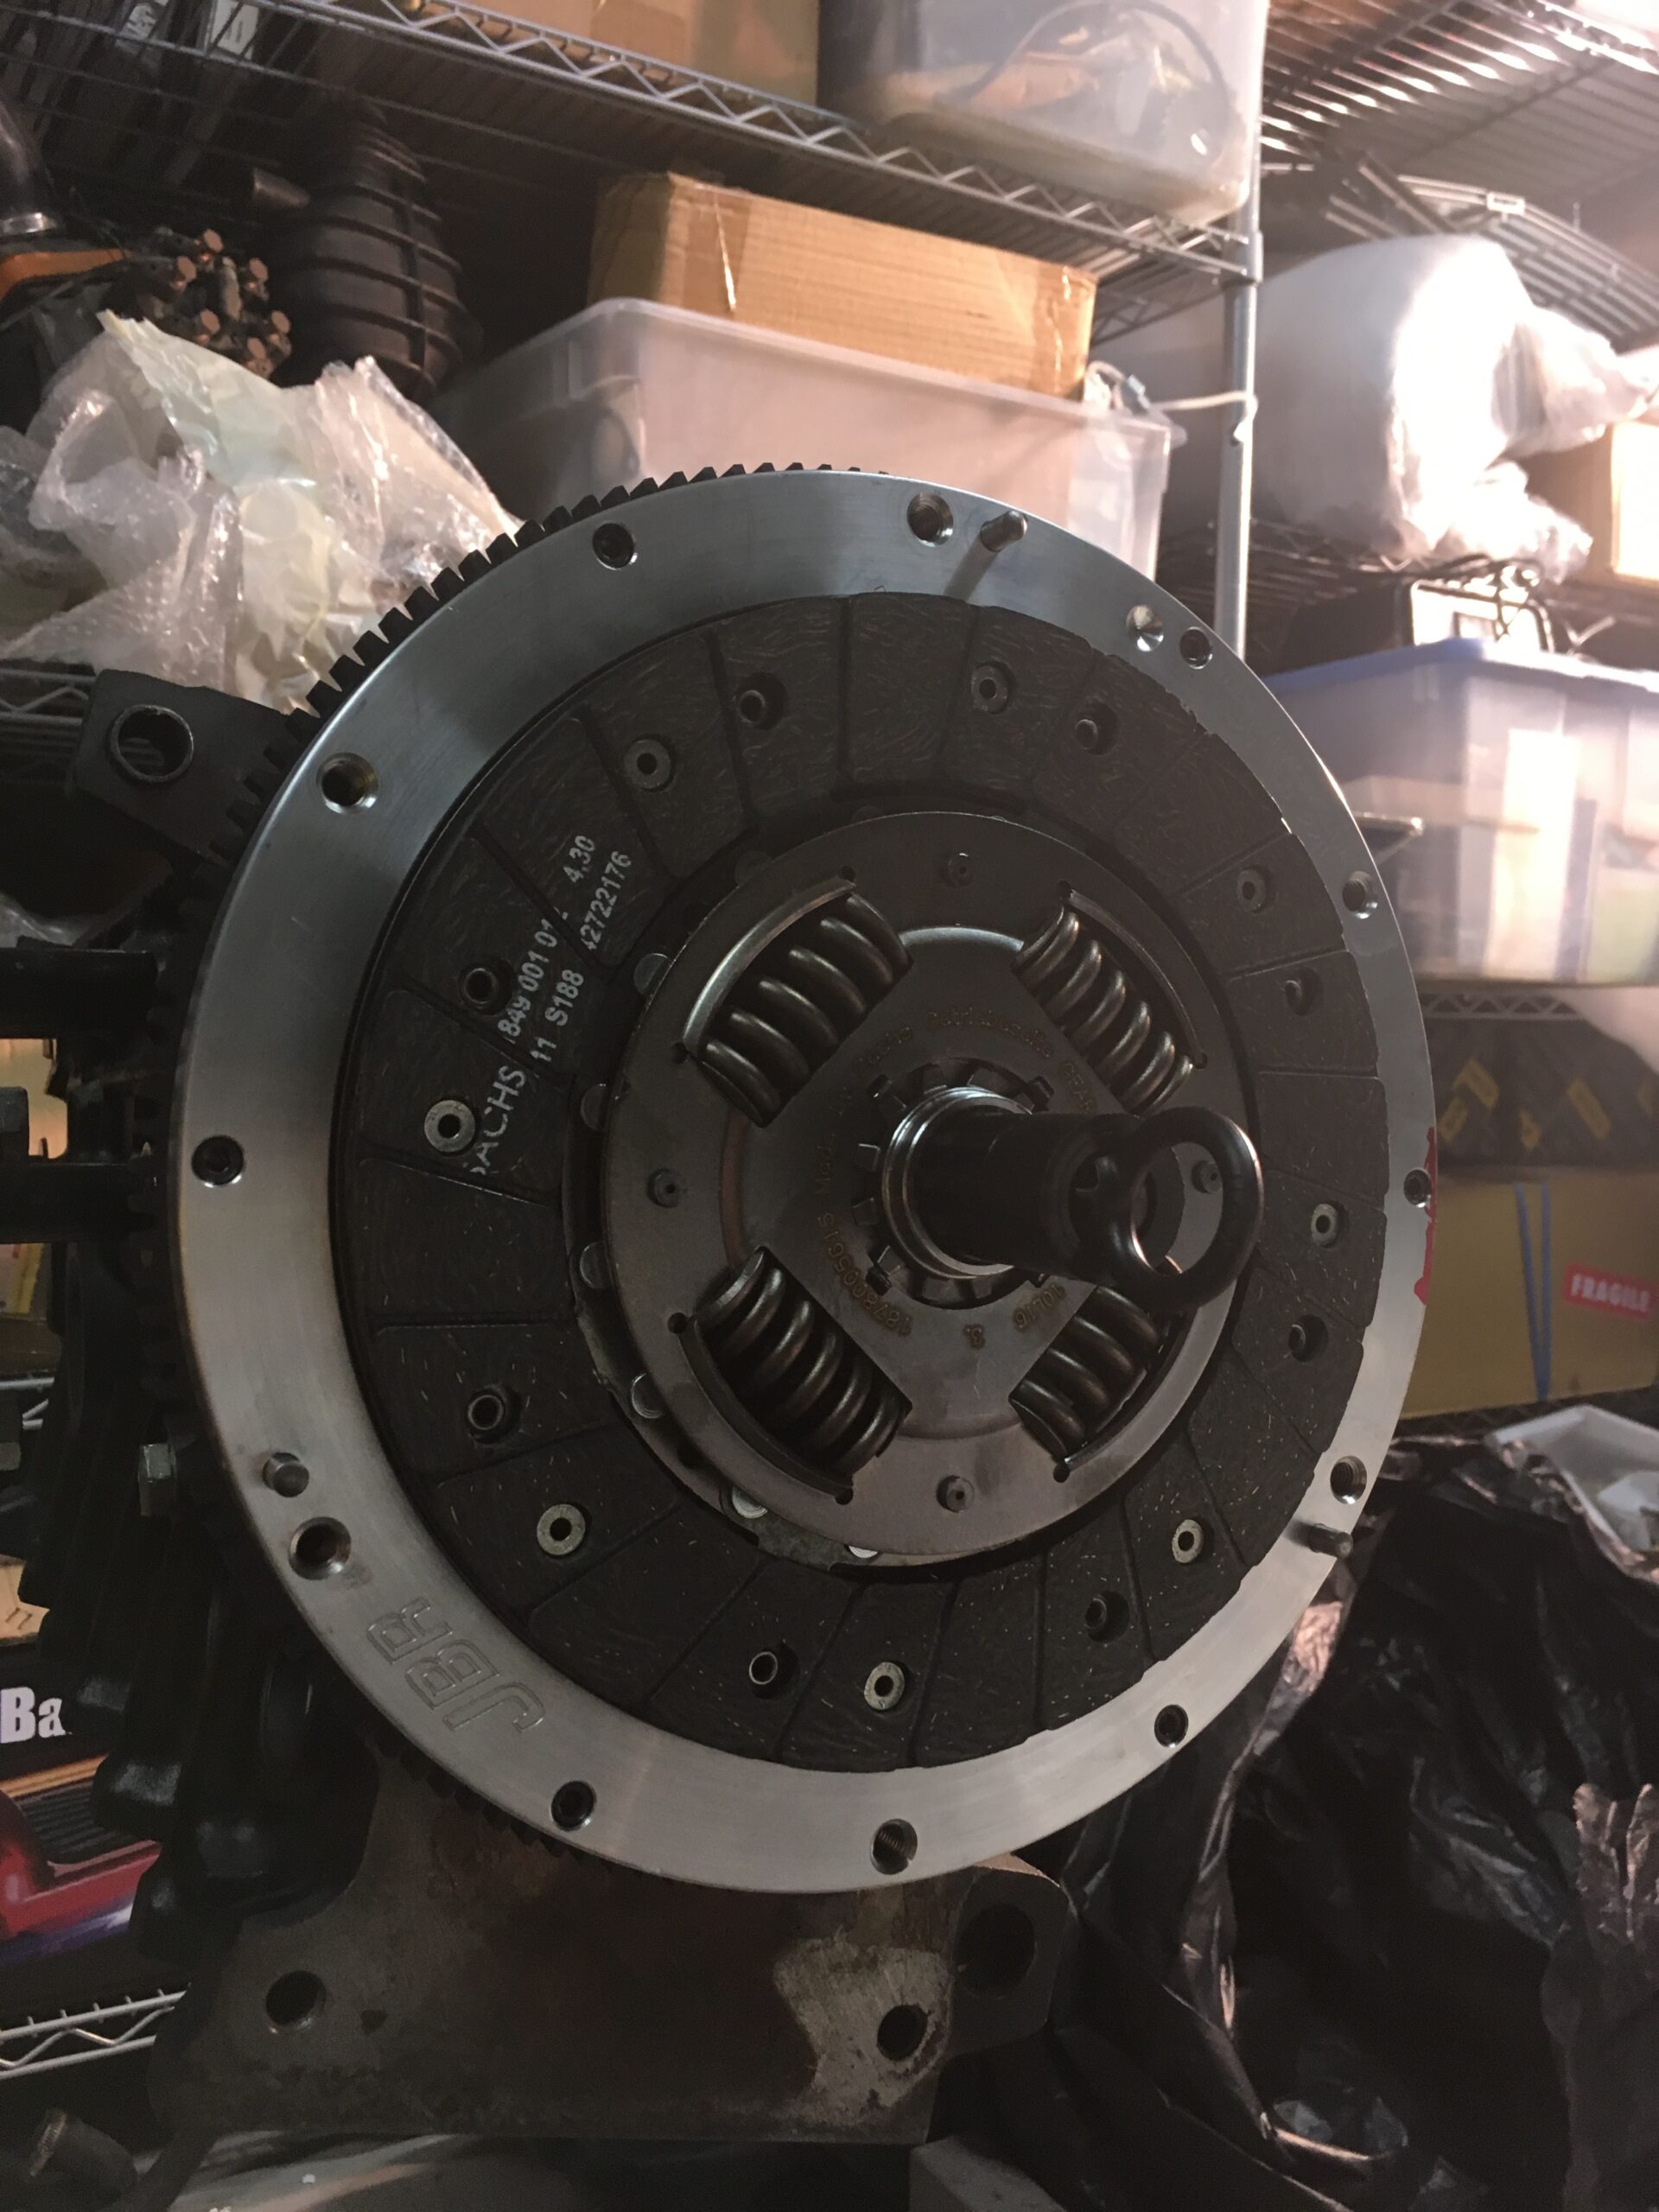
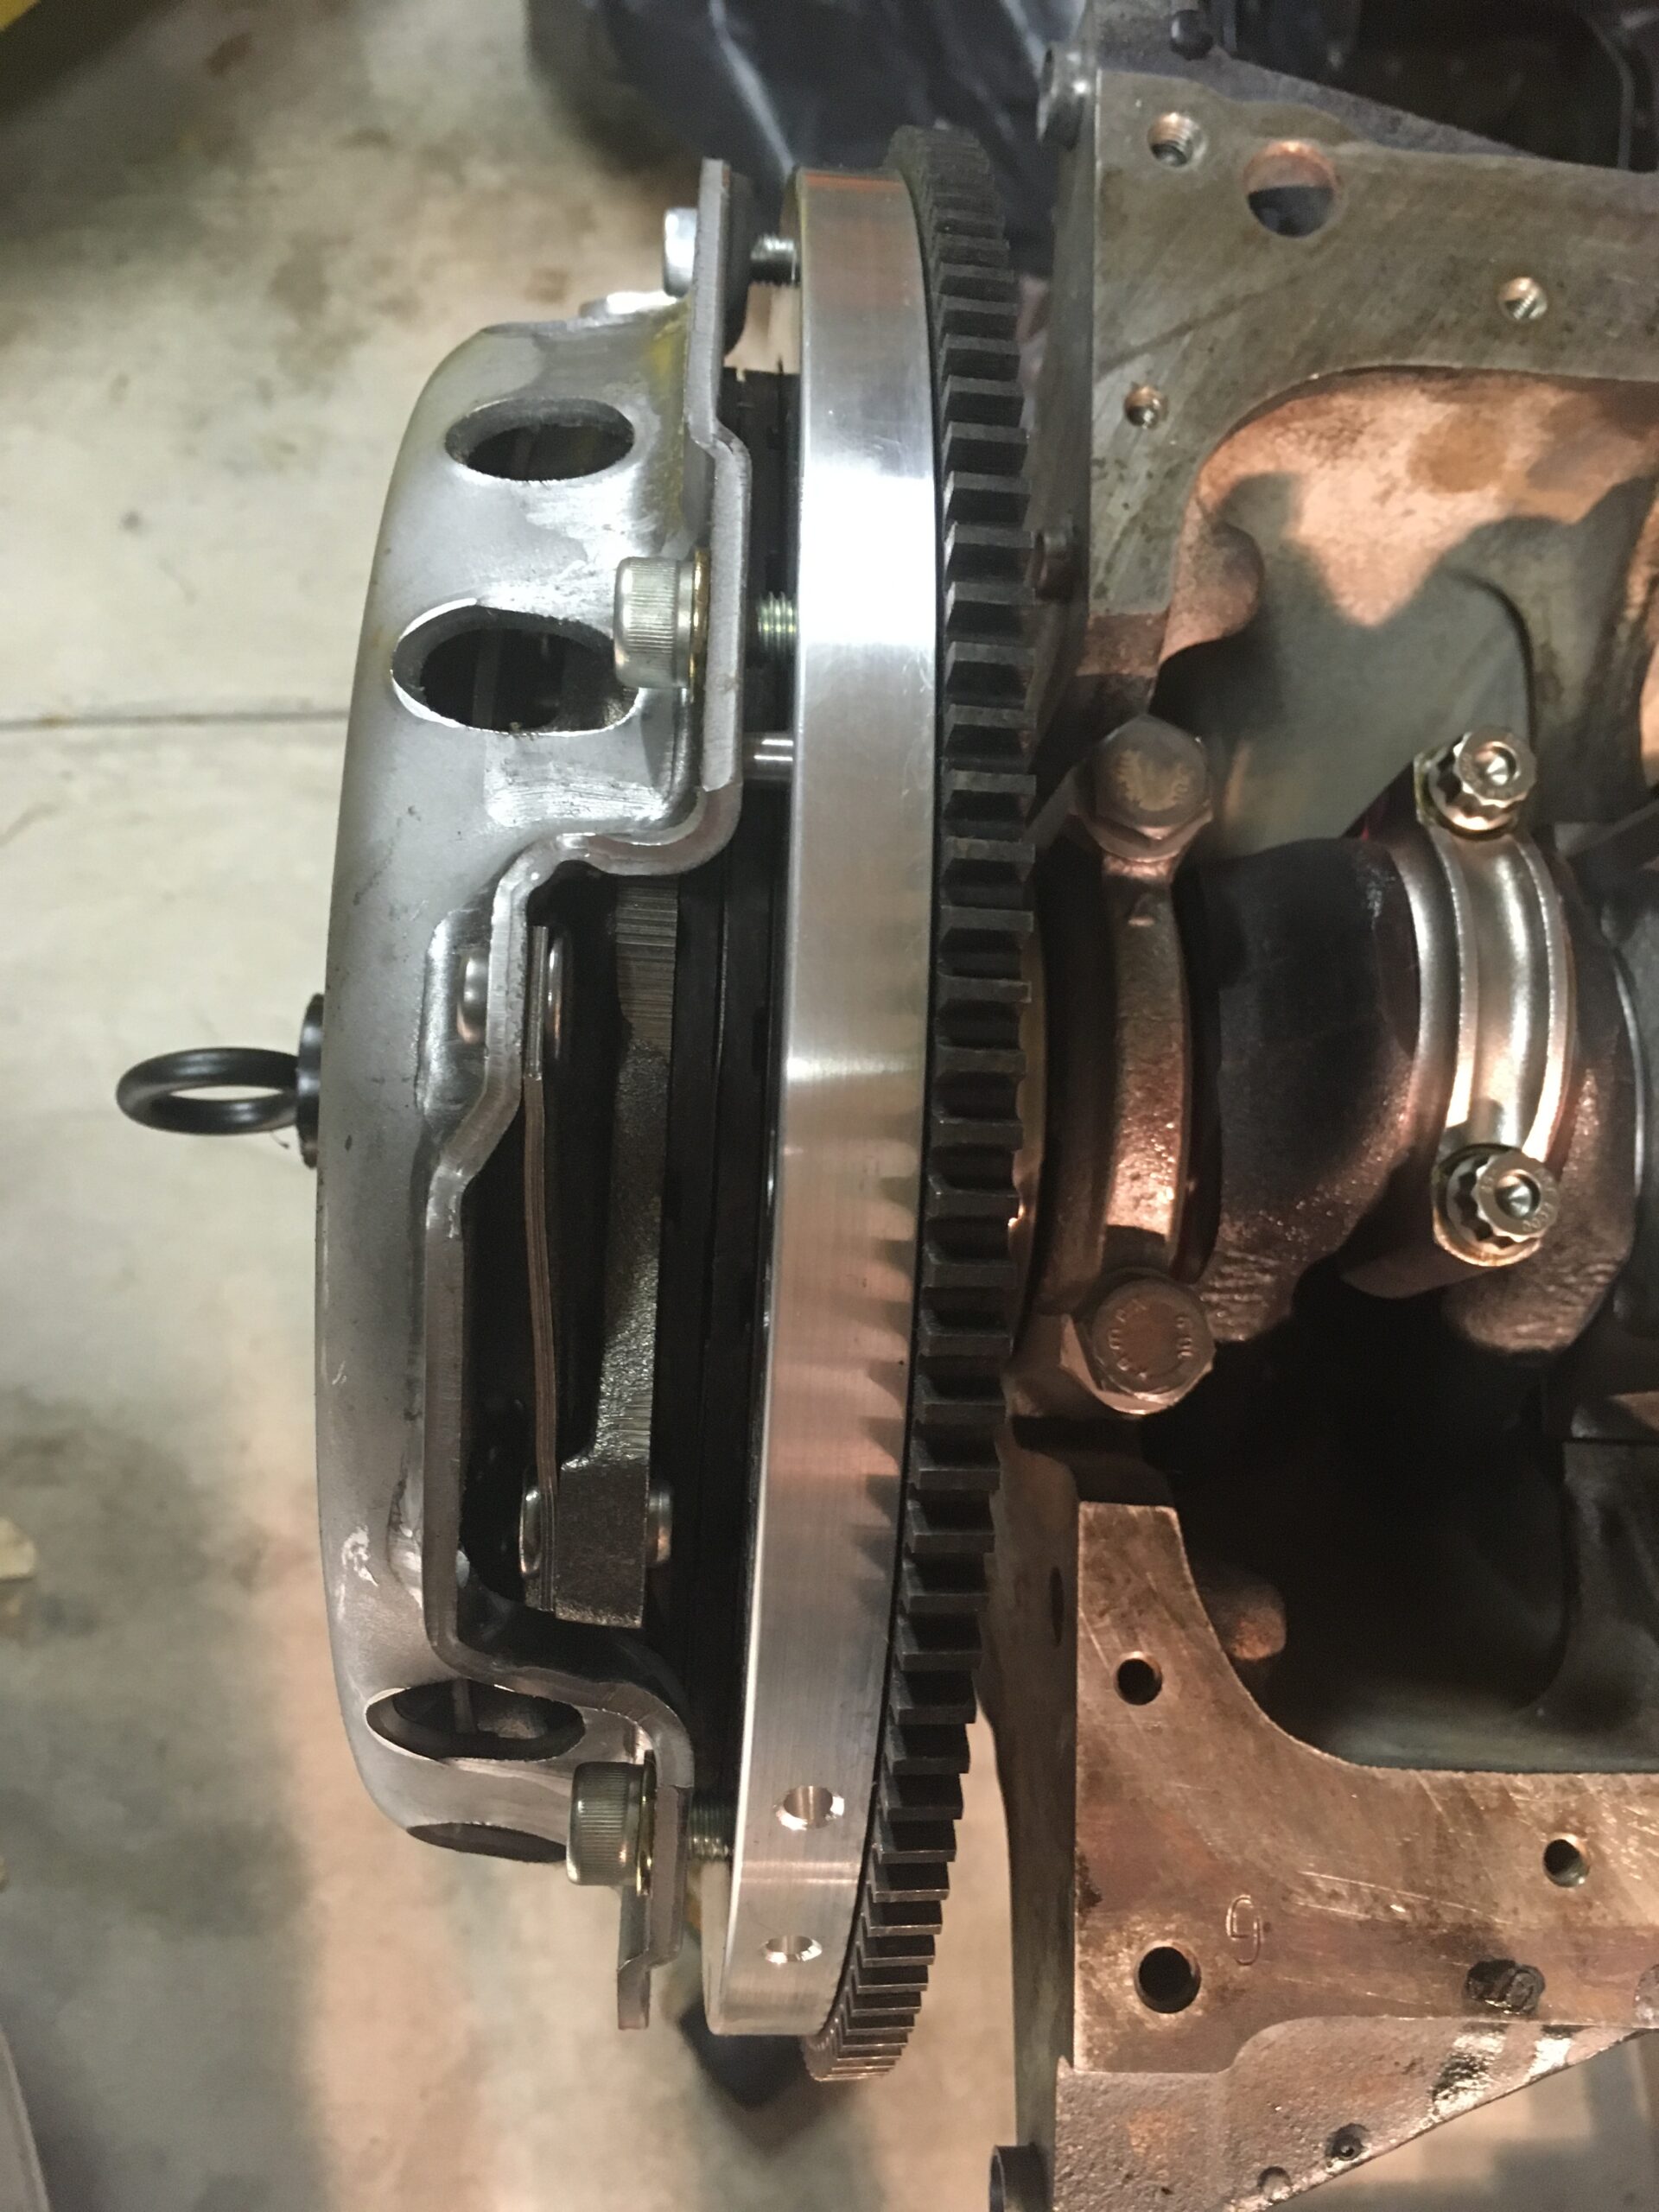
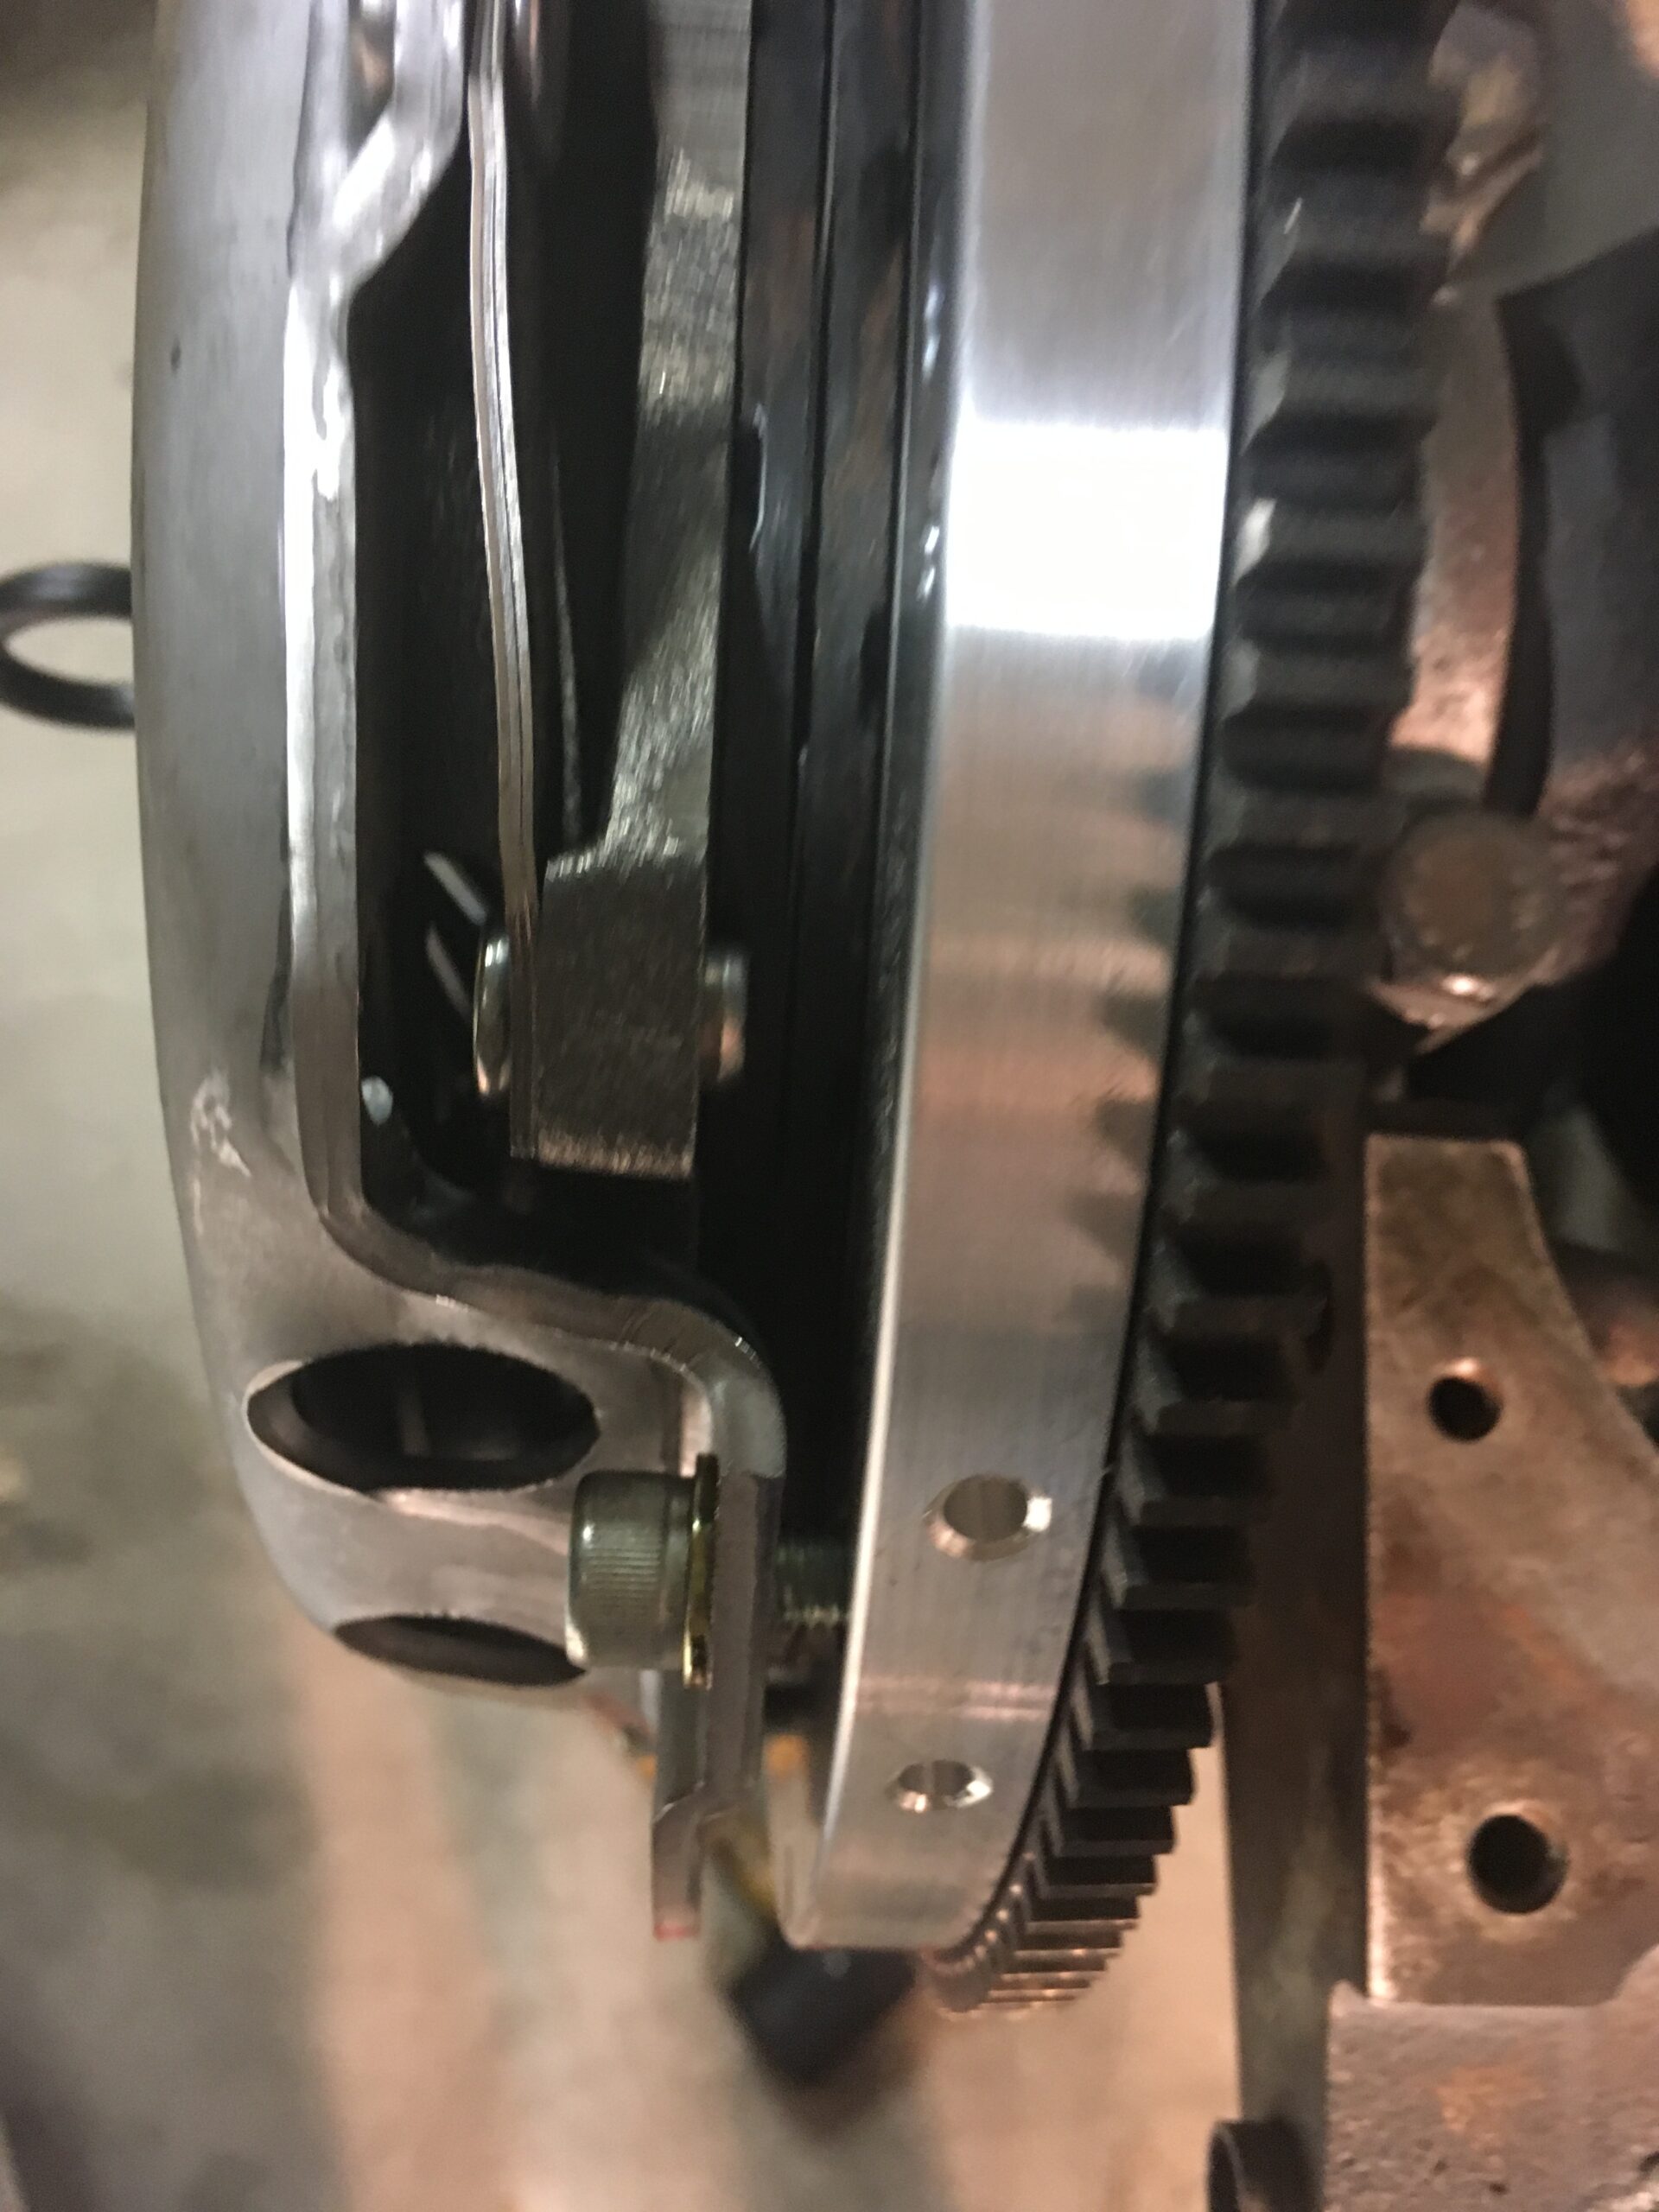
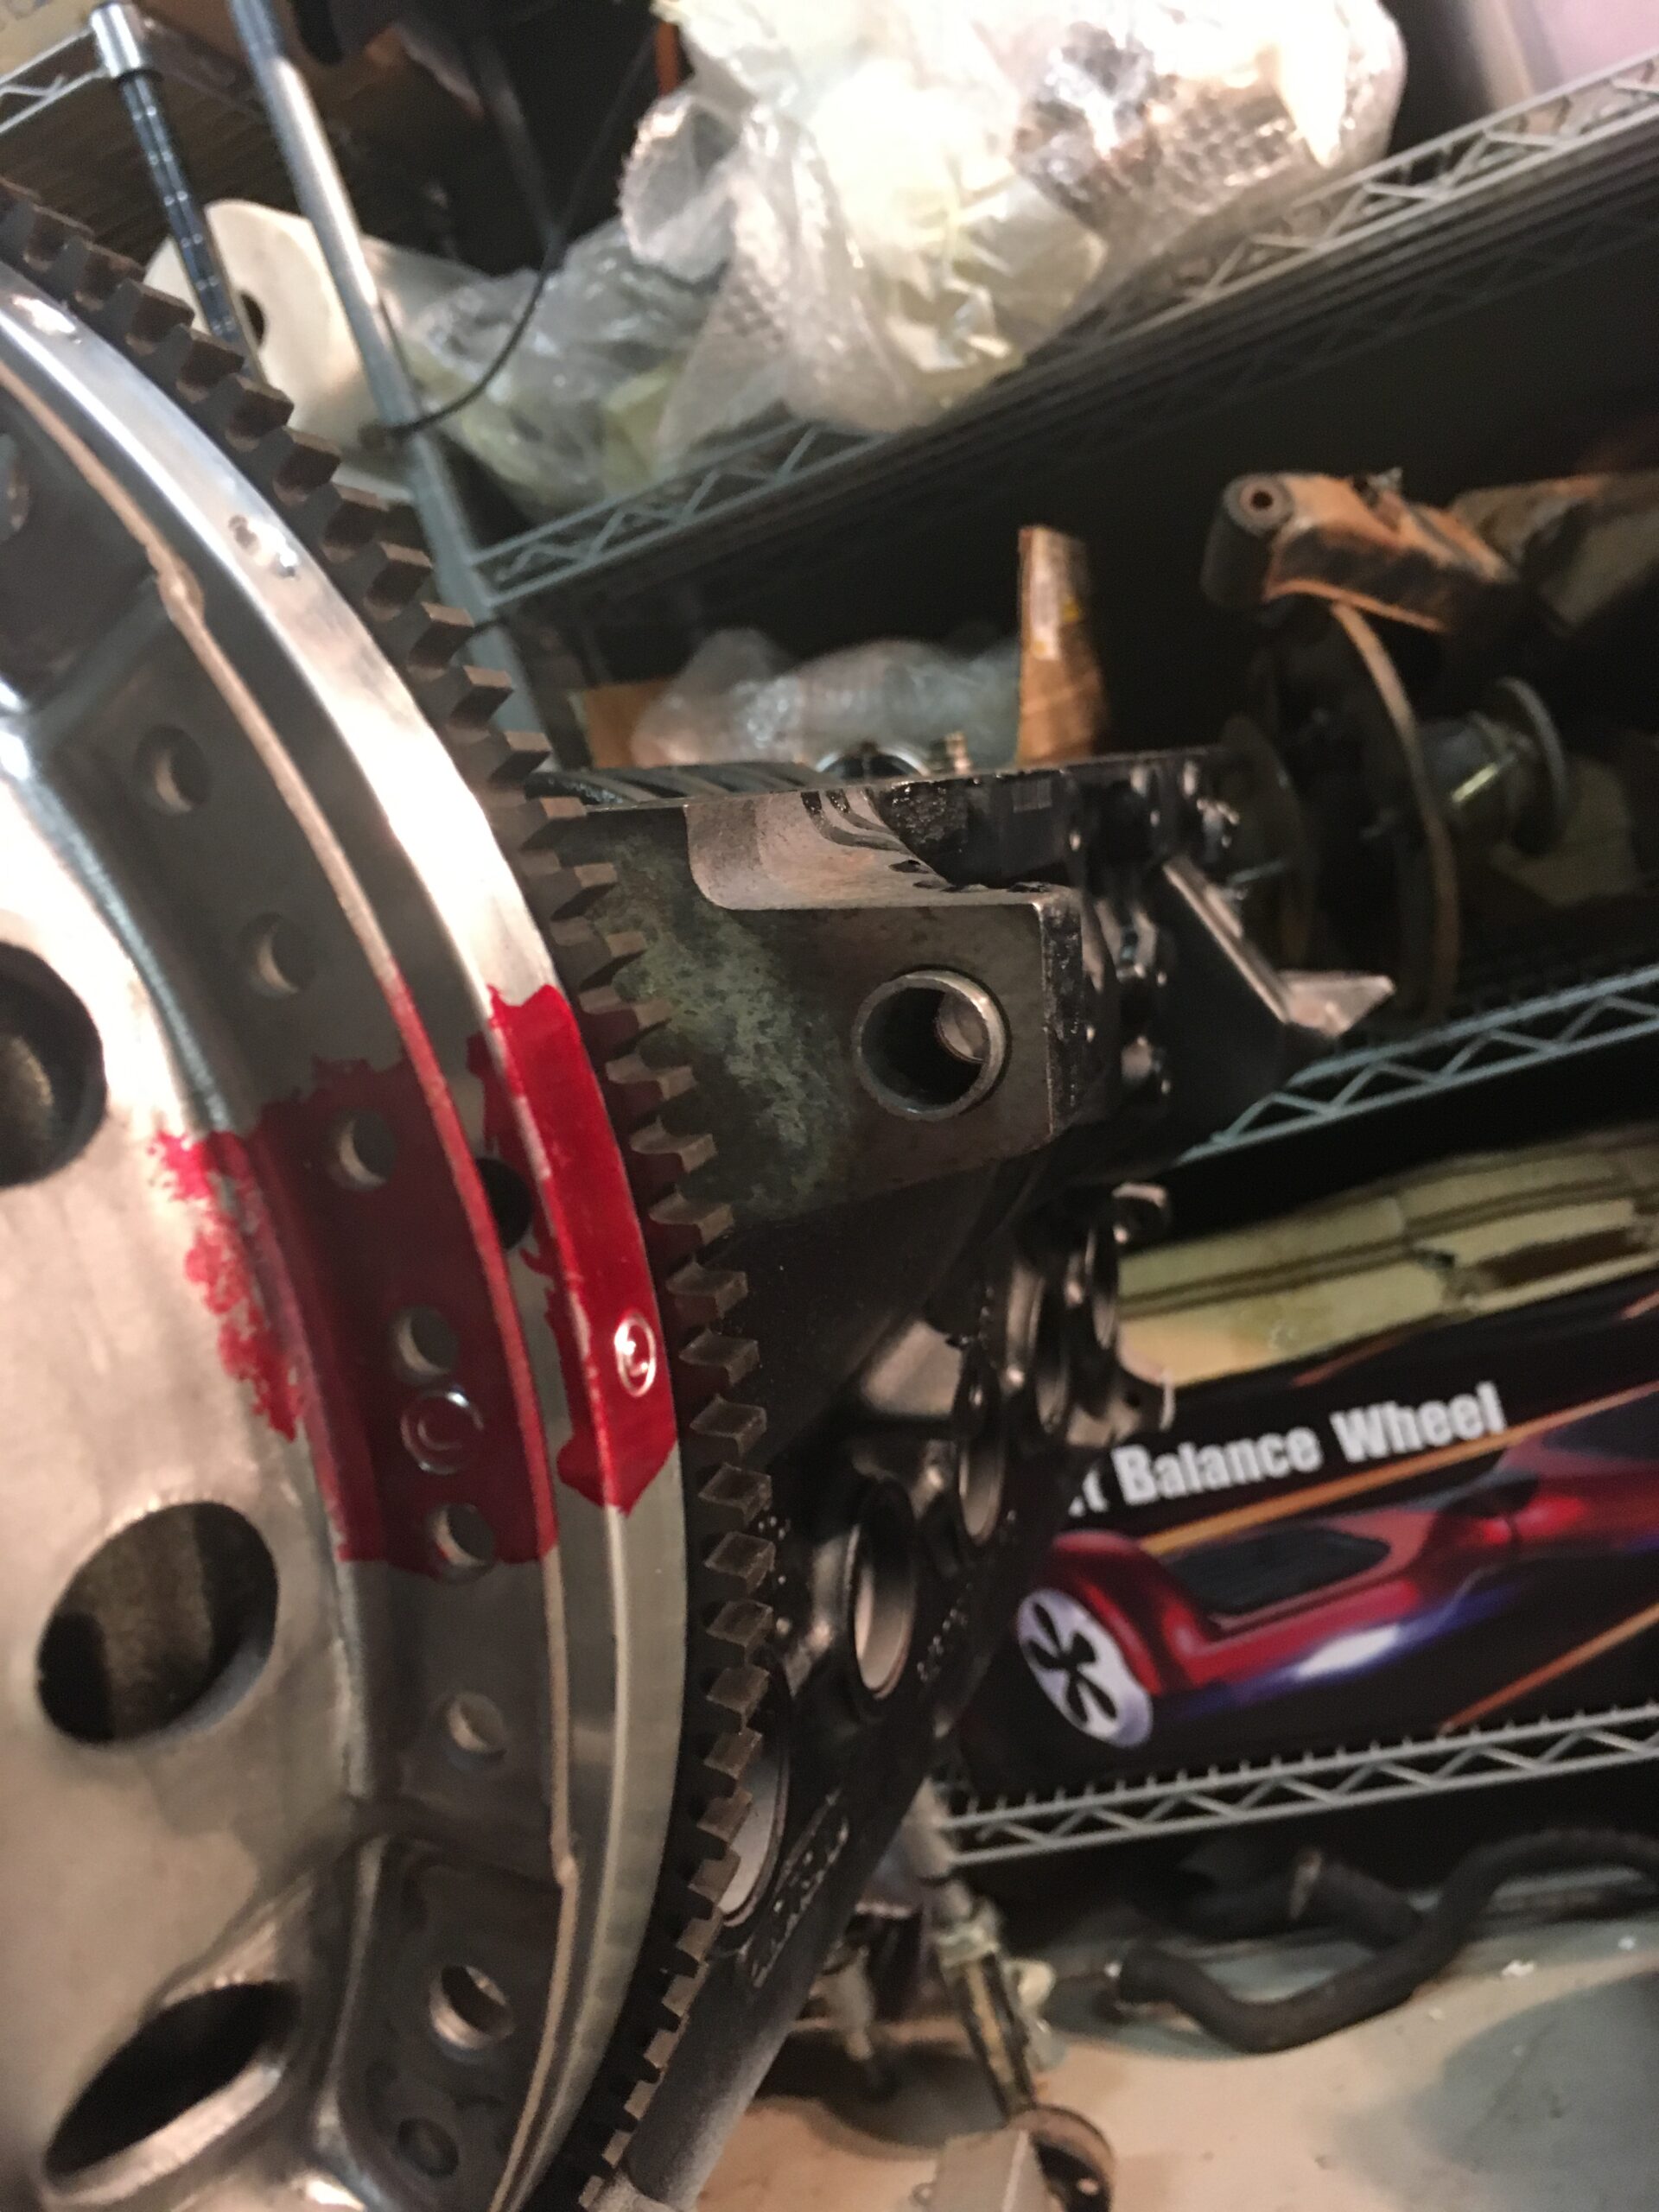
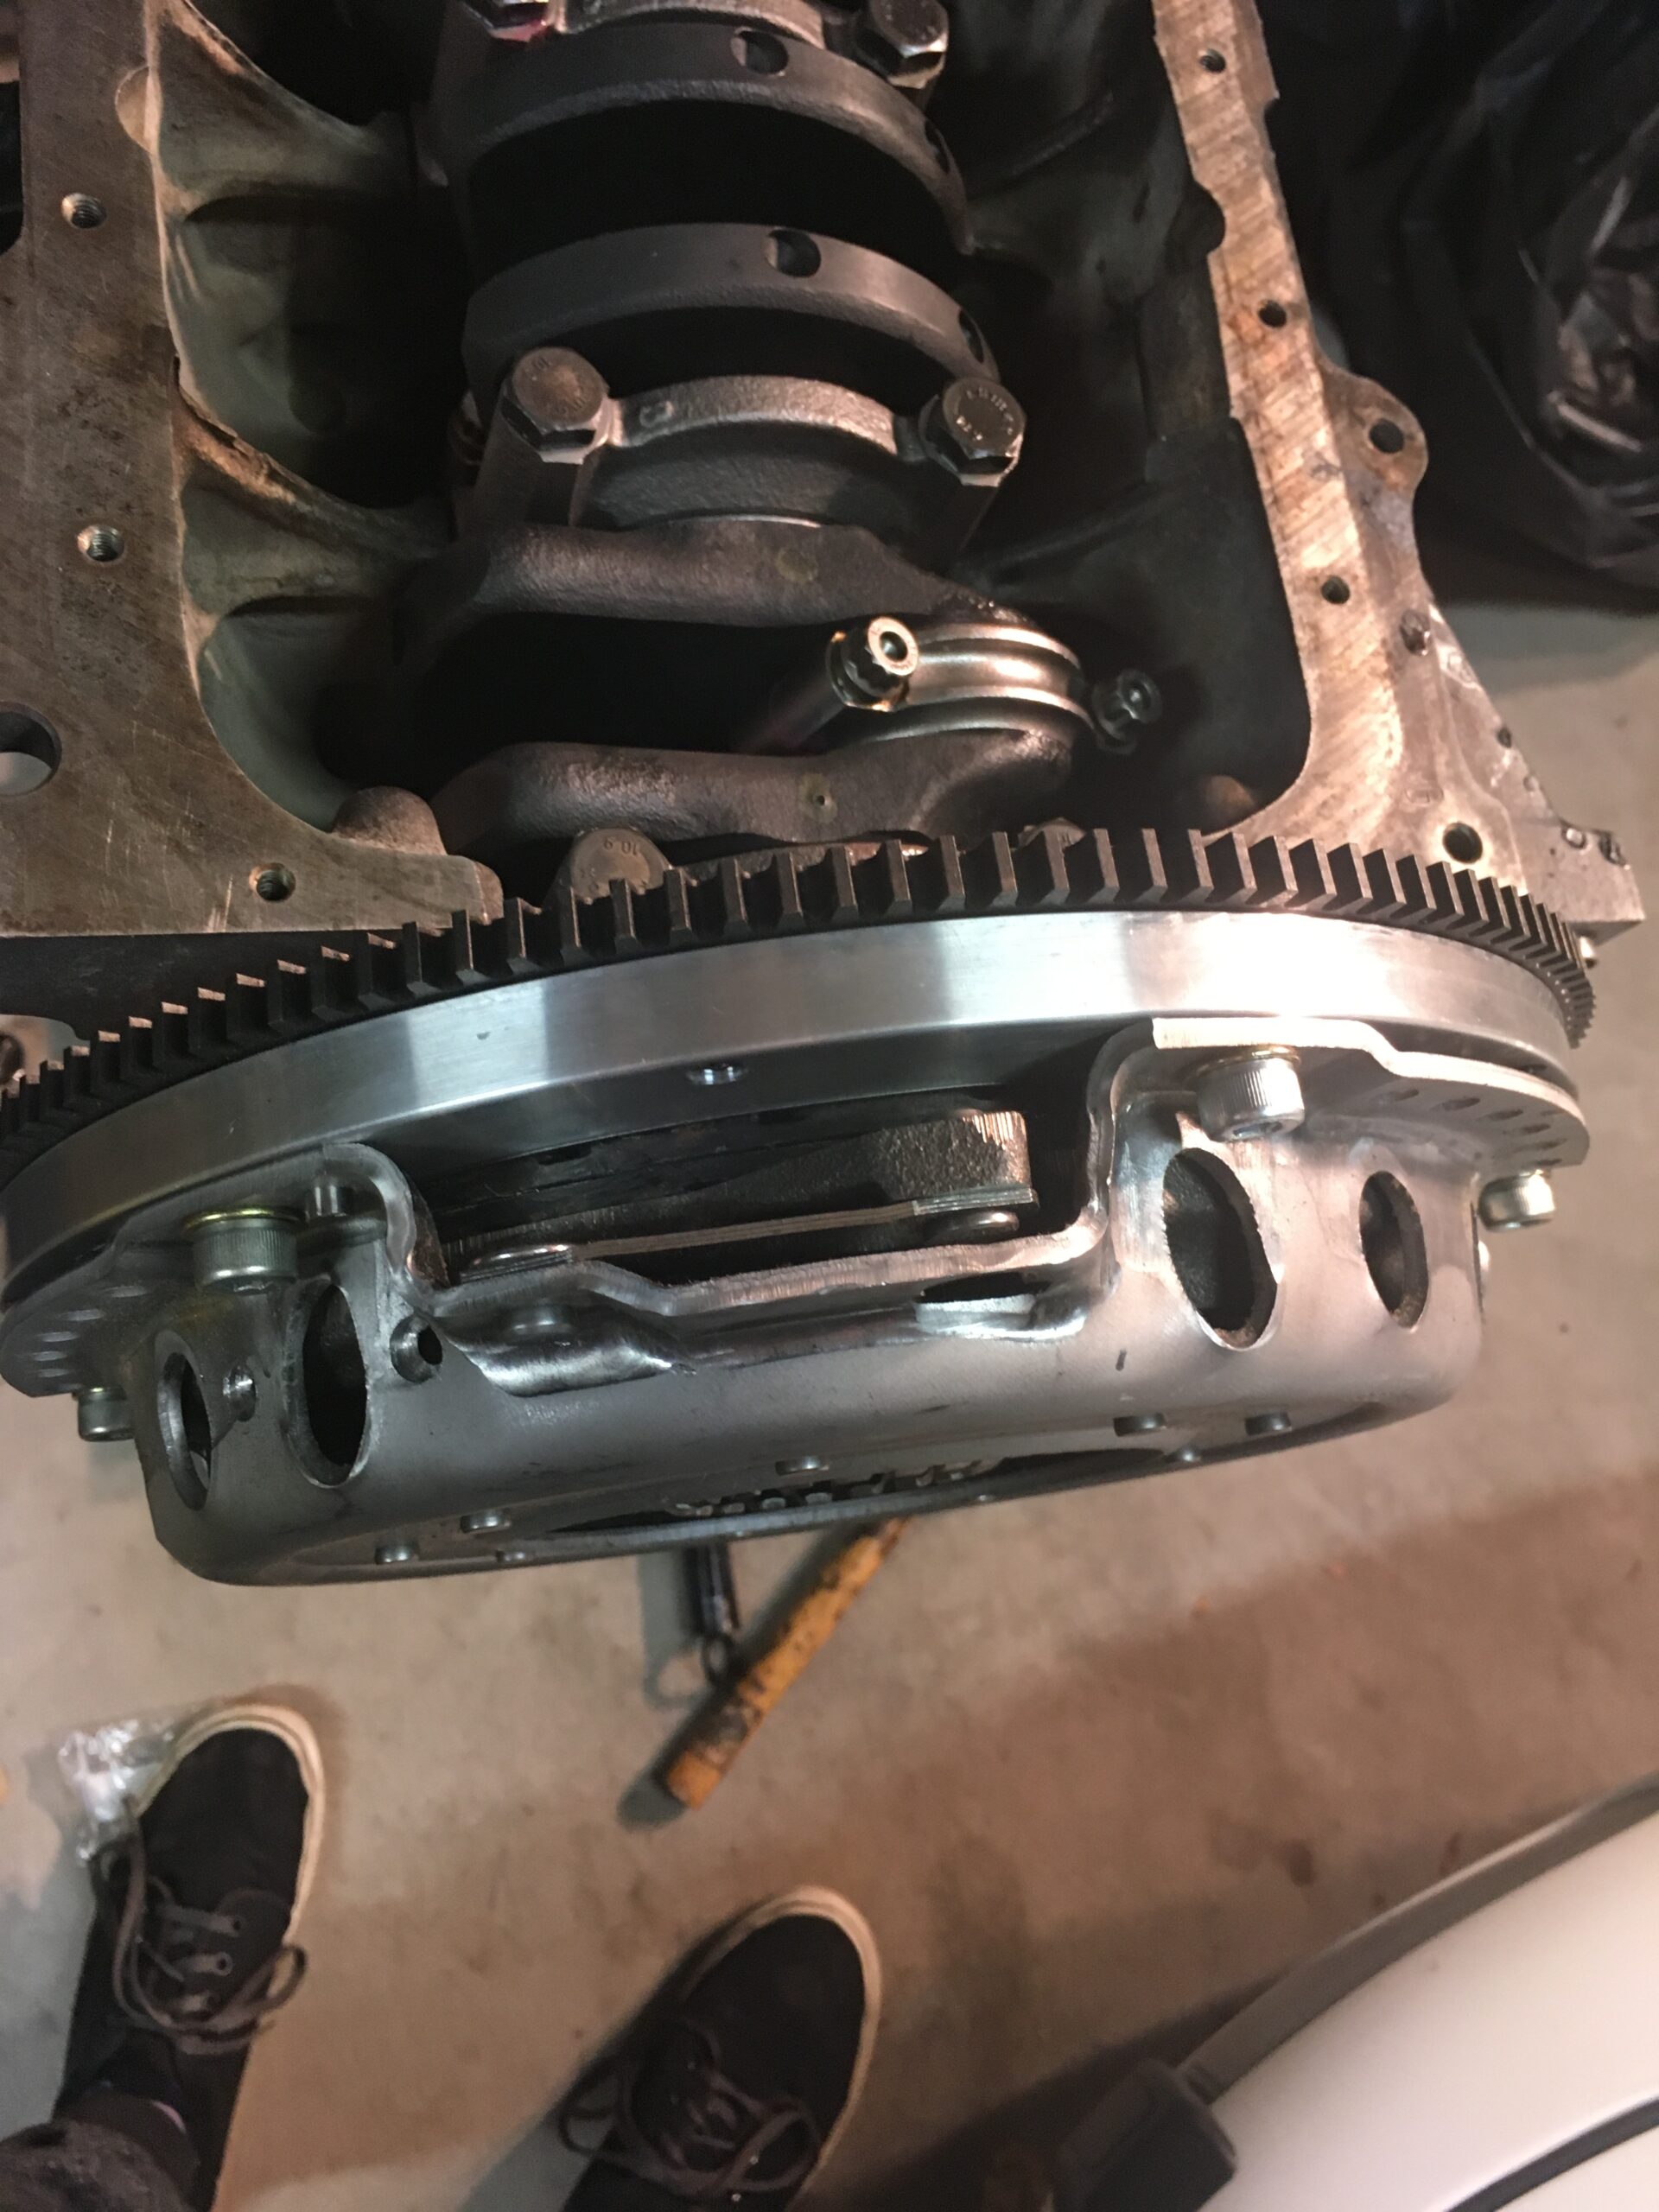
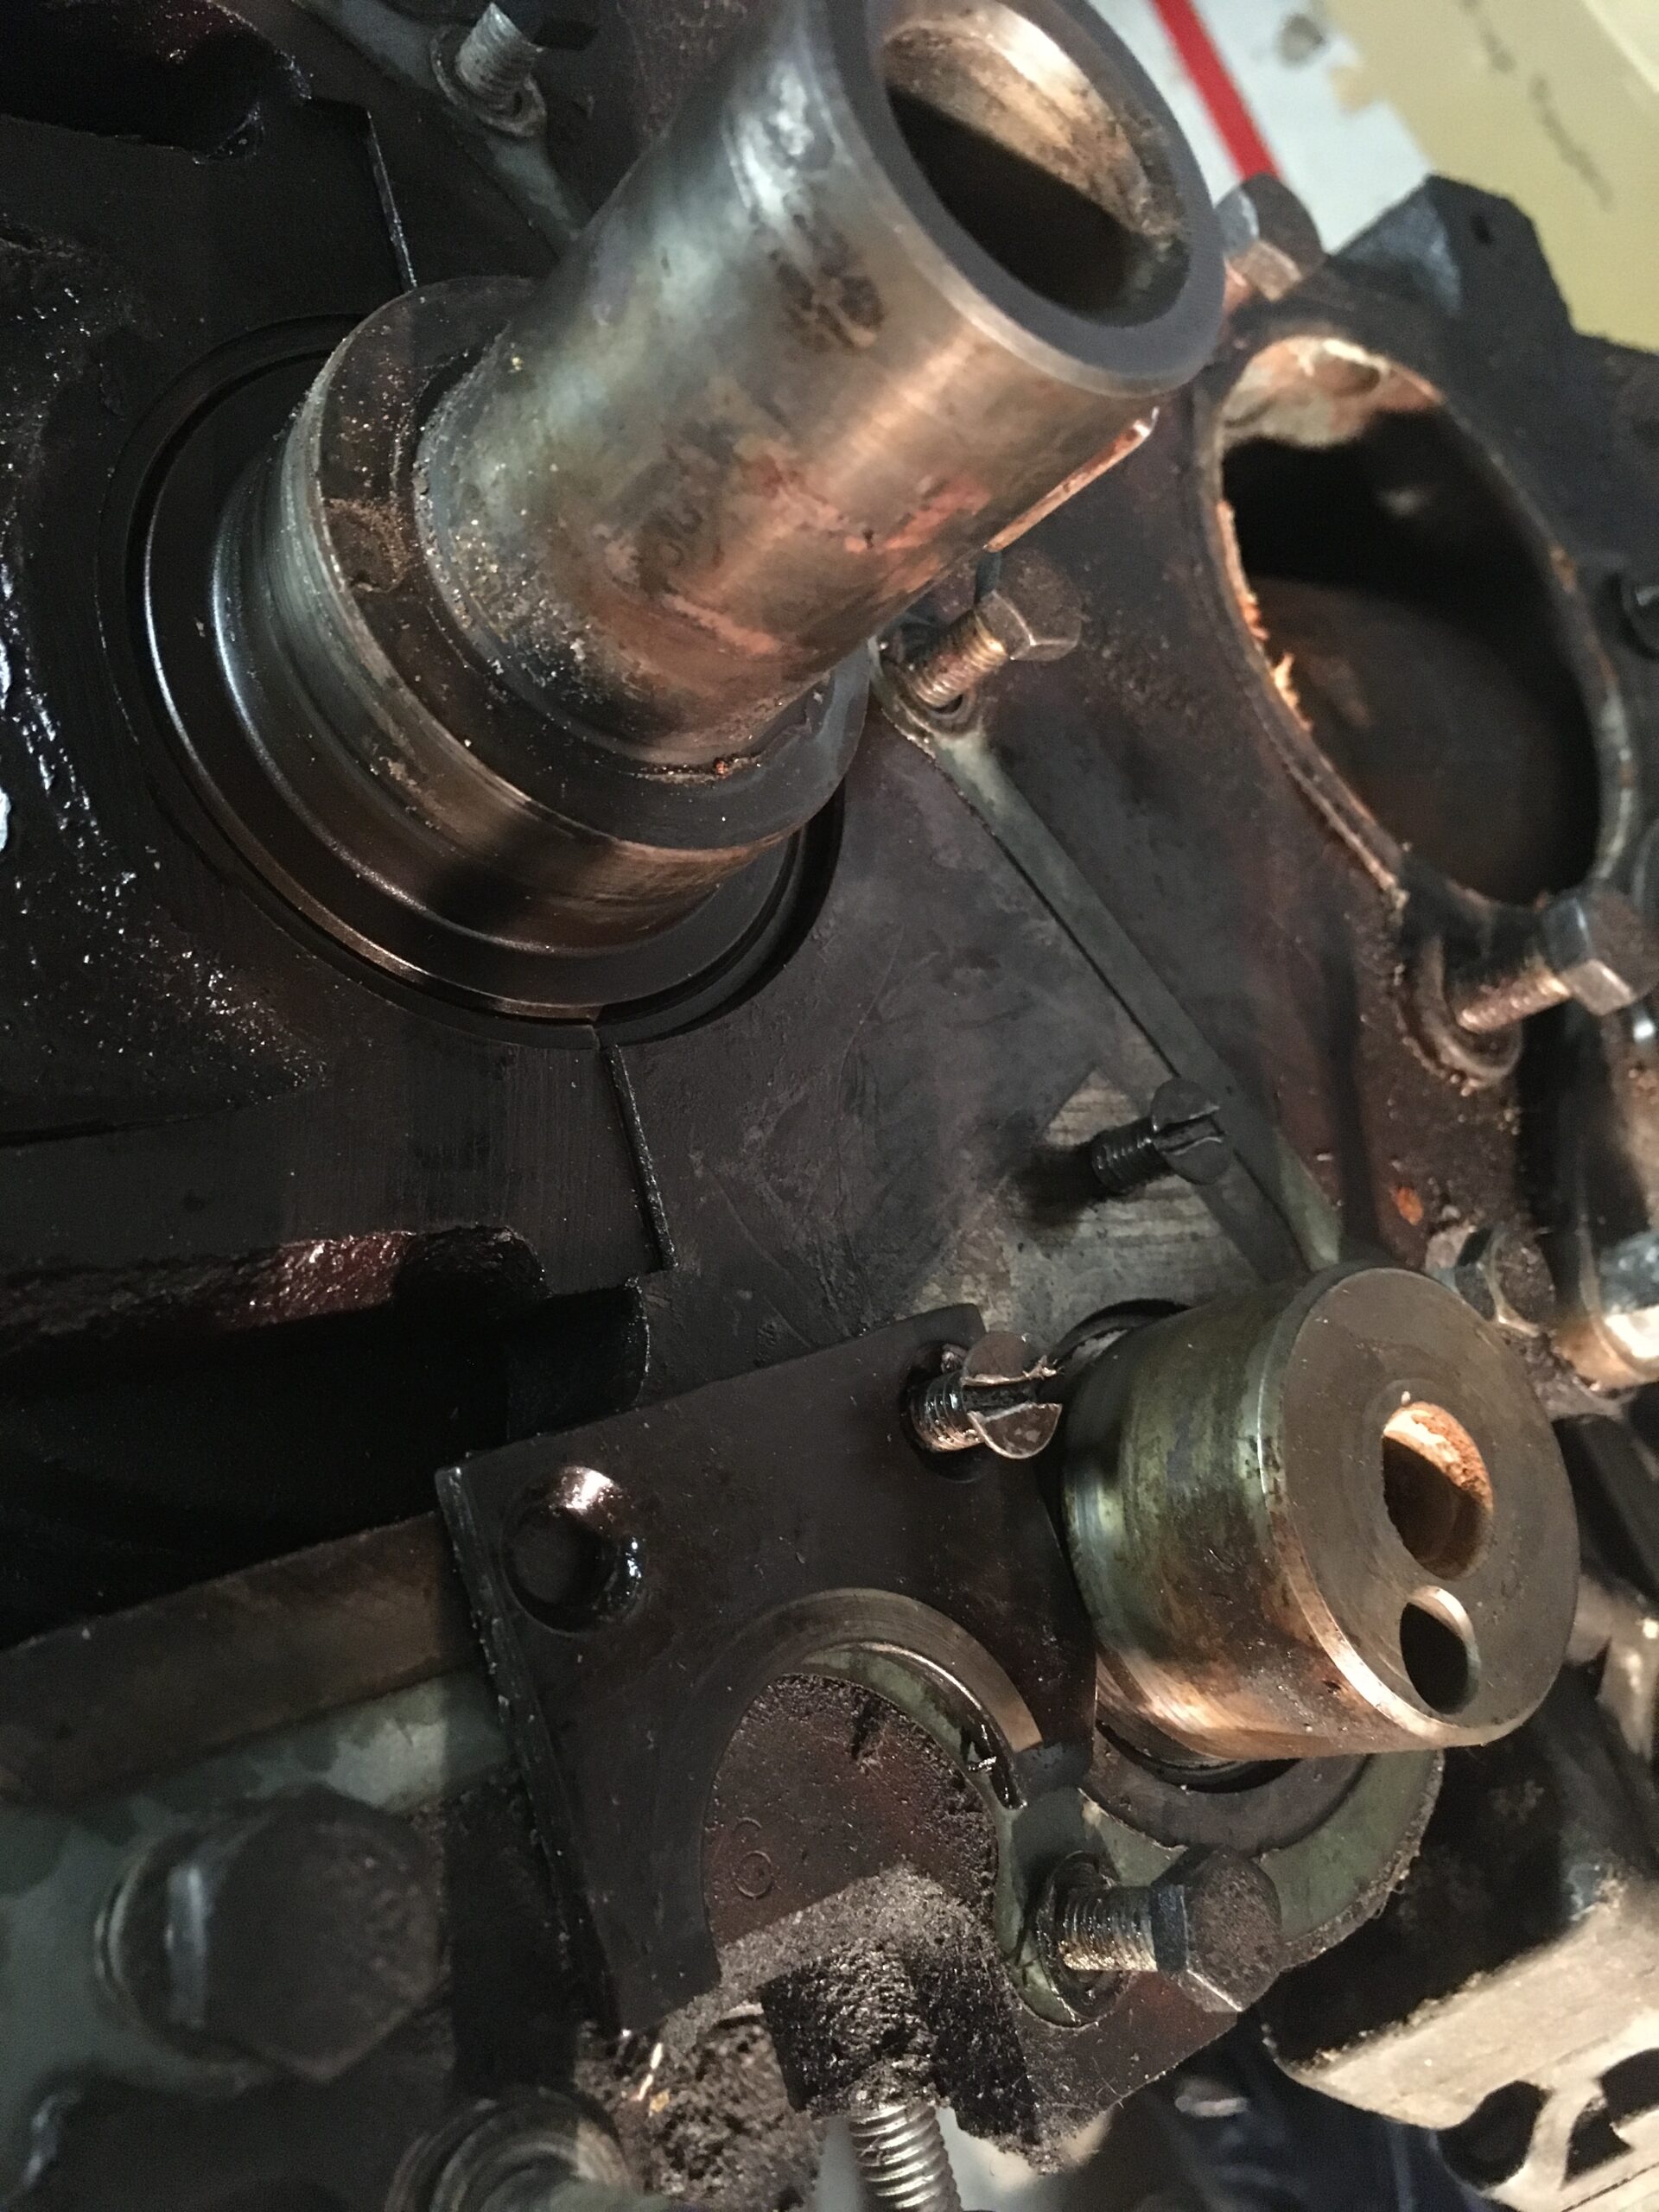
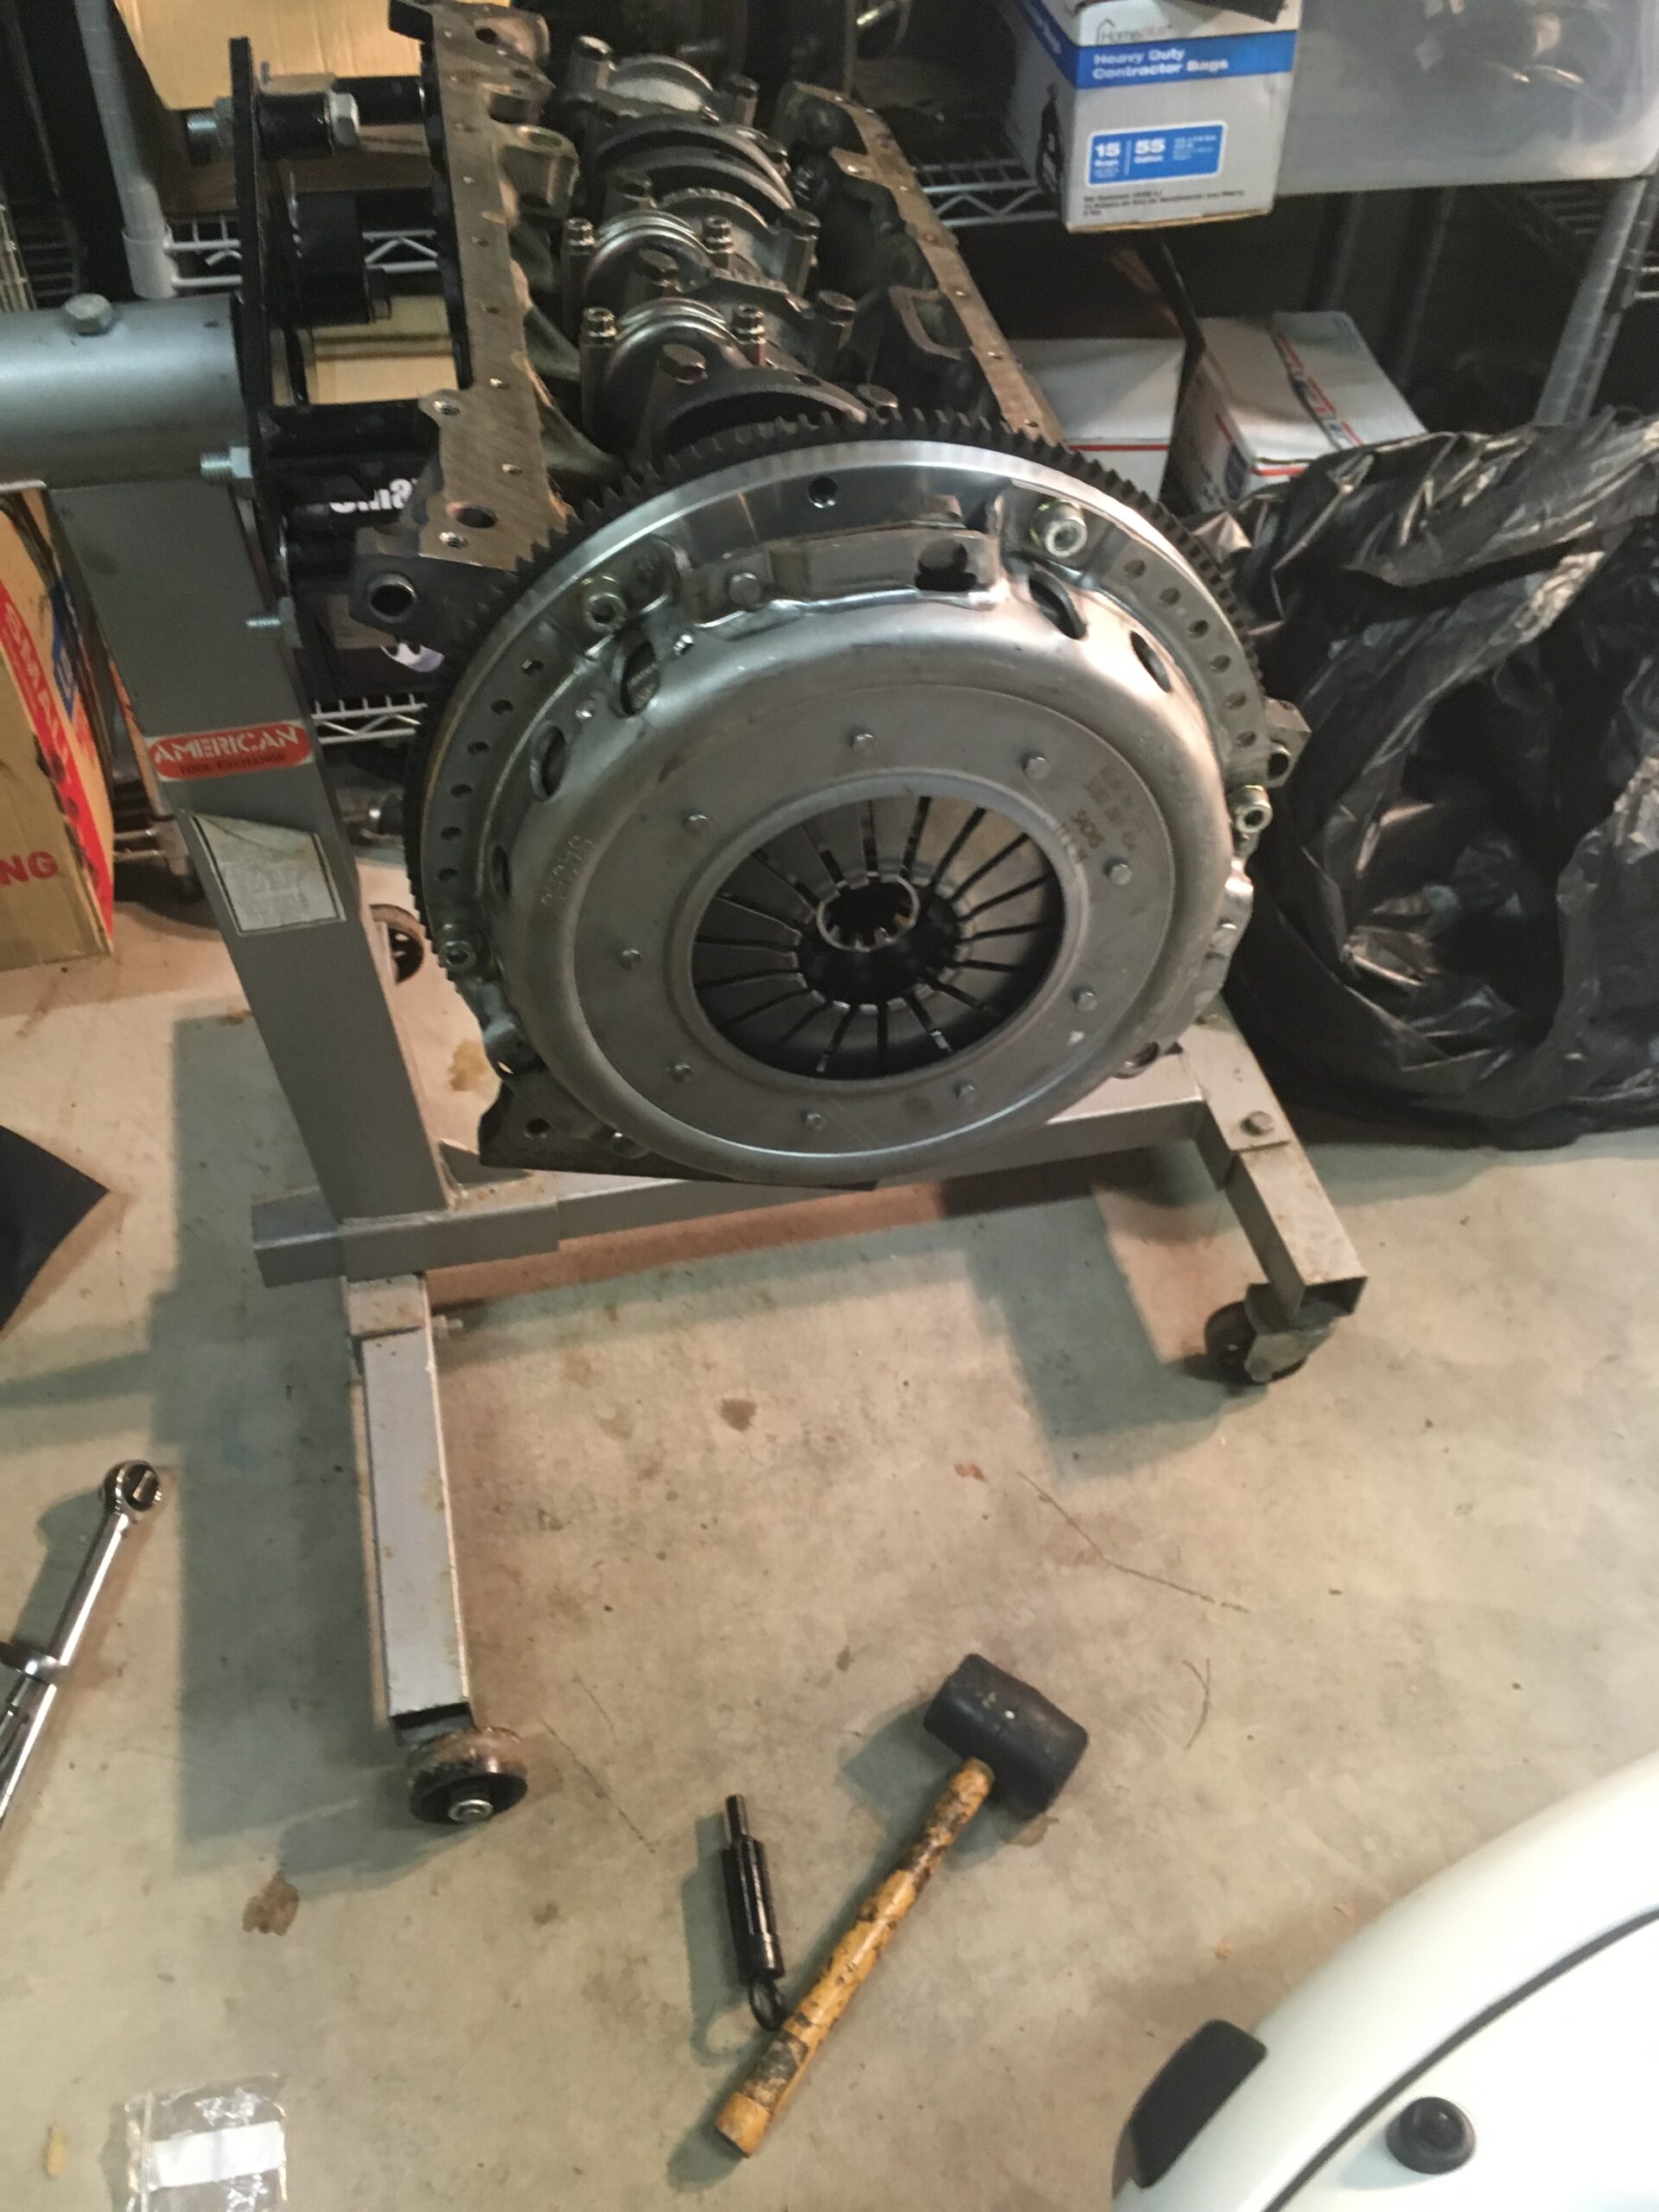 Shortly after doing that, I realized I made a bone-headed mistake and didn’t install the rear main seal nor its housing. A legitimate question: How could this happen? The best excuse I have is that I haven’t disassembled the original engine, bought a used block and that part wasn’t included – and then, in all the excitement of getting the rotating assembly together, I simply forgot about such things.
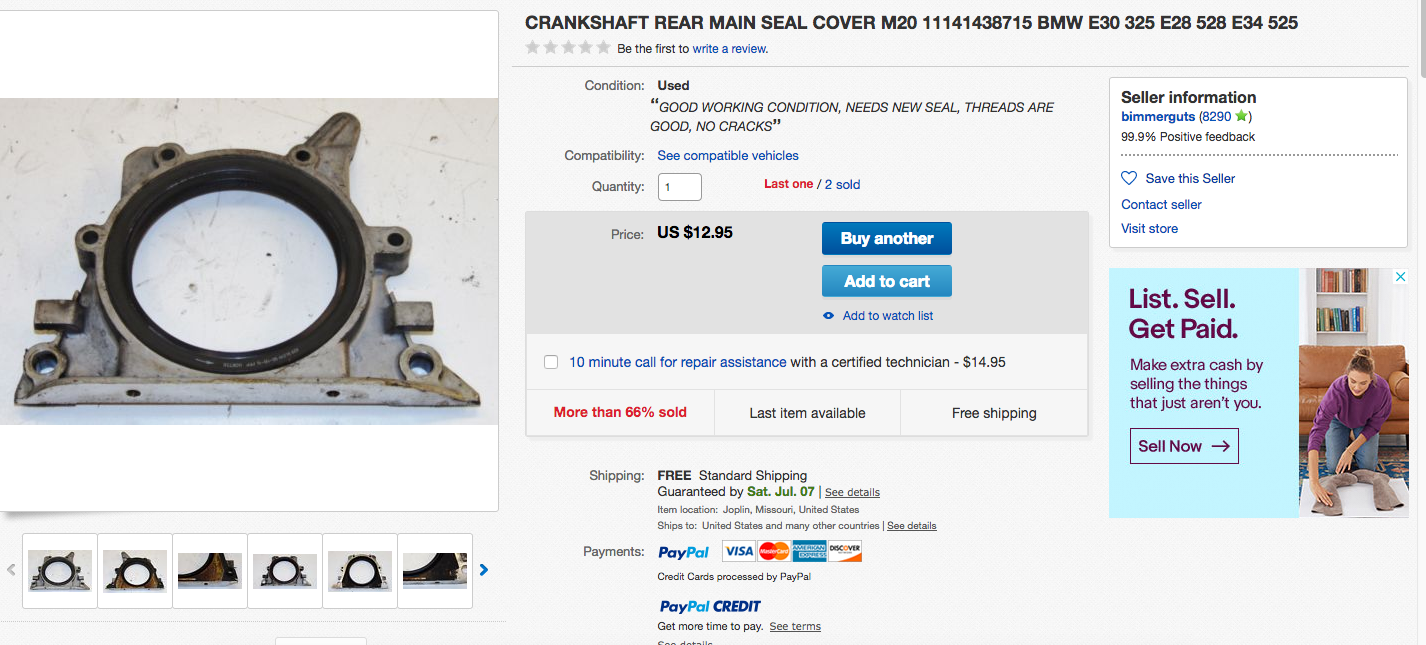 Having never work on an M20 motor before – let alone built one – the next steps vexed me. Unsure of how to tackle it, I started taking the front covers and hubs around the timing belt.
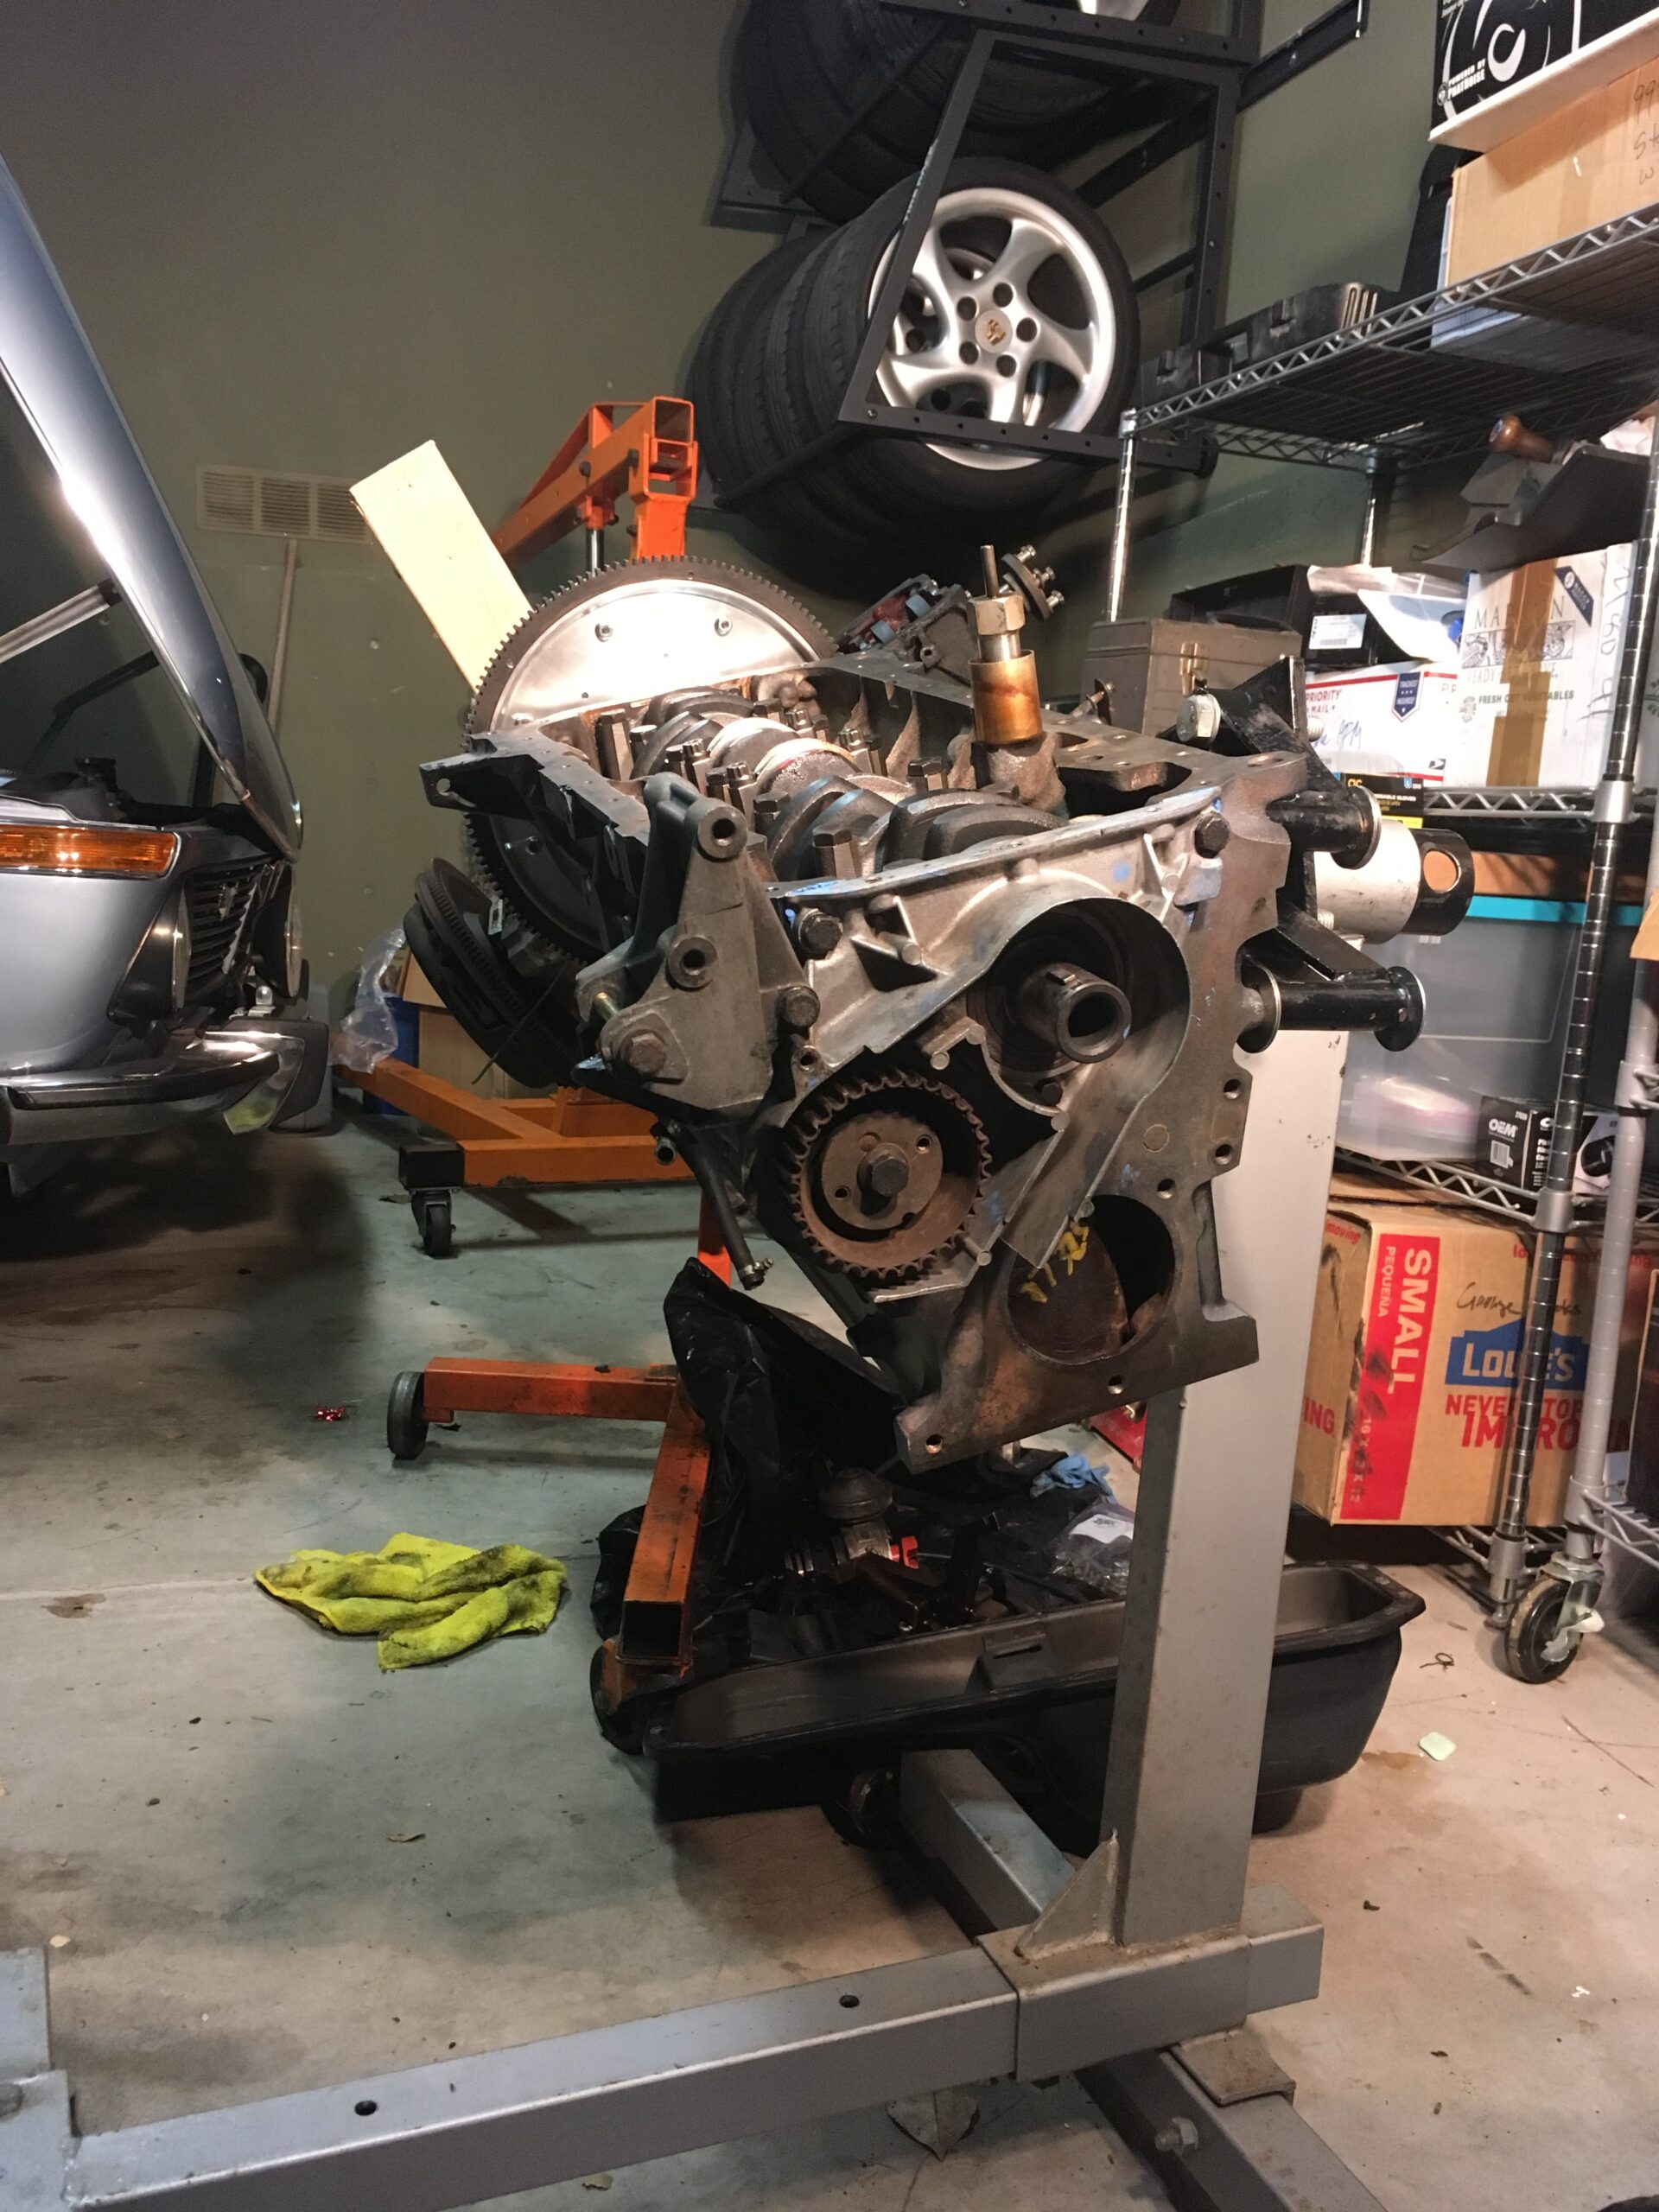 This went smoothly until I encountered the screws securing the intermediate shaft drive. For some reason, instead of using allen screws, BMW used standard head machine screws. Given the torque on these, one simply refused to loosen. Worse, I started to strip the head as I tried. I went into the house, had a beer, and thought about how to get that thing loosened. It came to me: An impact screwdriver!
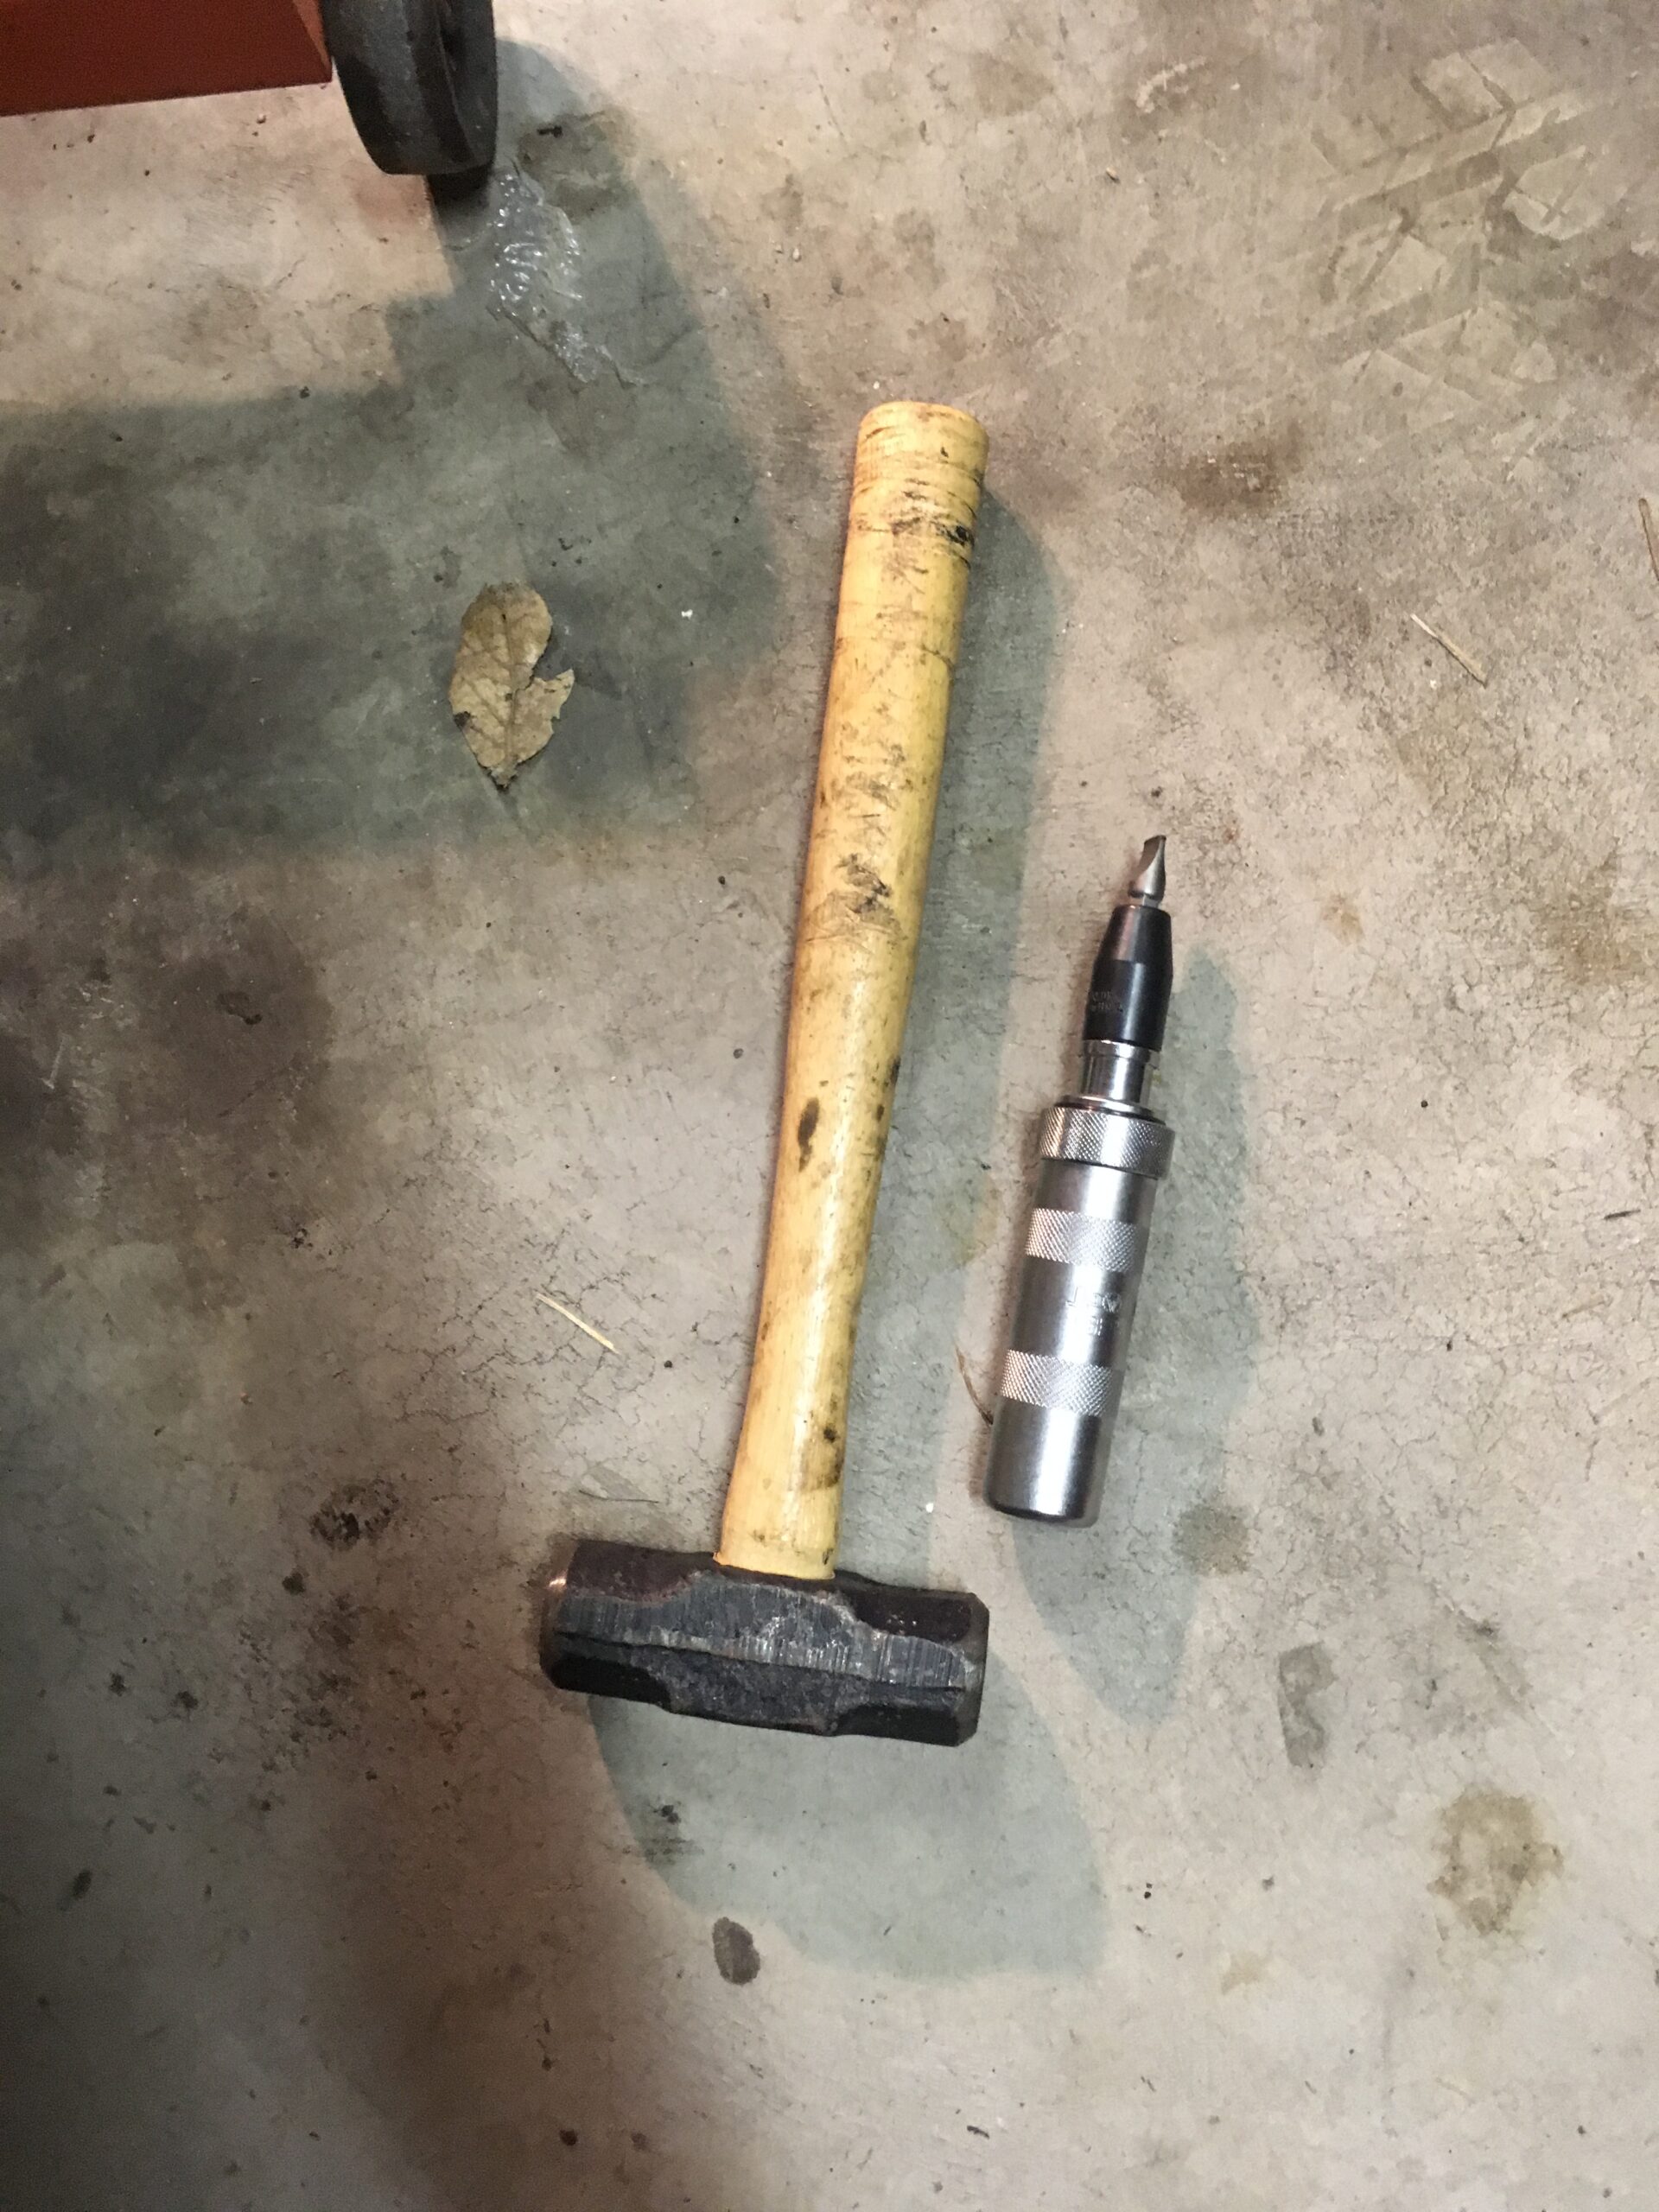 Once that arrived, it was simply a matter of a few blows with the mallet, a few more, a couple more for good measure, and the uncooperative screw was beaten into submission, first barely turning but with each blow going a bit further until I was able to remove it with a normal screwdriver. The intermediate shaft drive was off and the new one on! For good measure, new screws holding the drive were ordered and installed, too.
 To get to the main pulley the main crank nut had to be removed. Simple concept but considering it’s torqued to more than 300 ft/lbs…. I puzzled on that for a while, since my electric impact wrench wasn’t strong enough. Talked to a few friends, thus further delaying progress.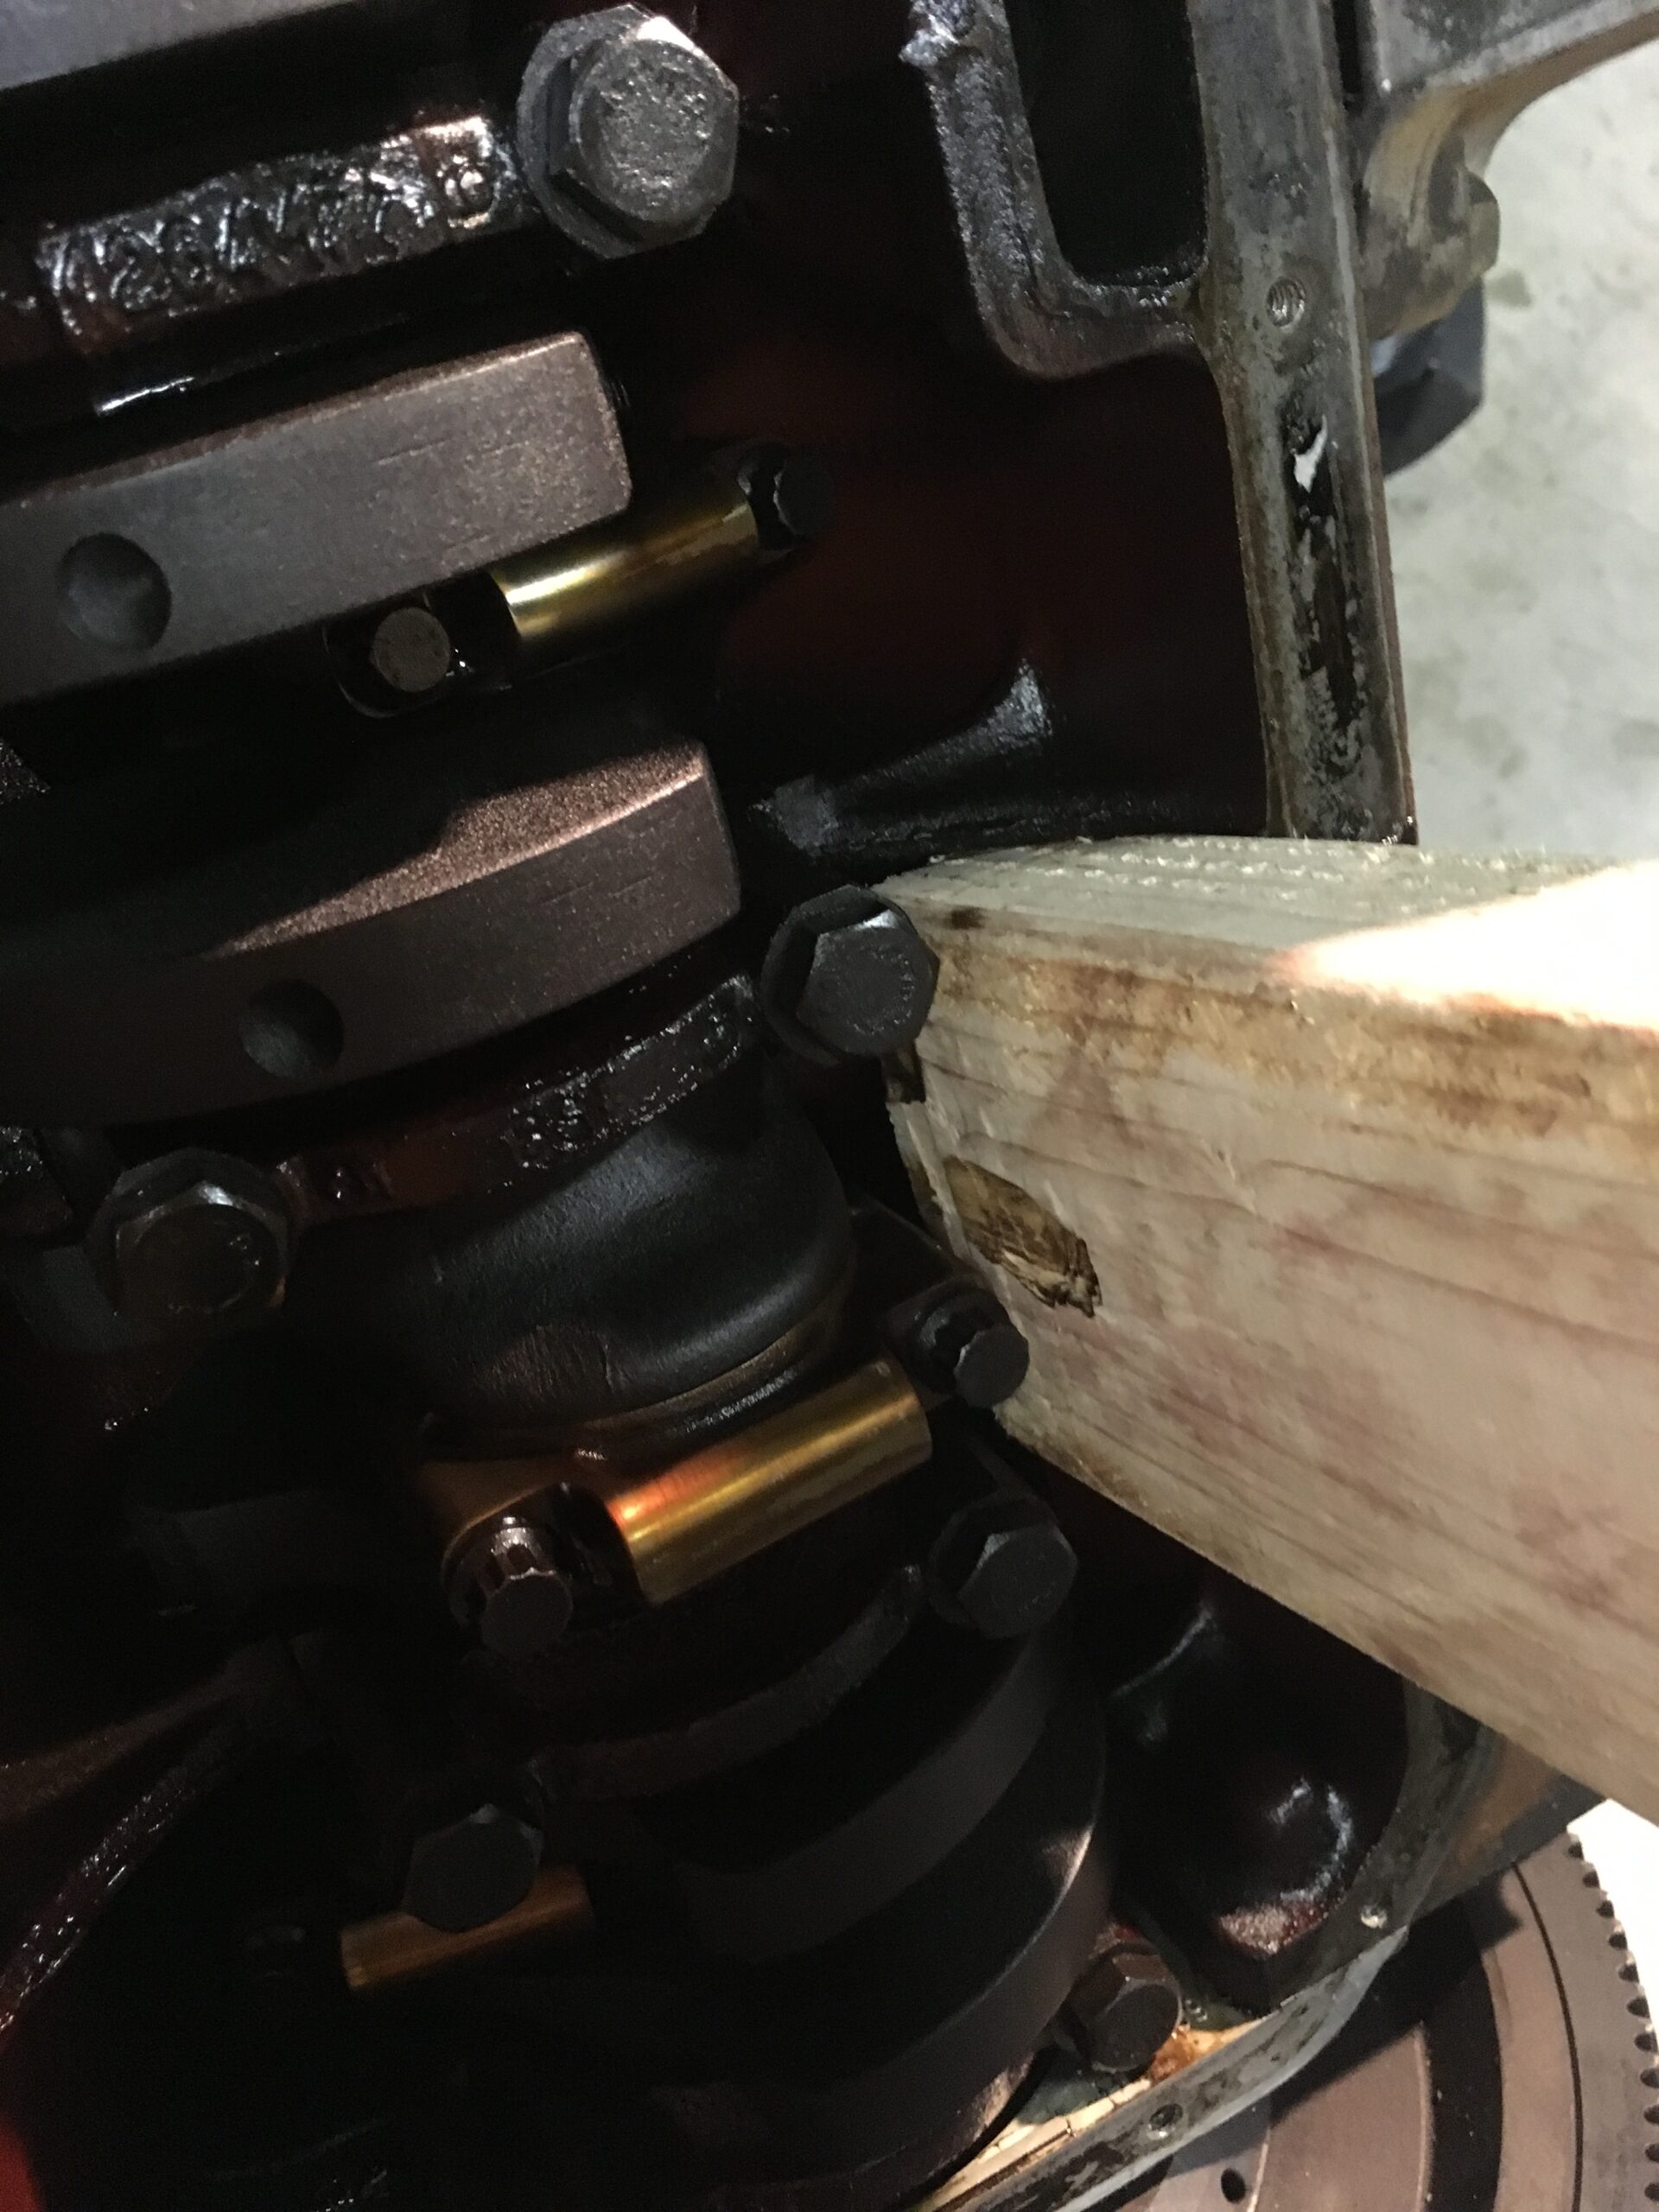
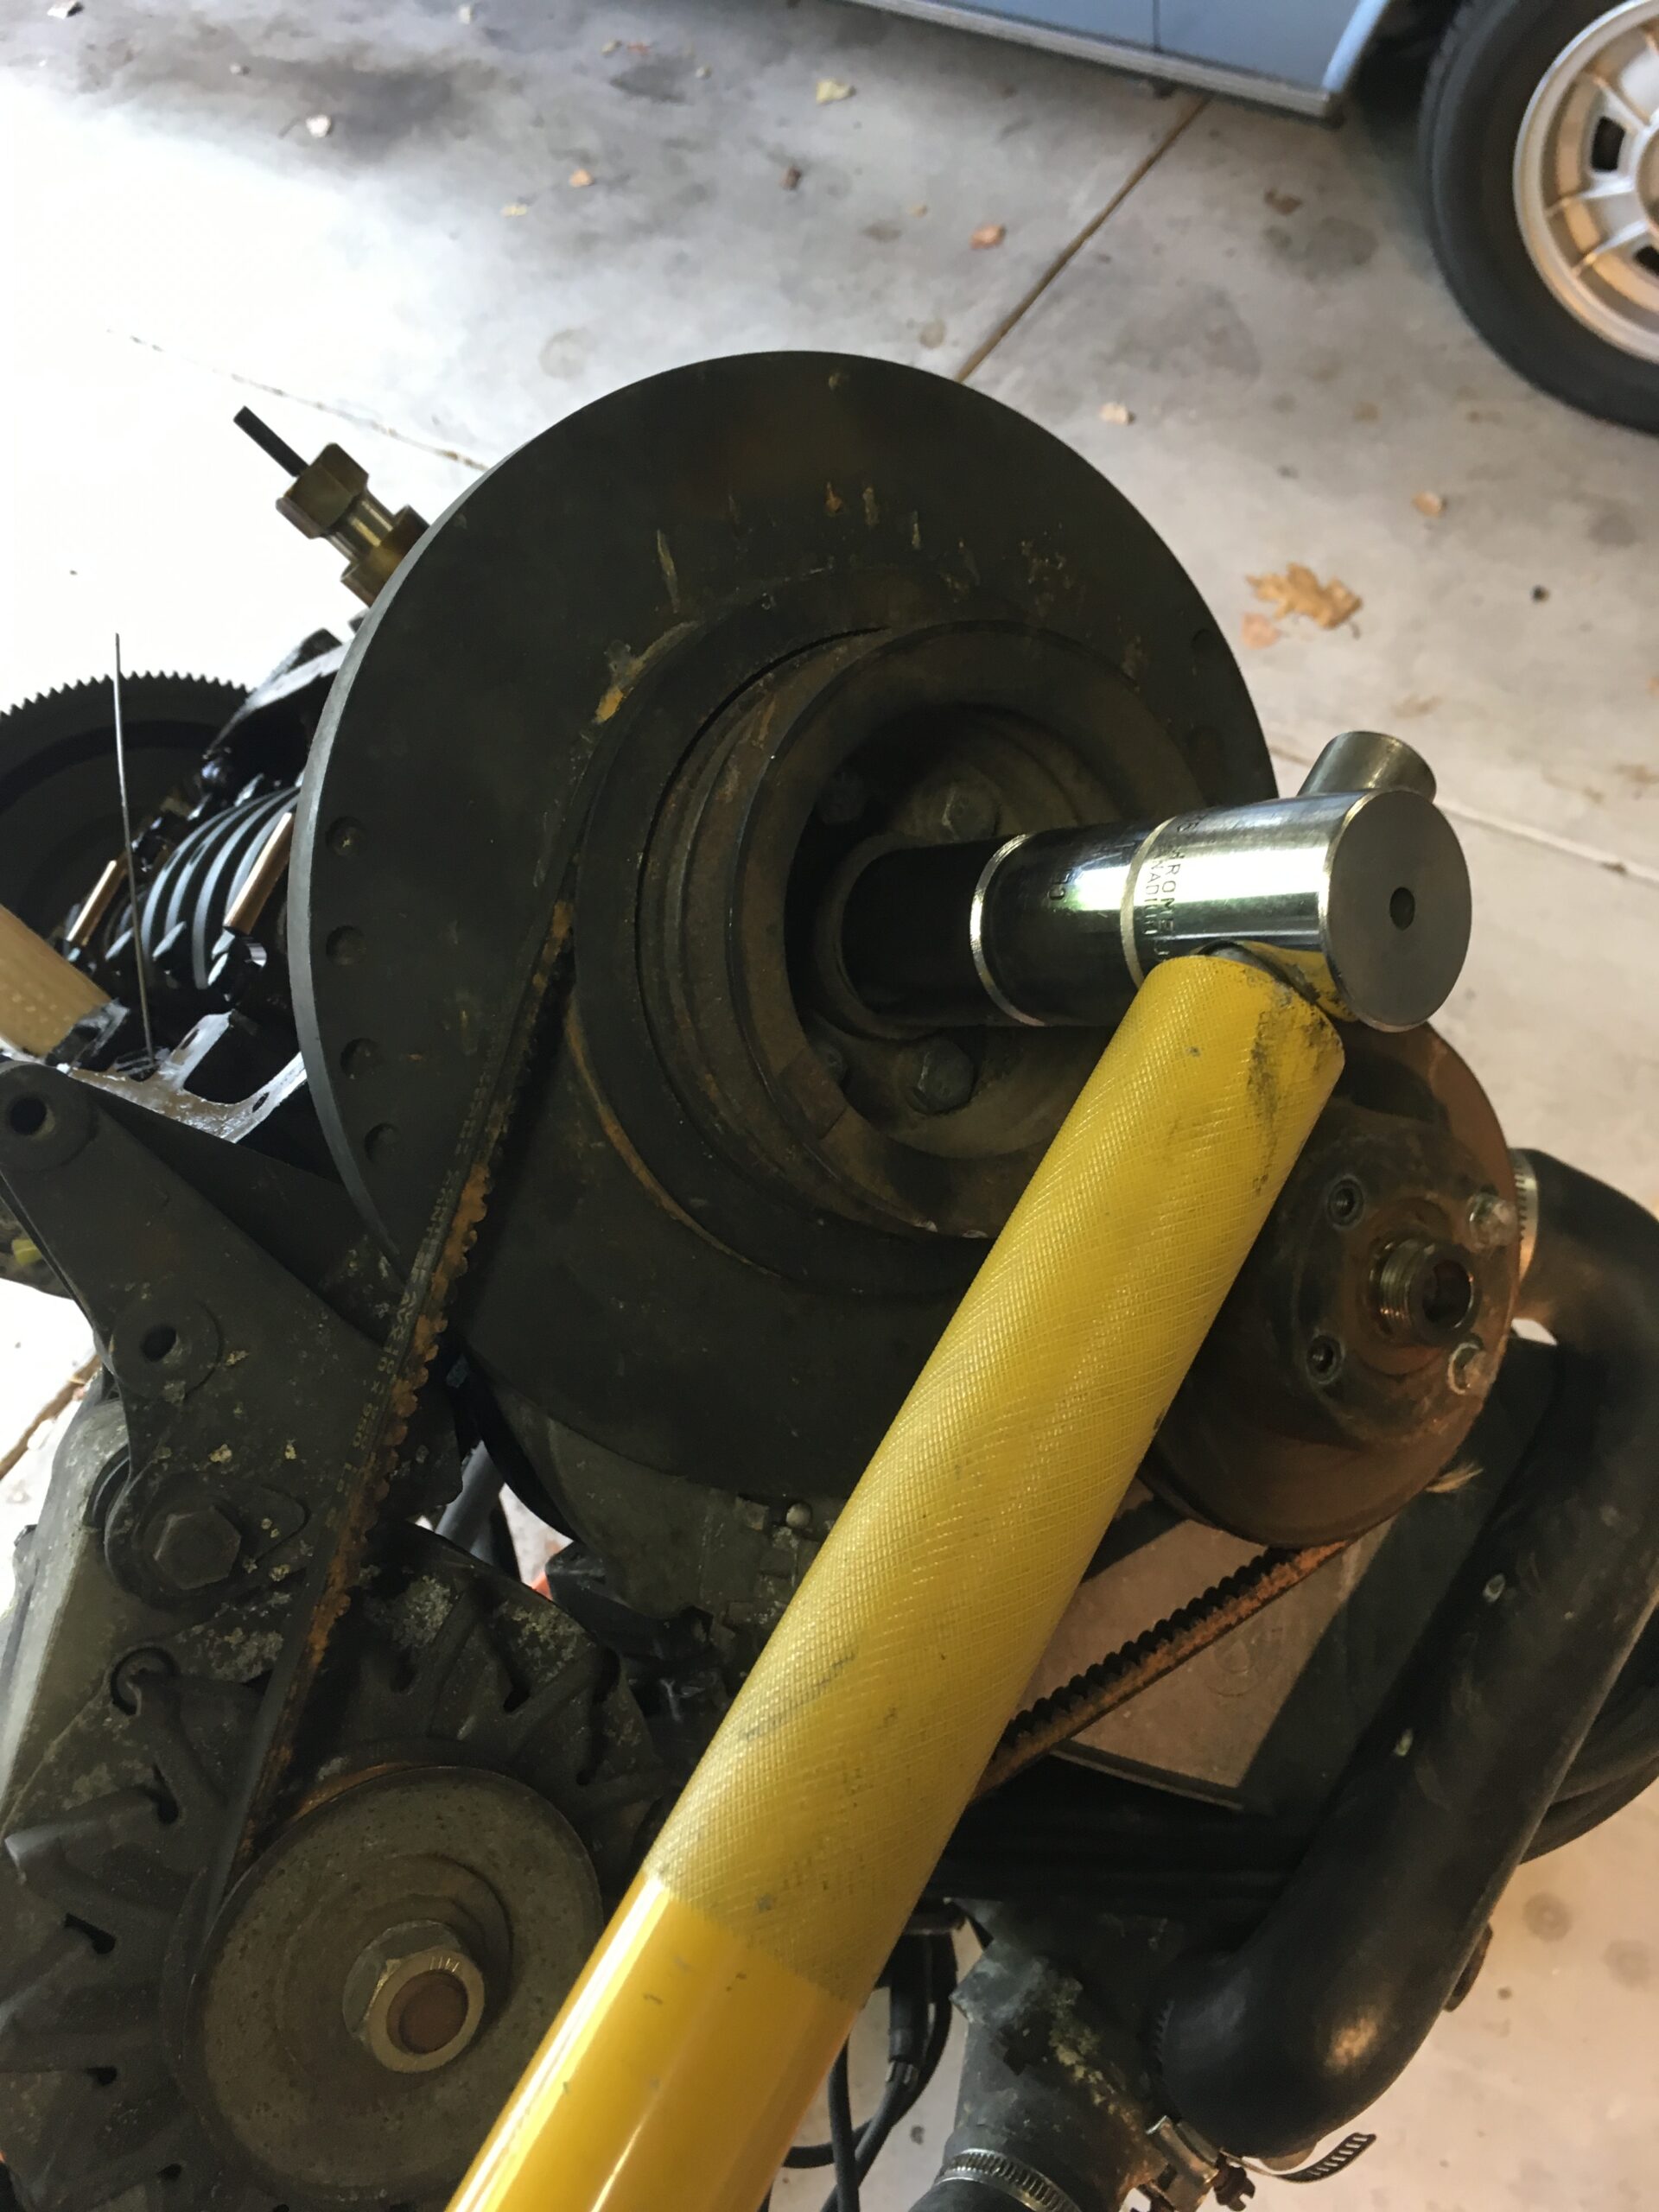
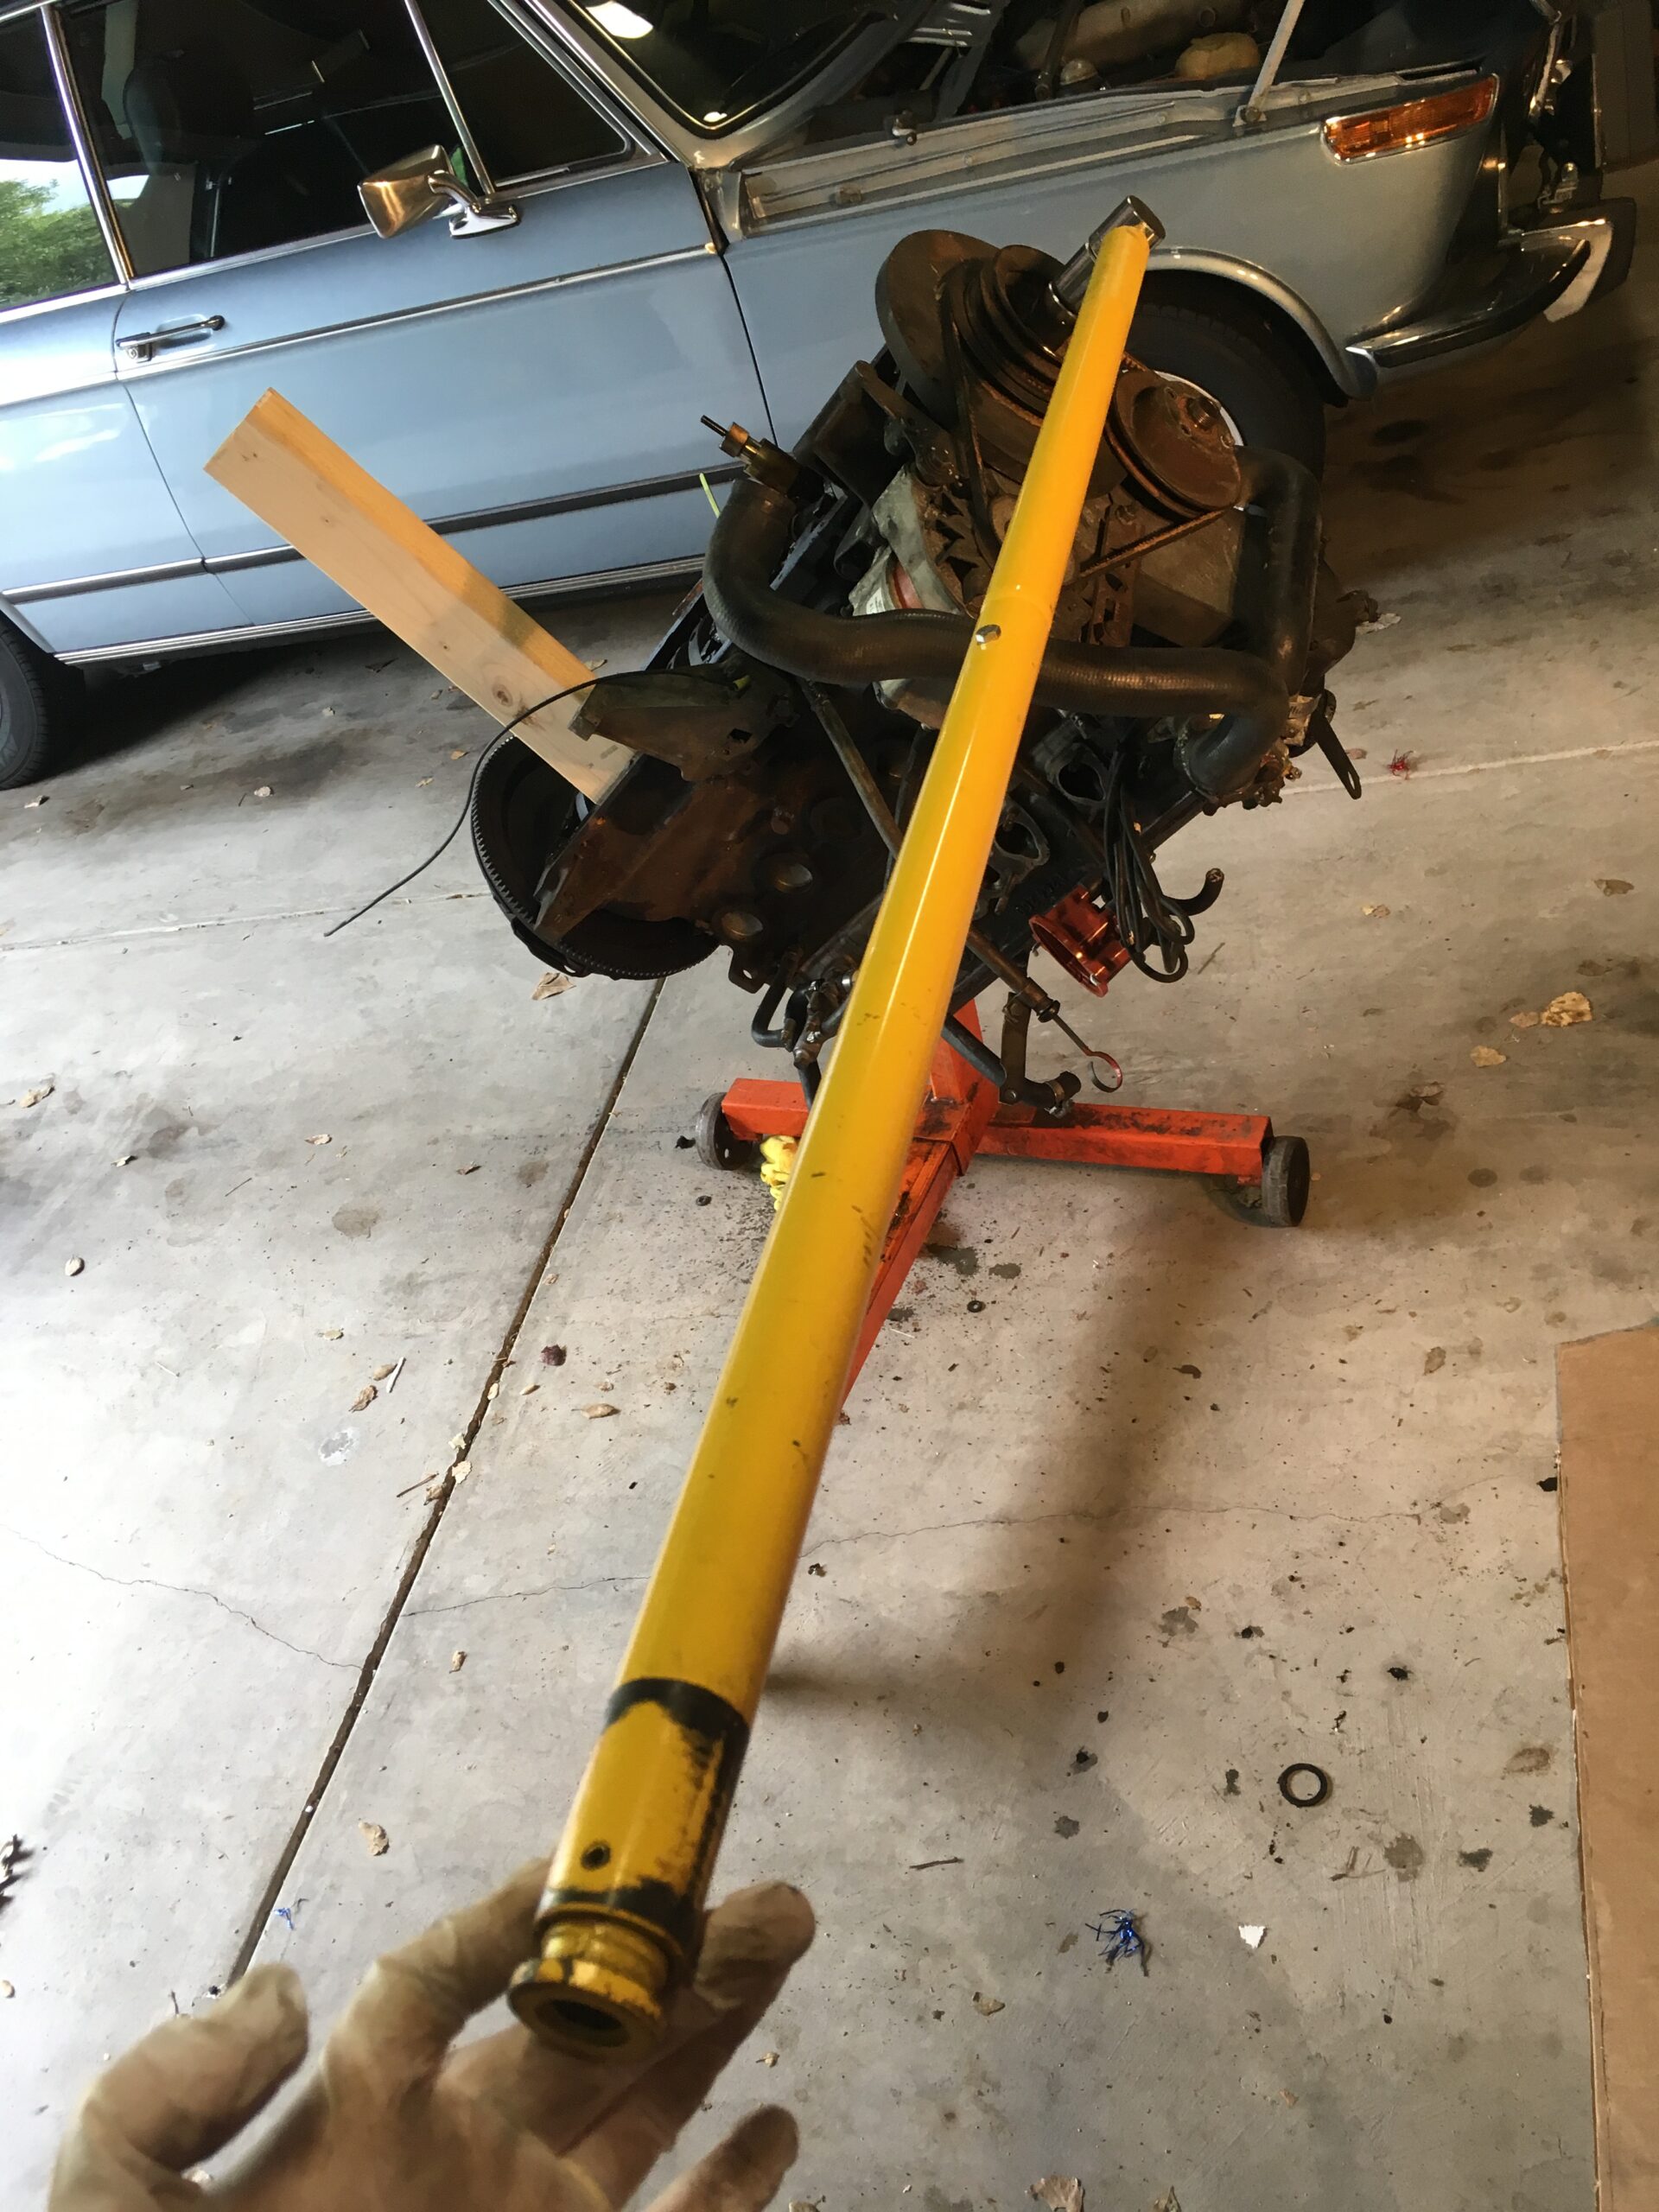 Then main pulley had to be removed and that required a puller.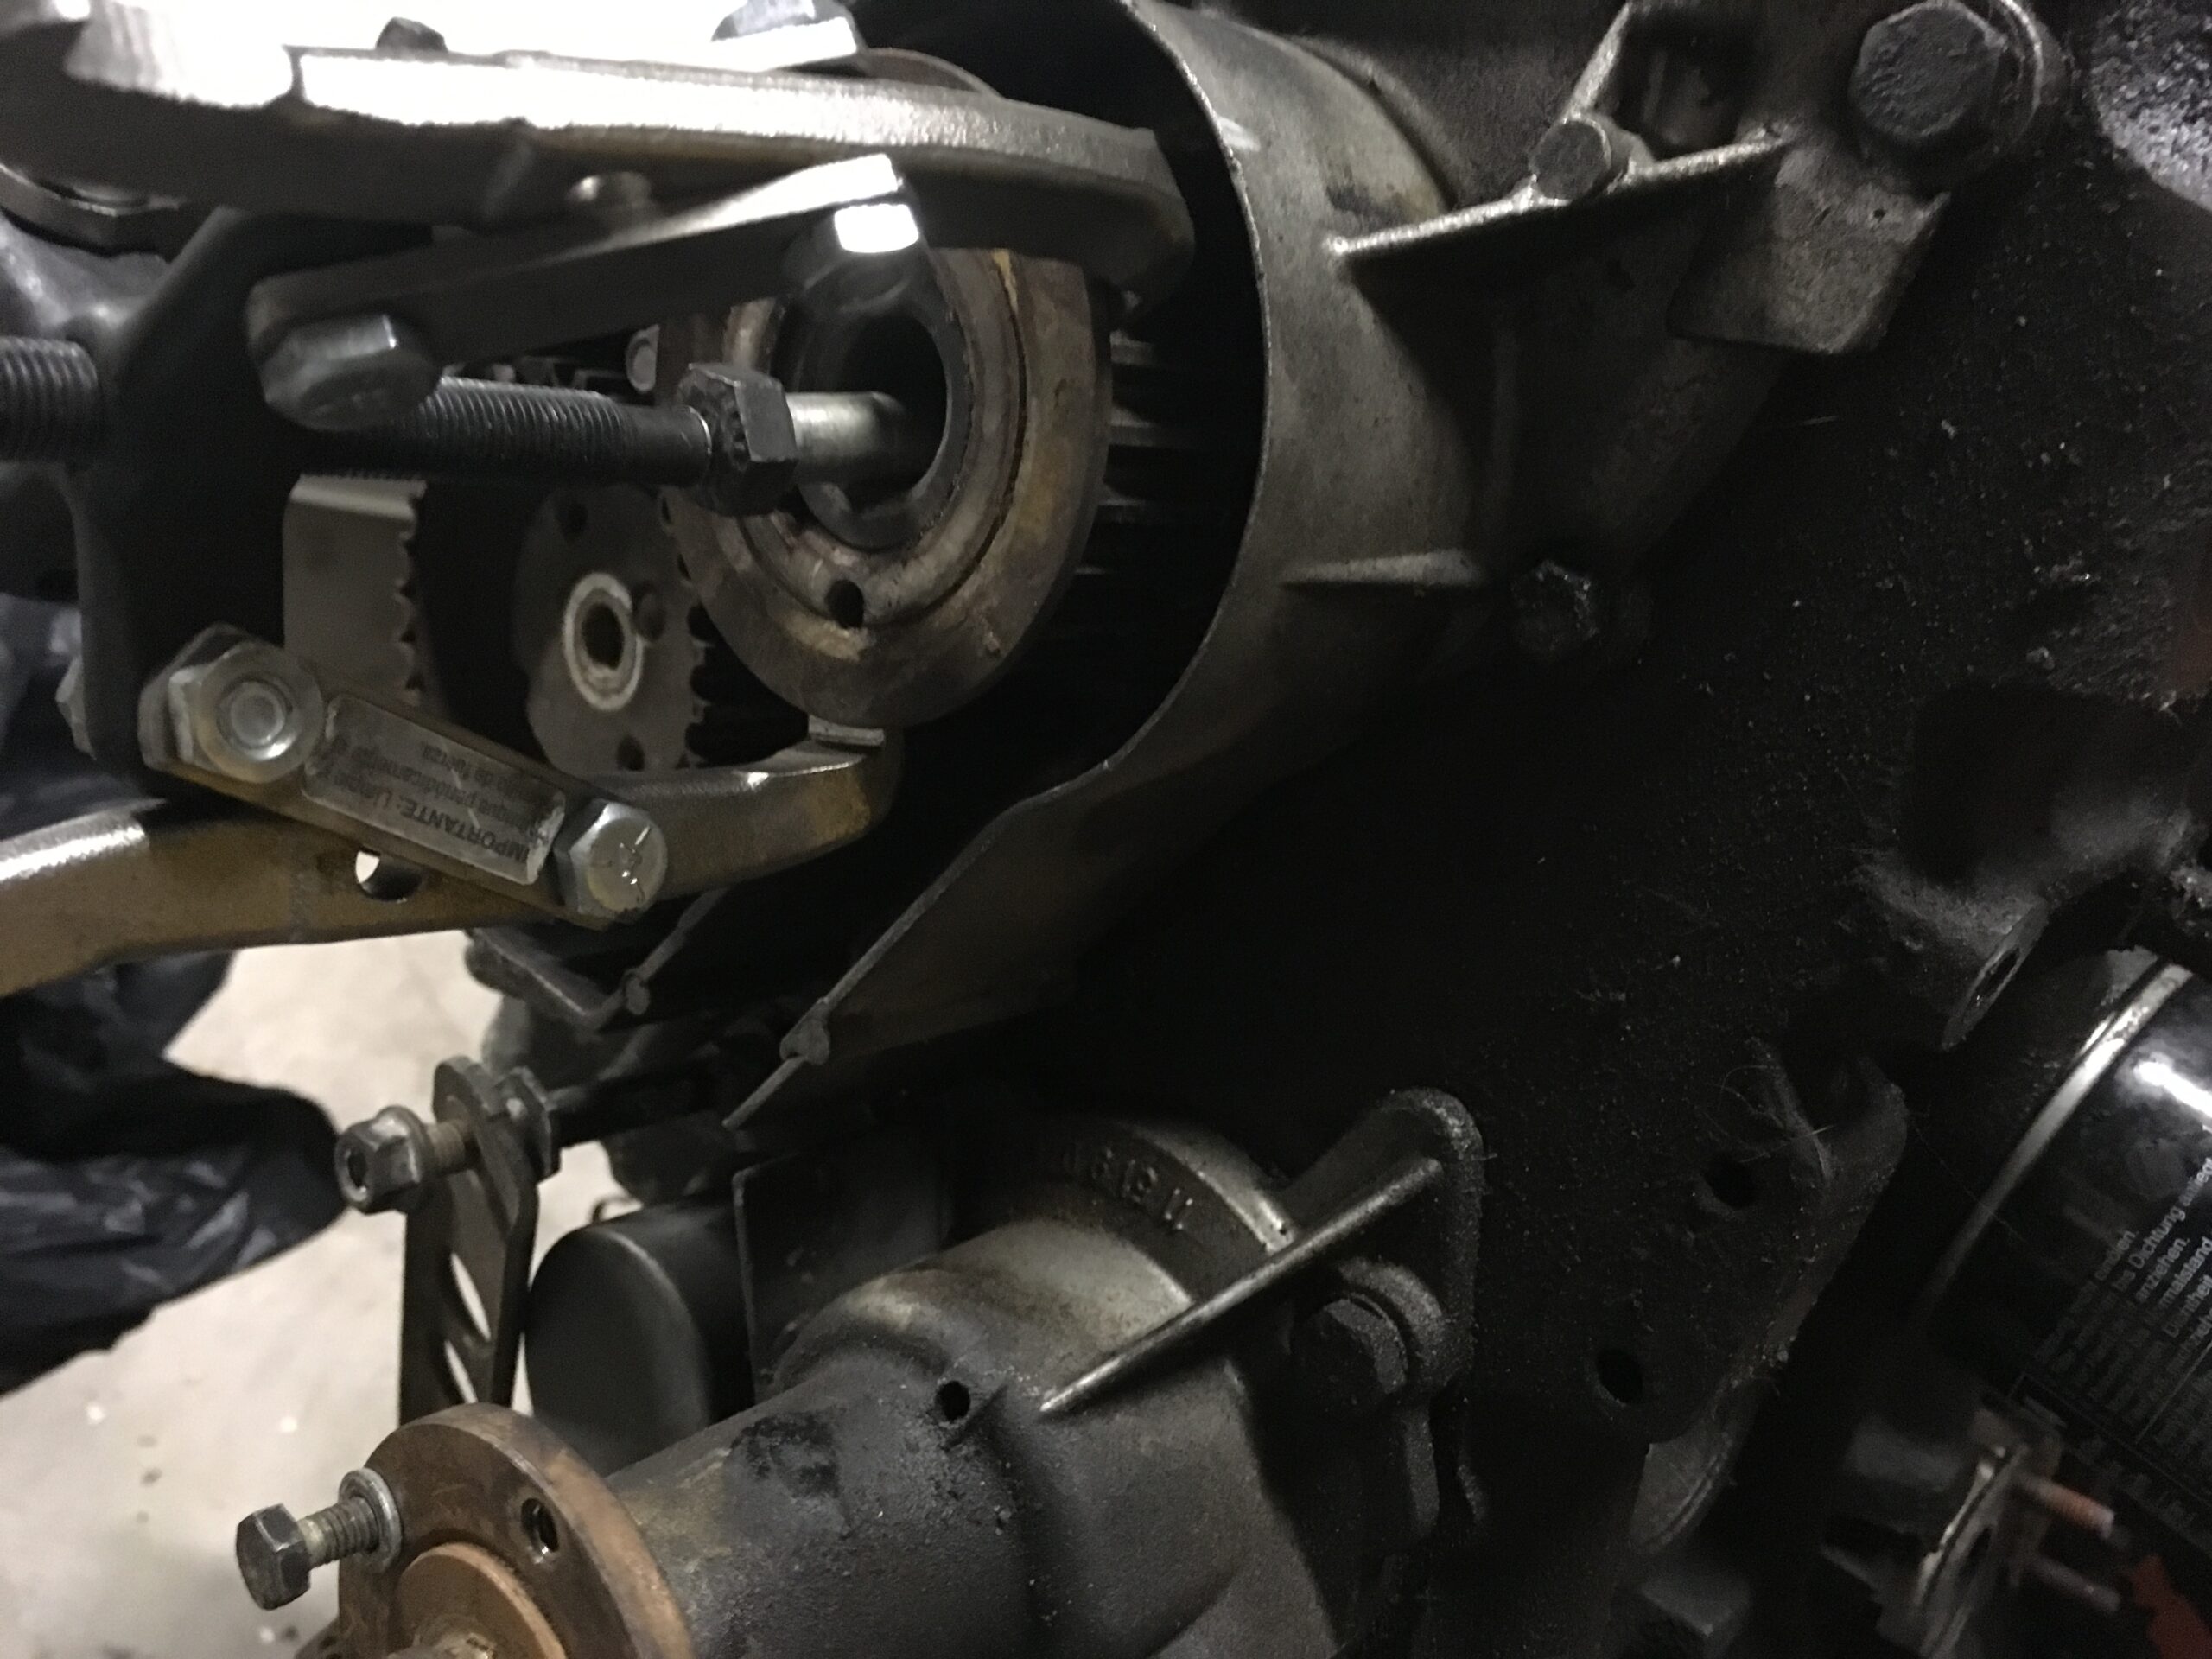
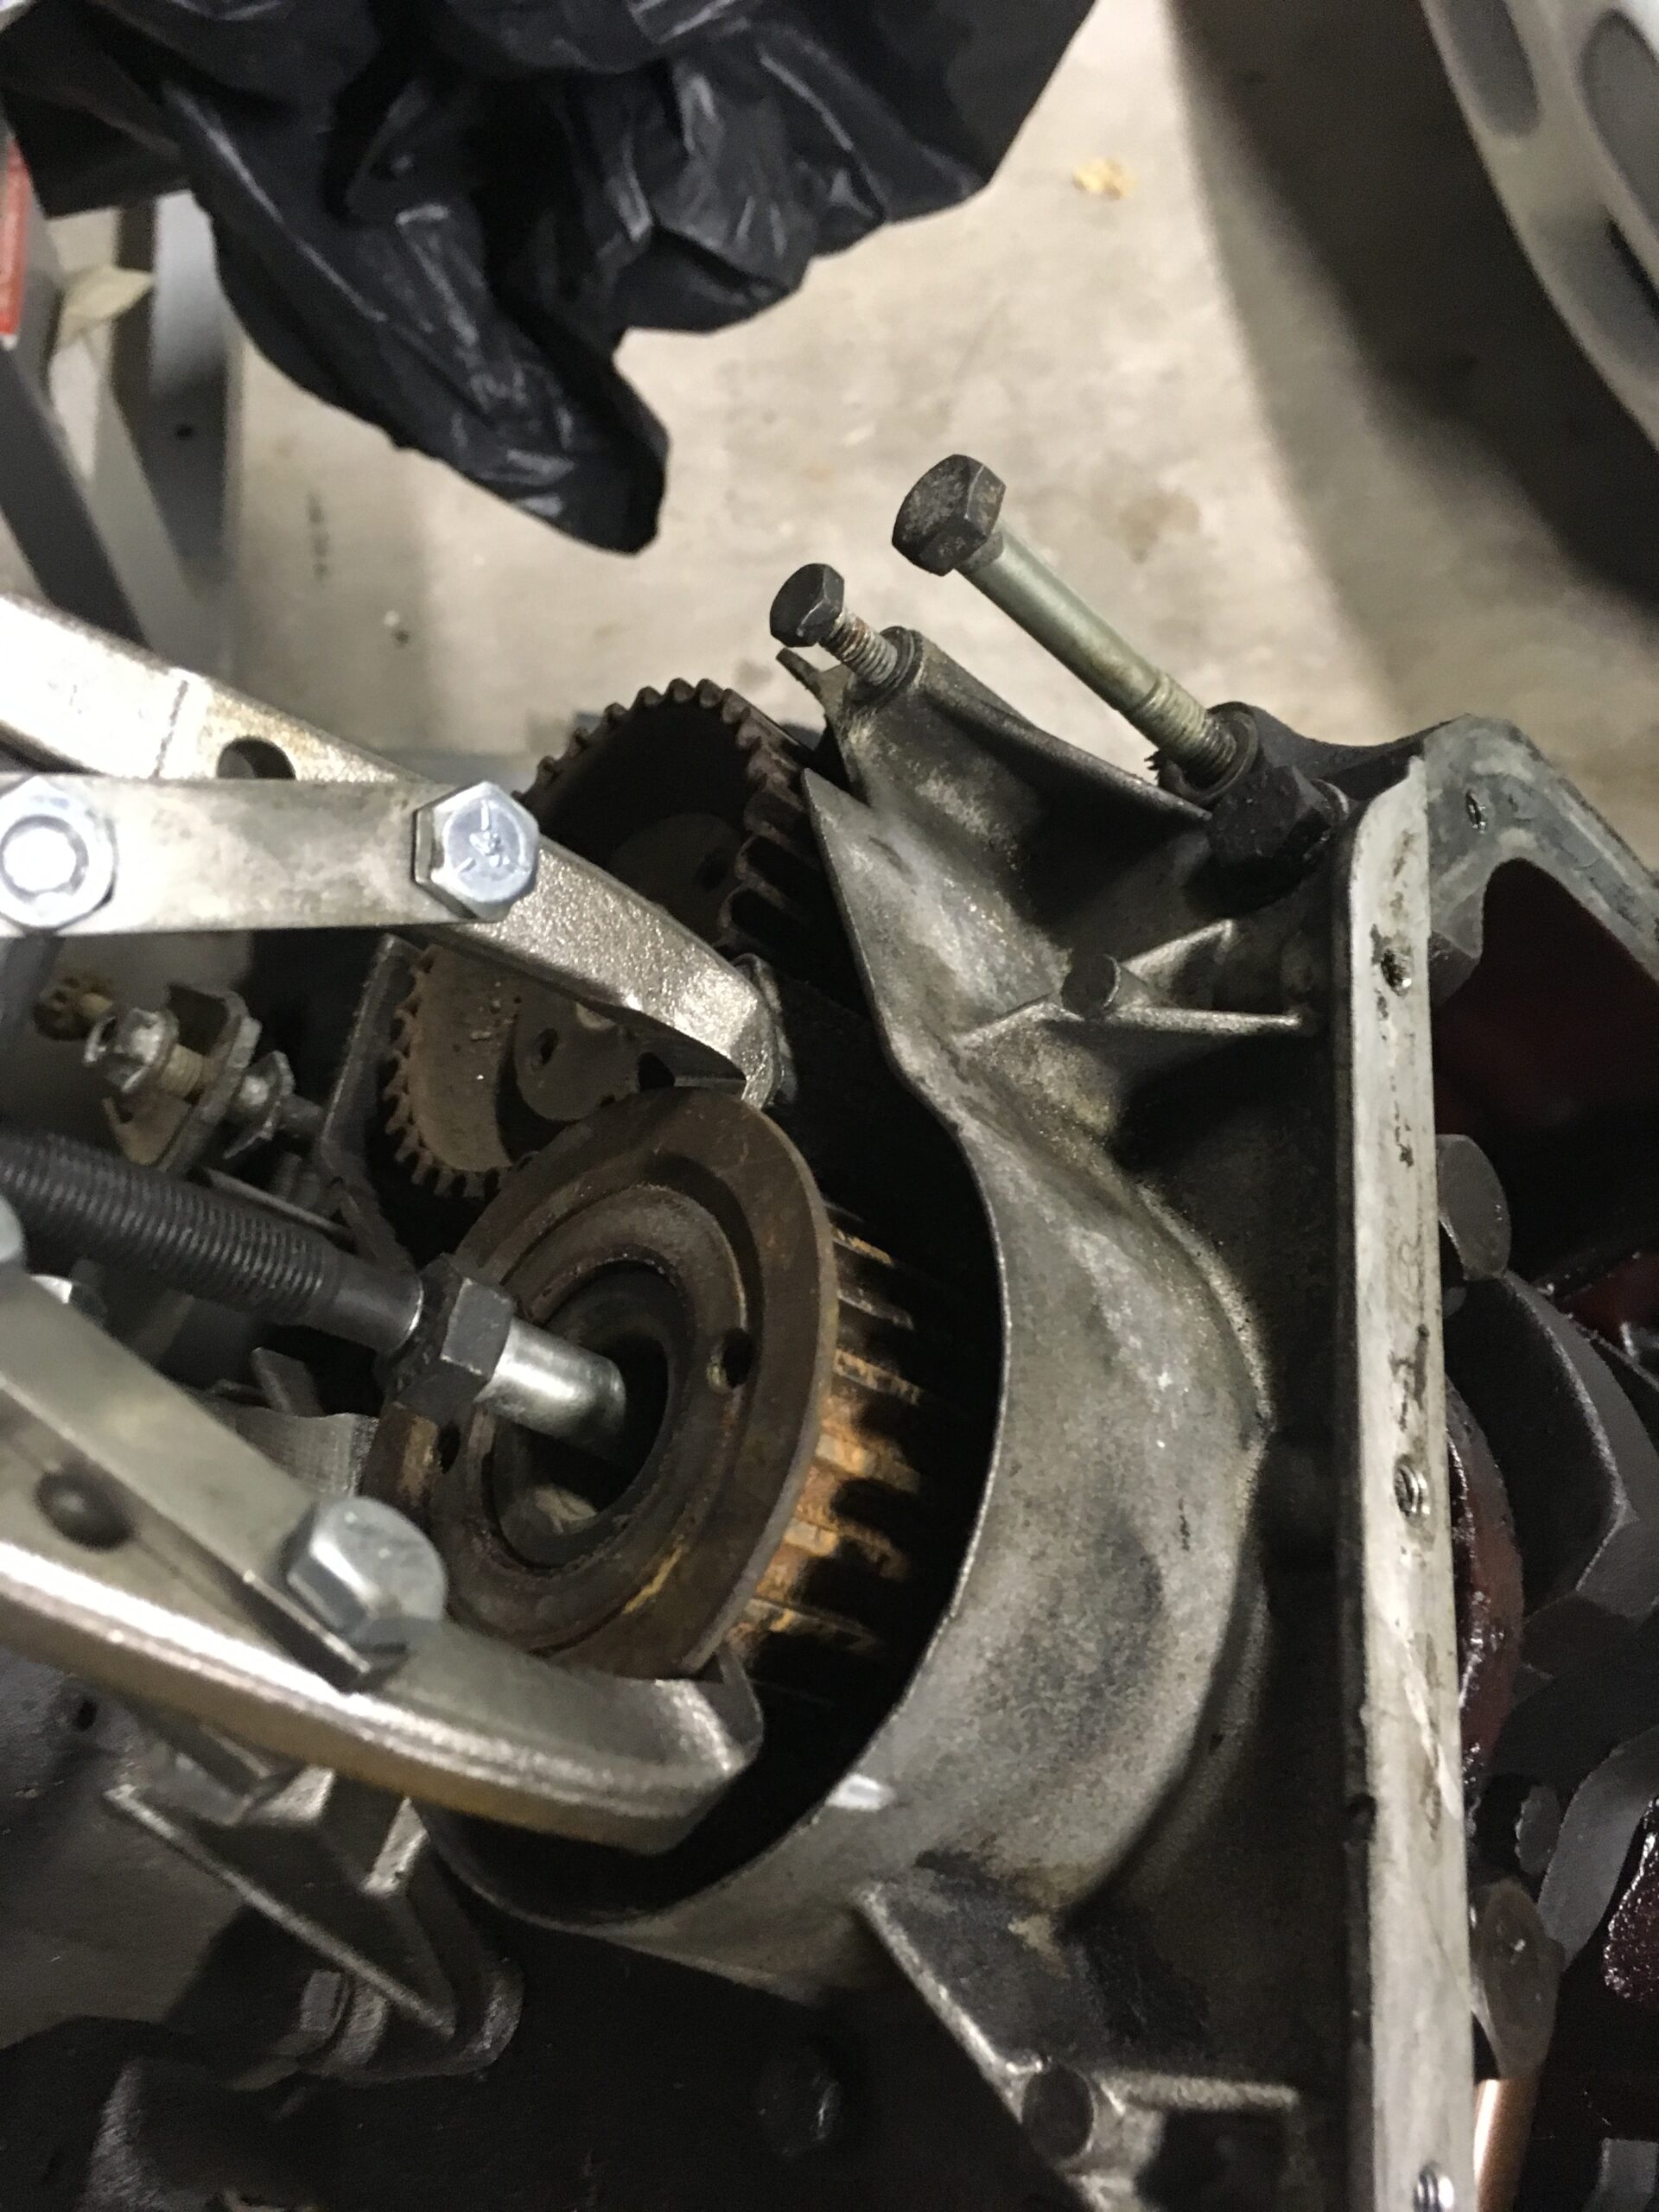
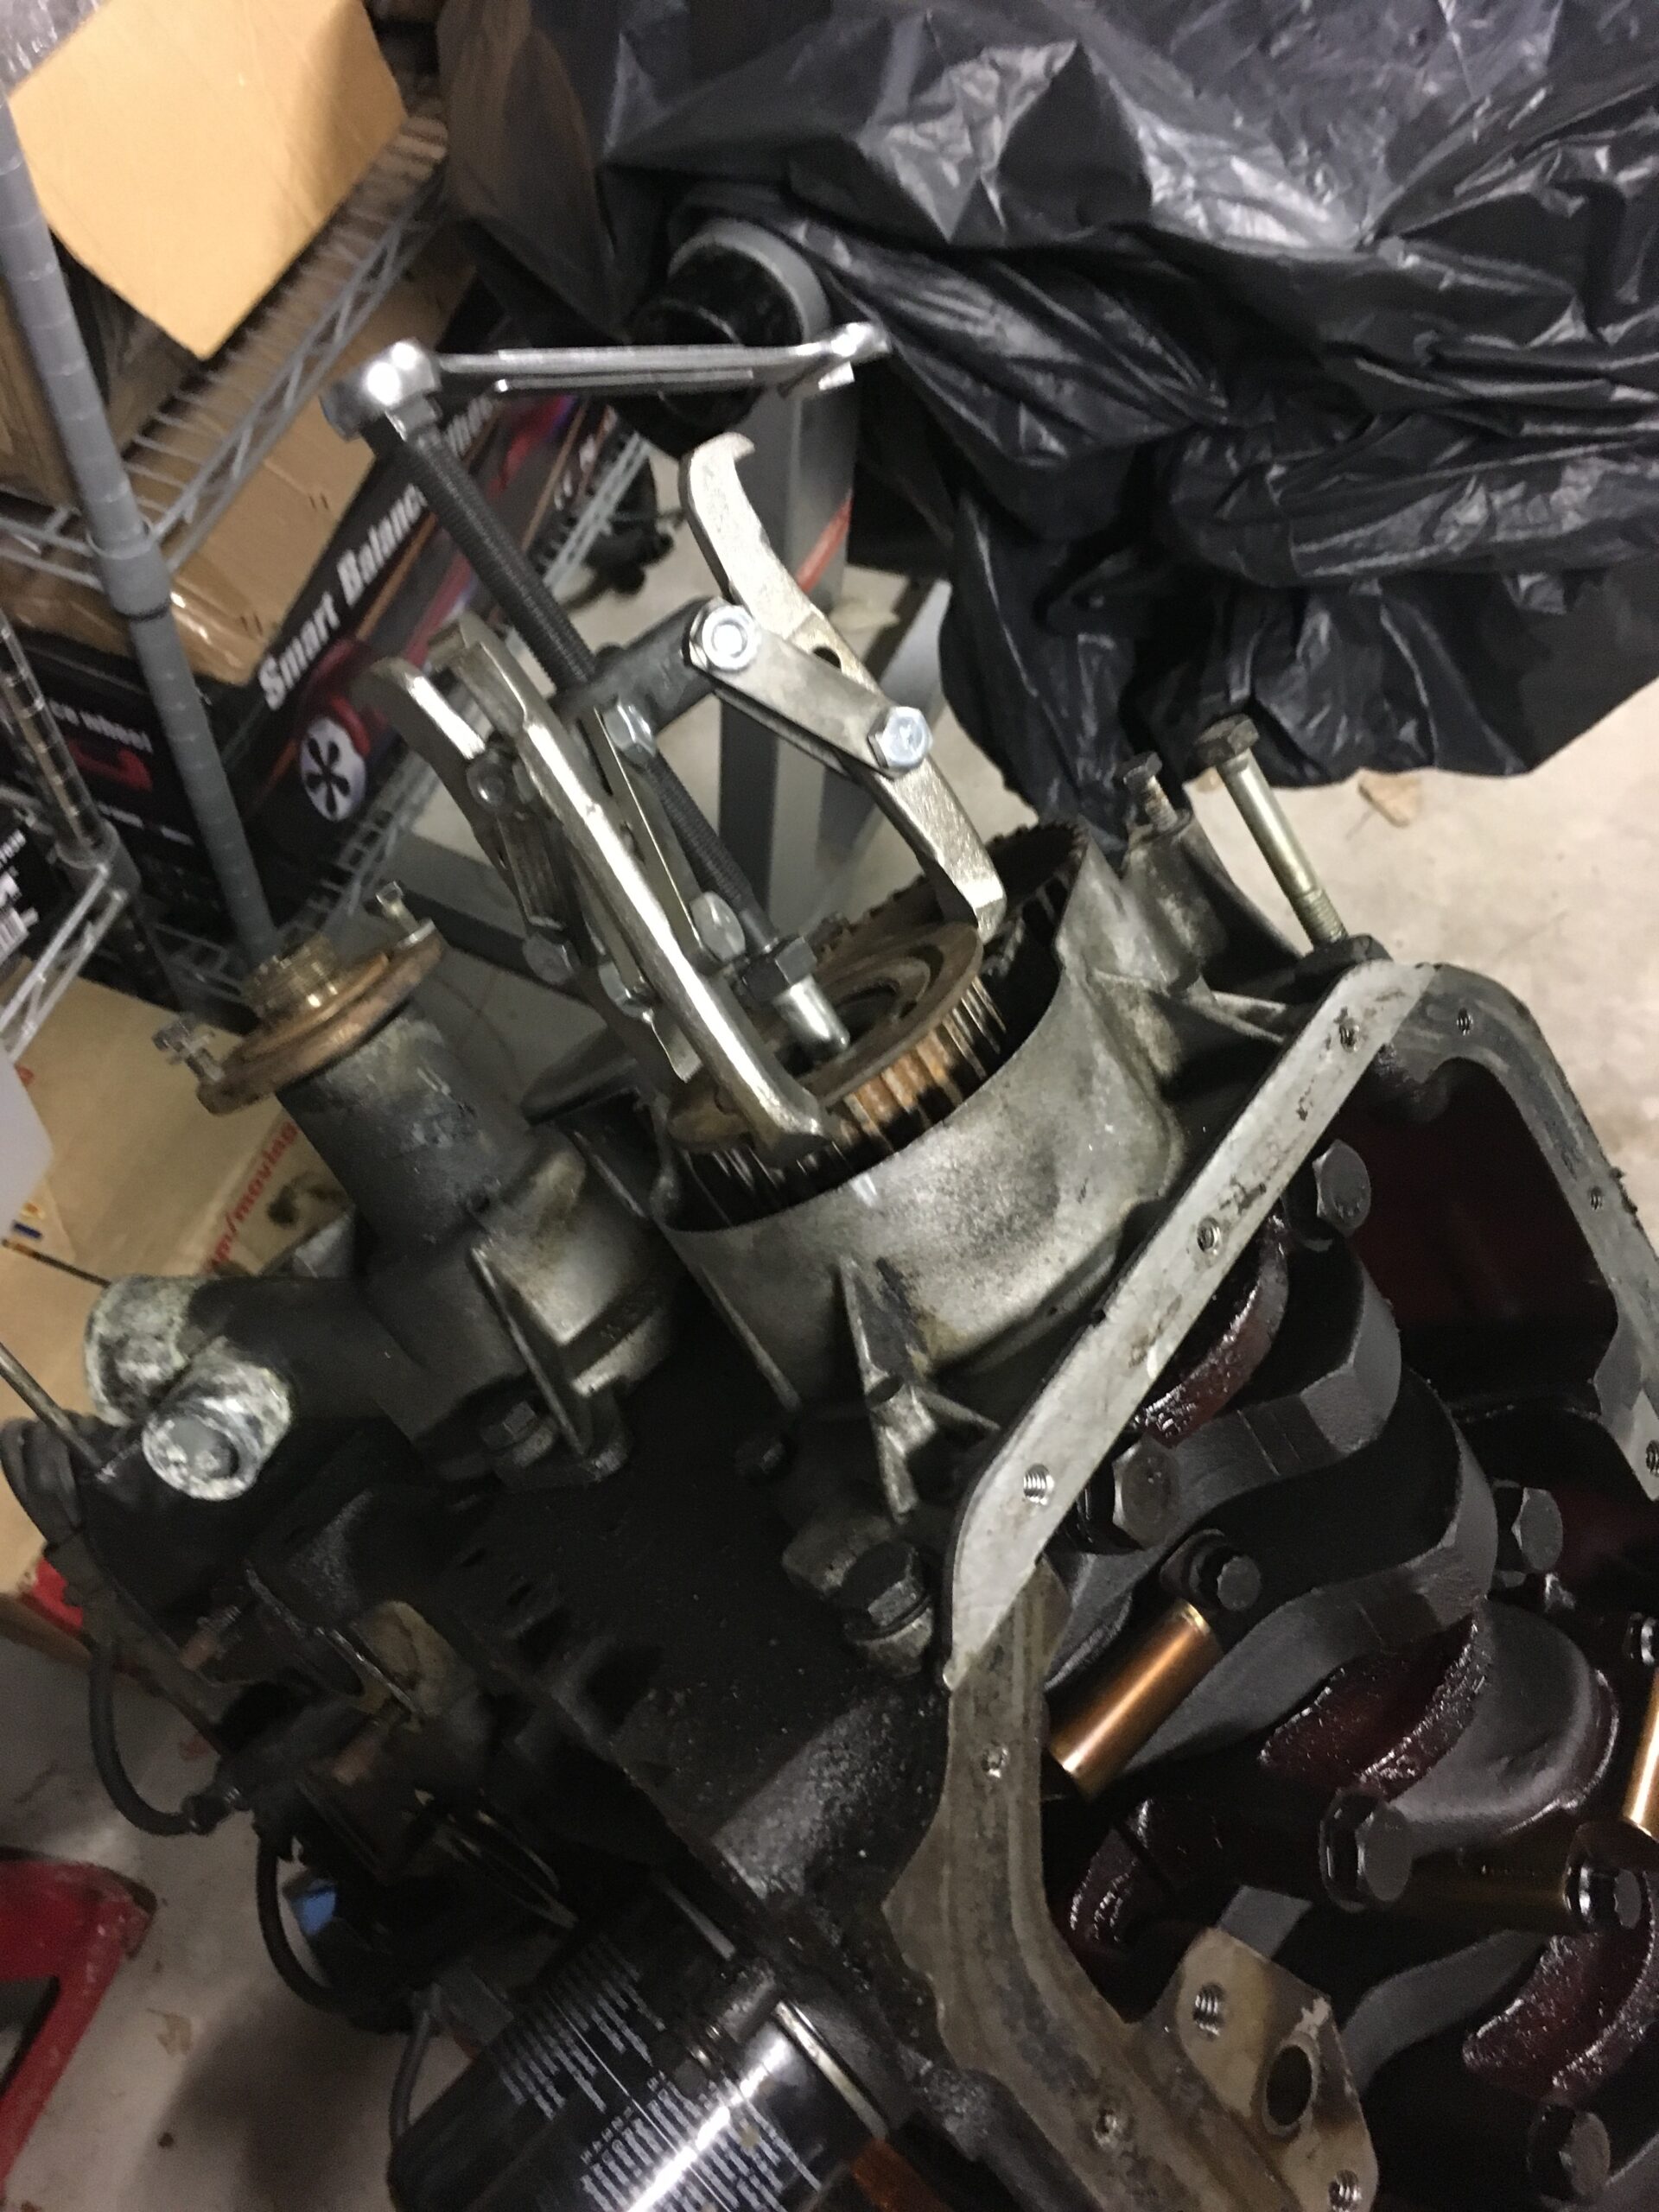 The rest of the front cover removal from the old motor and re-installation on the new one went smoothly.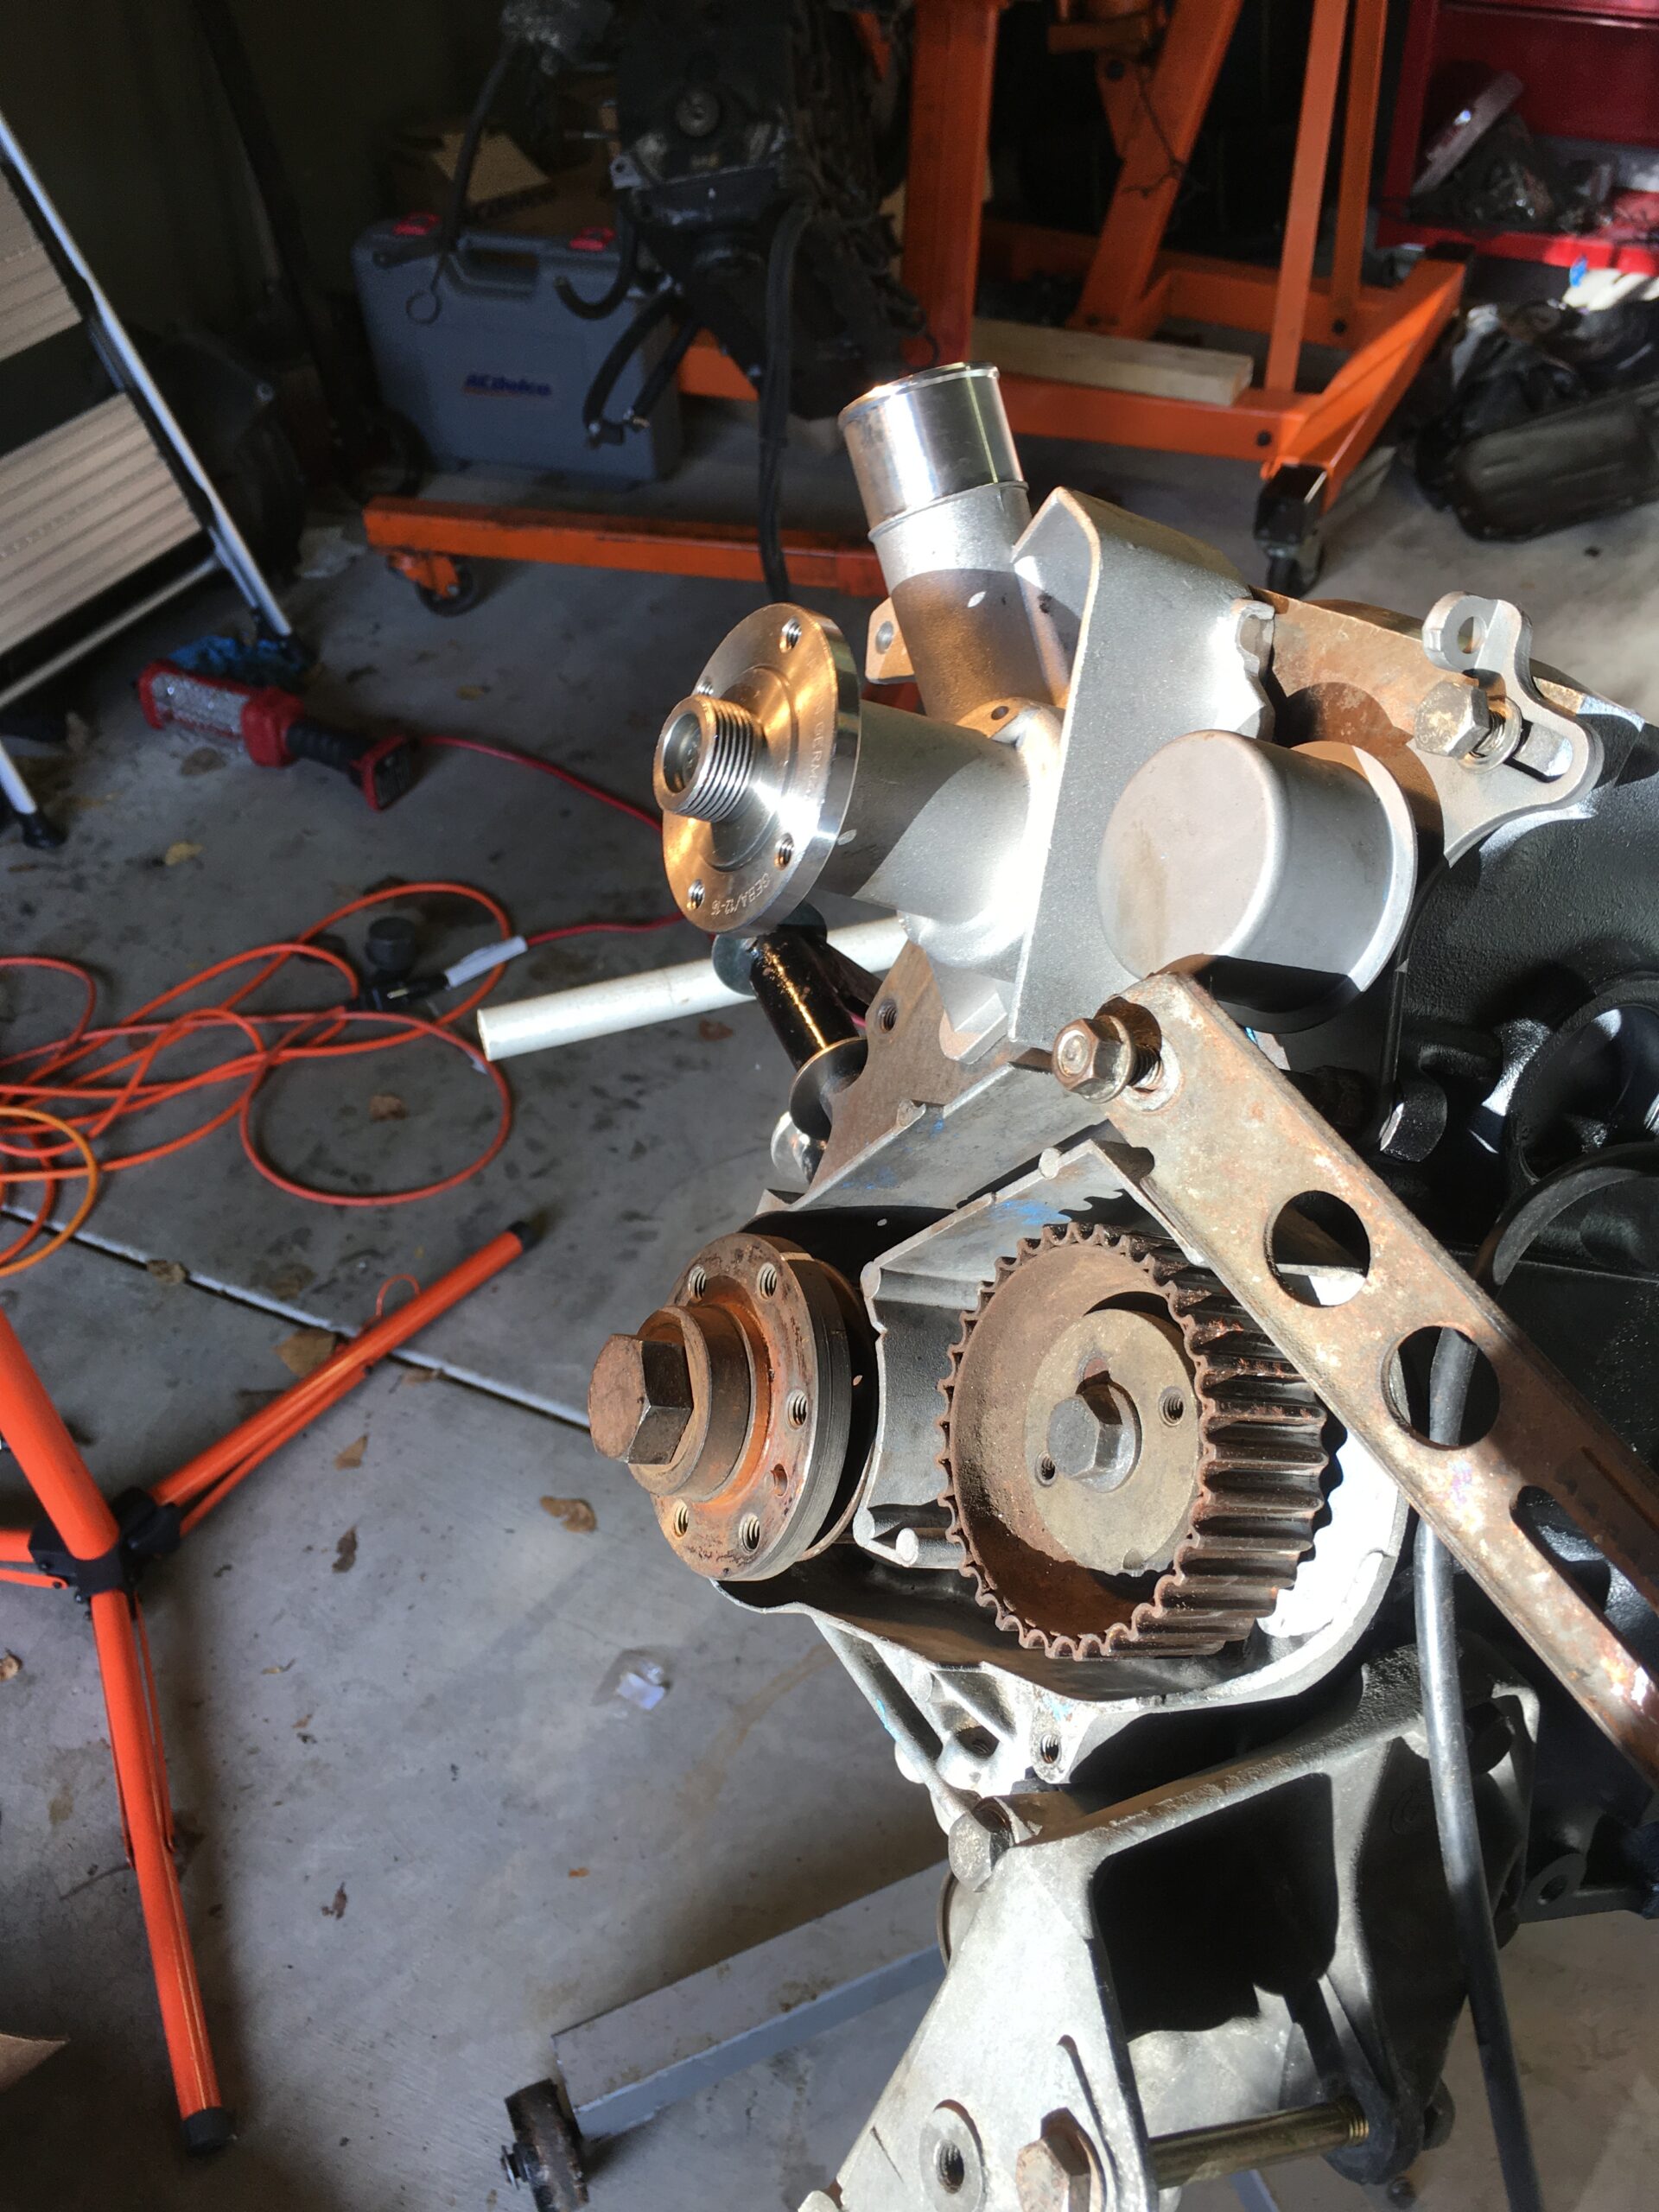
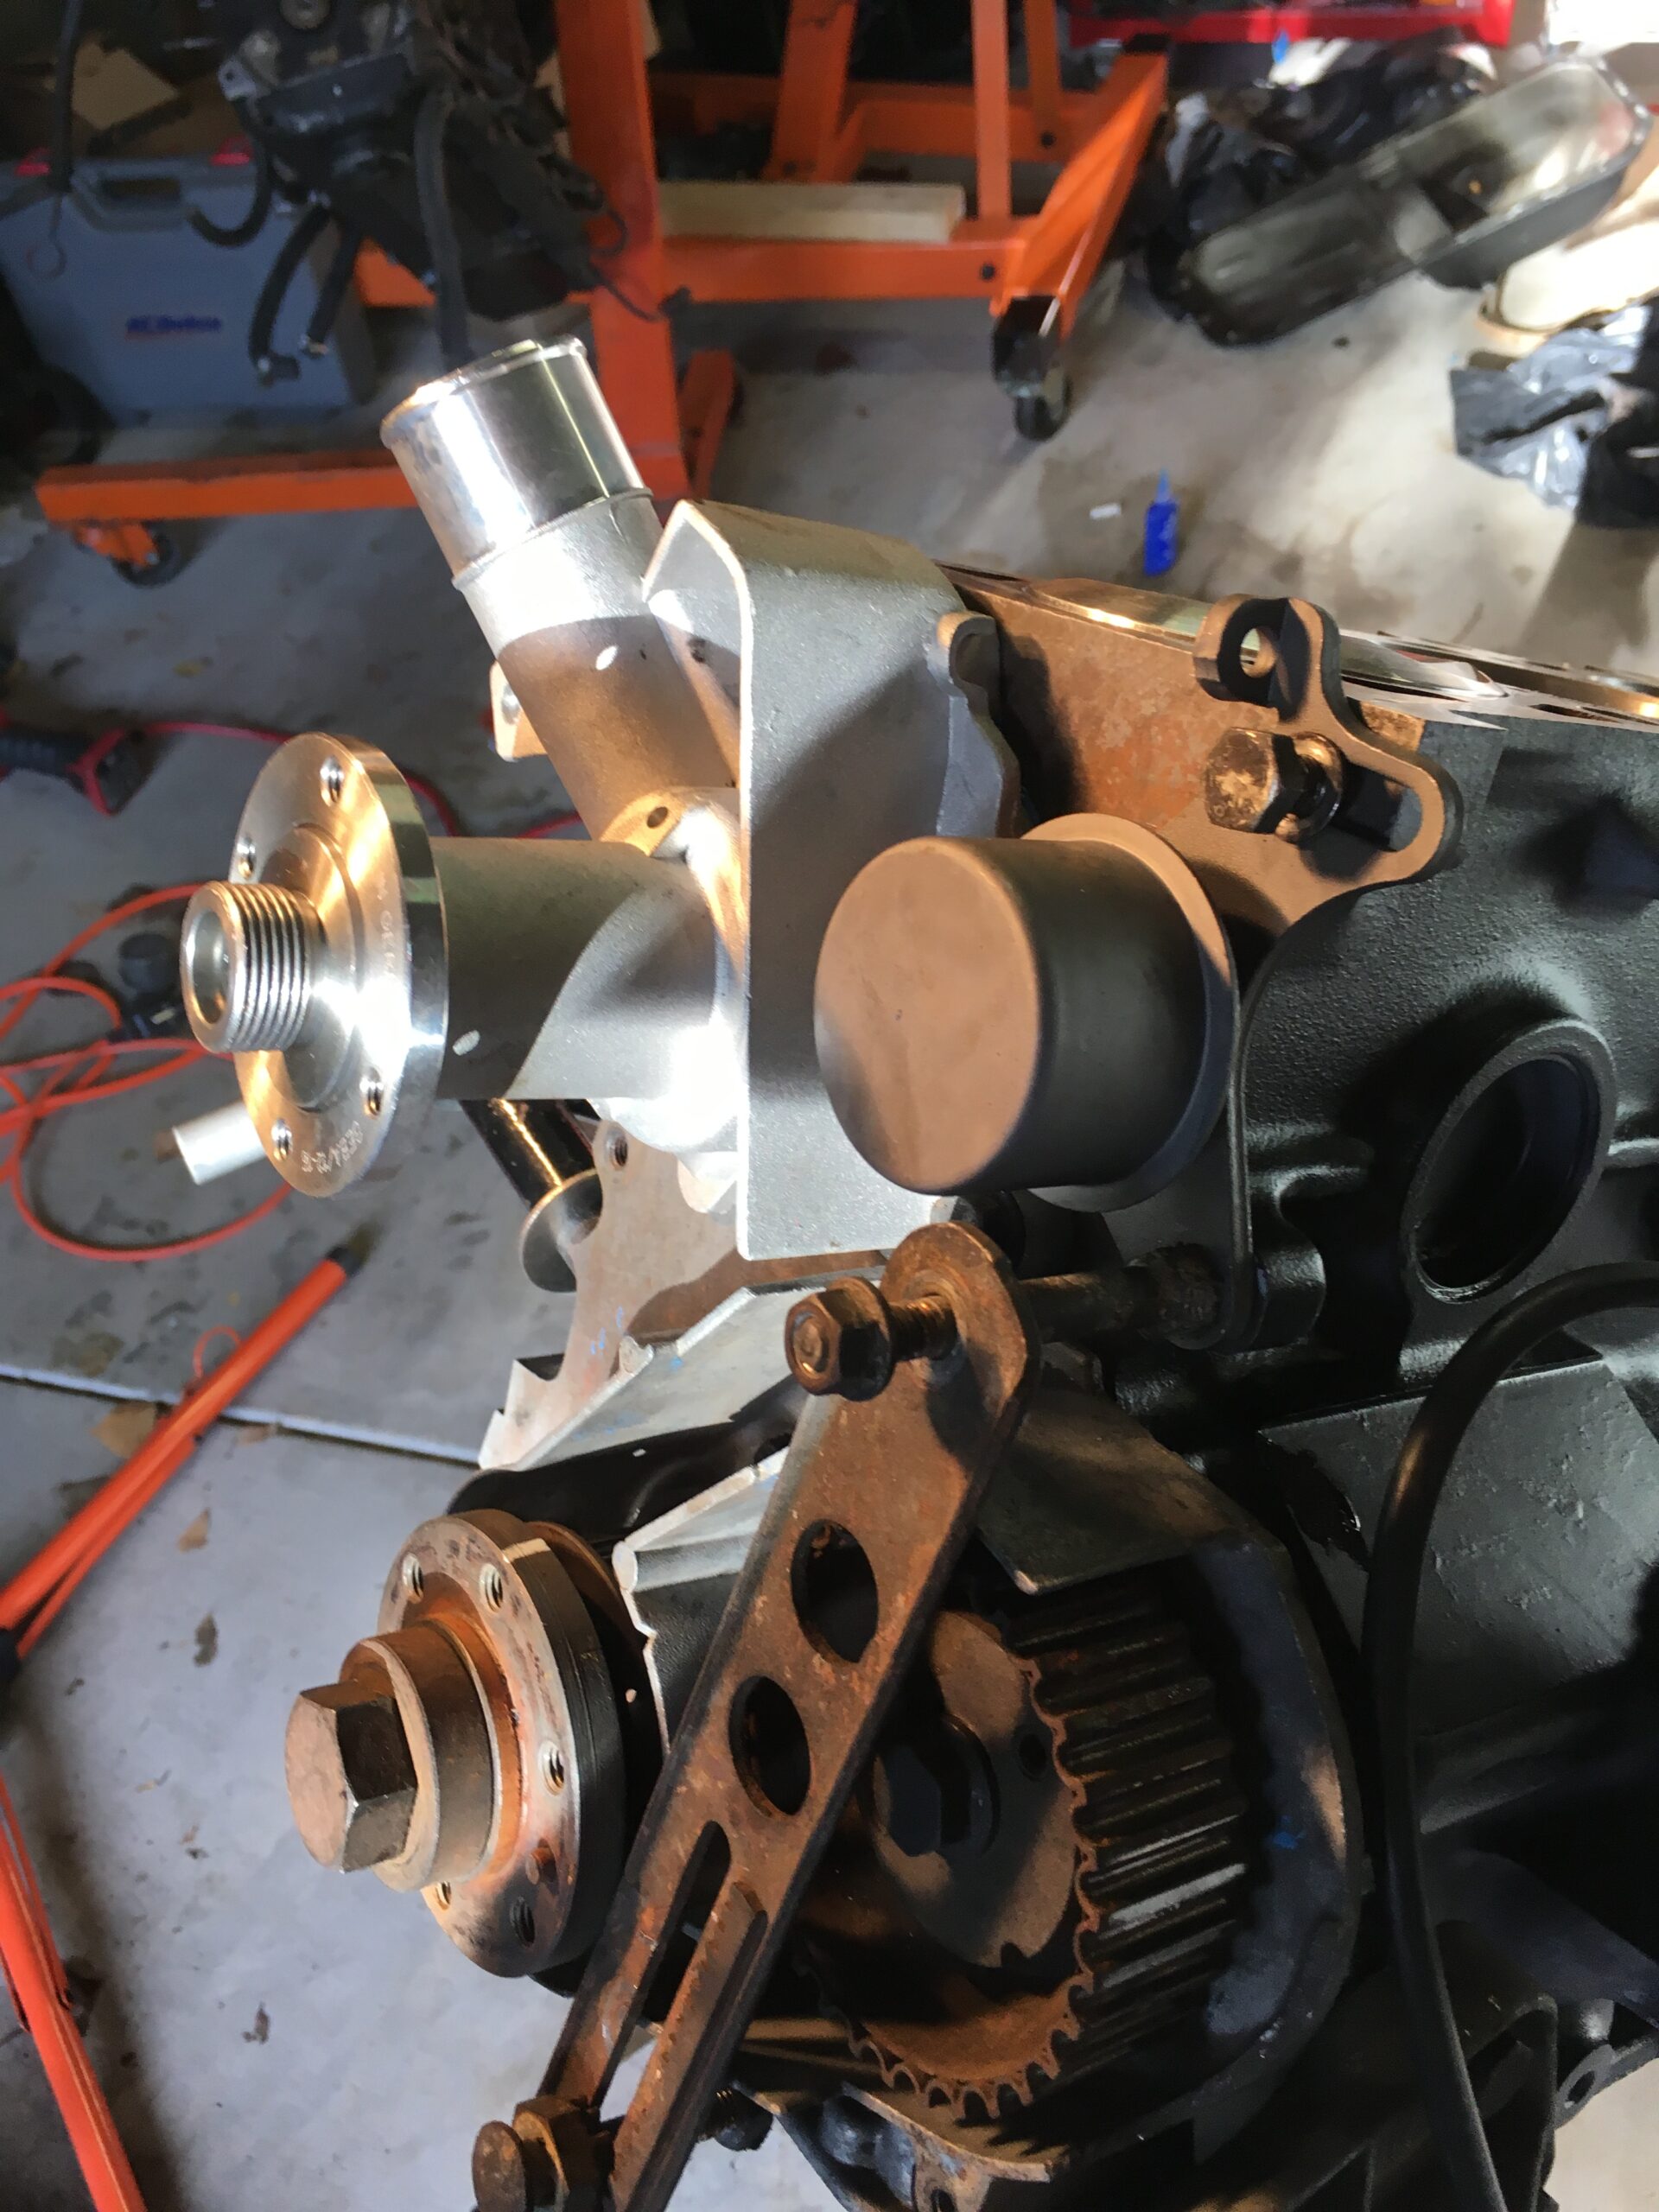 Next came the oil pump. Wait. Where is the new oil pump? Did I order one? How could I forget that? Couldn’t find one so I searched the invoices for the various parts I ordered. None included an oil pump, so that needed to be ordered. Another delay. While waiting I took the pressure relief valve off the old engine and put it on the new.
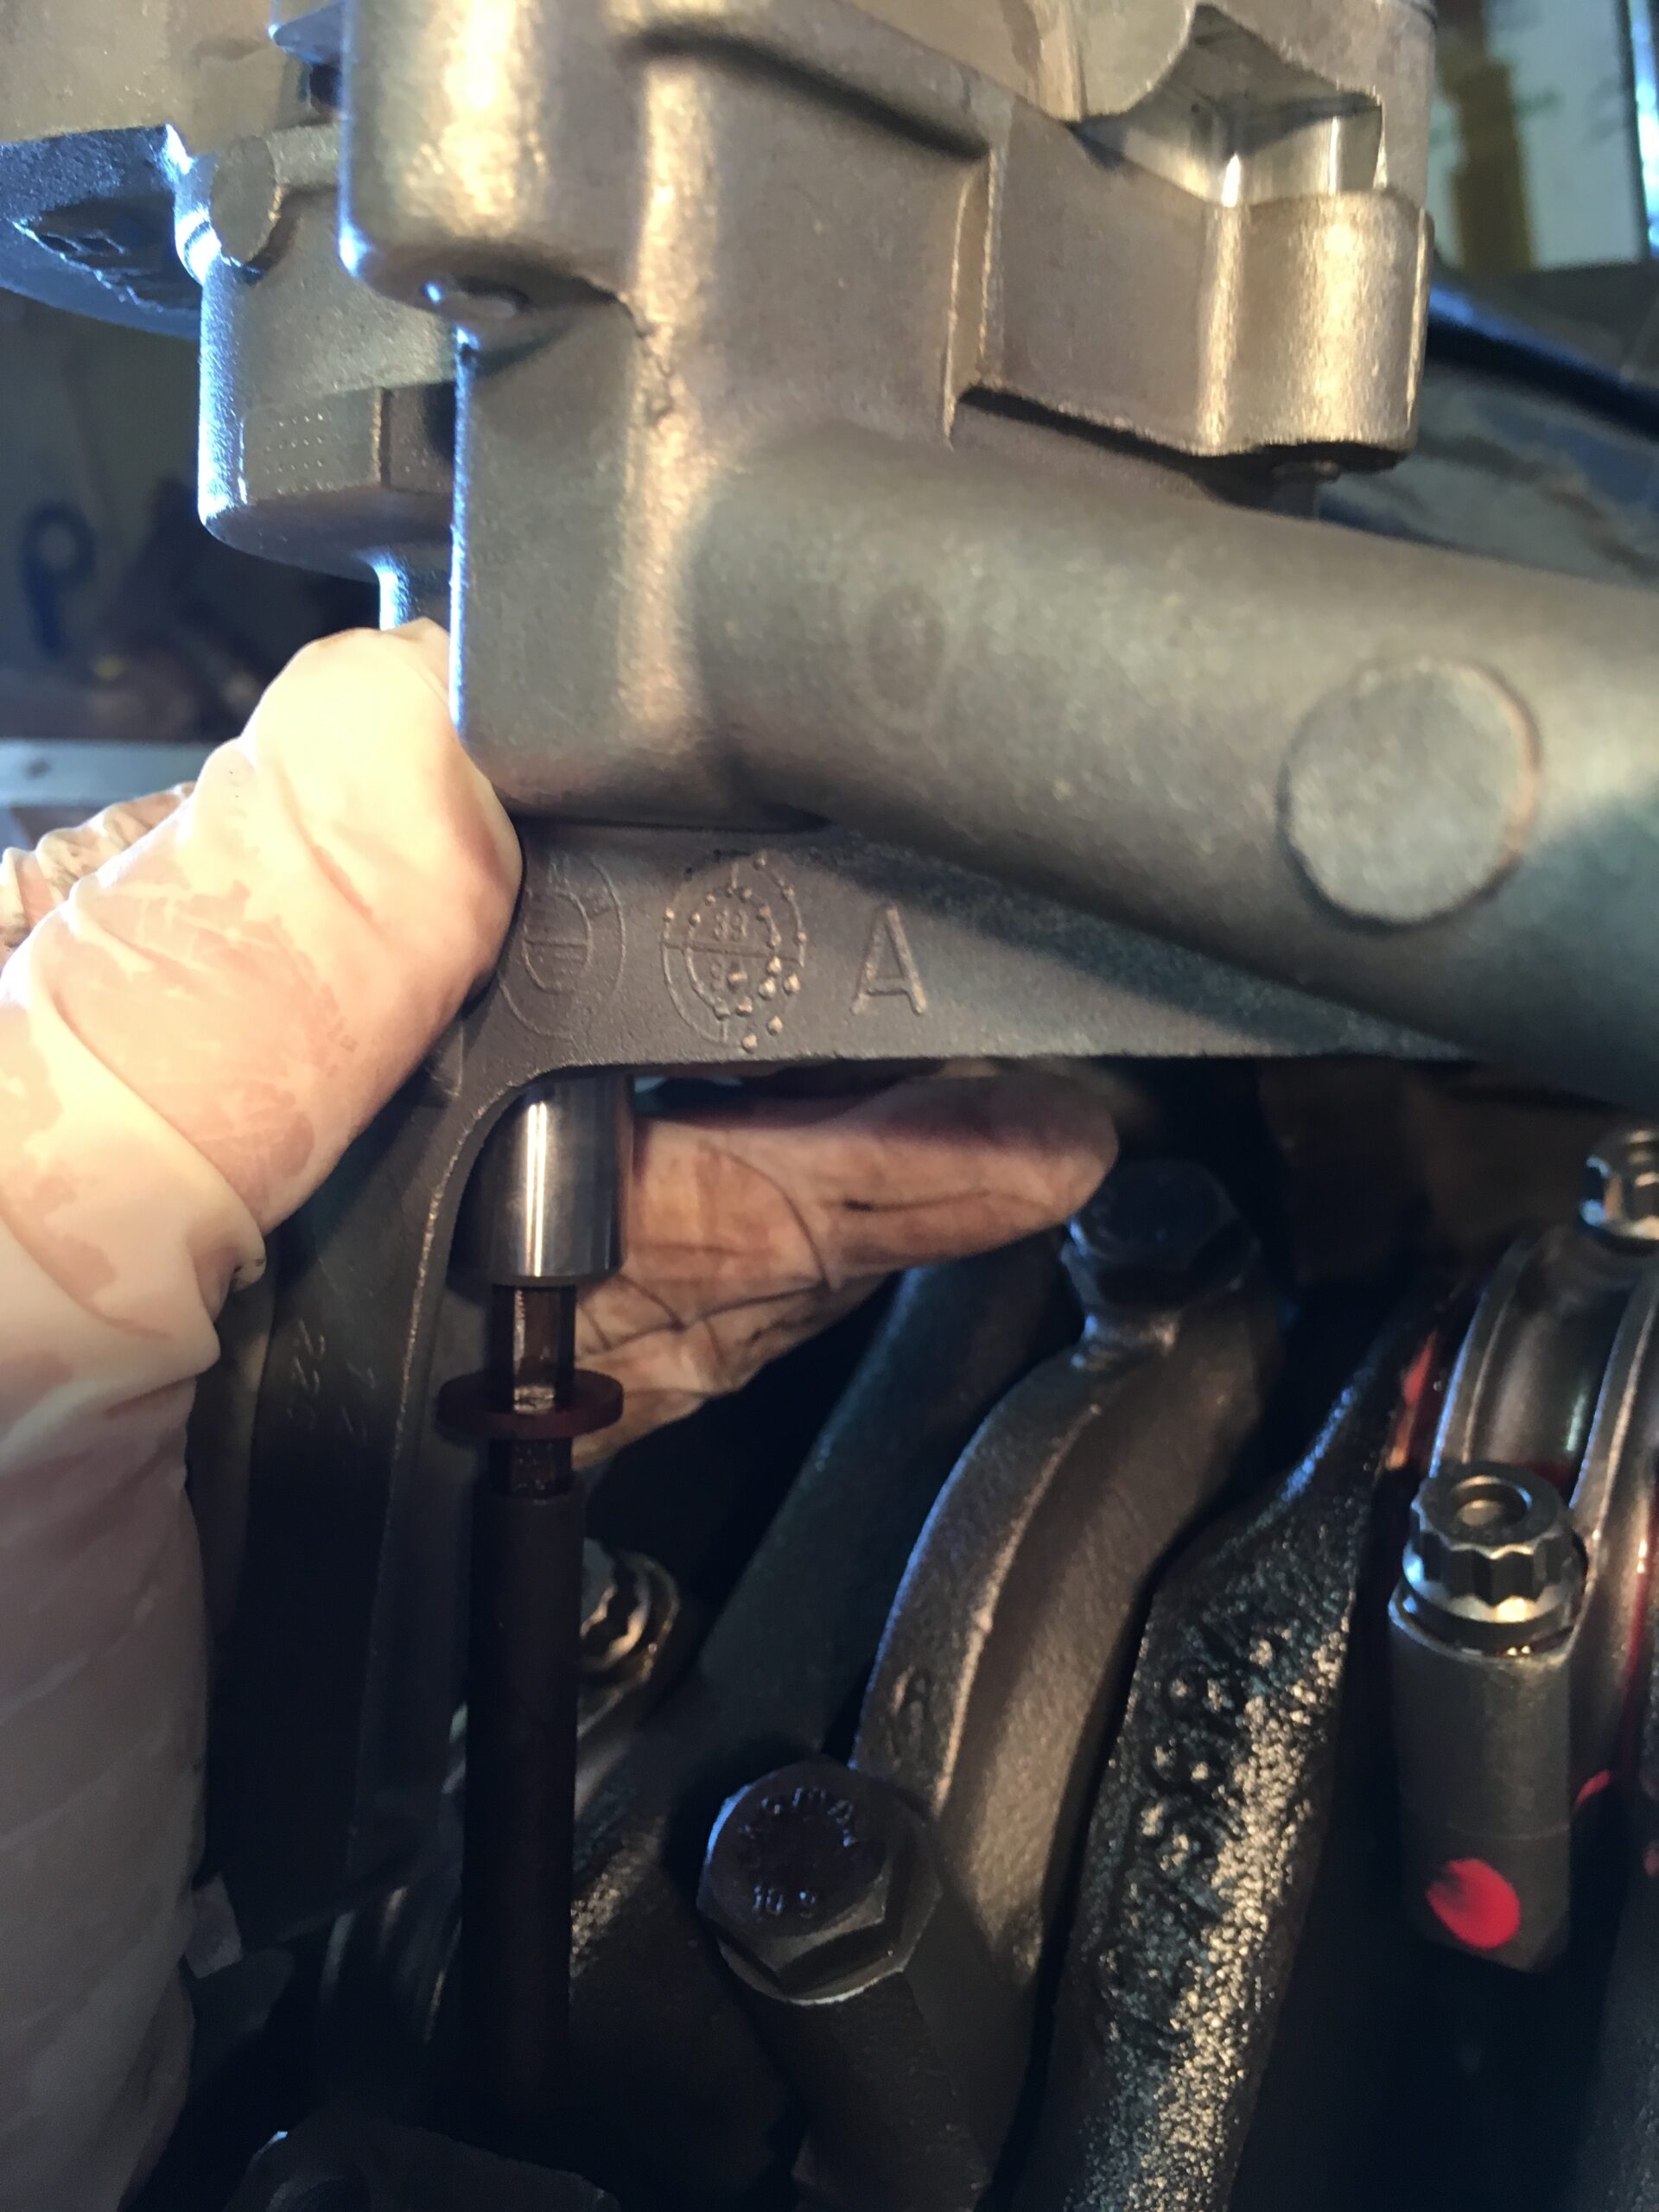
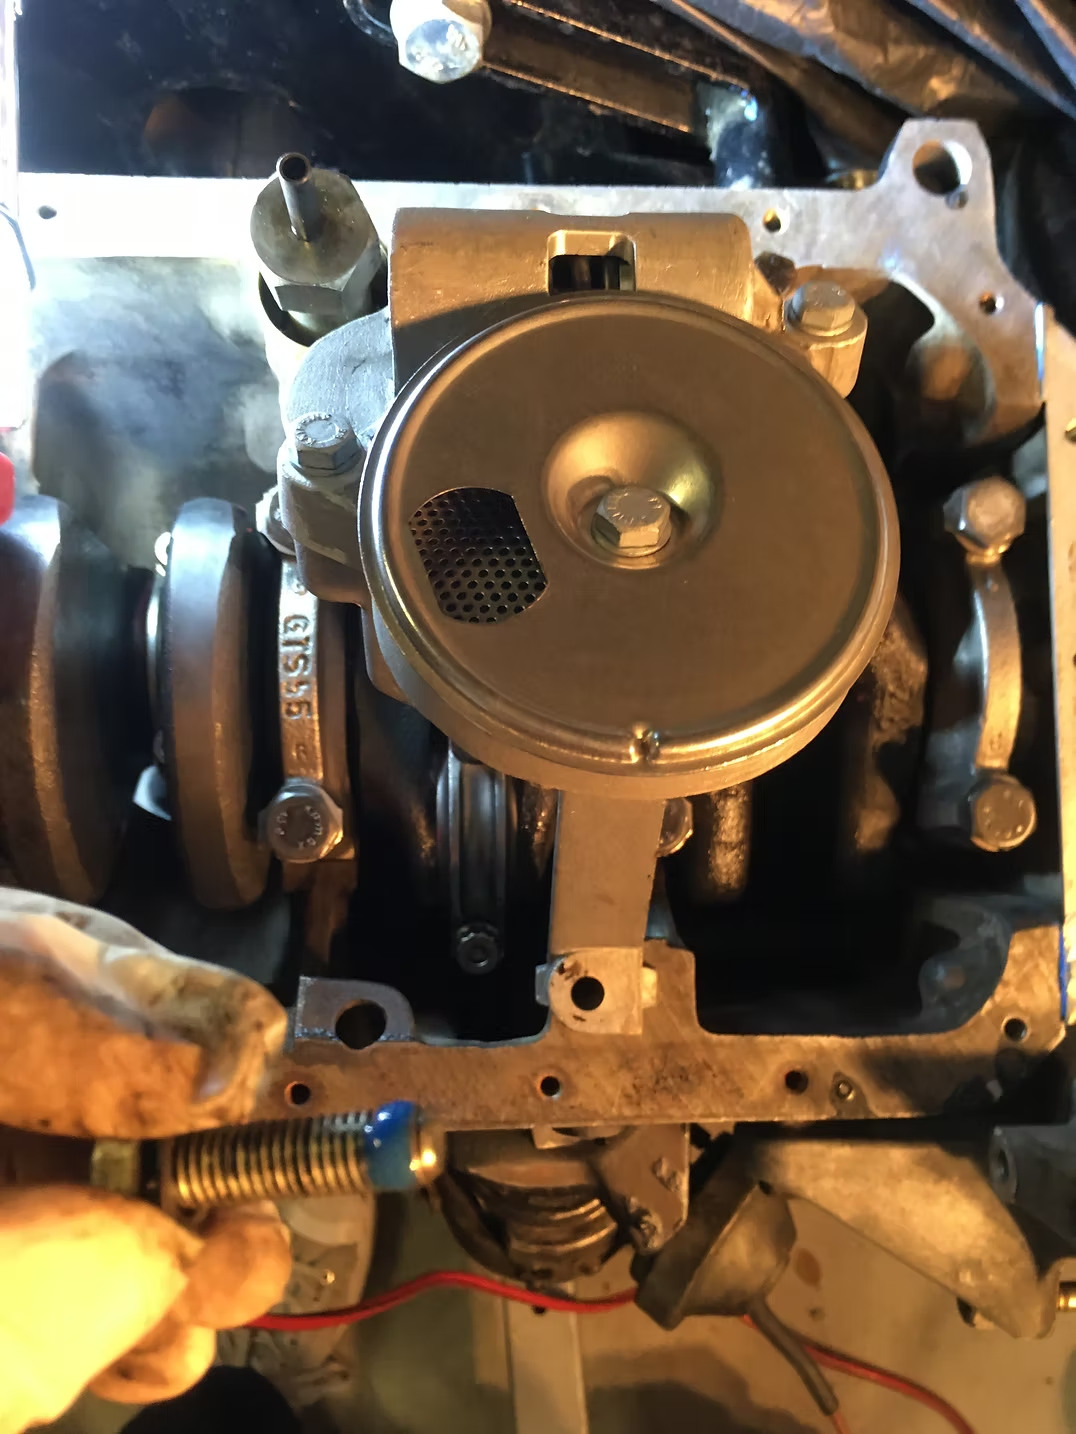
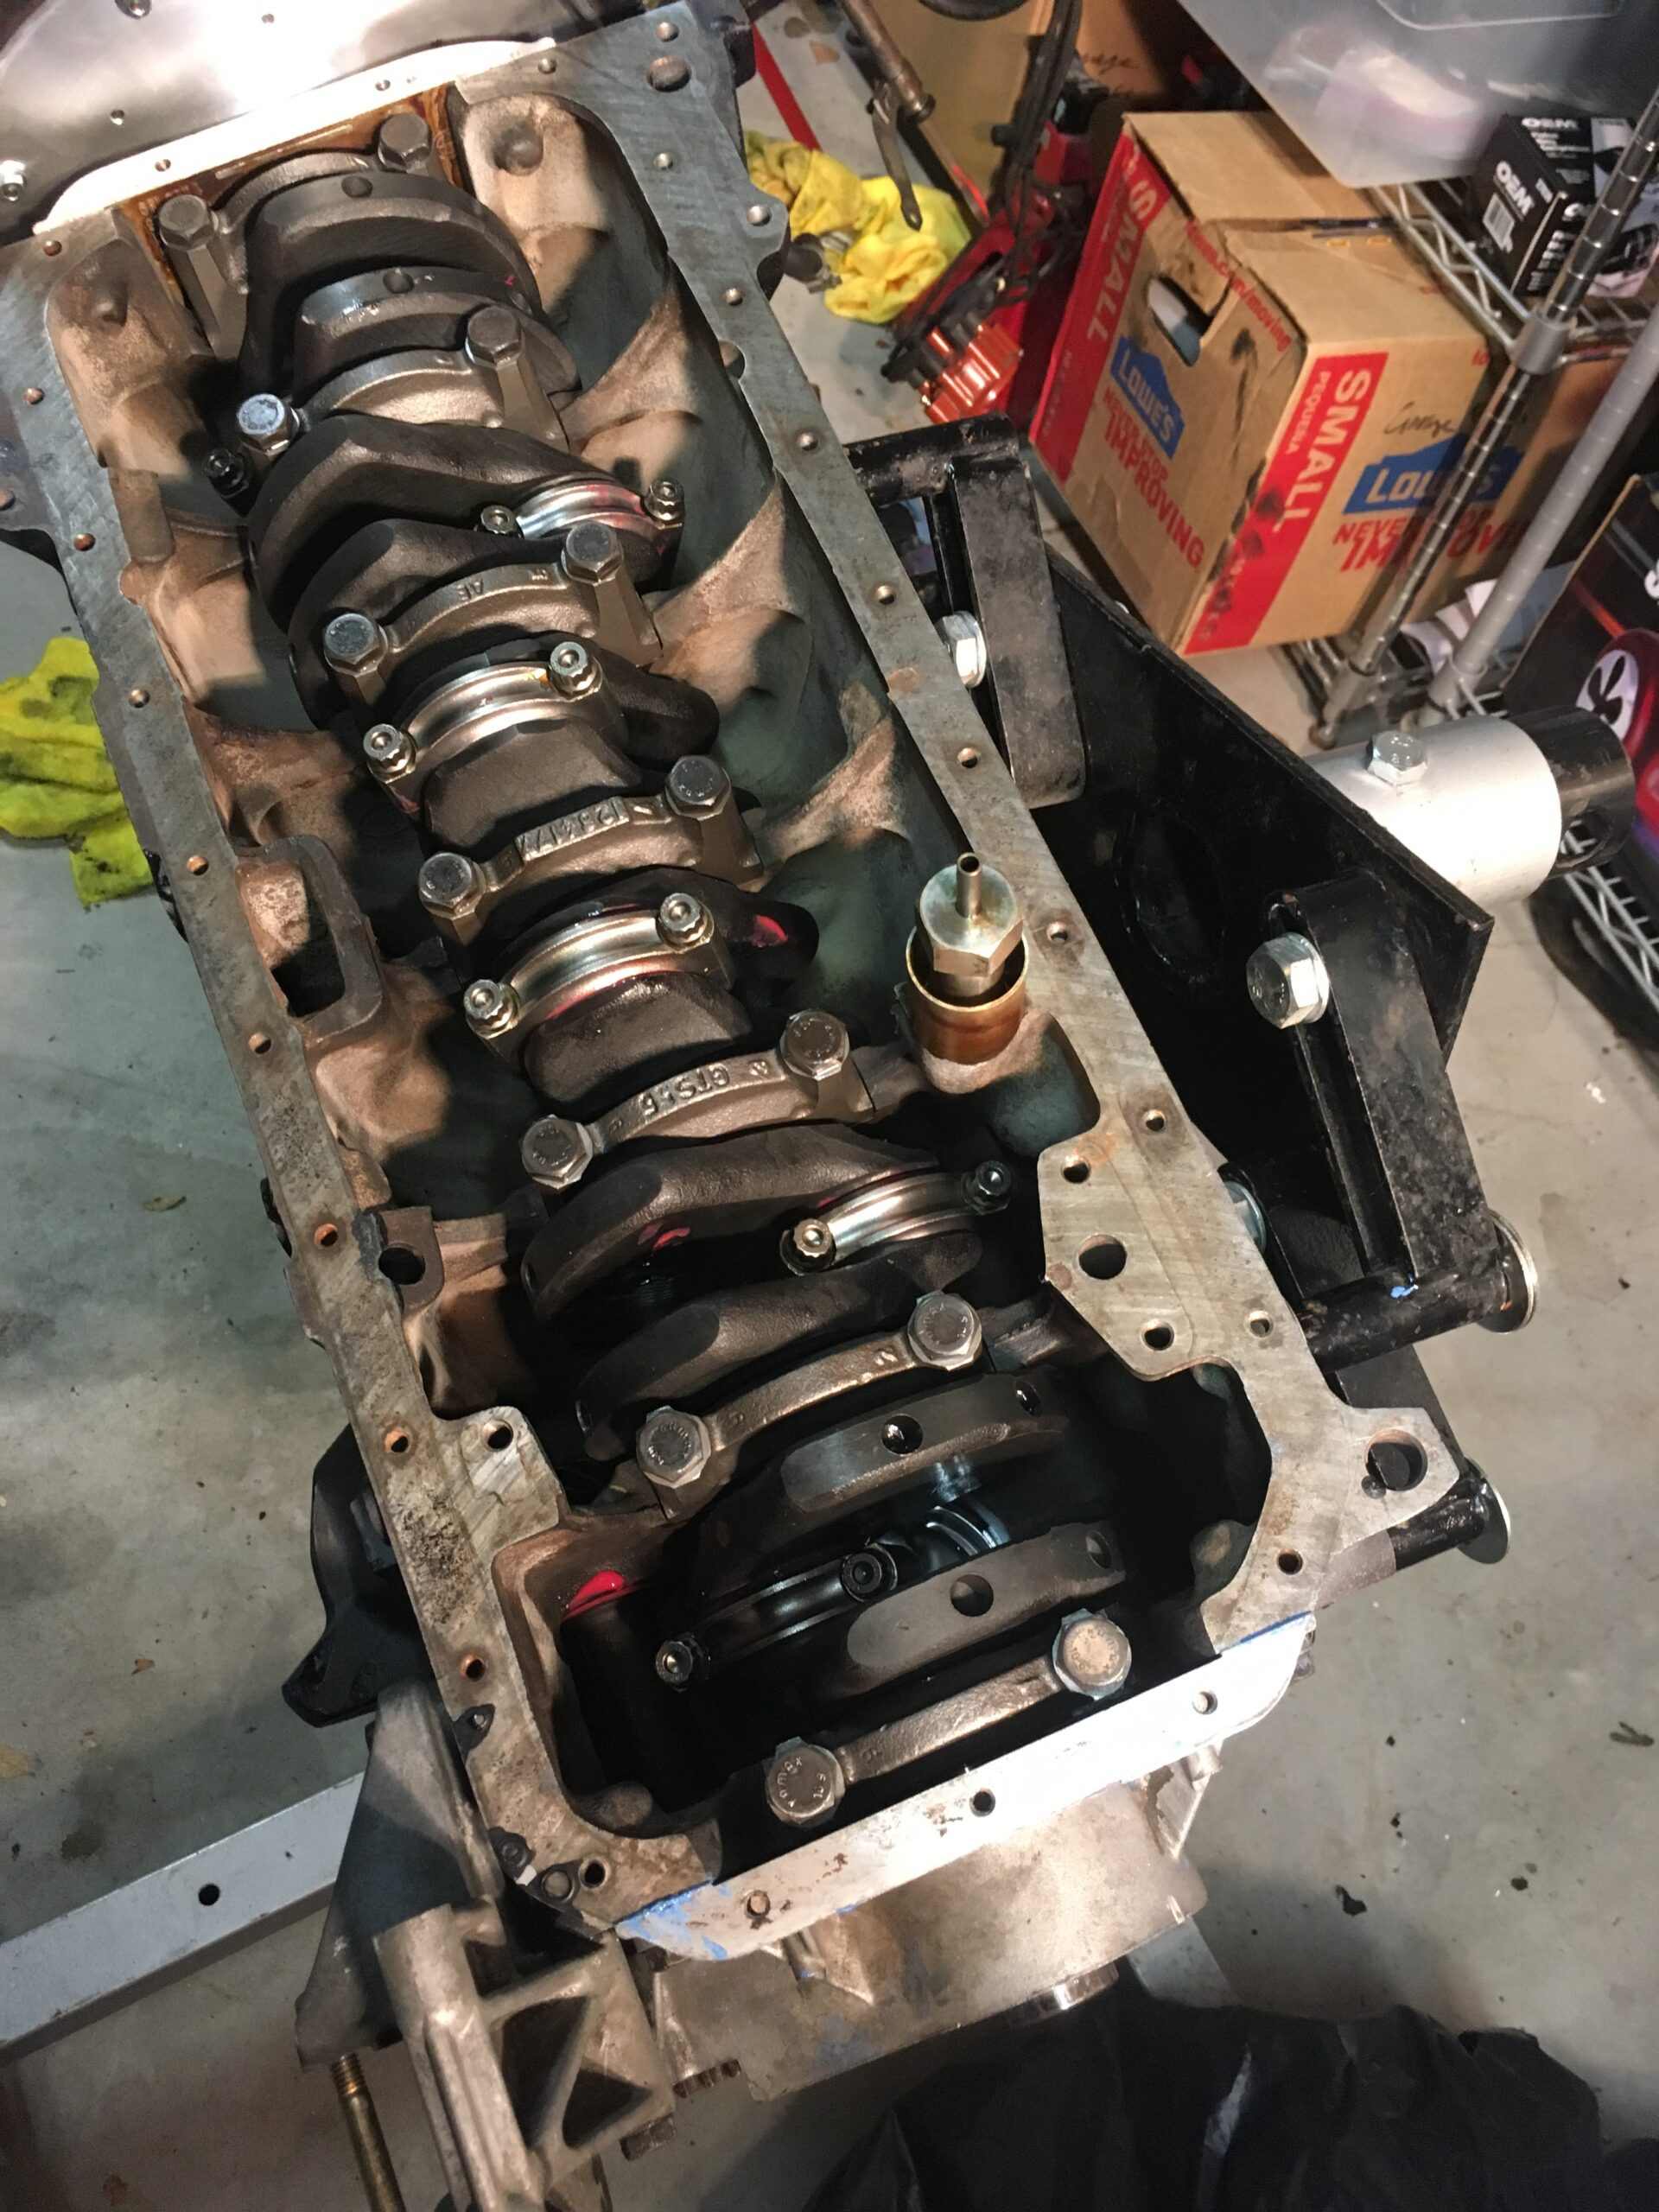 Once the oil pump was in hand, I mounted it on the underside of the block. First a test fit, with the drive and then locktite on the bolts. But, since I never worked on an M20 before I didn’t know how the pump (and distributor) was driven. Hence my introduction to the intermediate shaft and the drive off the belt. Some momentum was building, after all the delays, but it was still over a month since the last update here.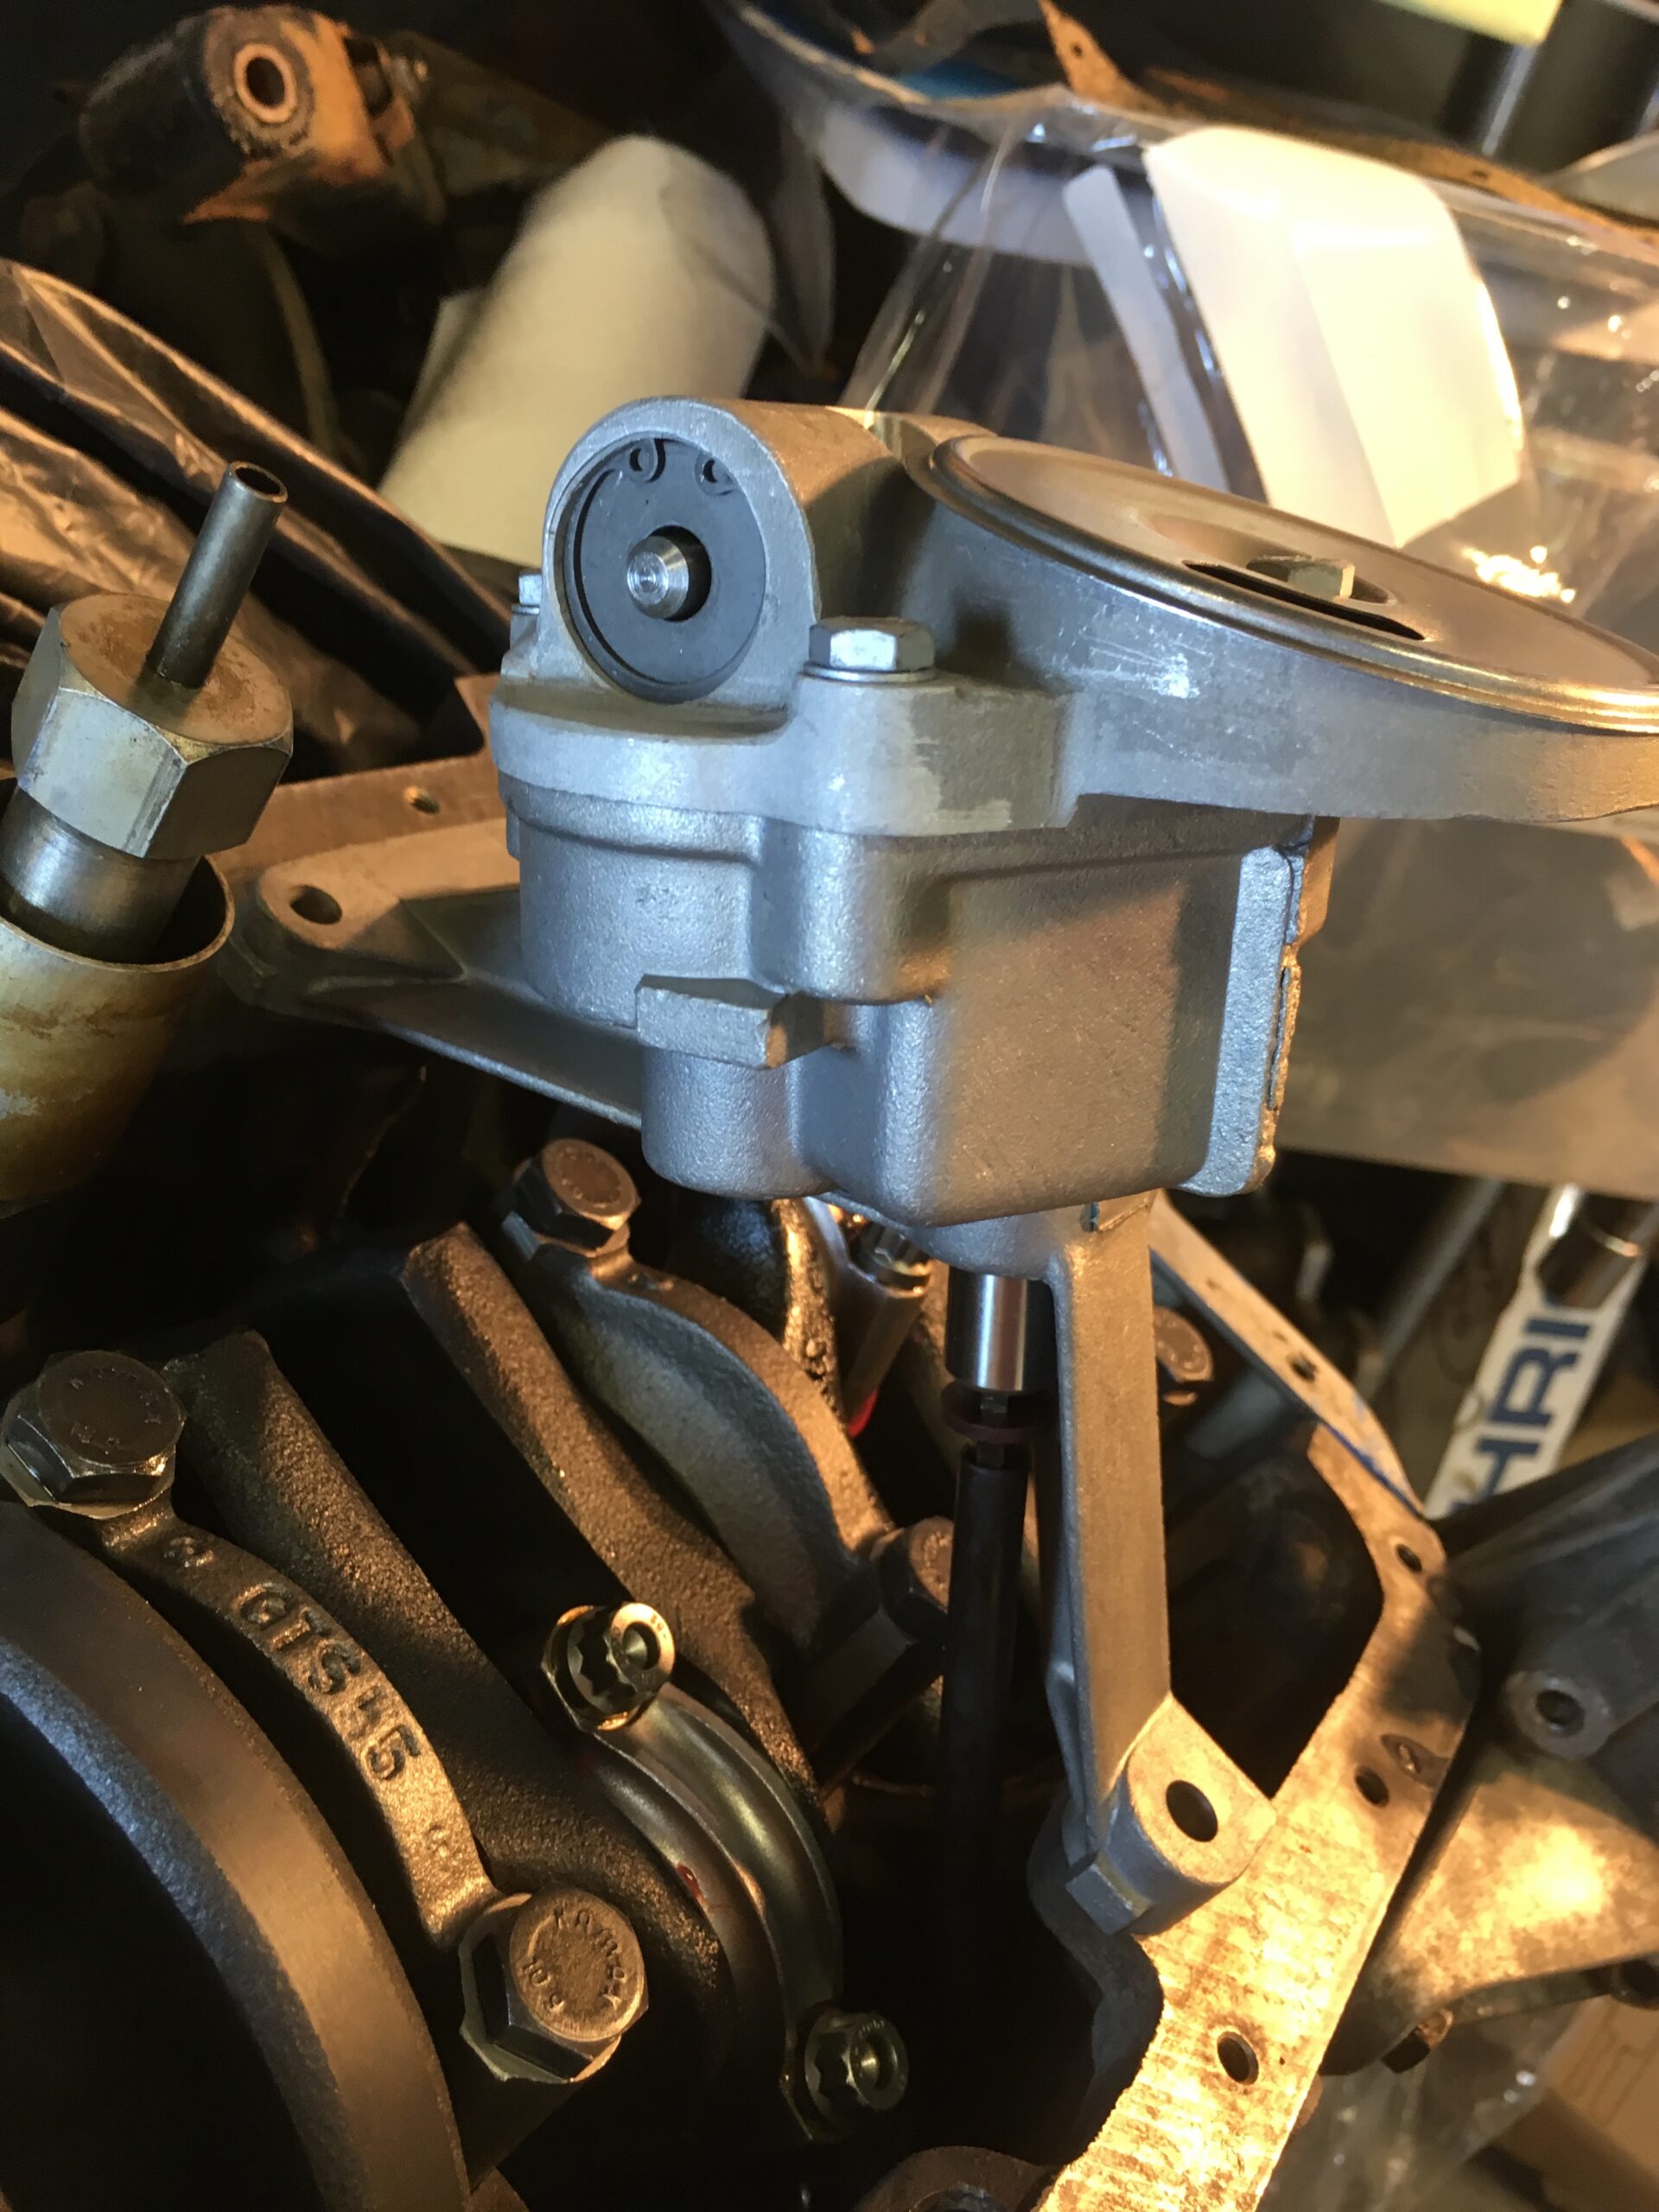
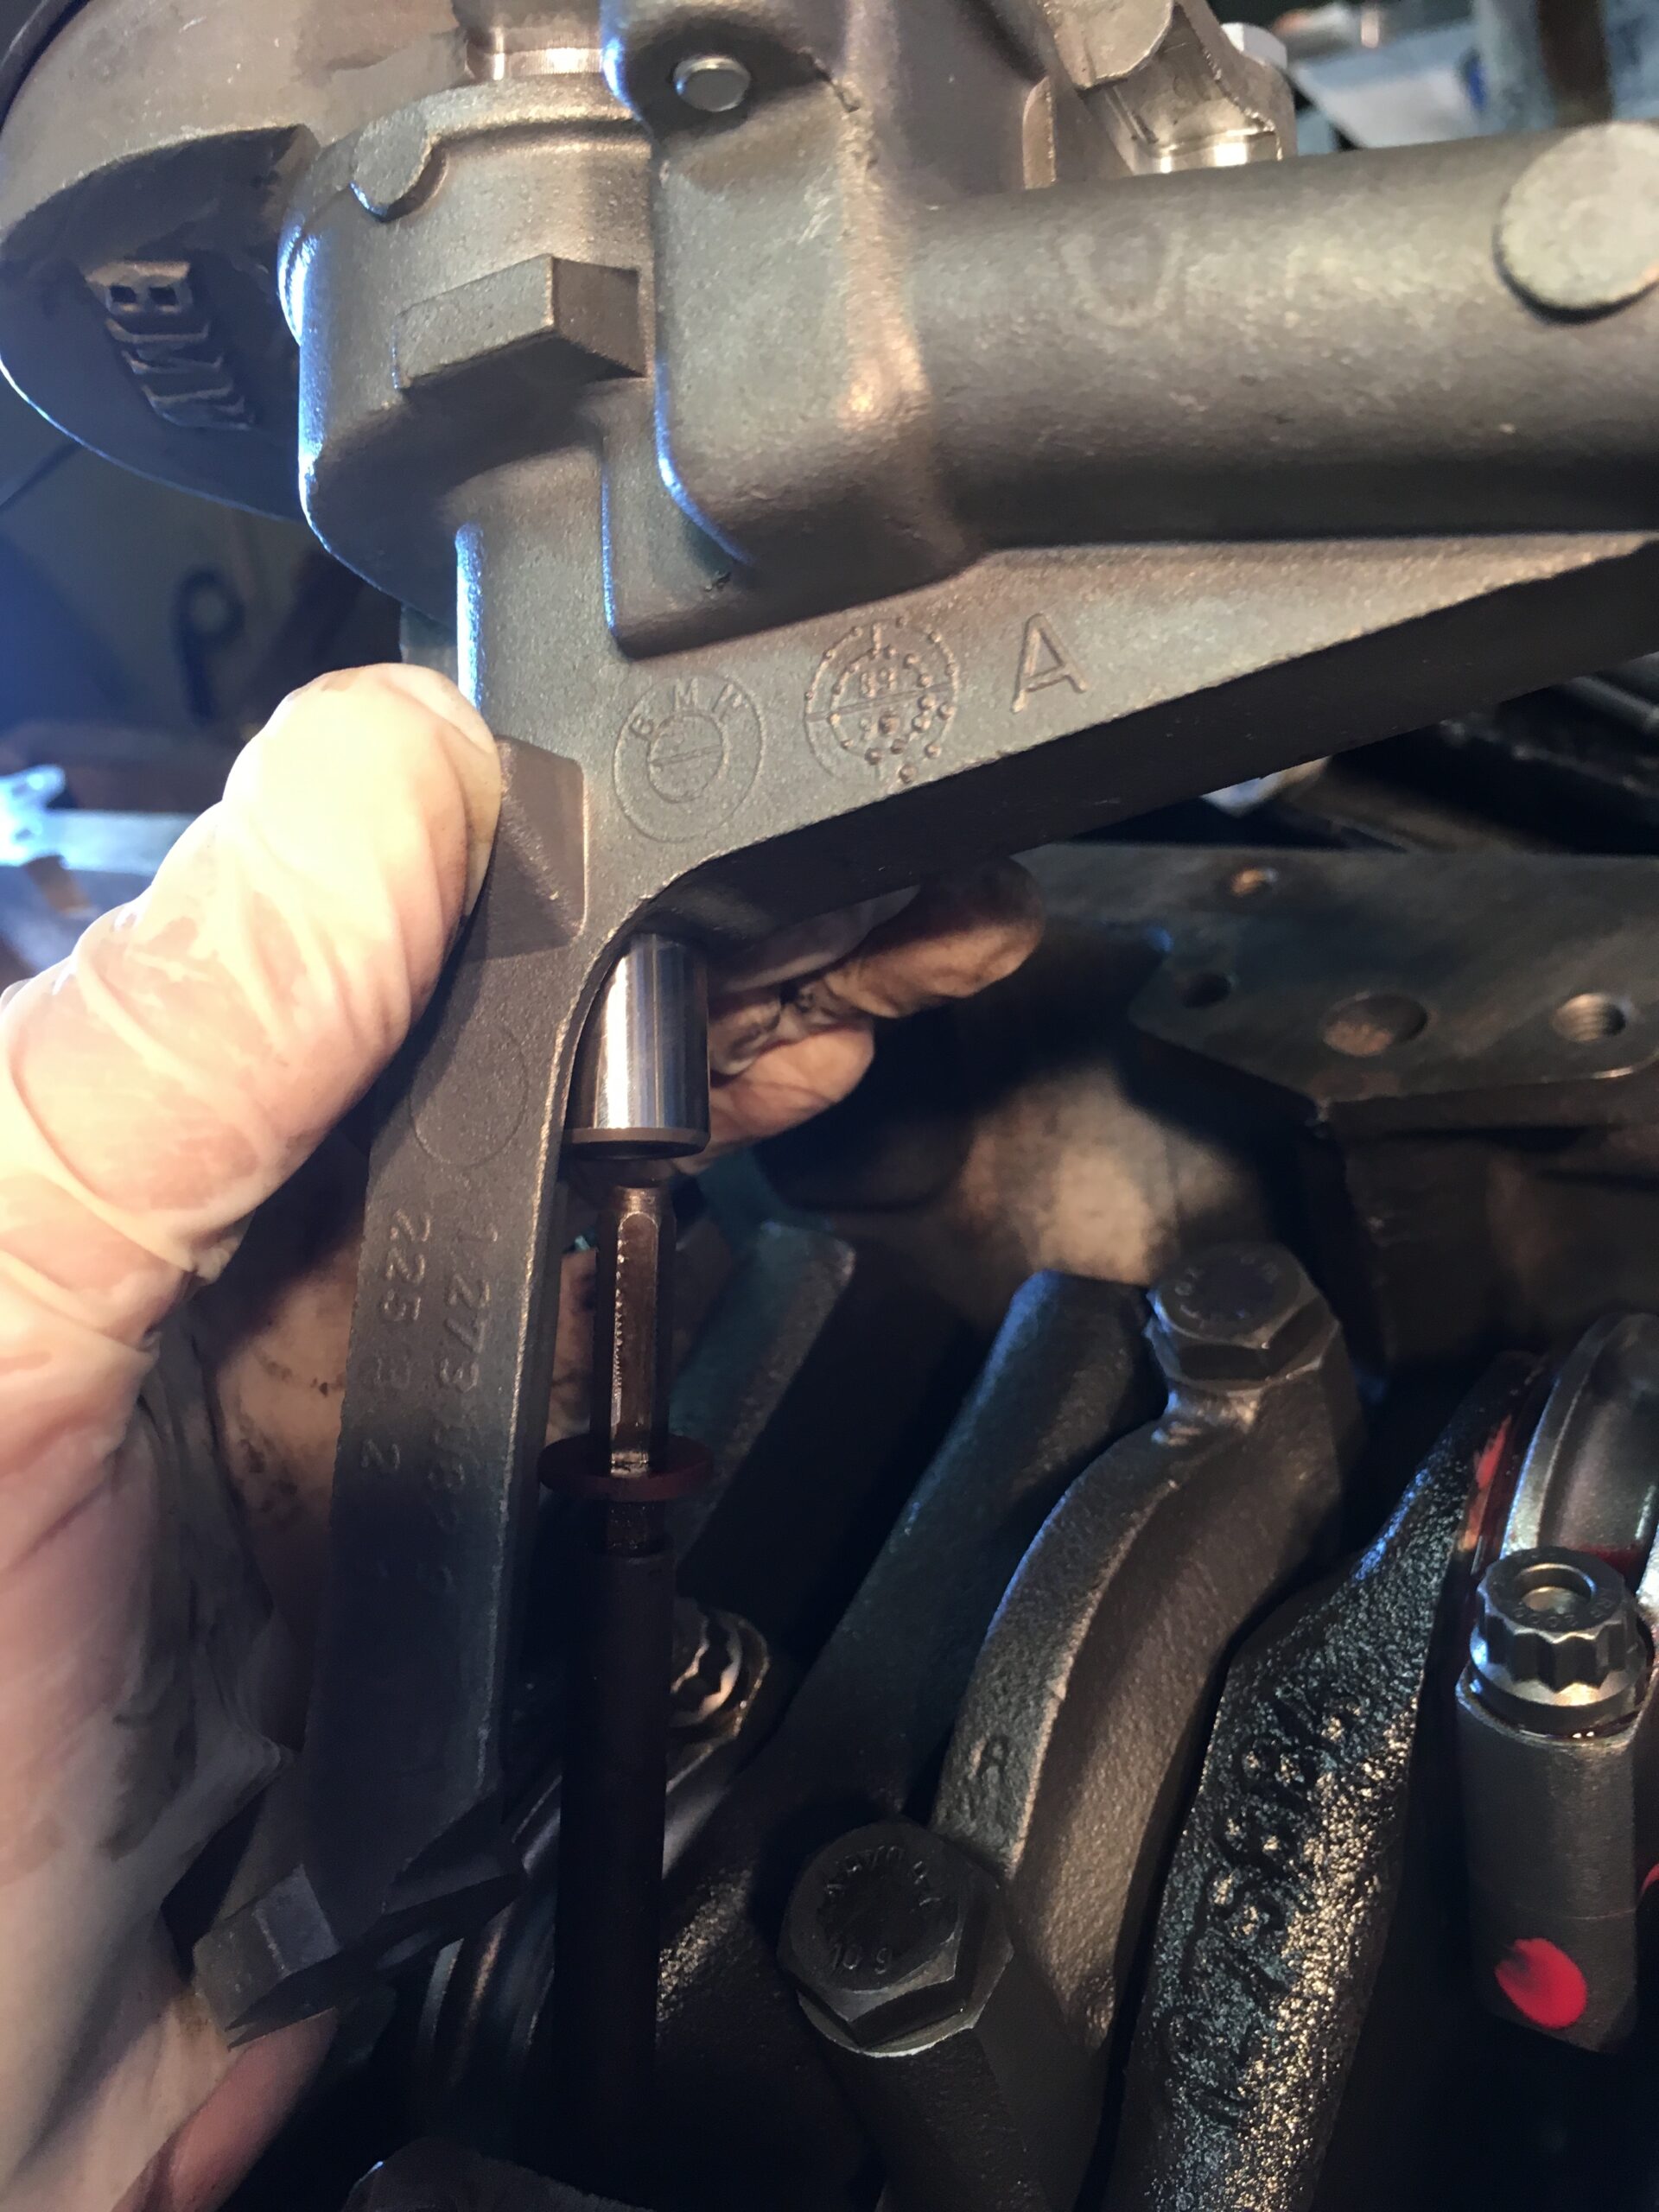
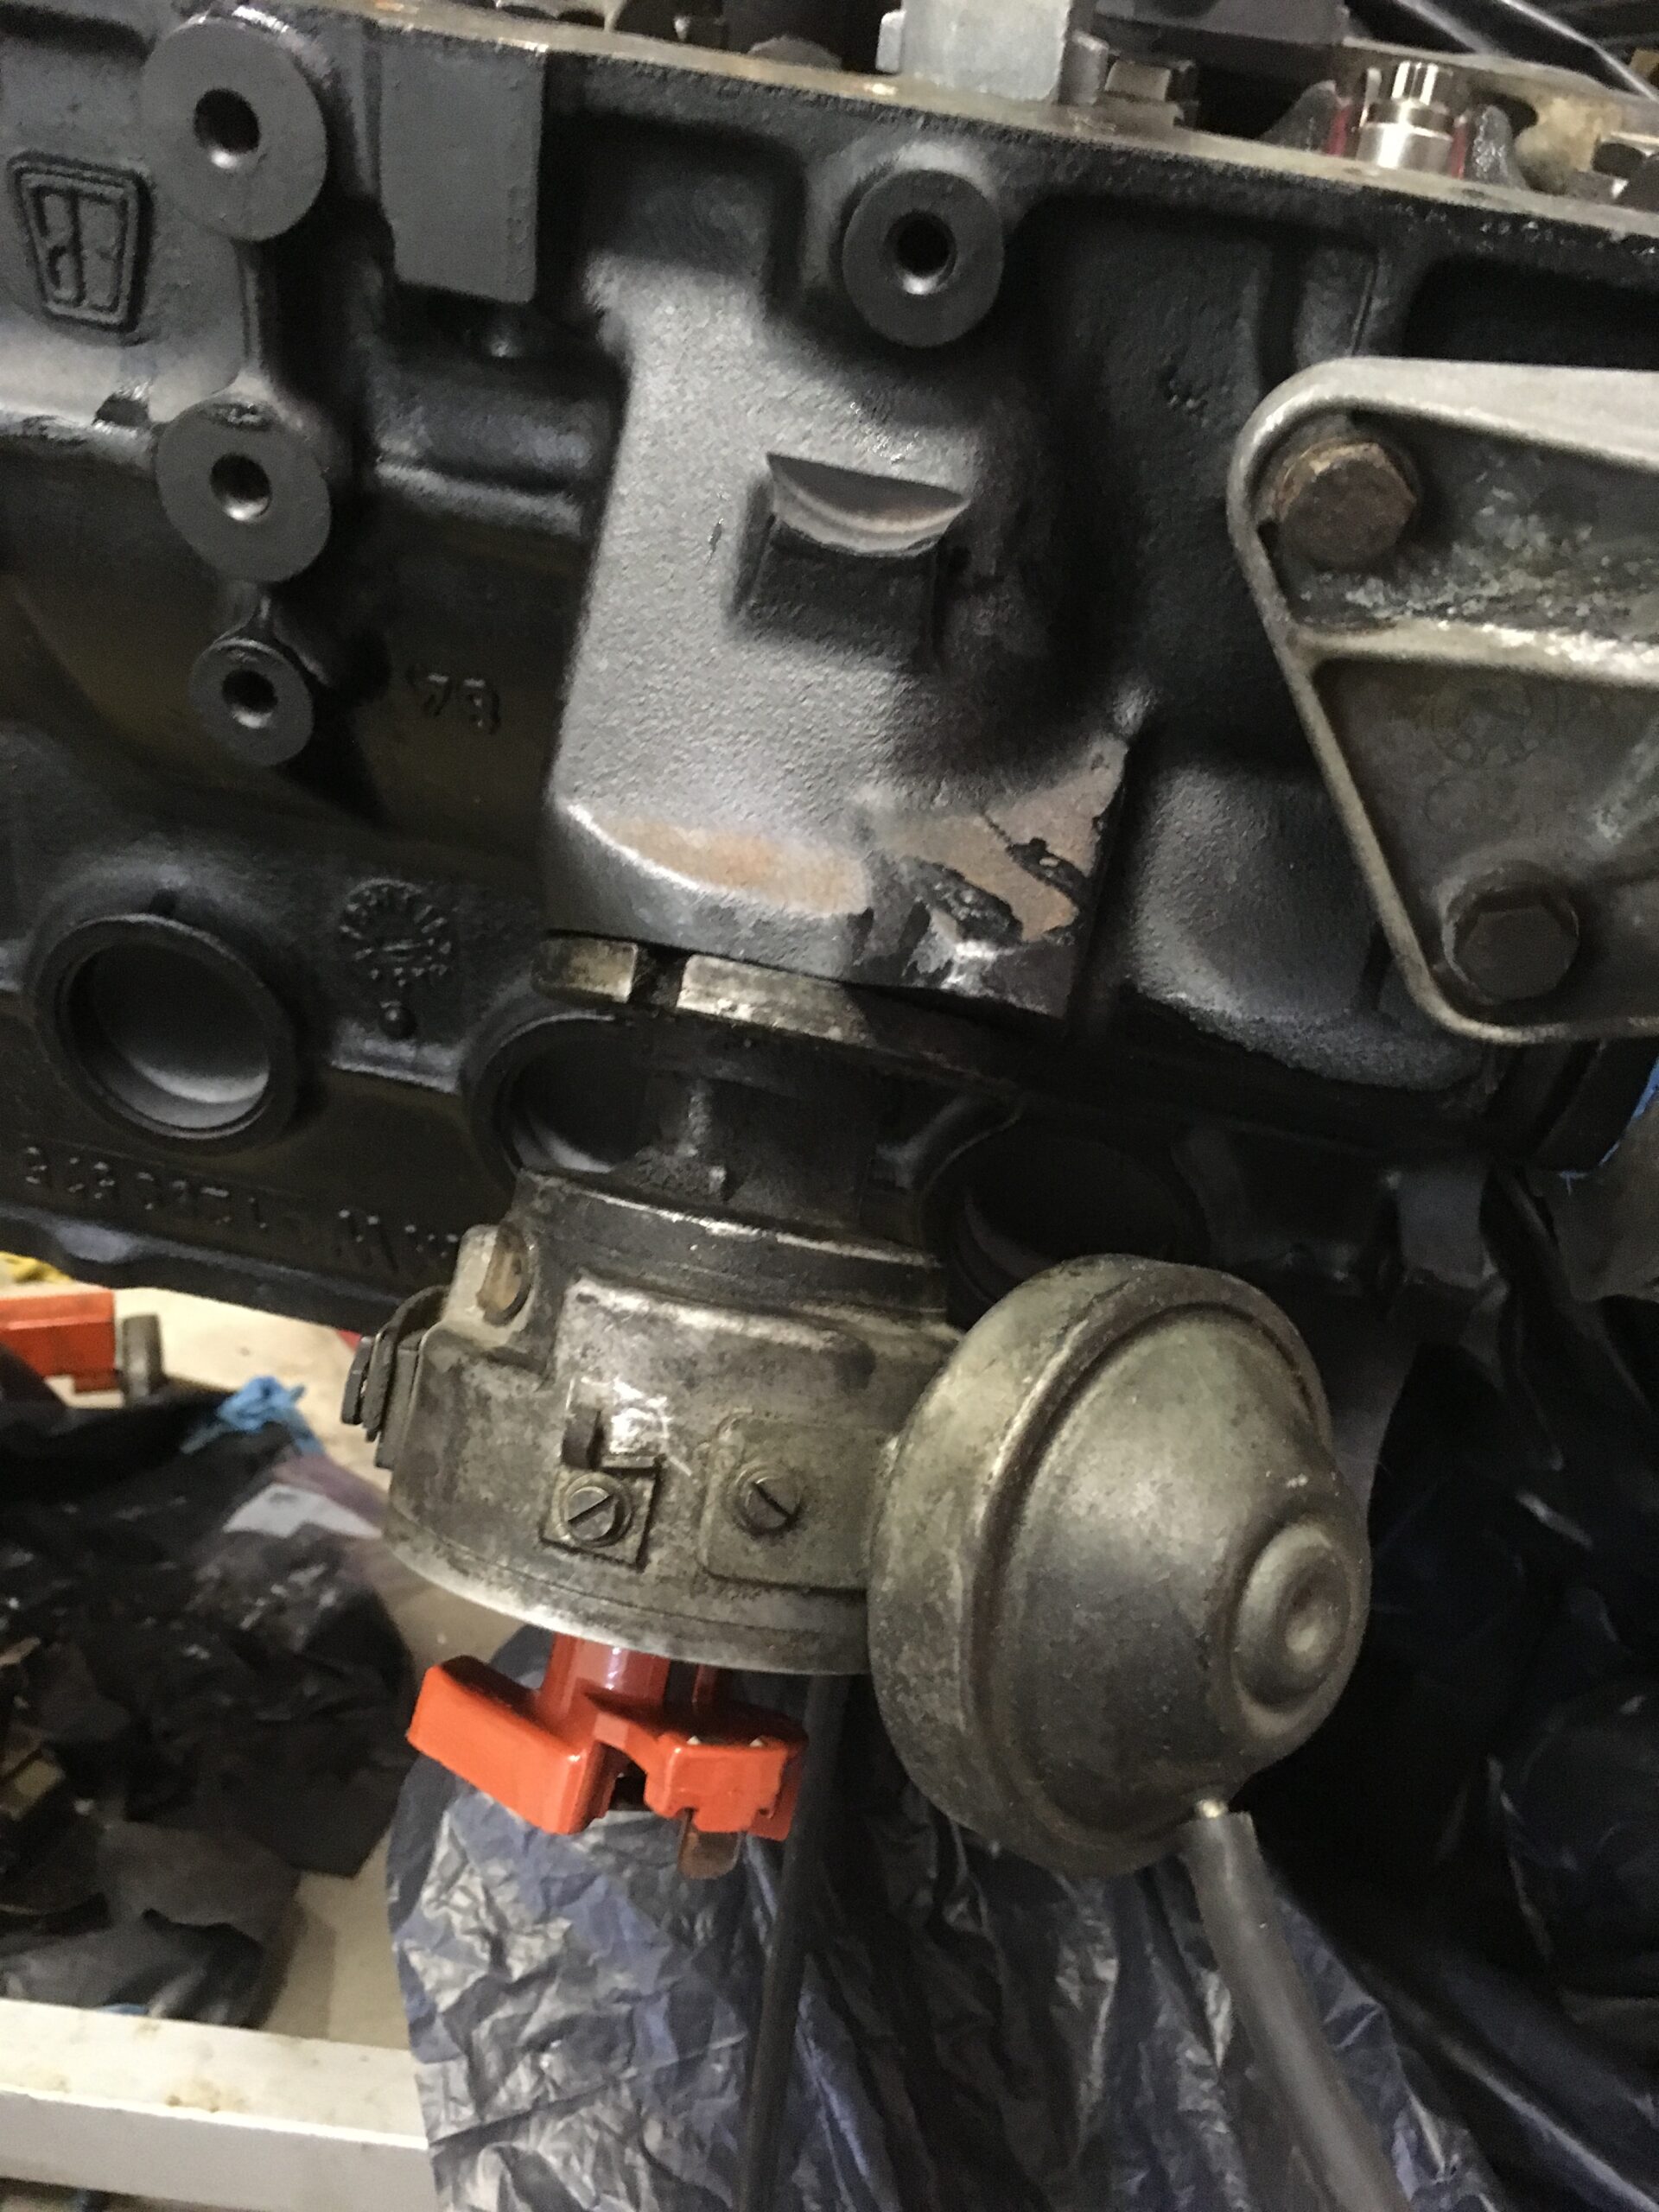
 The distributor went in.
 The head gasket on the block. The head gasket itself is unusual, a metal one that had to be custom made because of the boring out of the block.
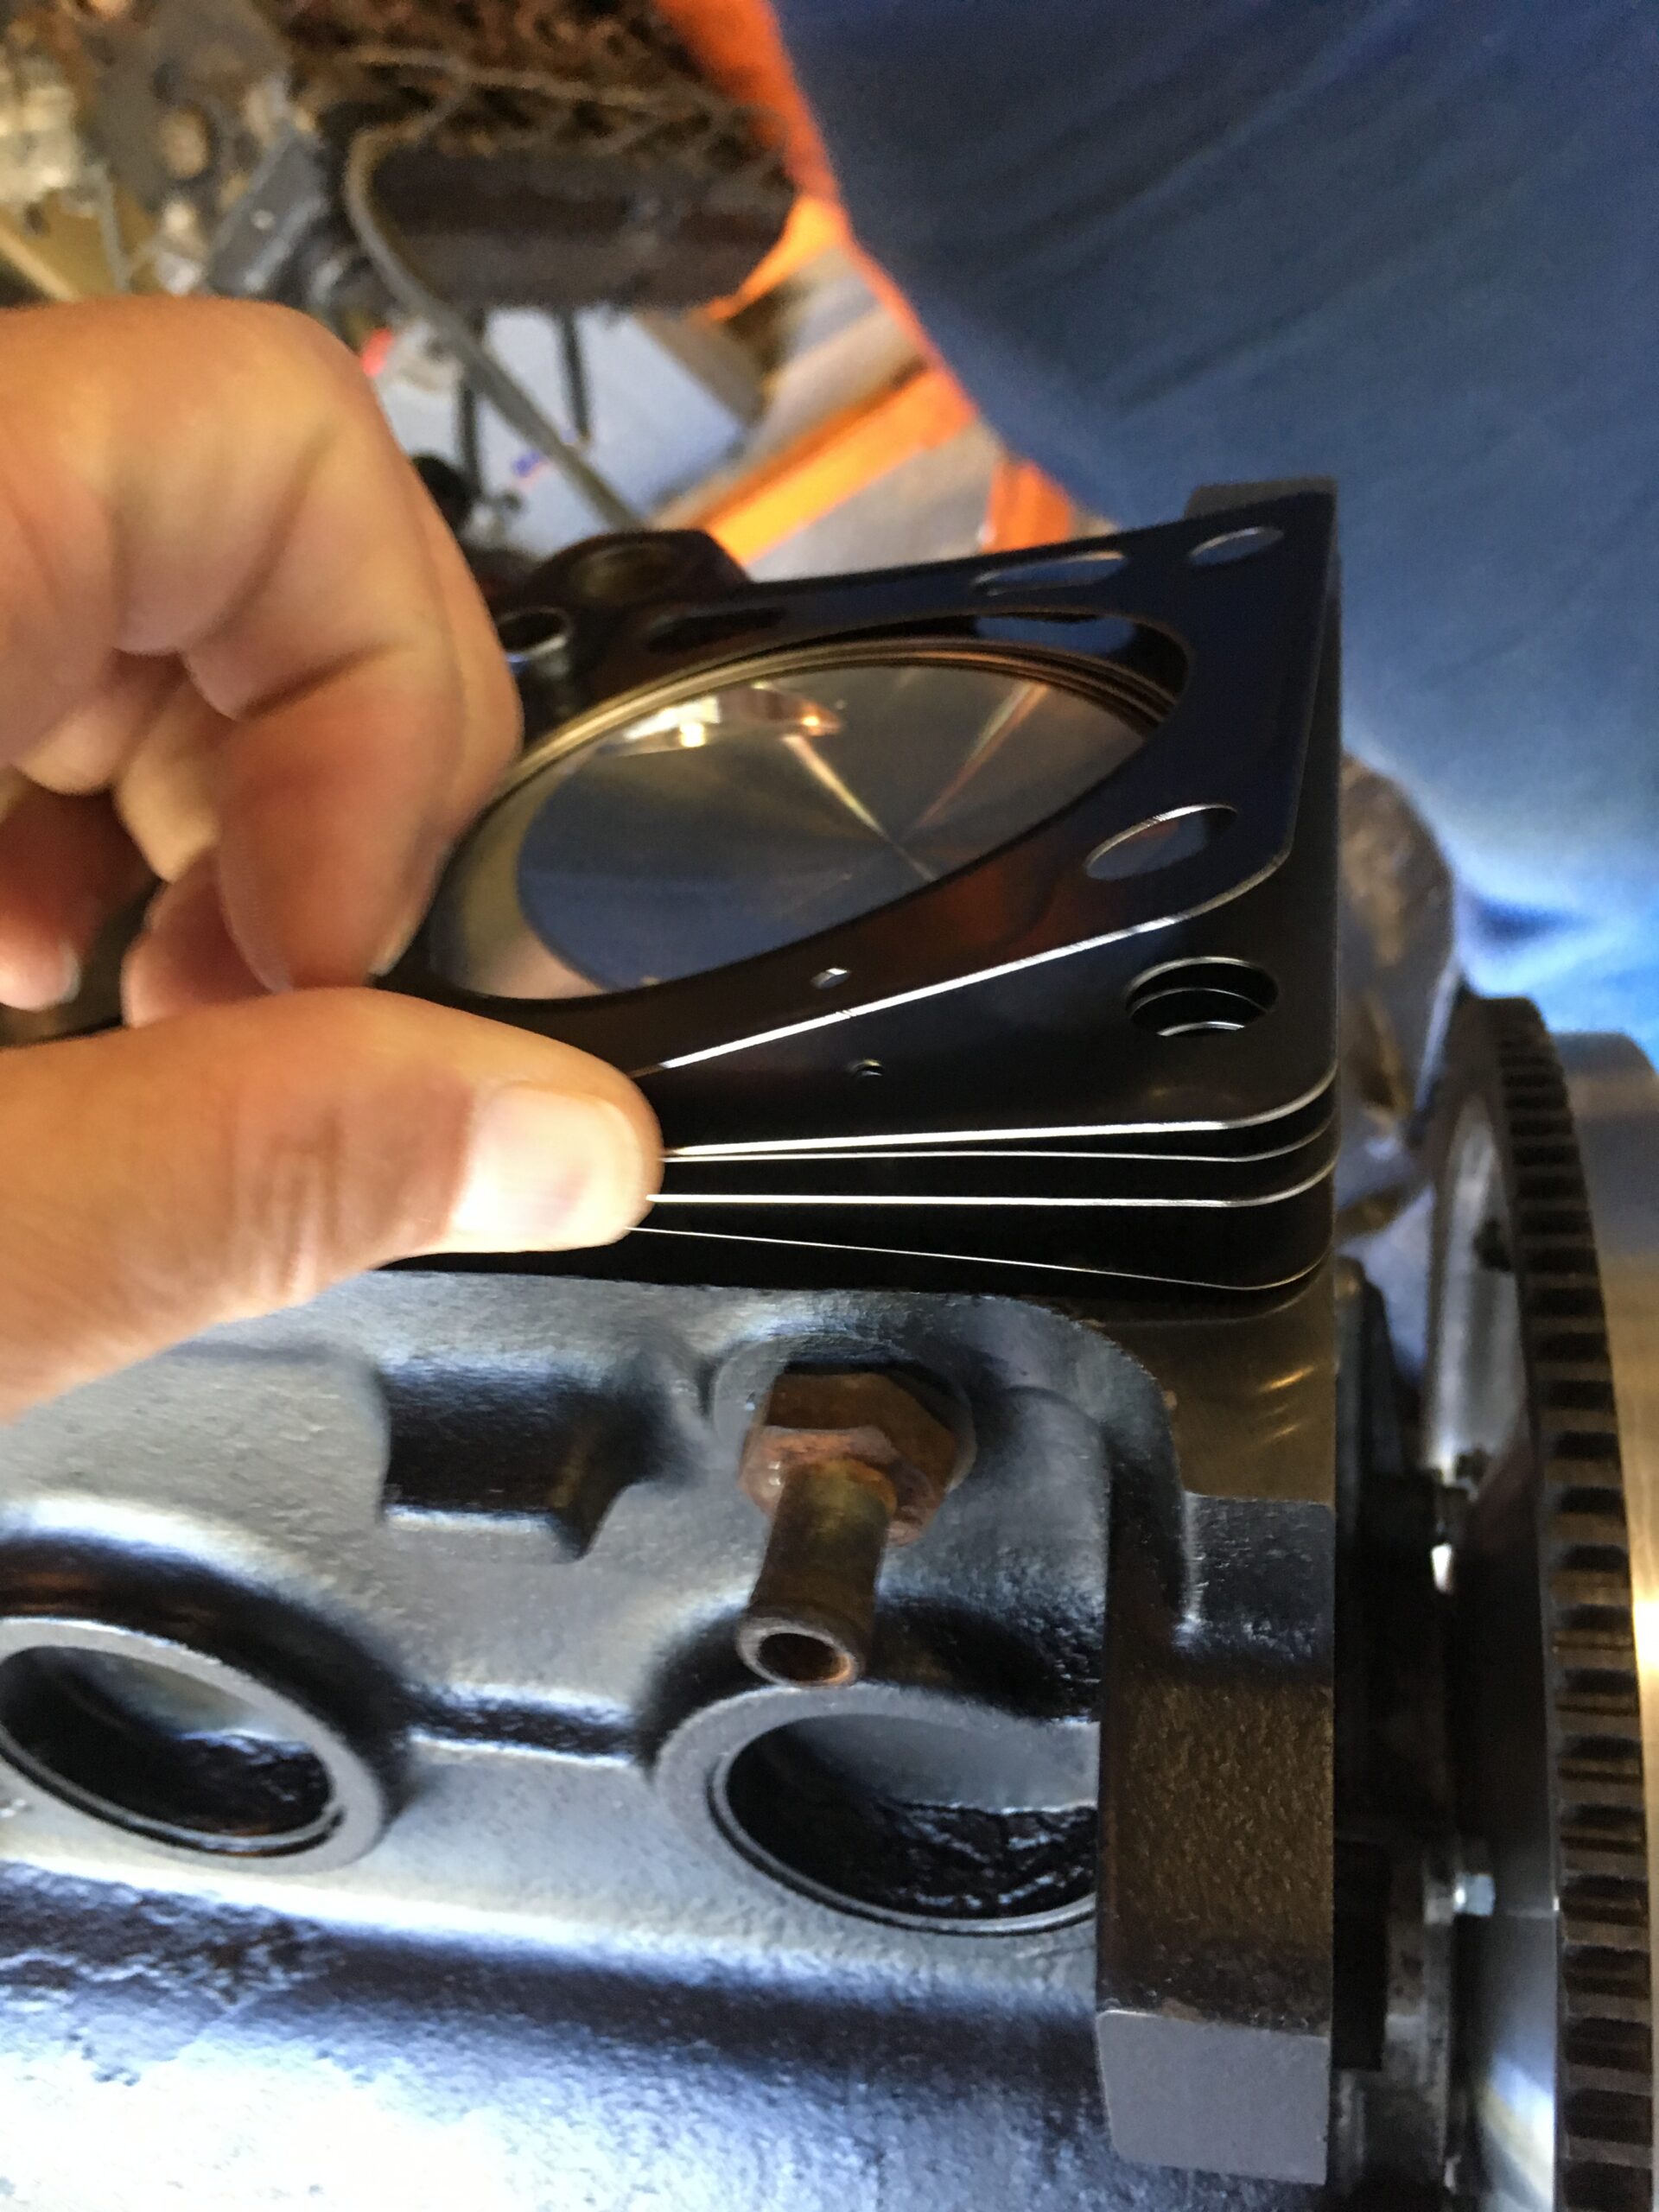 The head on that (thanks Frank for the help).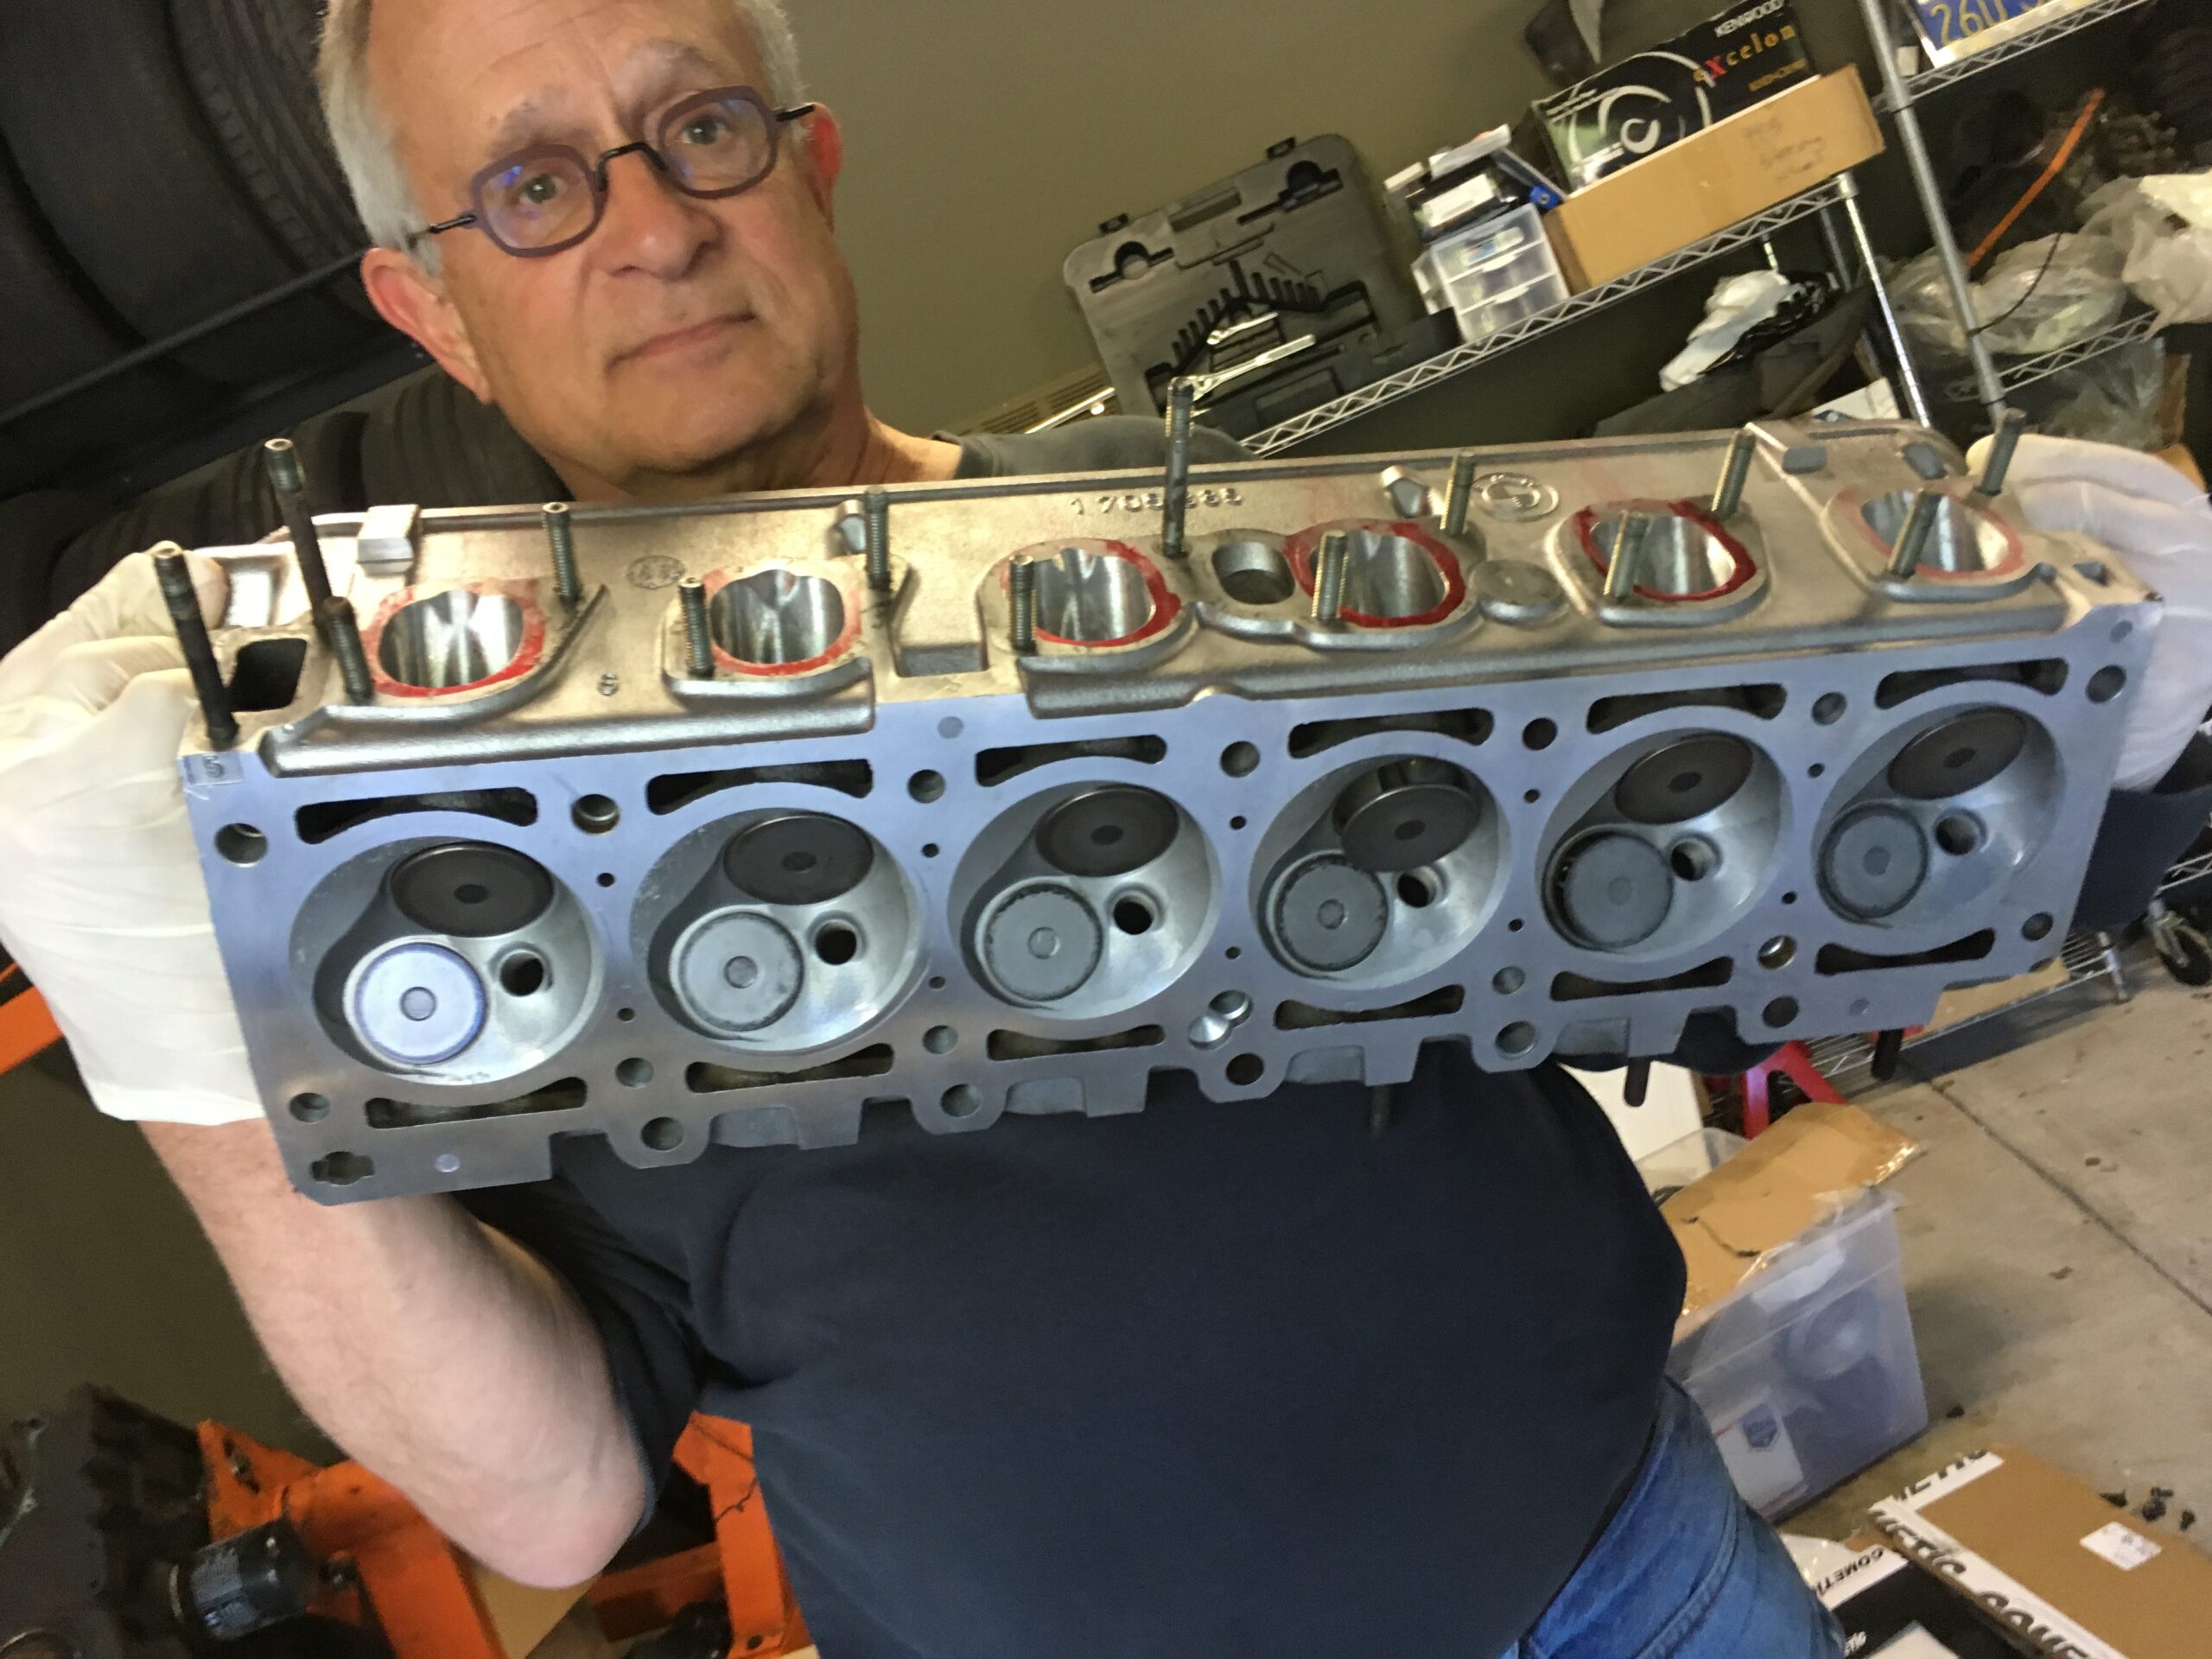
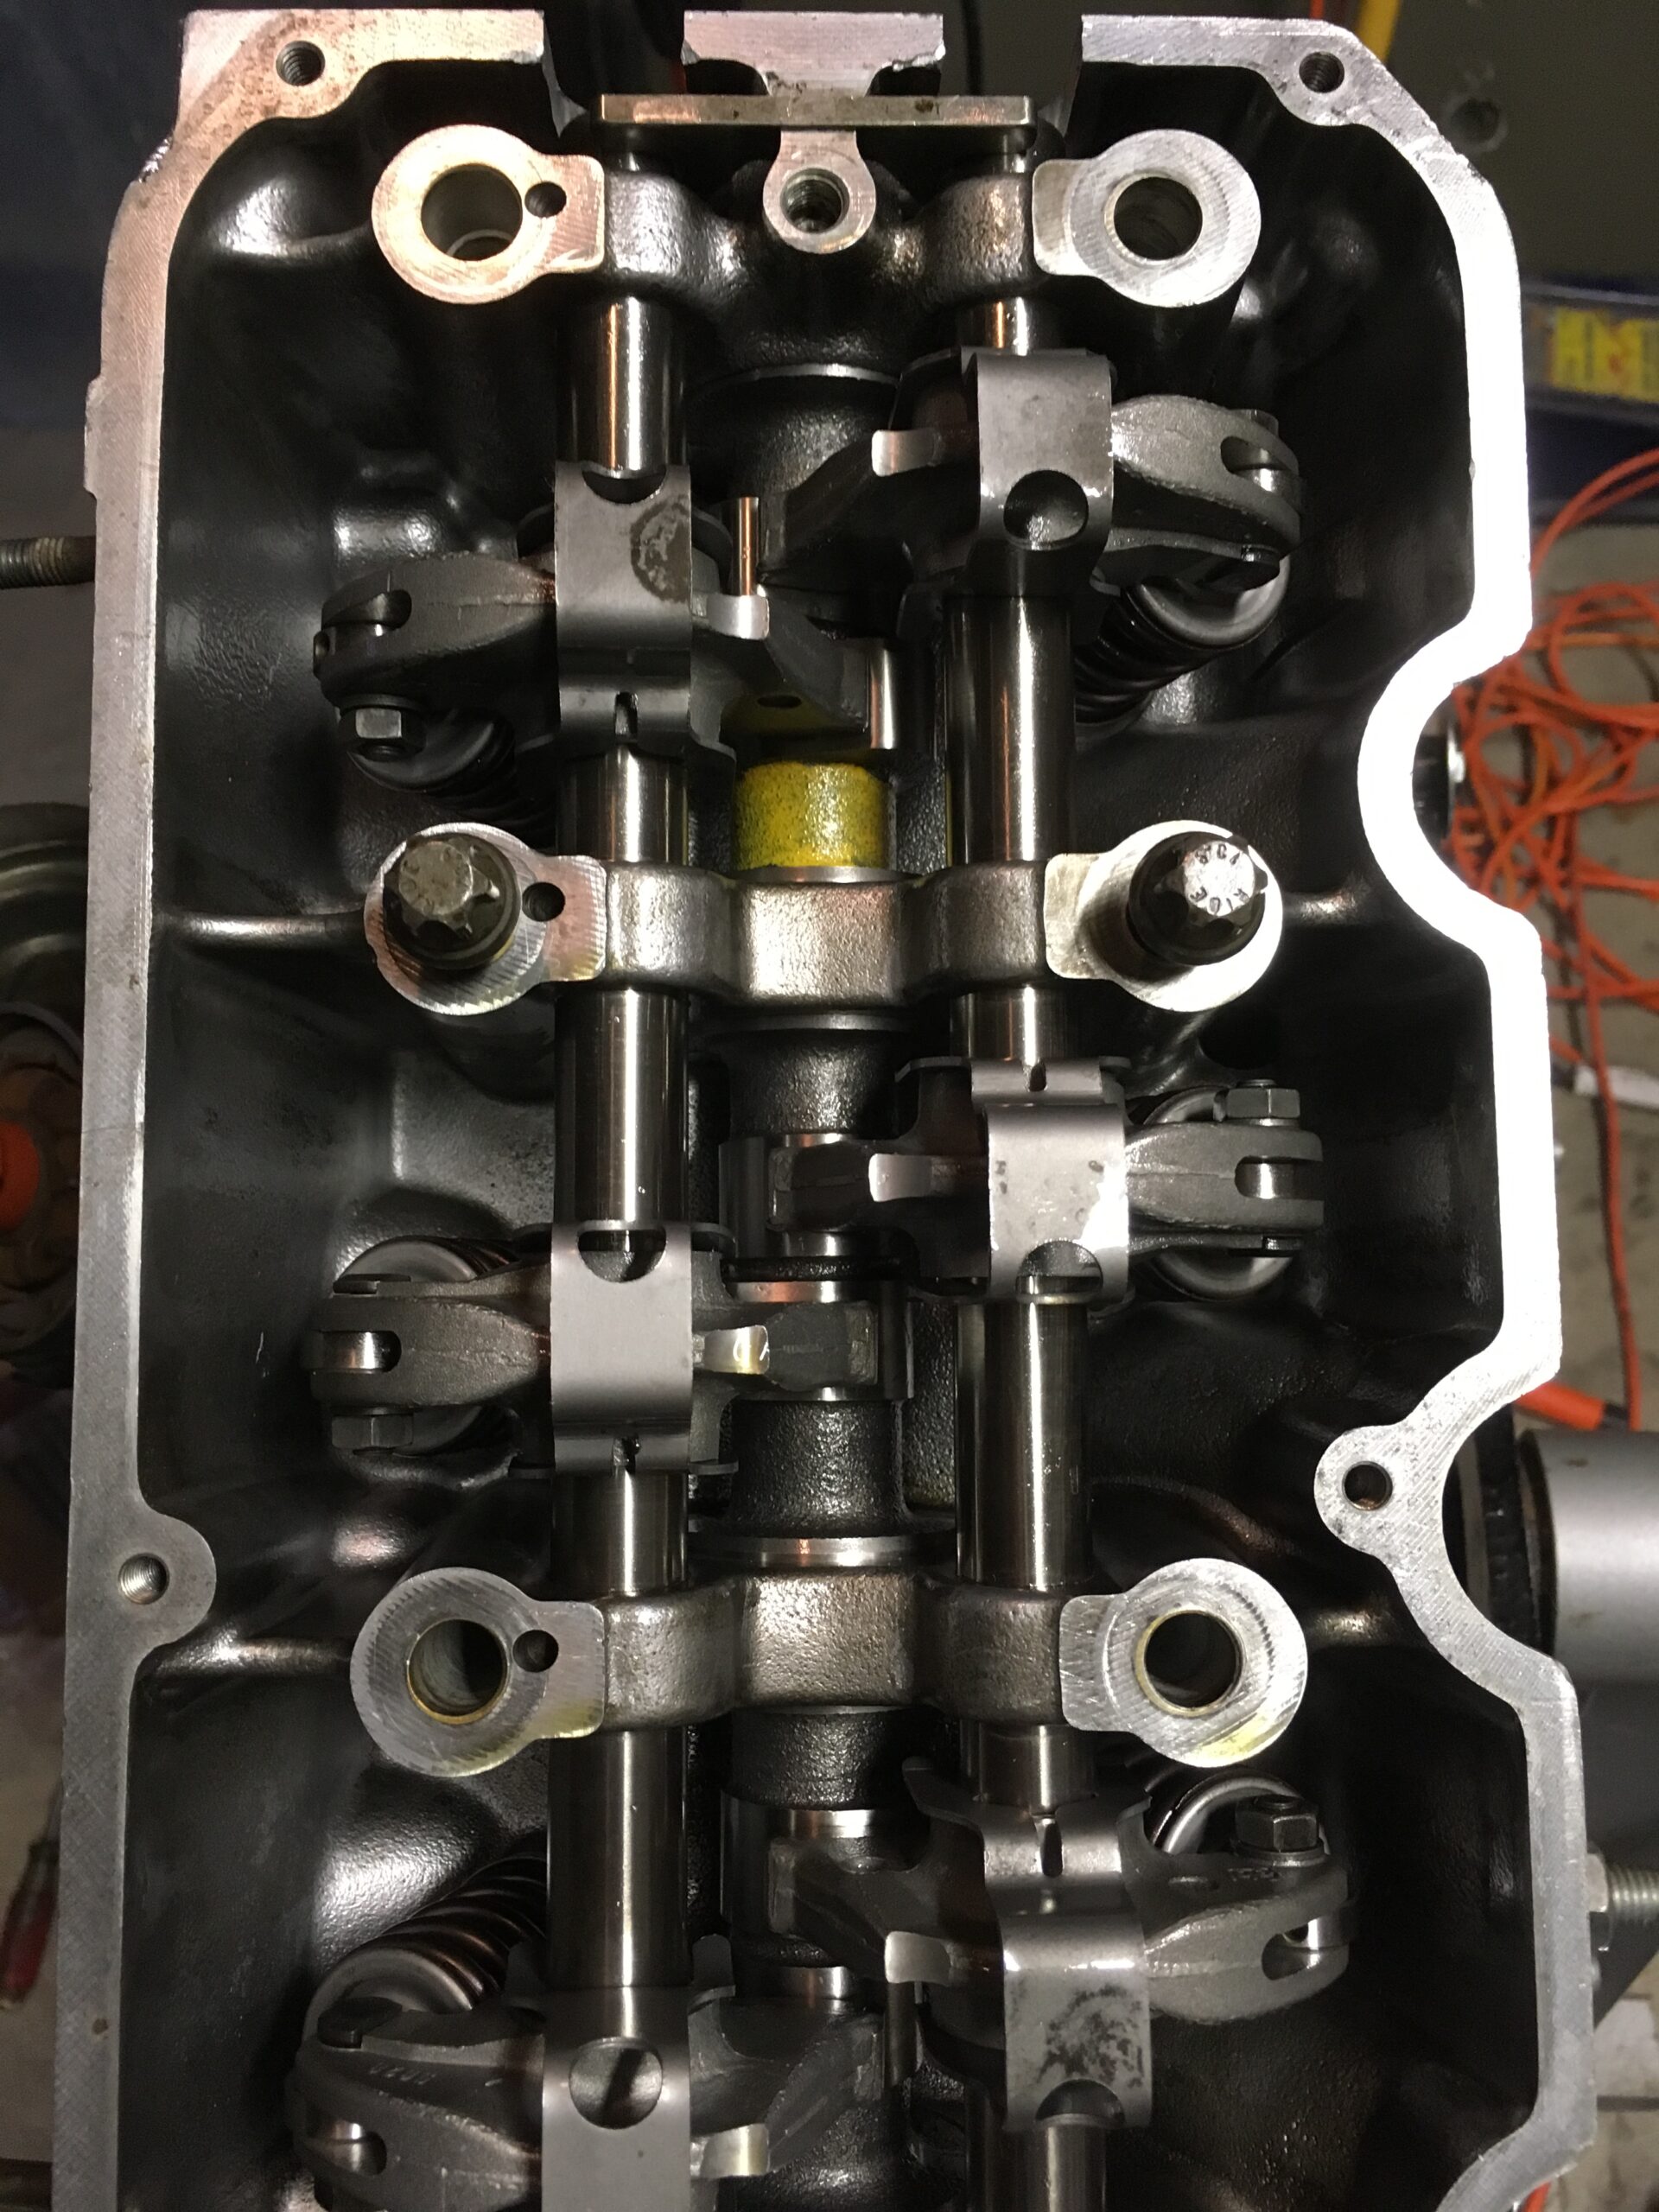
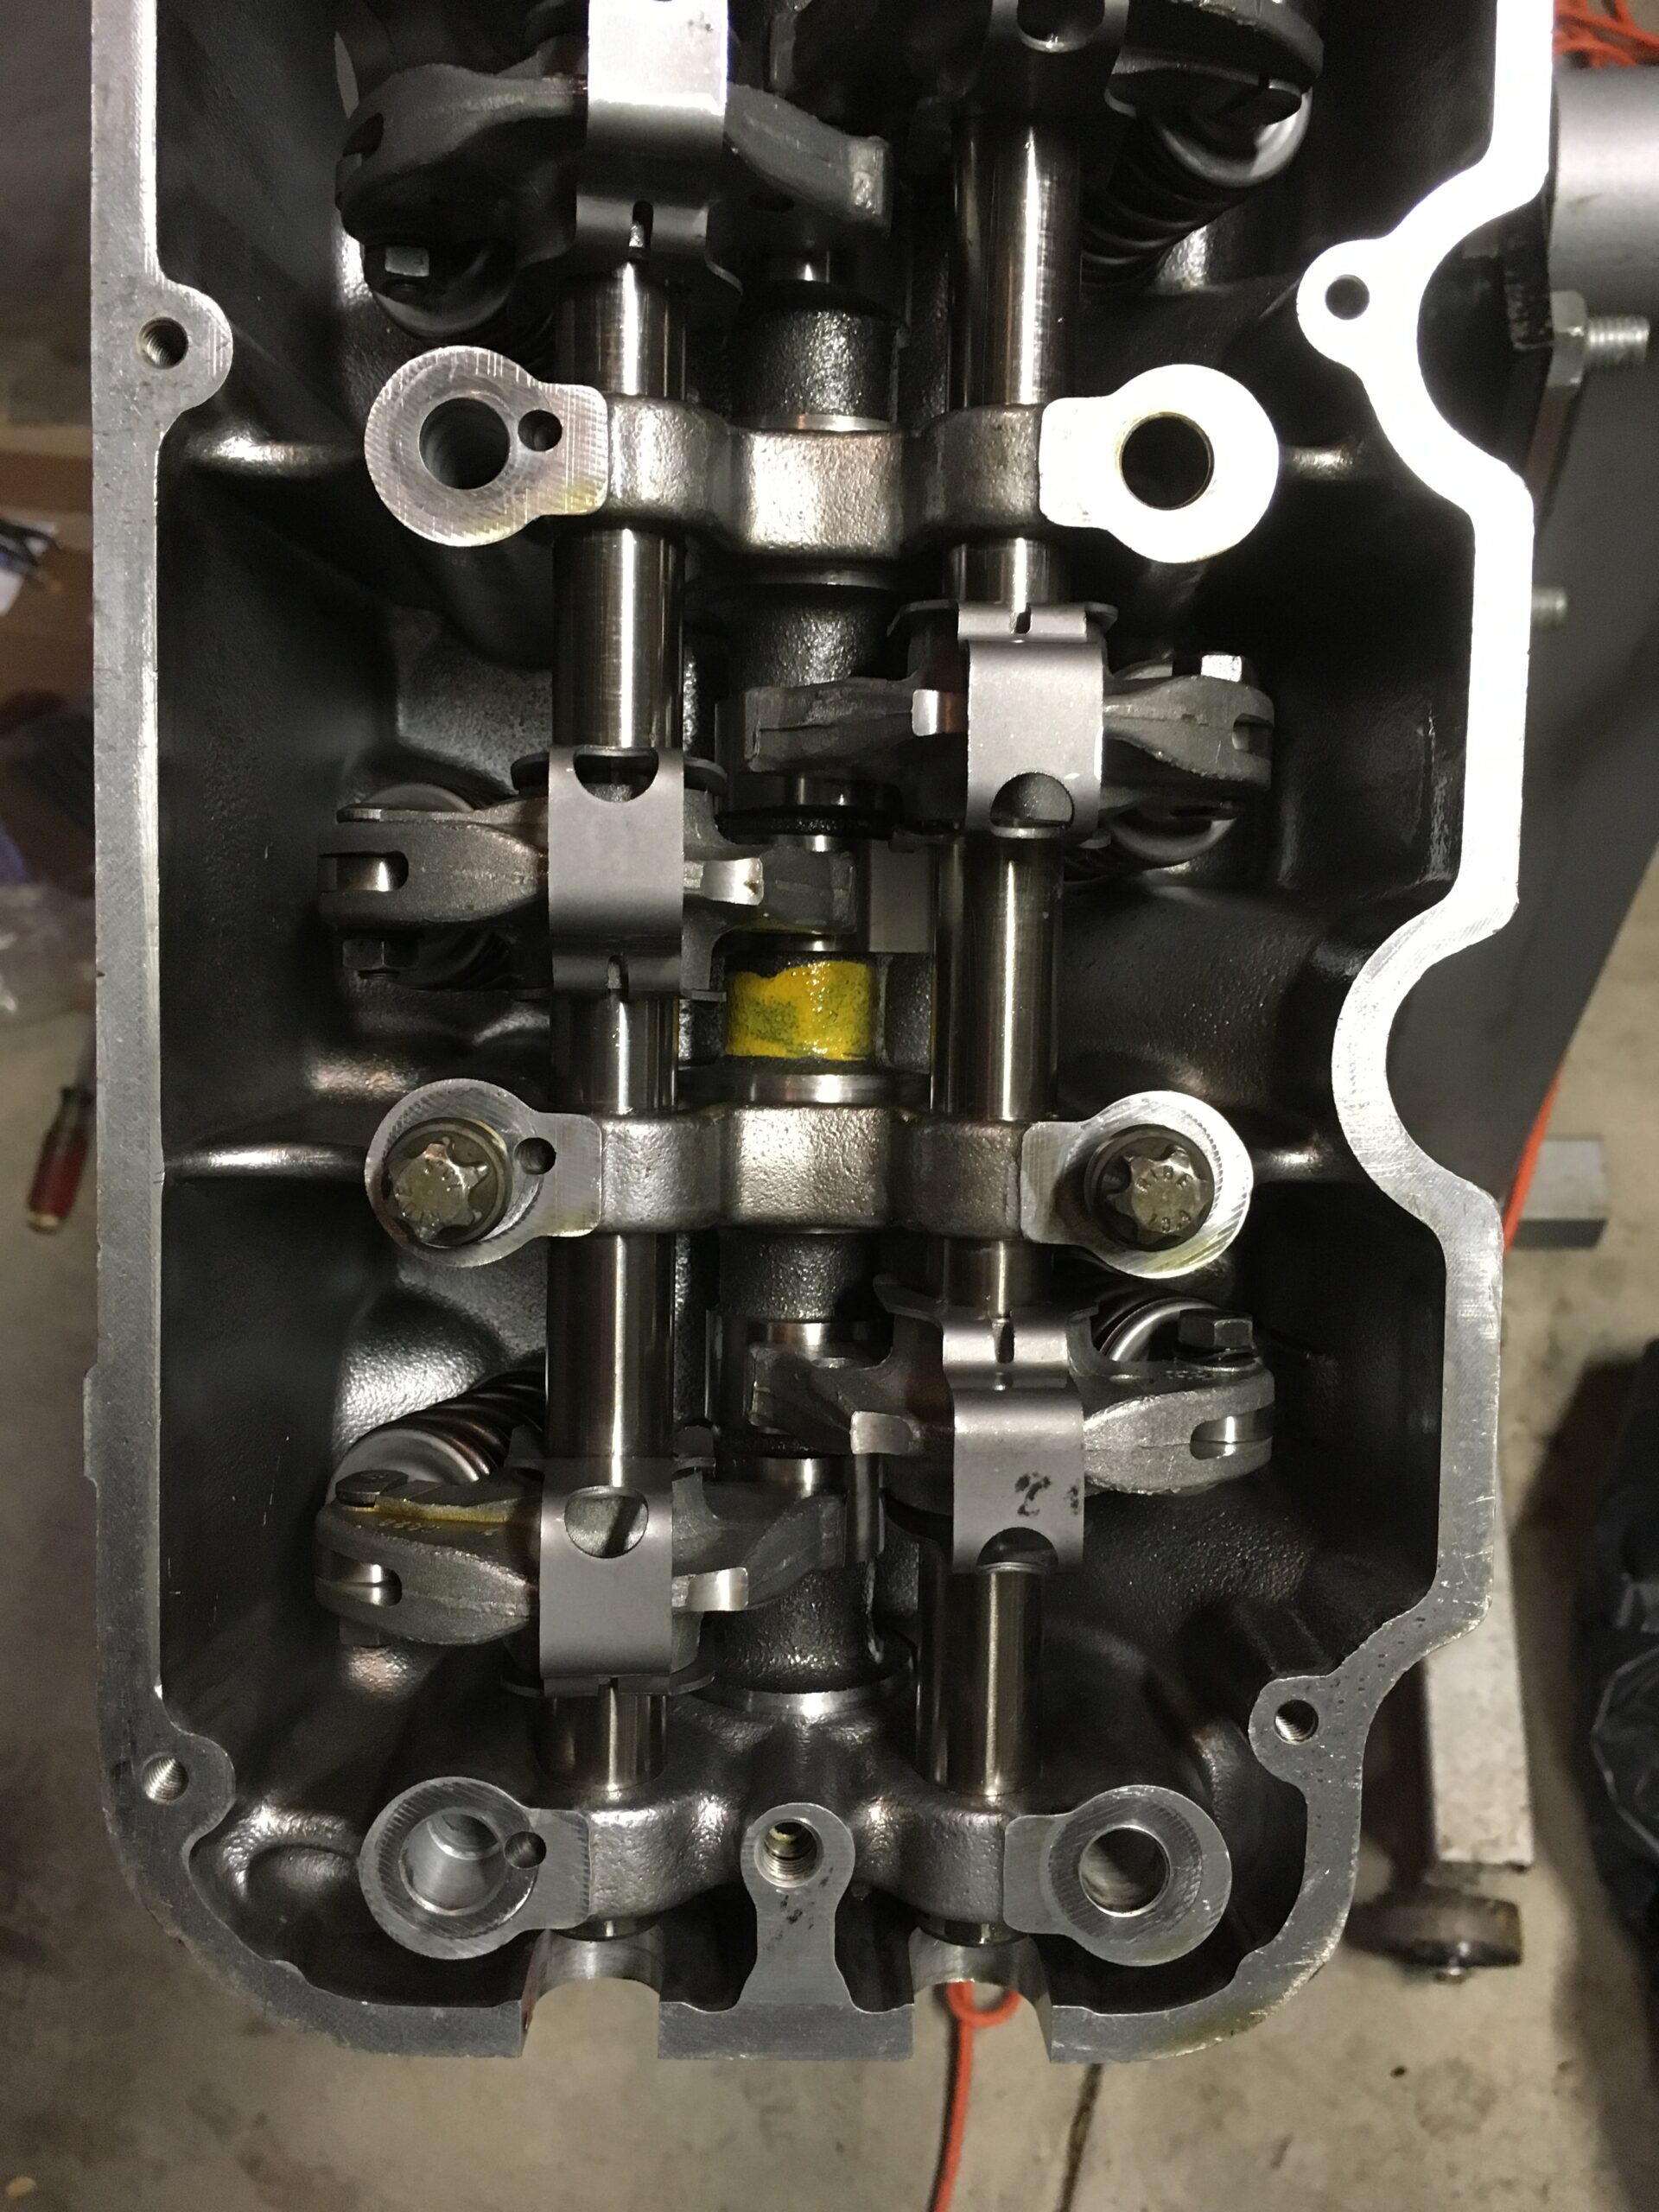
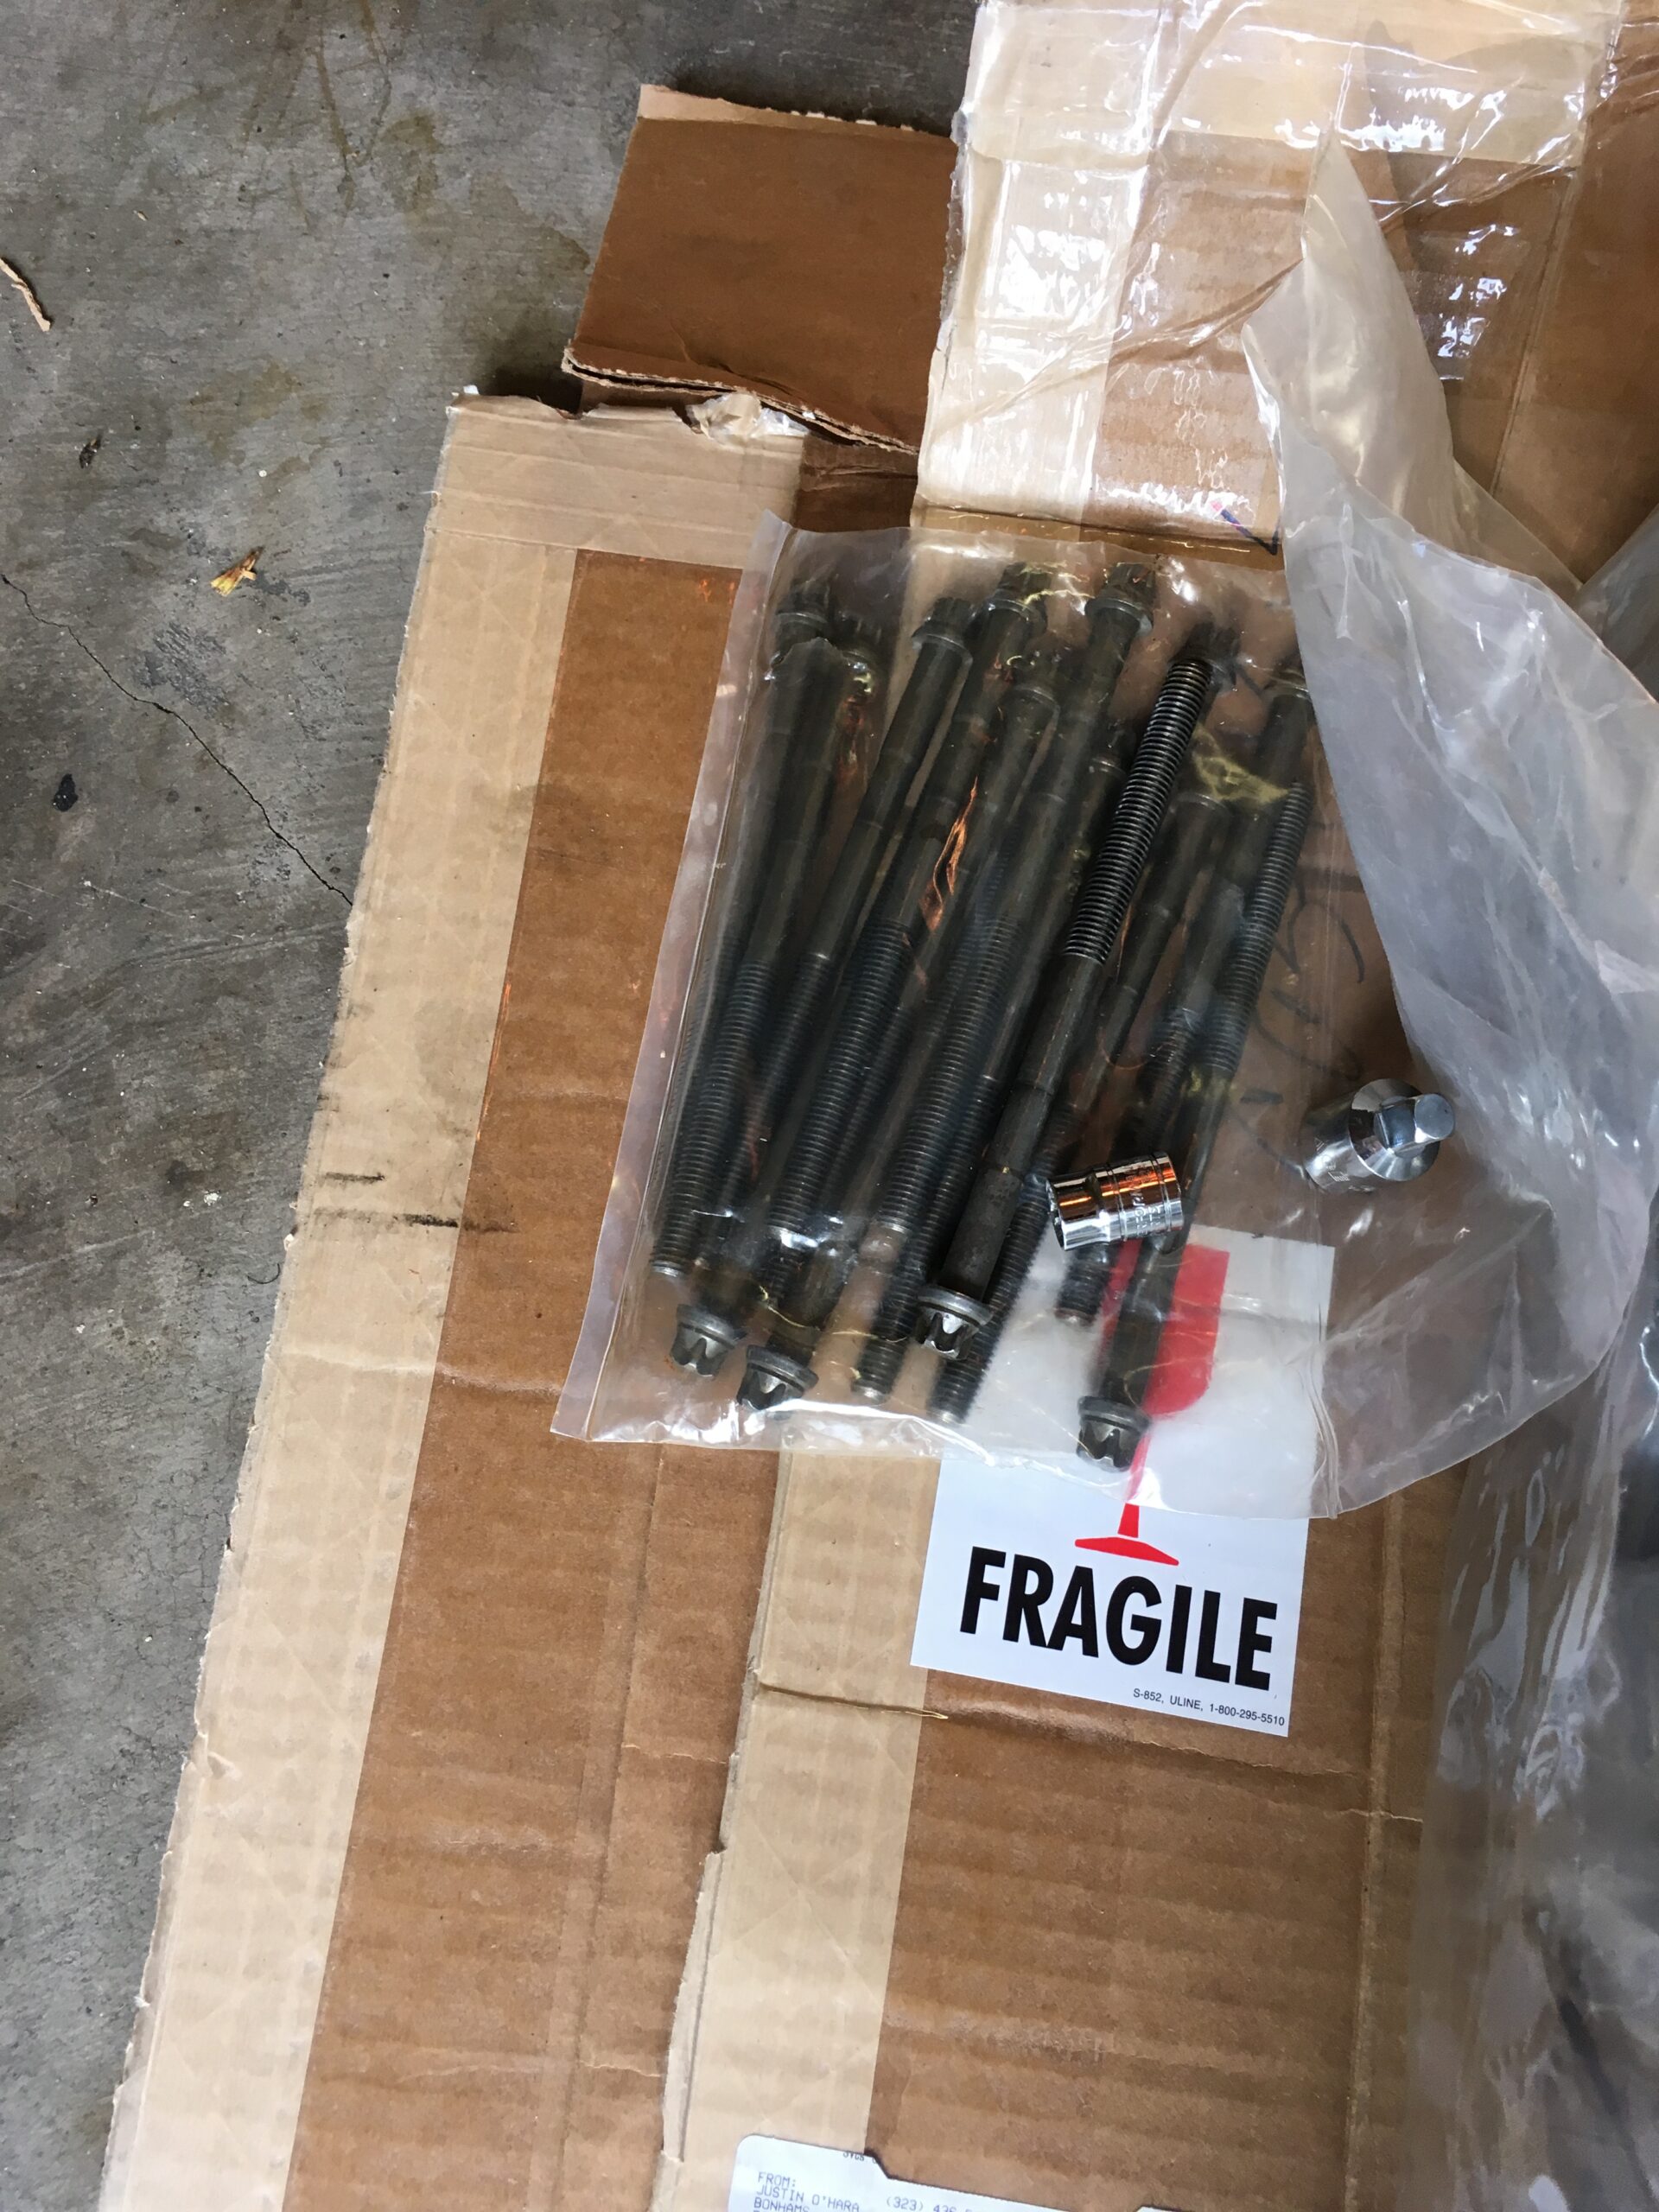
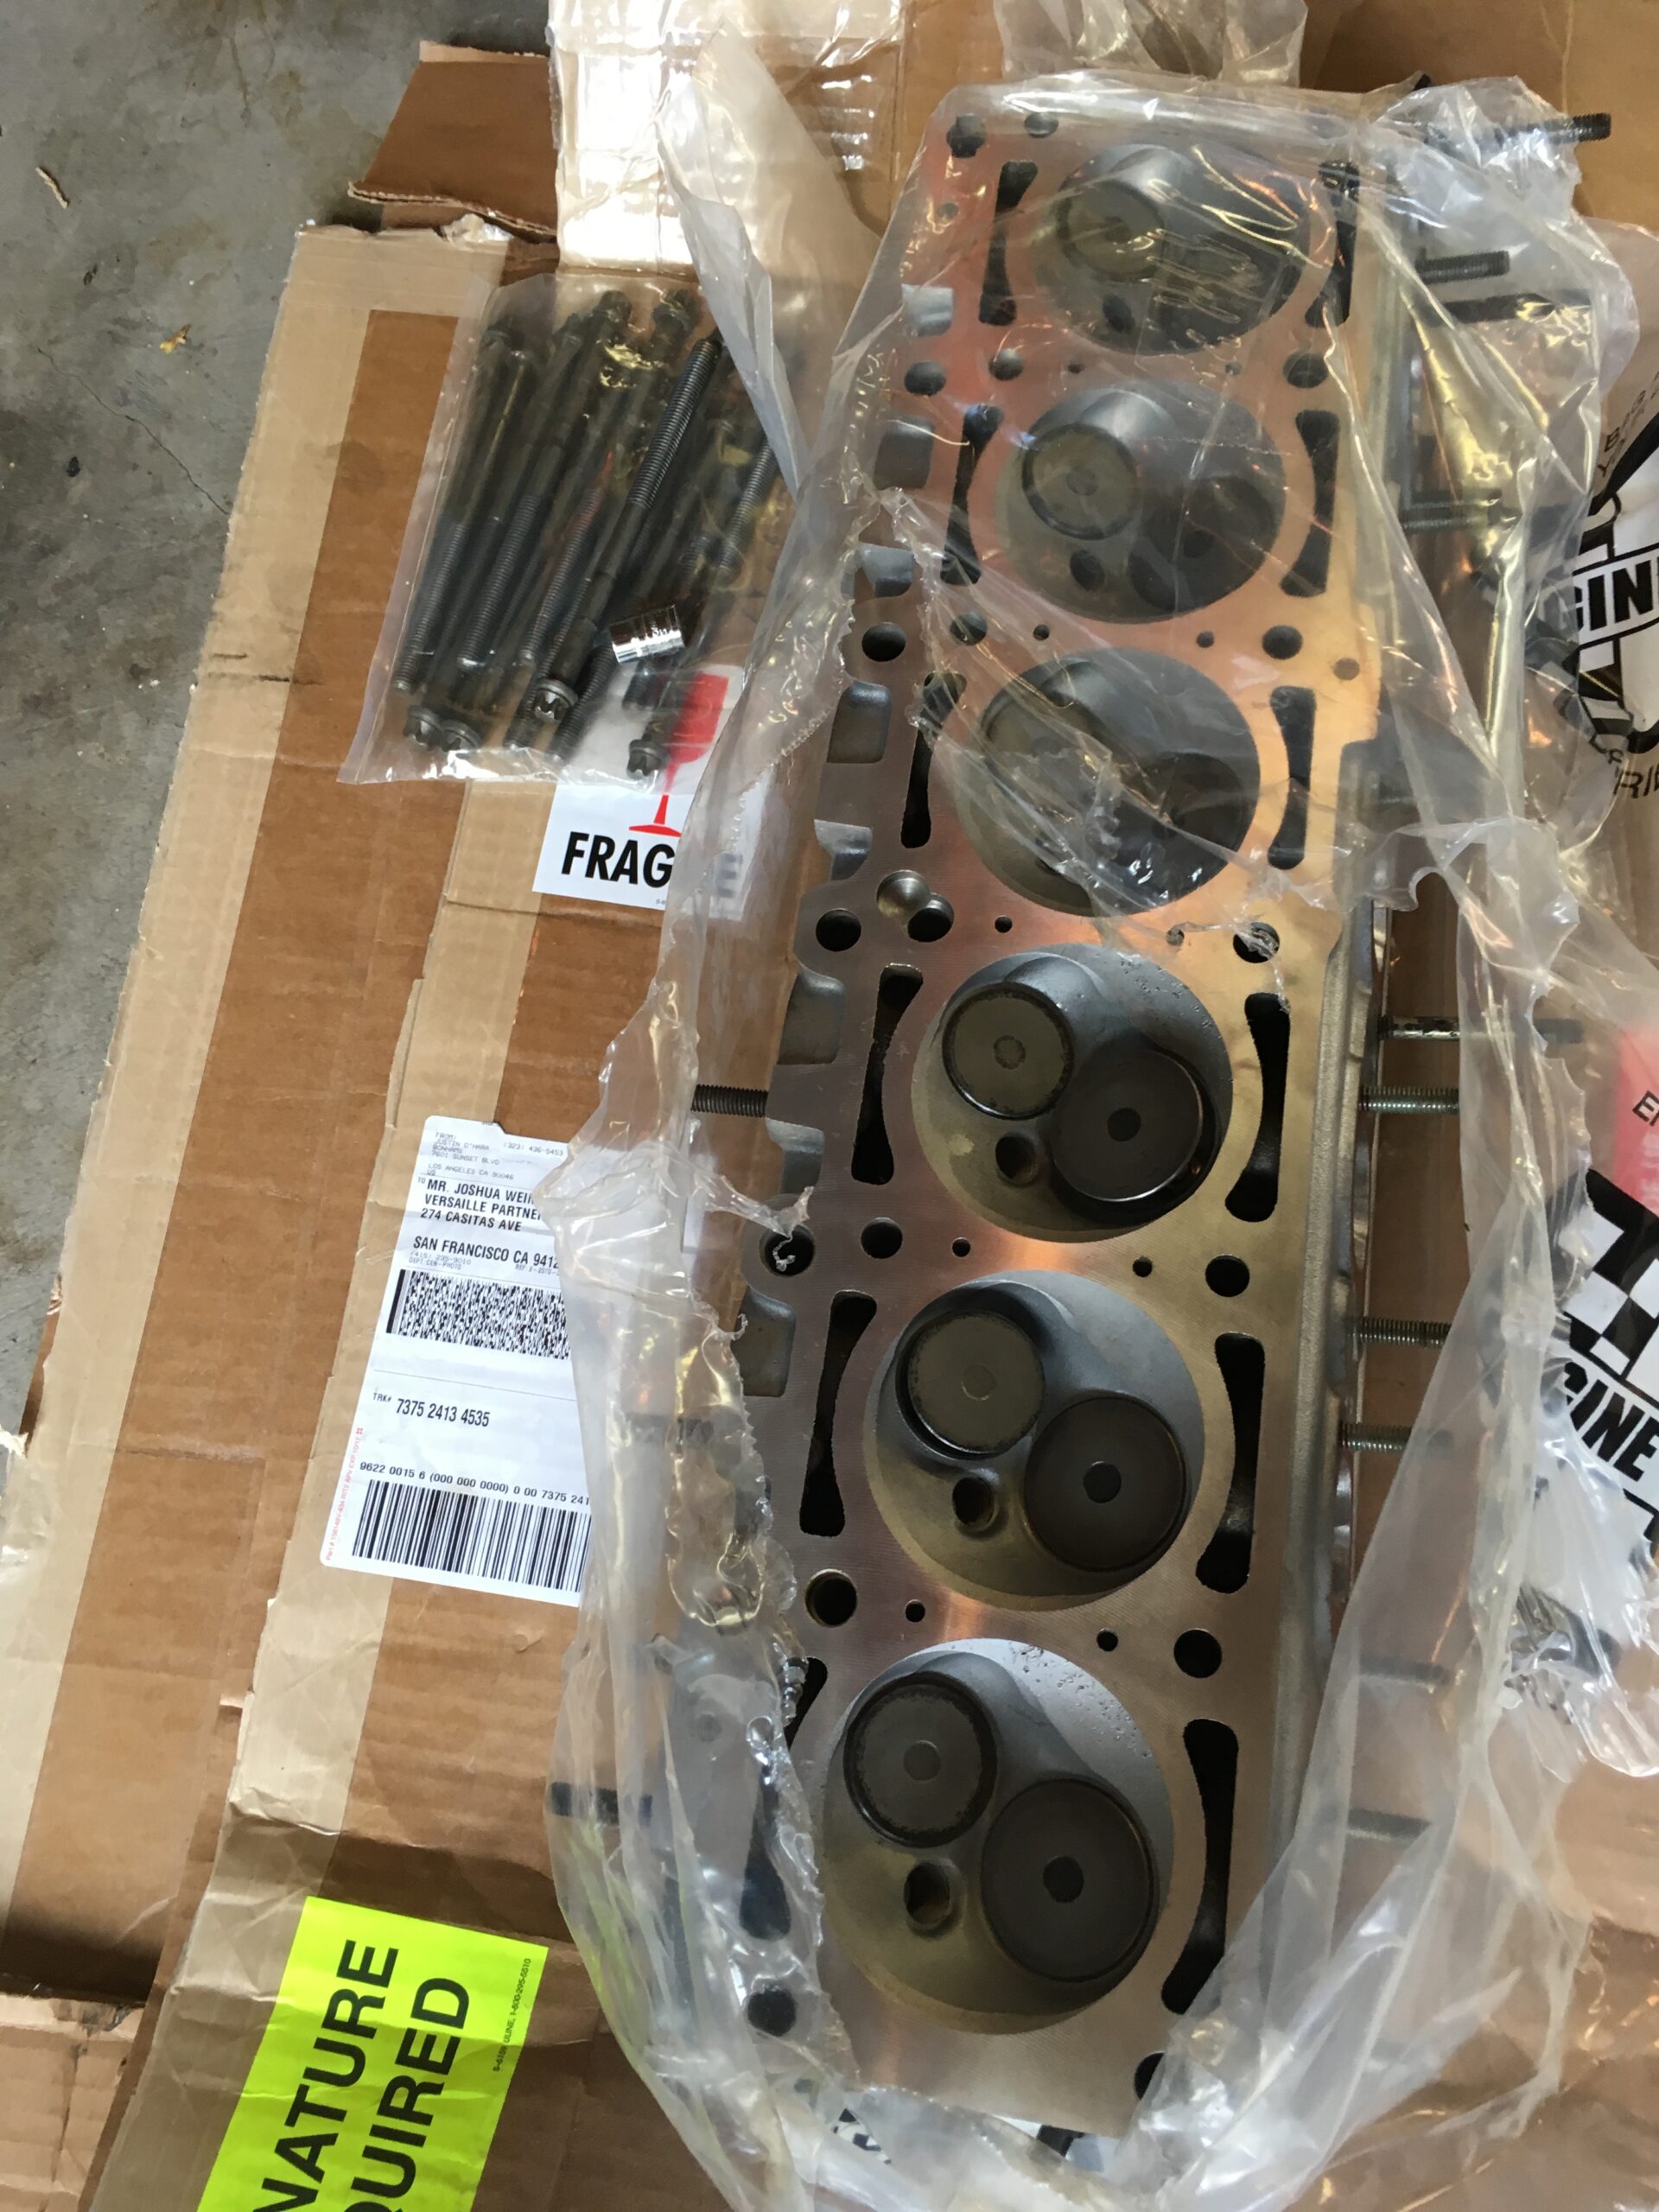 But, wait, where are the washers for the head bolts? Nowhere – not ordered. Another delay. Calls to the local BMW dealers showed none in Northern California, so another parts order and another delay.