Slowly, the bottom end progresses
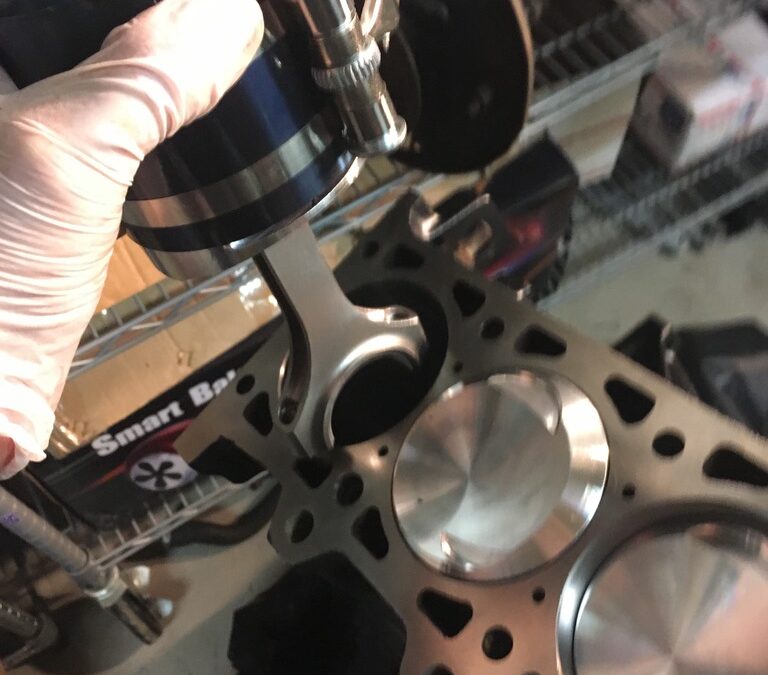
With the crank in the block and the pistons and rods assembled, next was putting them into the cylinders.
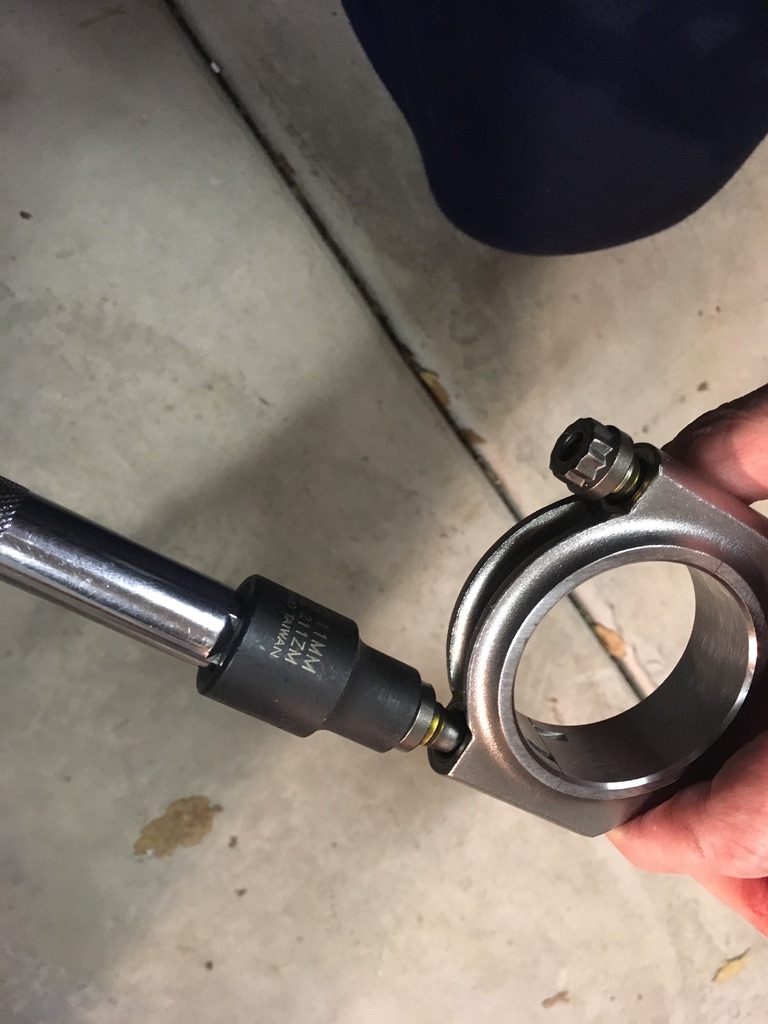
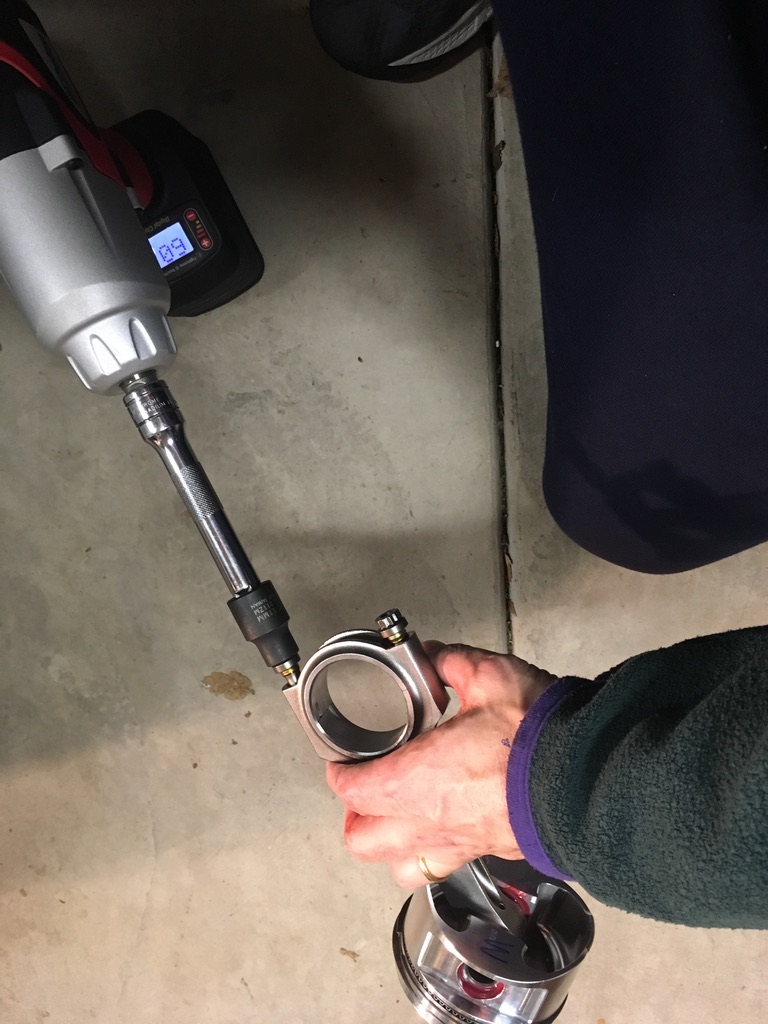
First, rods needed to be separated. The bolts were torqued down pretty good and I needed a little help loosening them. An impact wrench does the trick.
 Then, on goes the ring compressor.
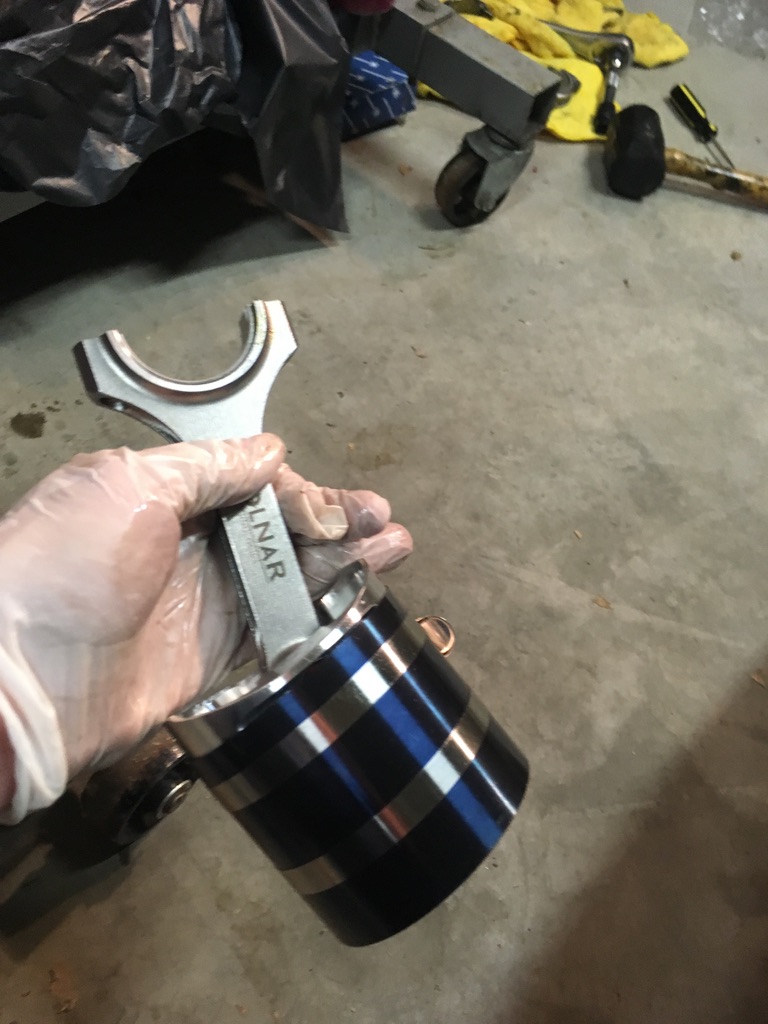 And placed in the block (with rod bearing installed and assembly lube applied. Also, make sure the crank journal for that cylinder is at the bottom of its stroke, so the con rod doesn’t ding it (don’t ask me how I learned that lesson!).
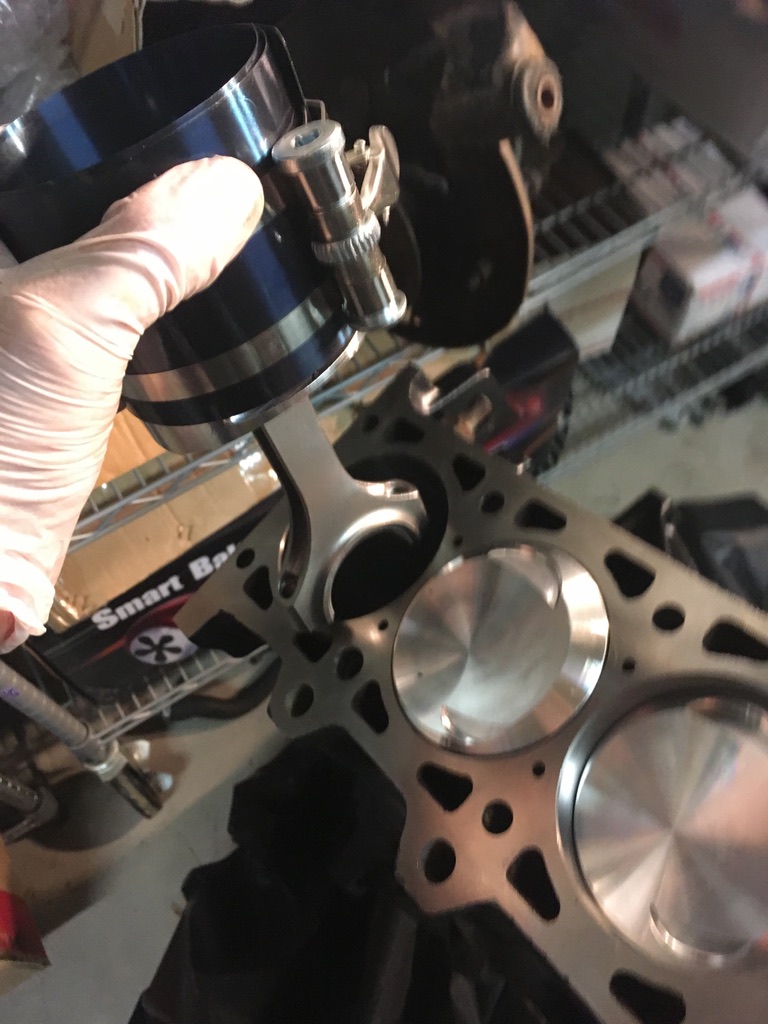
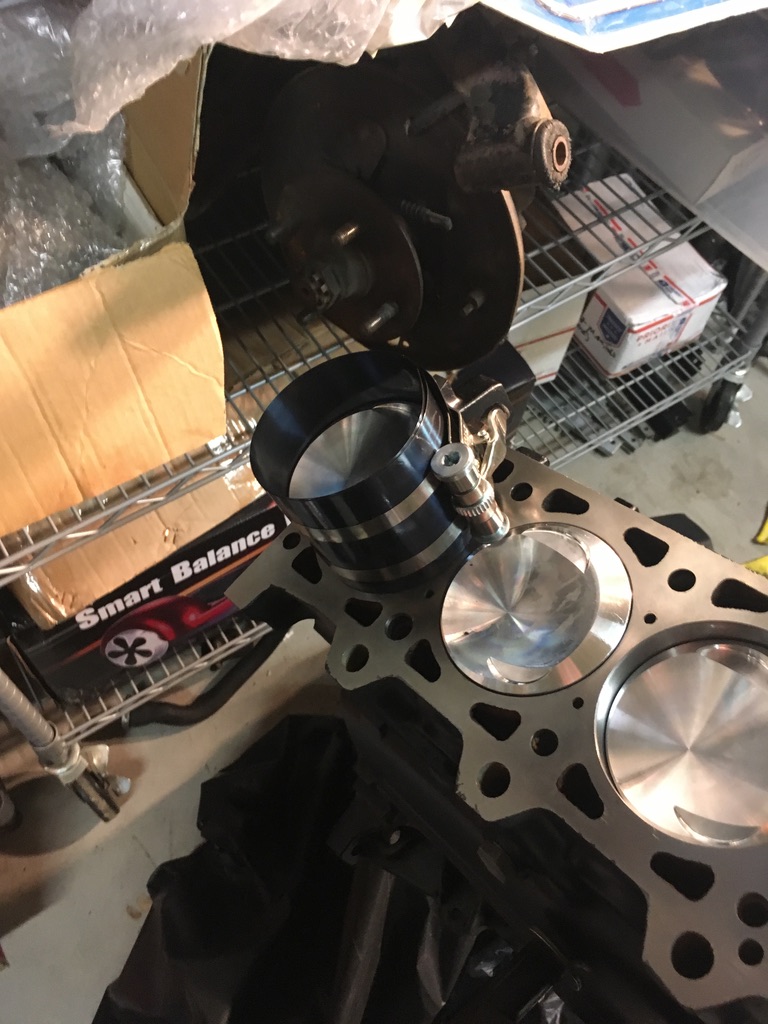 And placed in the block (with rod bearing installed and assembly lube applied. Also, make sure the crank journal for that cylinder is at the bottom of its stroke, so the con rod doesn’t ding it (don’t ask me how I learned that lesson!).
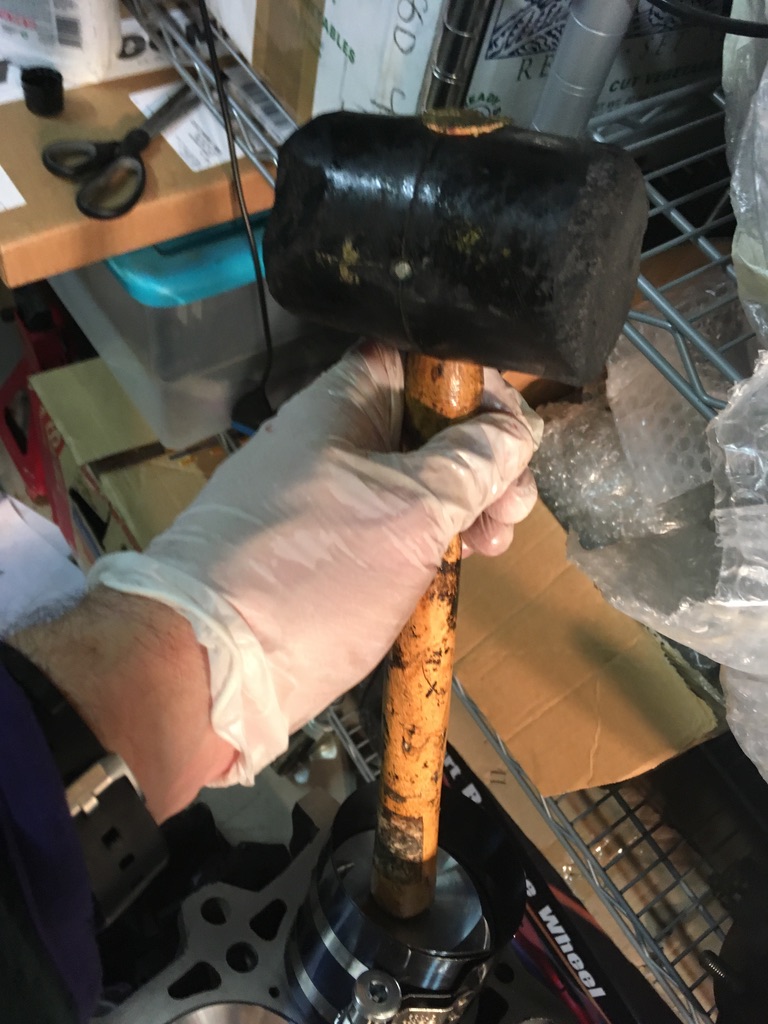 One at a time.
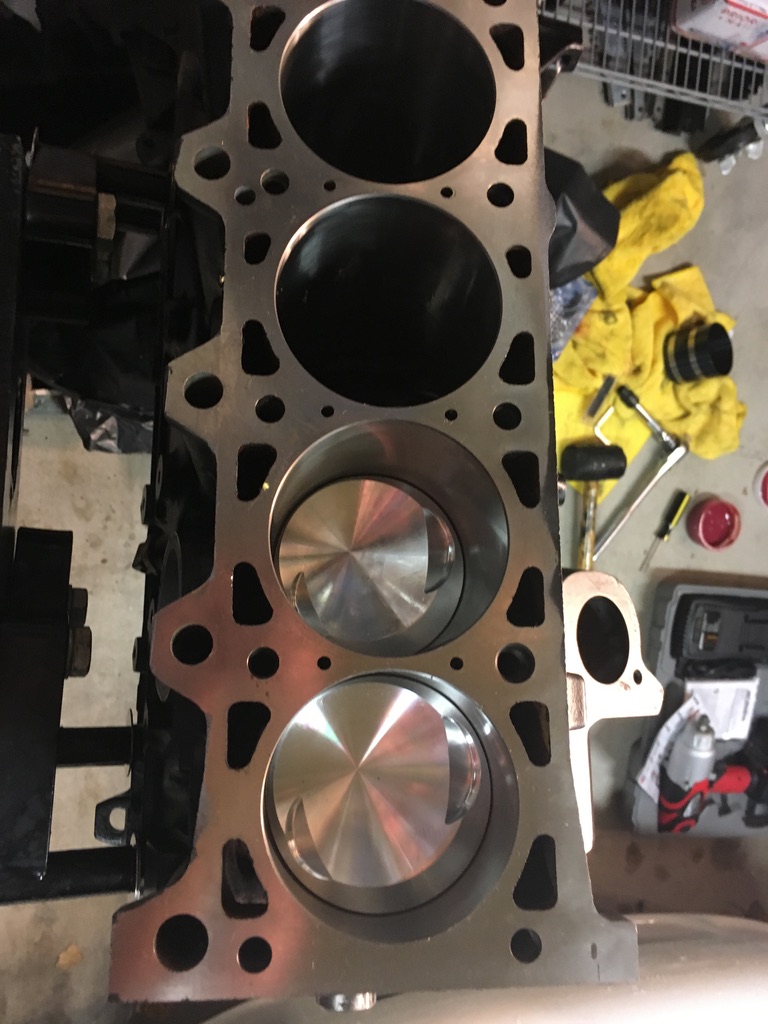 Eventually, all six are in.
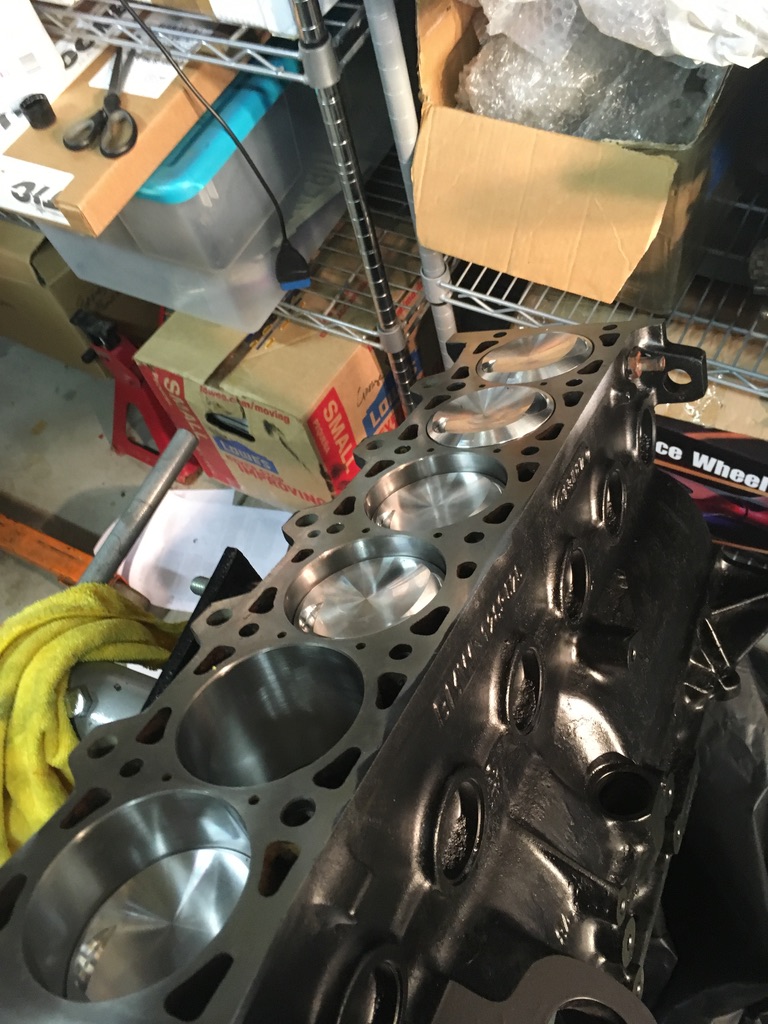 Torque the rod bolts.
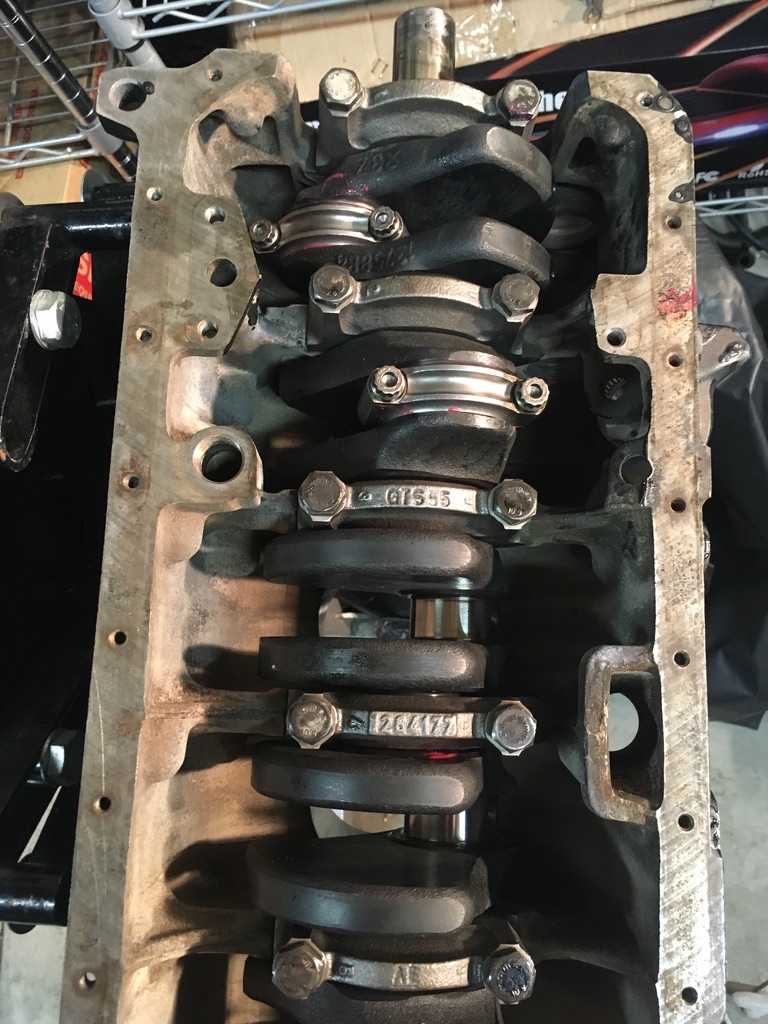
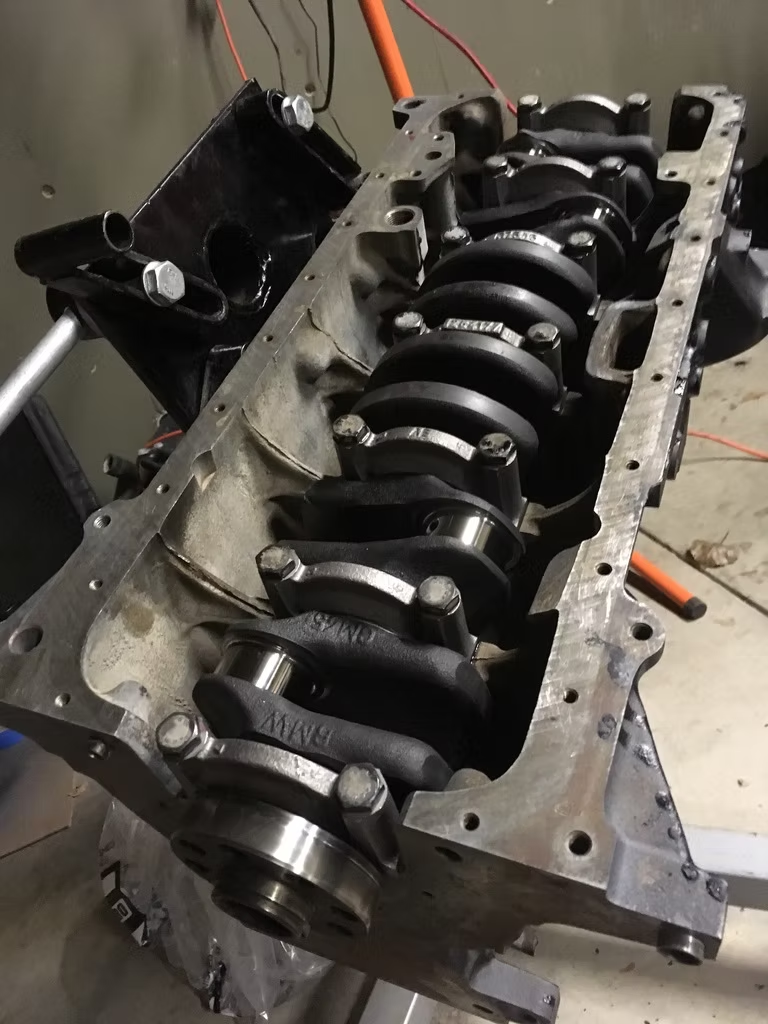 And if you’re lucky, it still turns.
<Embedded video>
Meanwhile, the reassembly of the body has stalled, waiting for a new headliner. The head, too, is MIA, still at the machine shop waiting for “the end of the week.”
Up next: oil pump, flywheel and the head getting back for the machine shop and then mating it to the block.
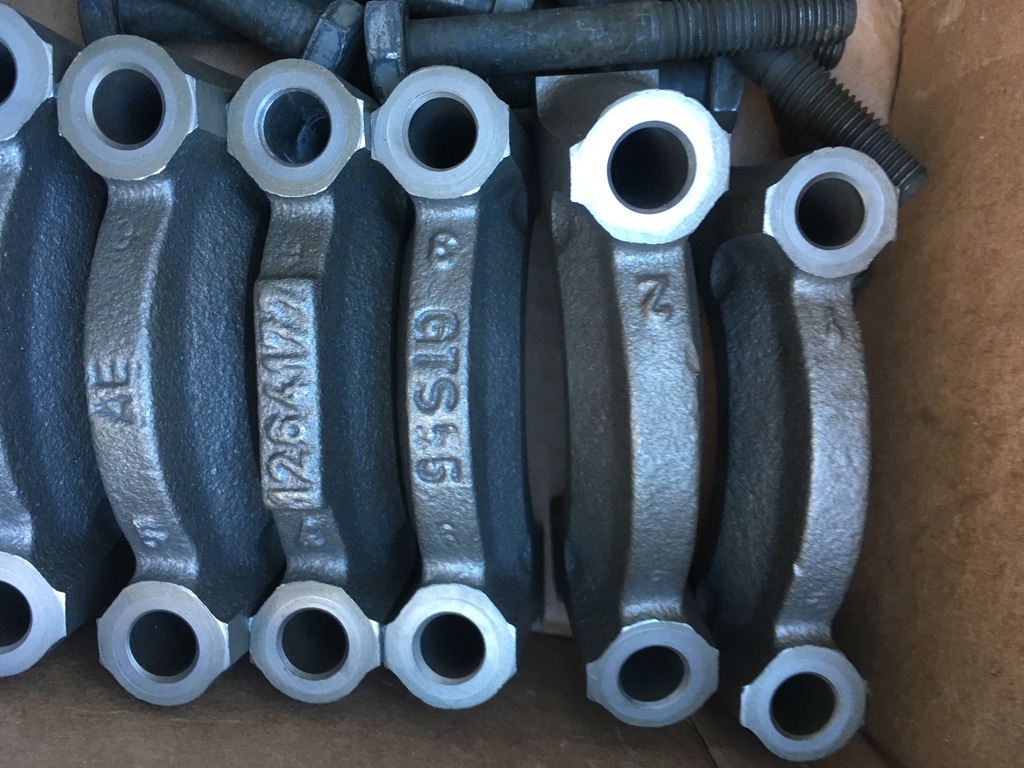
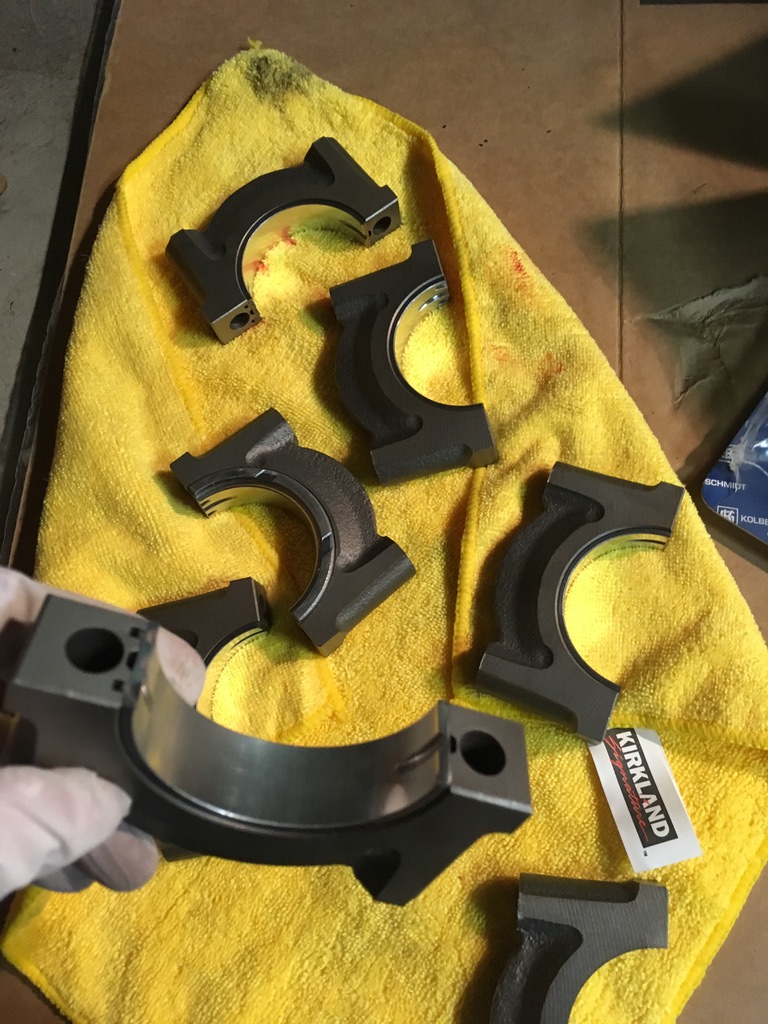
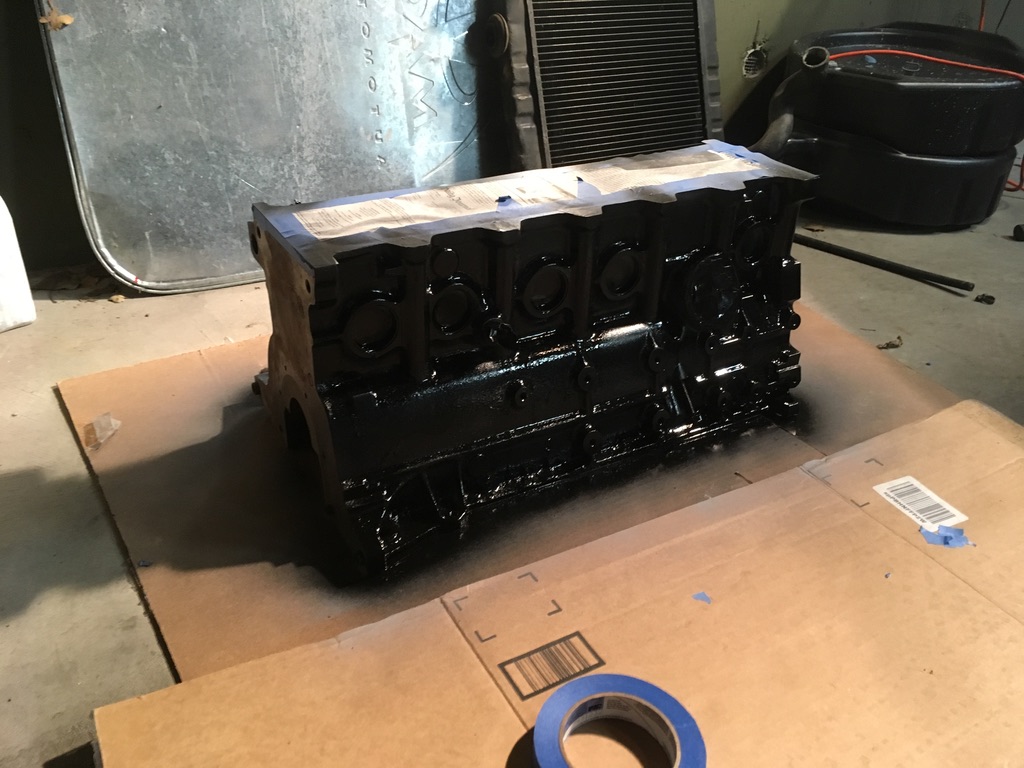 Then I tried to figure out which way the end caps went (internet research helped as it wasn’t obvious from trying to fit them).
 With the order and orientation of the end caps clarified, it was time to install the rod bearings in the block.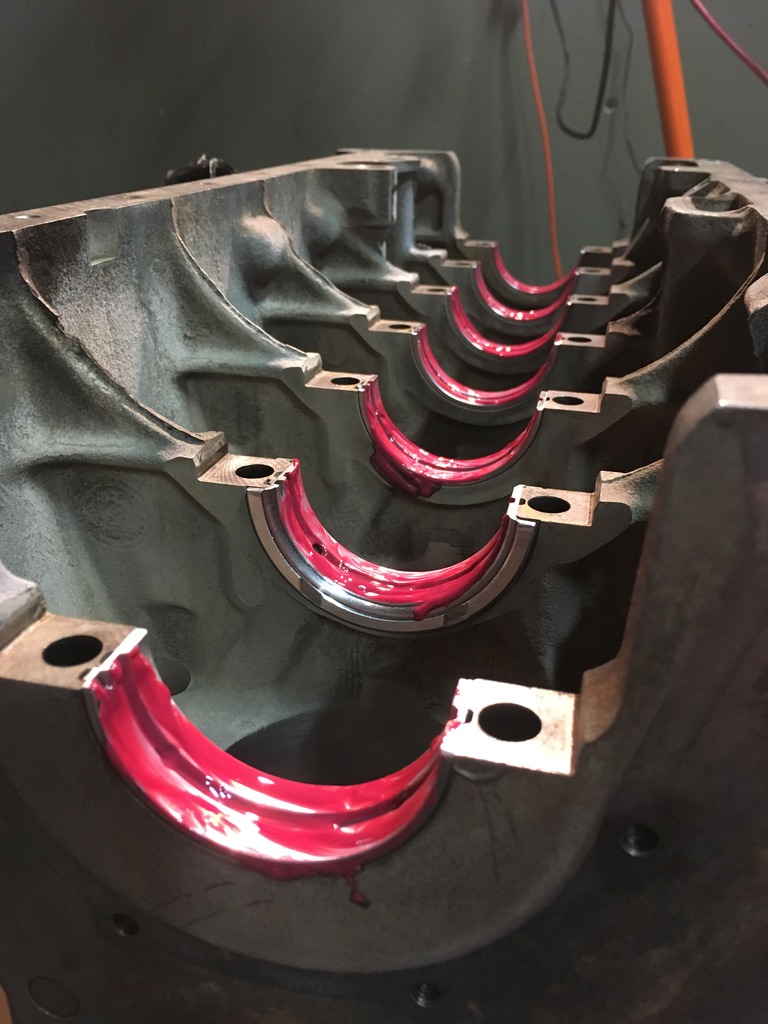
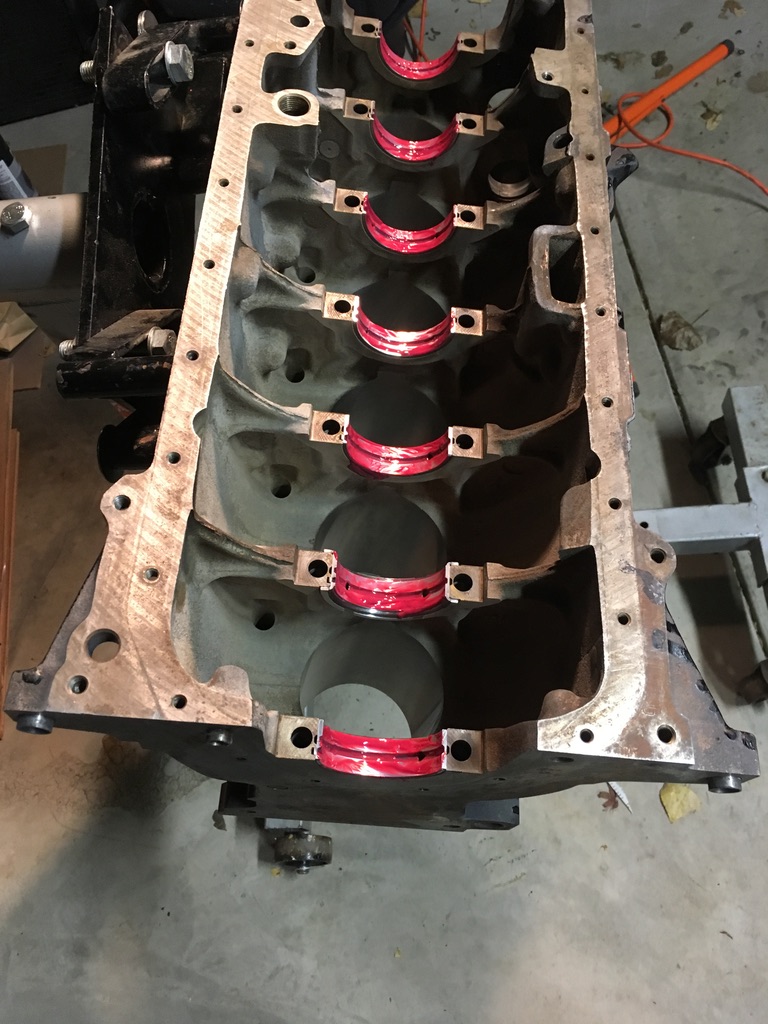 And the end caps.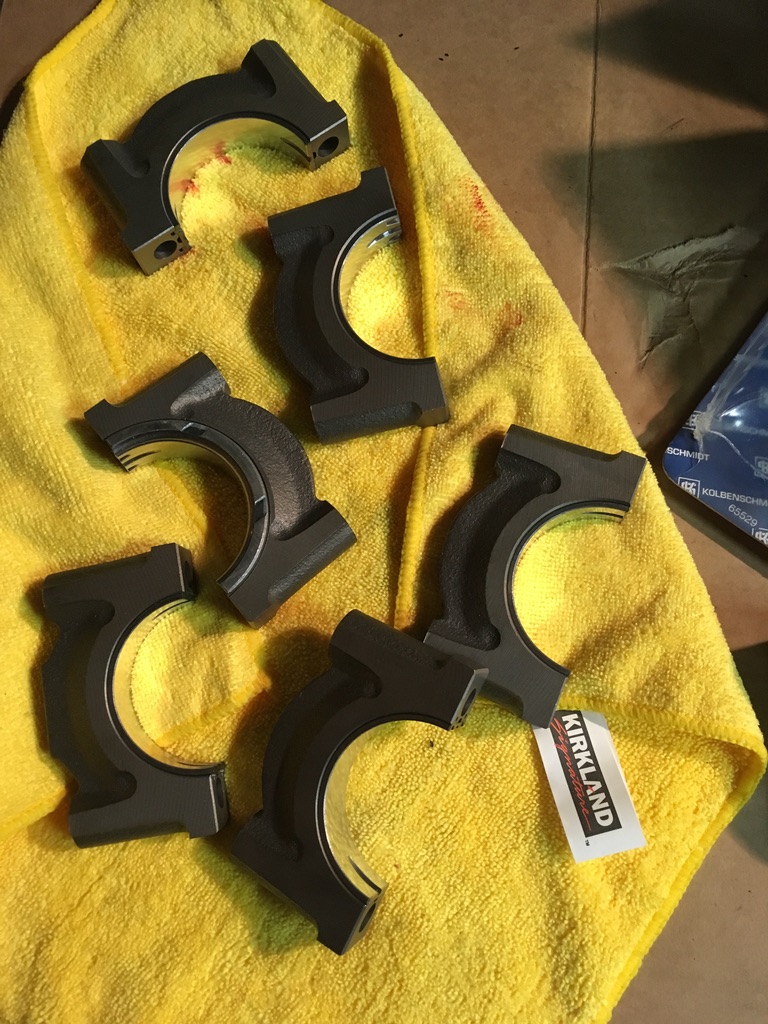
 Then it was time for the turbo diesel crank.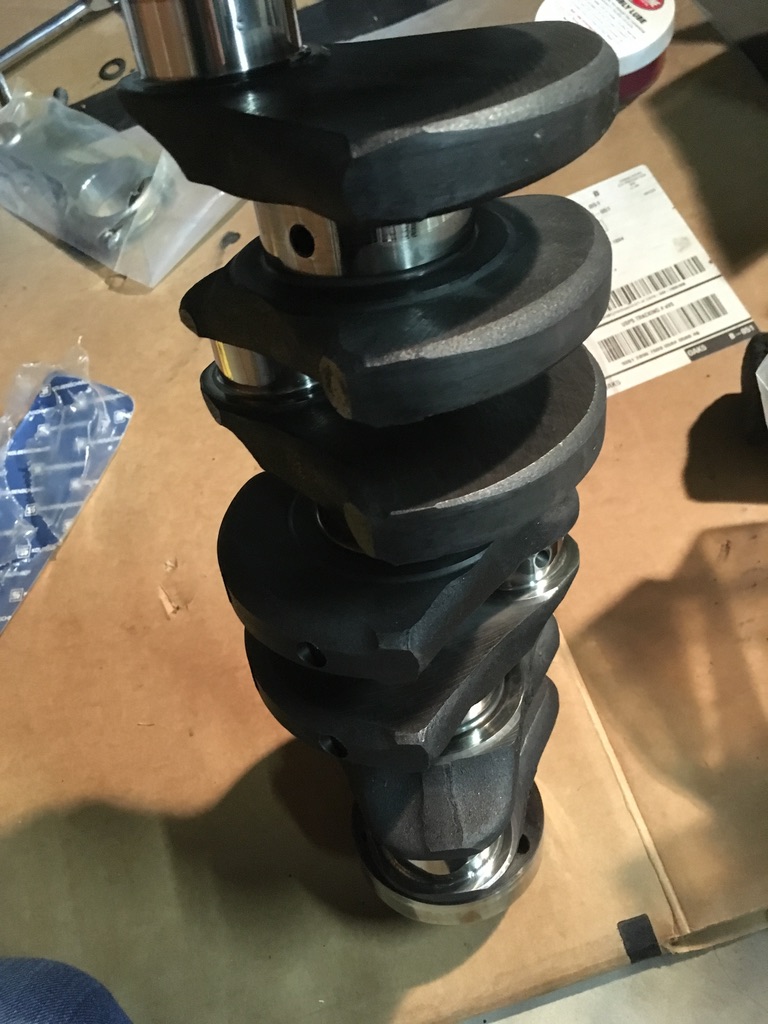
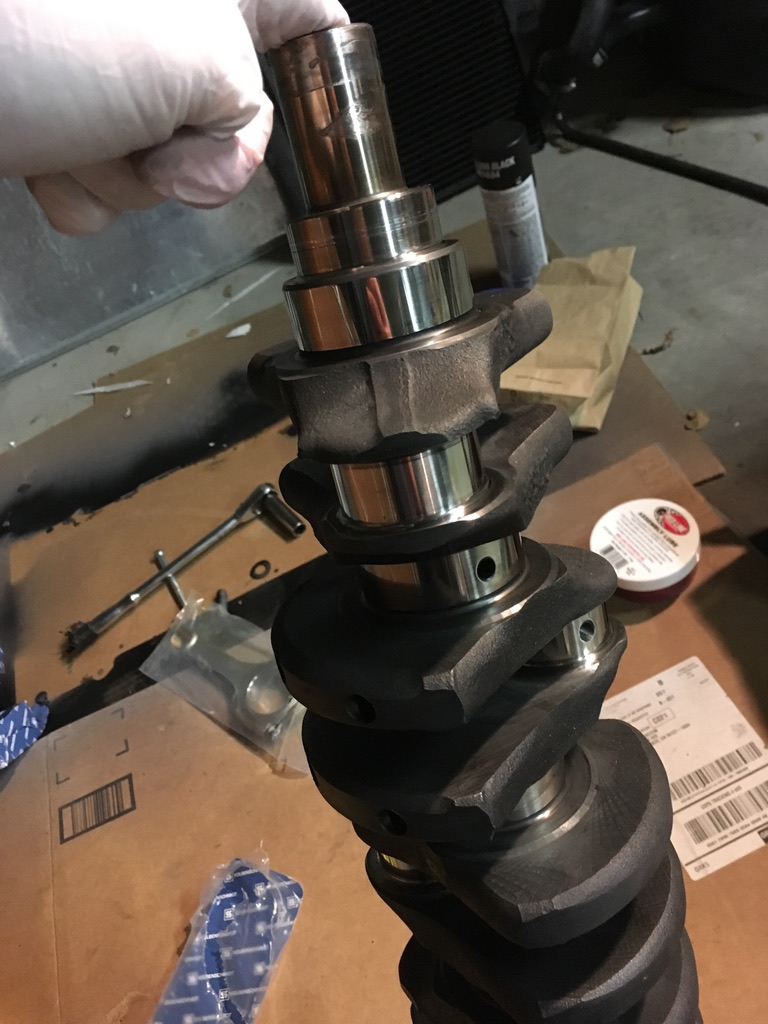 Gently place the crank in the block.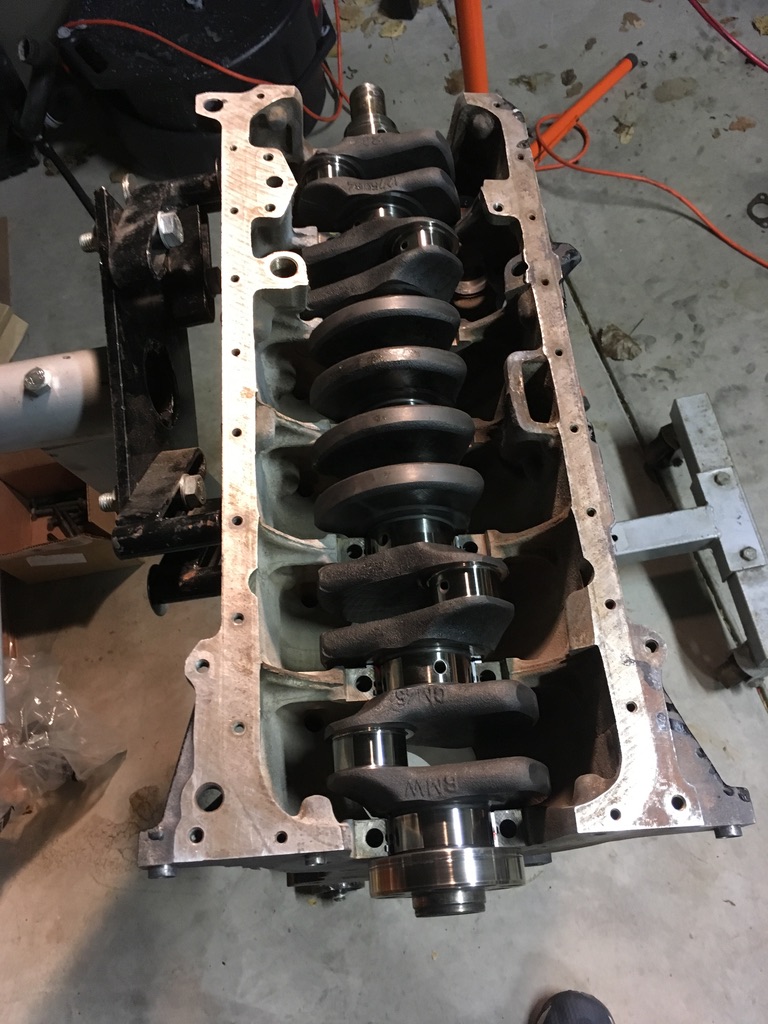
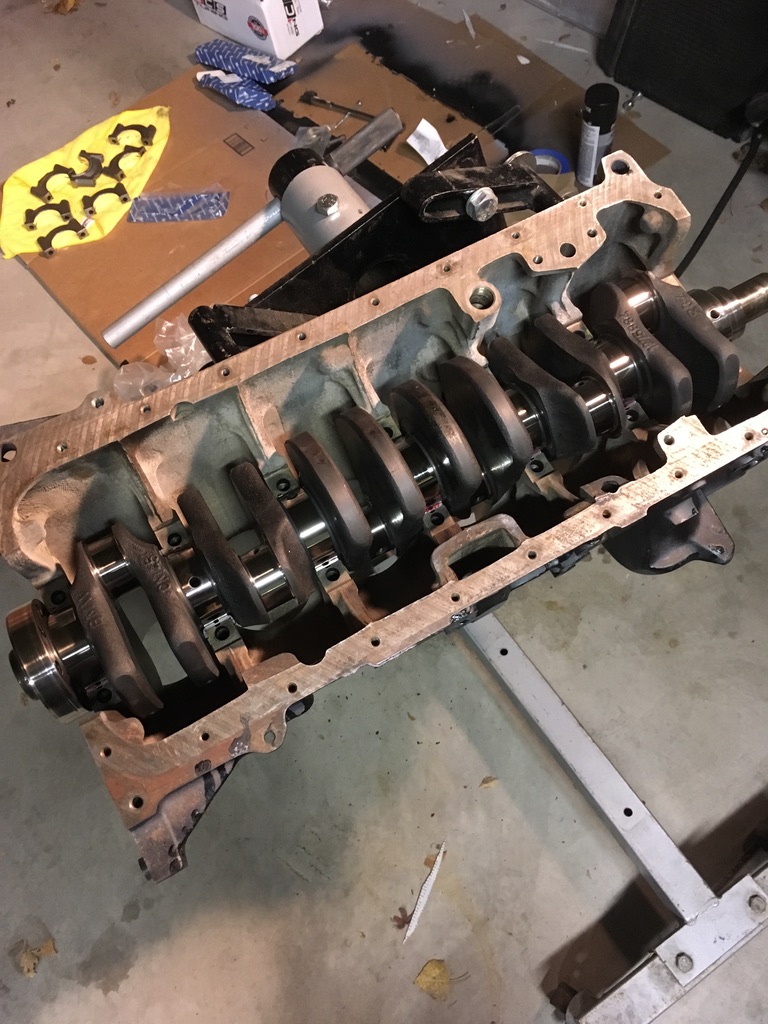
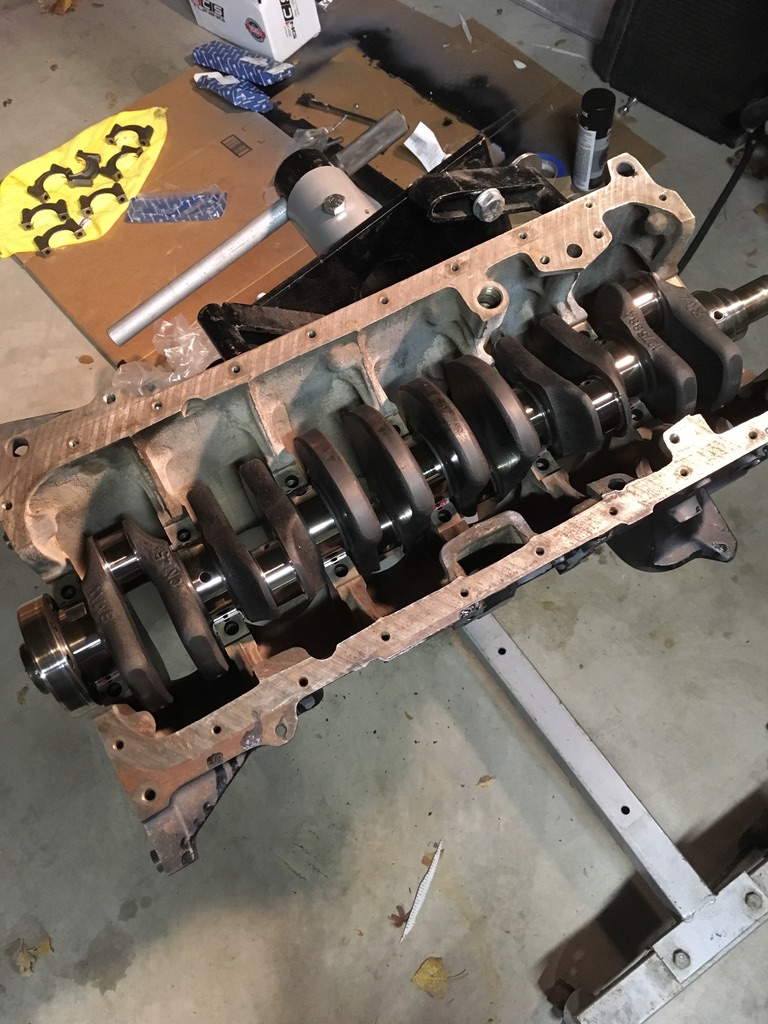 And install the end caps with bearings.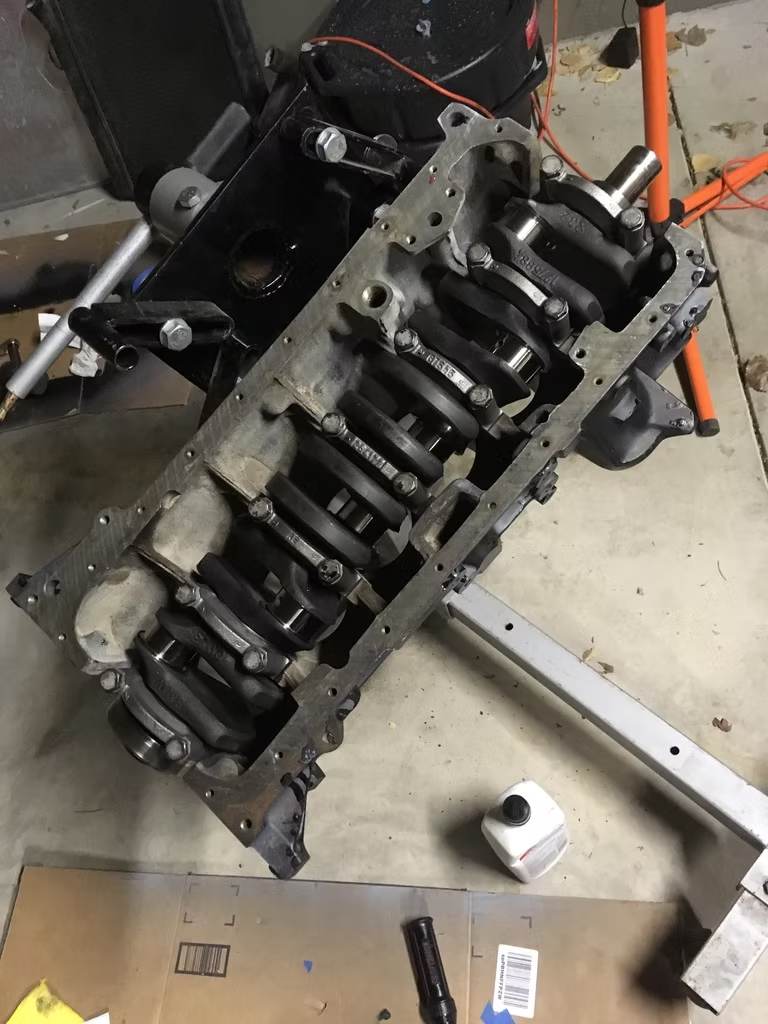
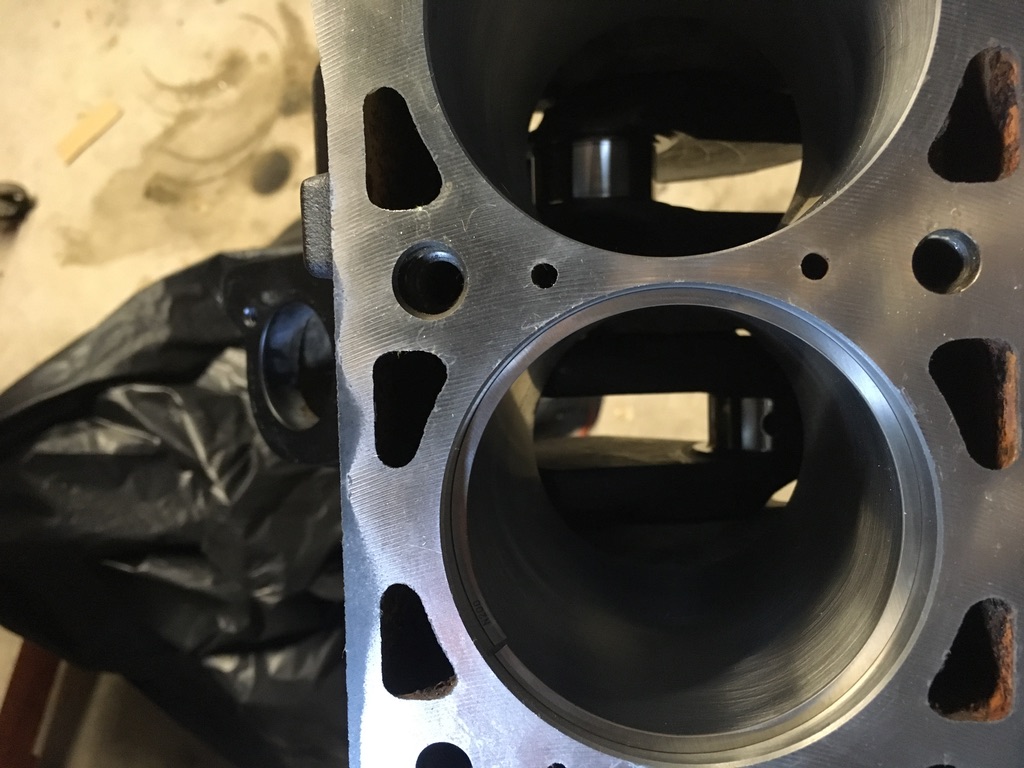
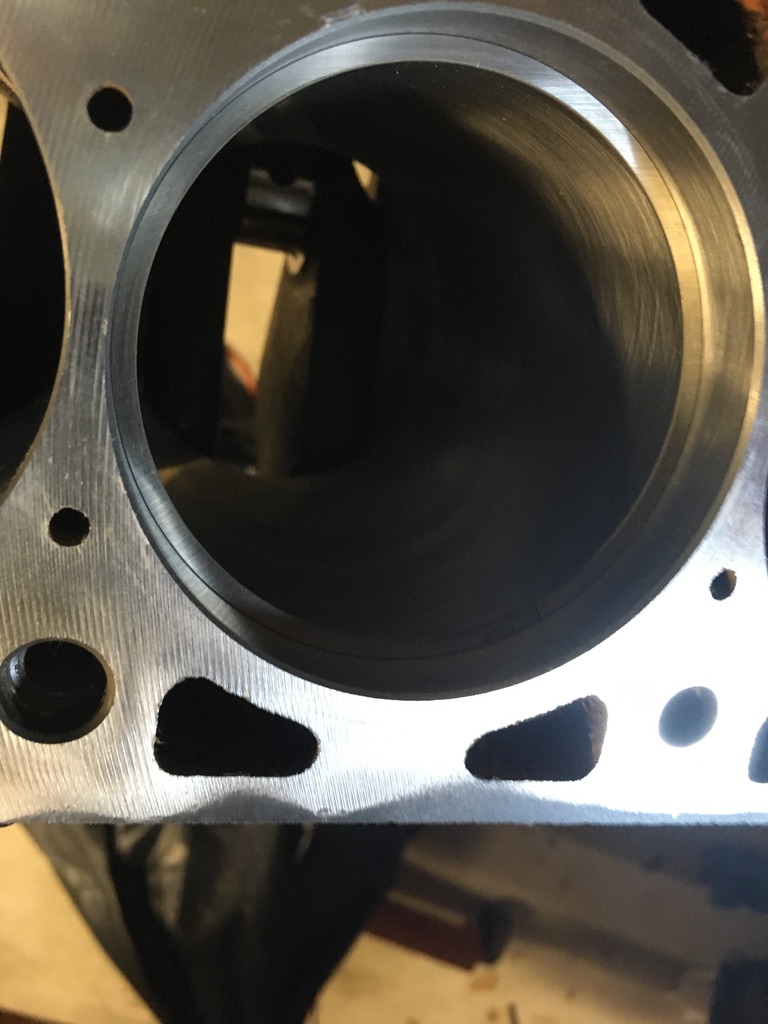
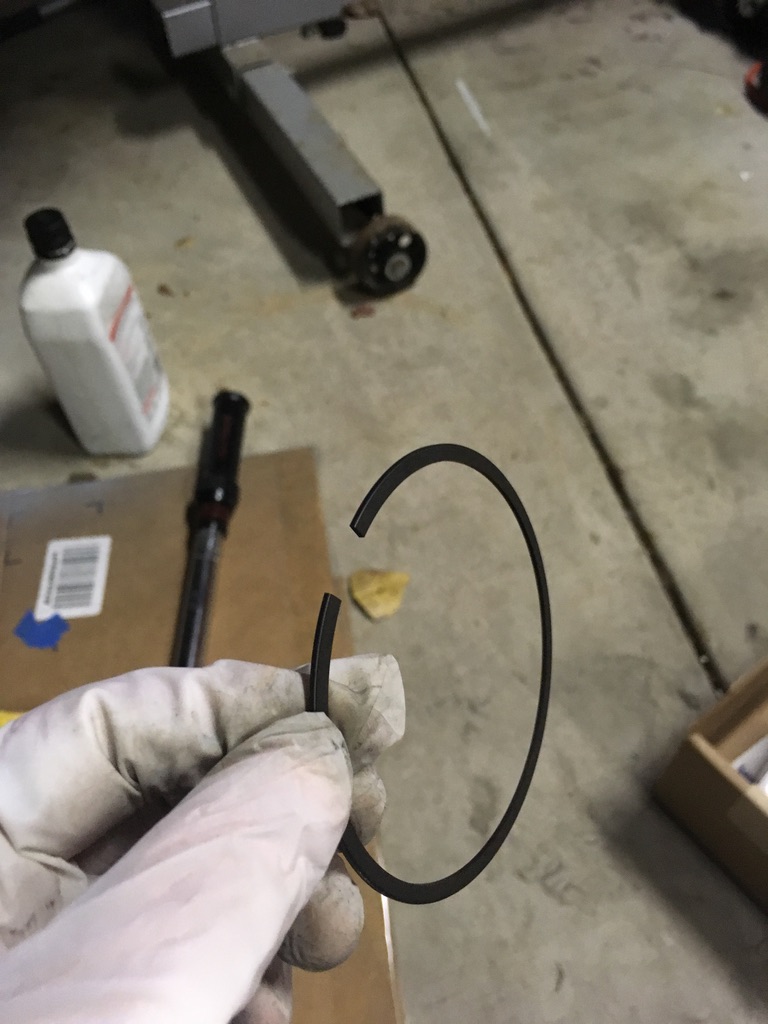
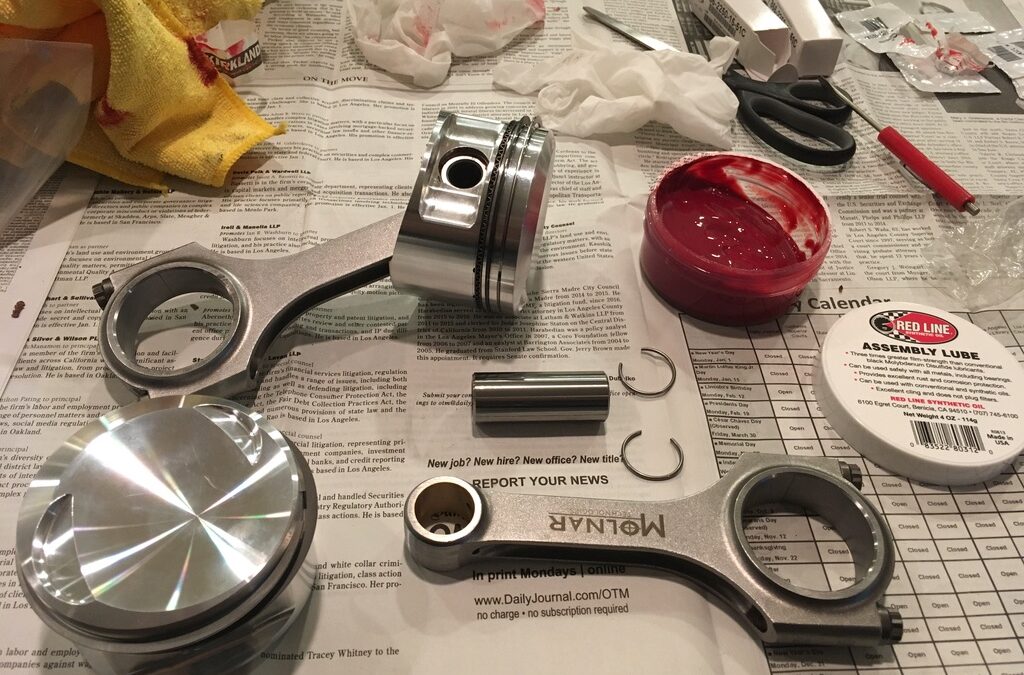
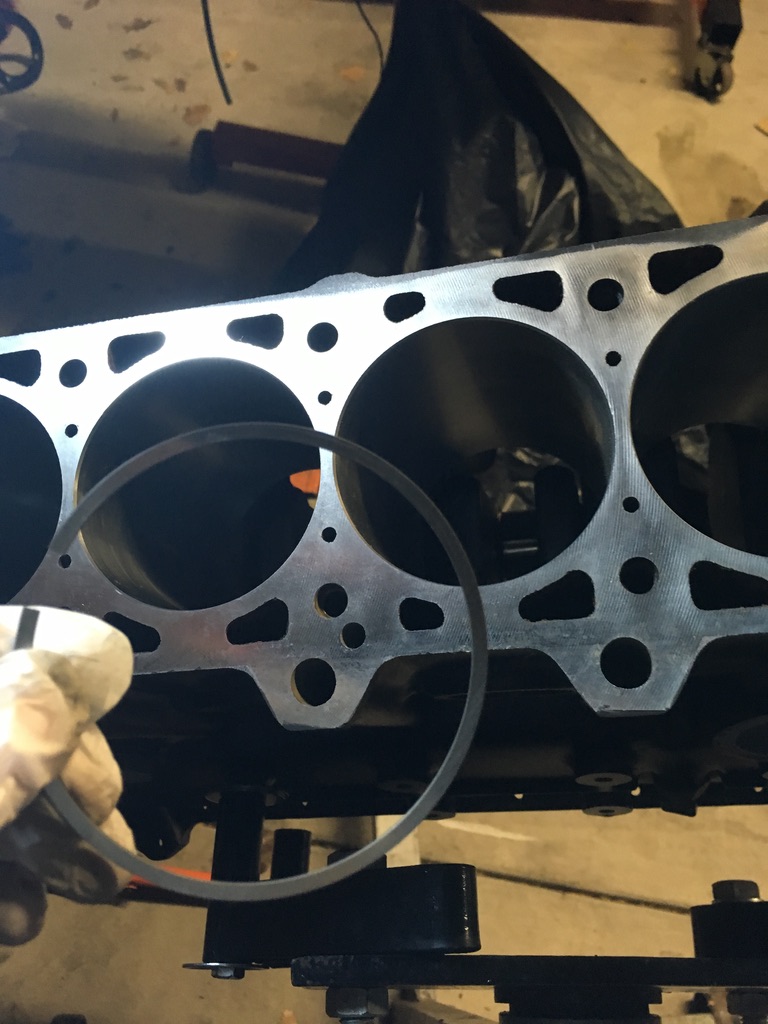 And install them on the pistons.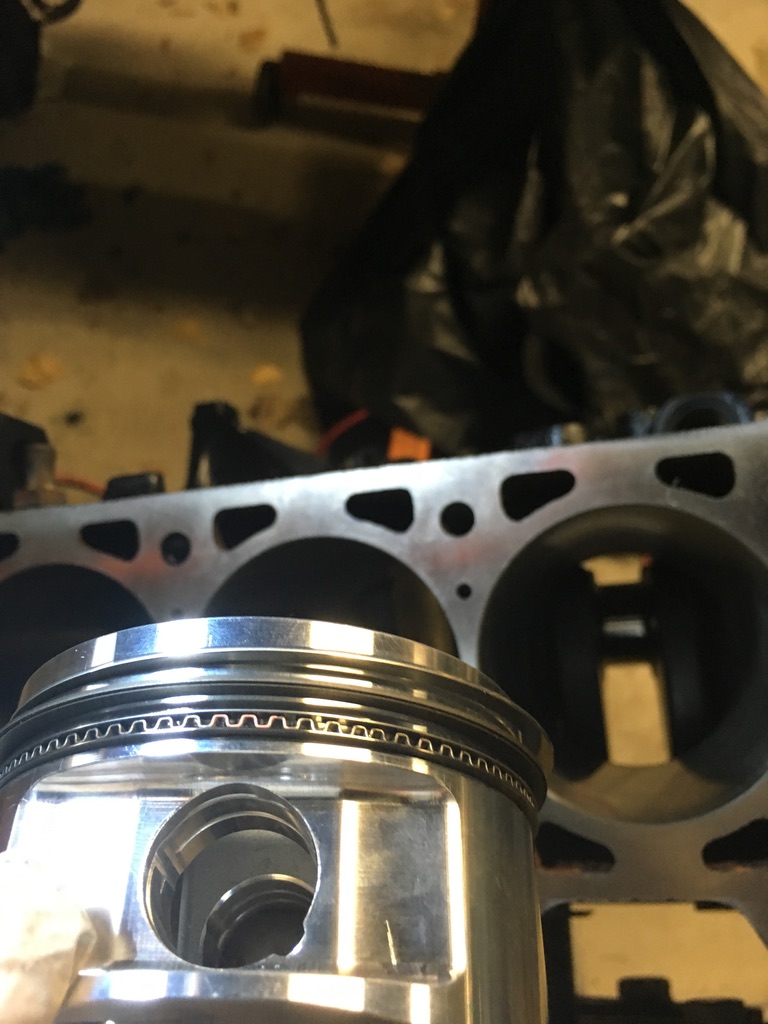
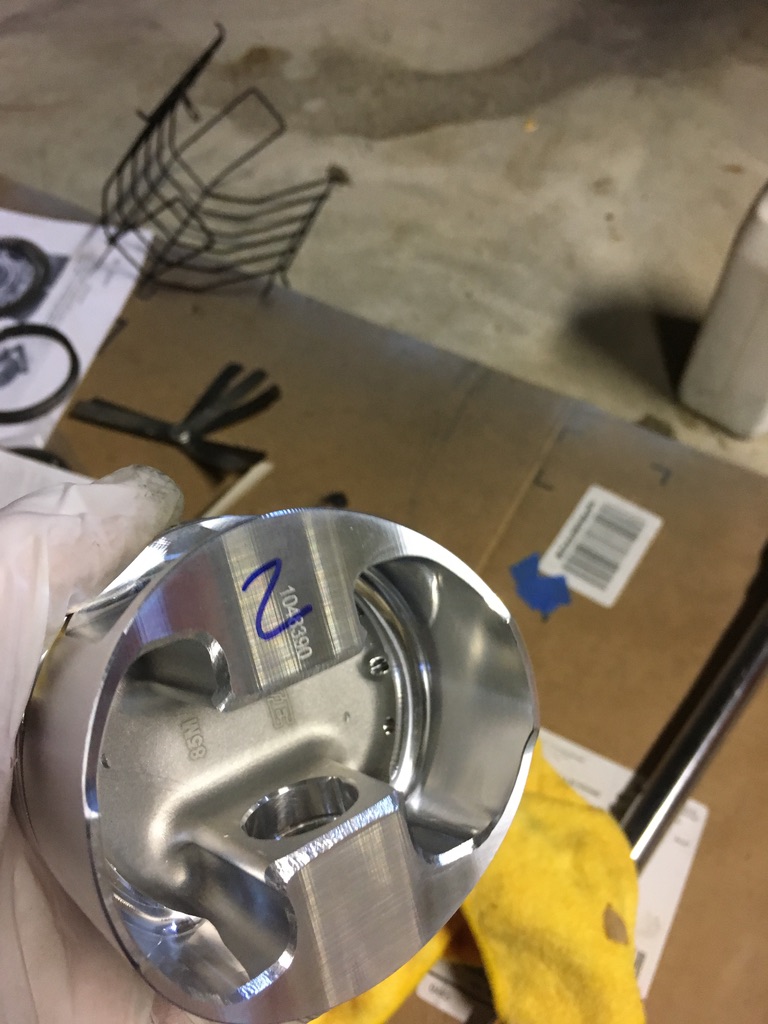
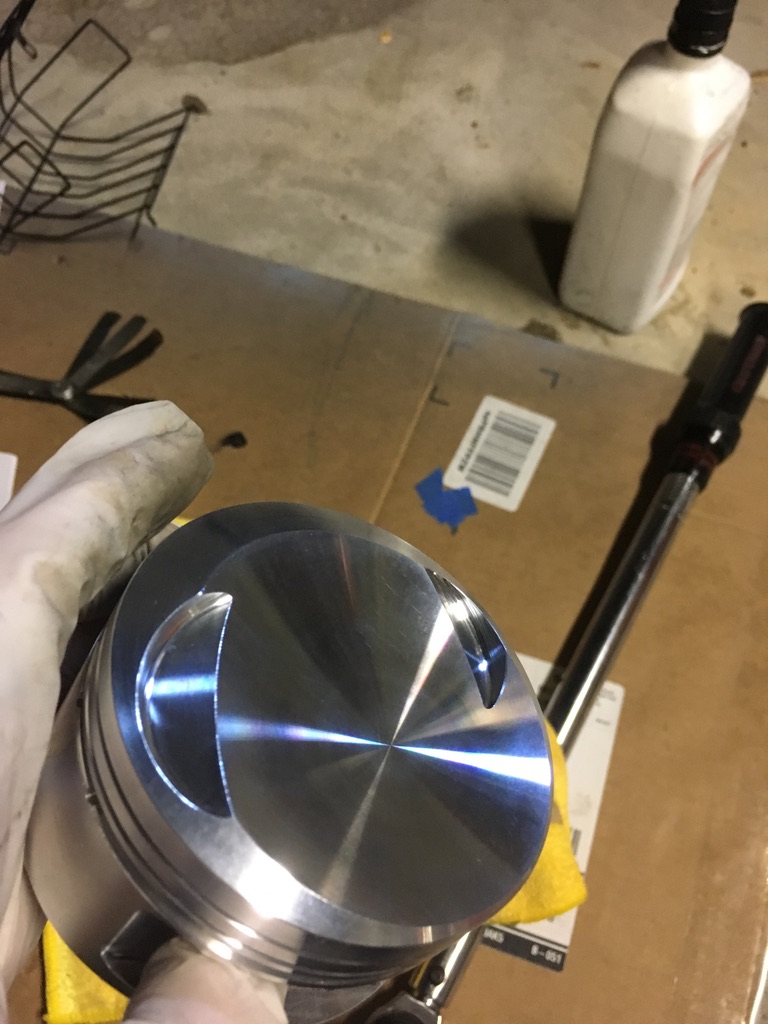
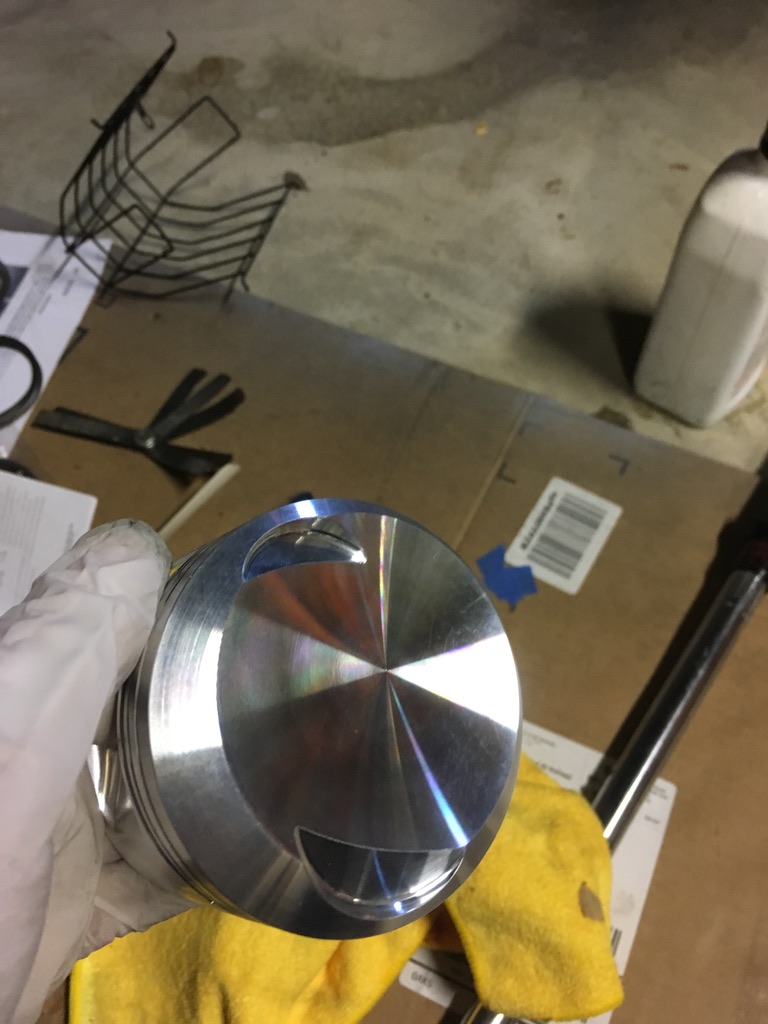
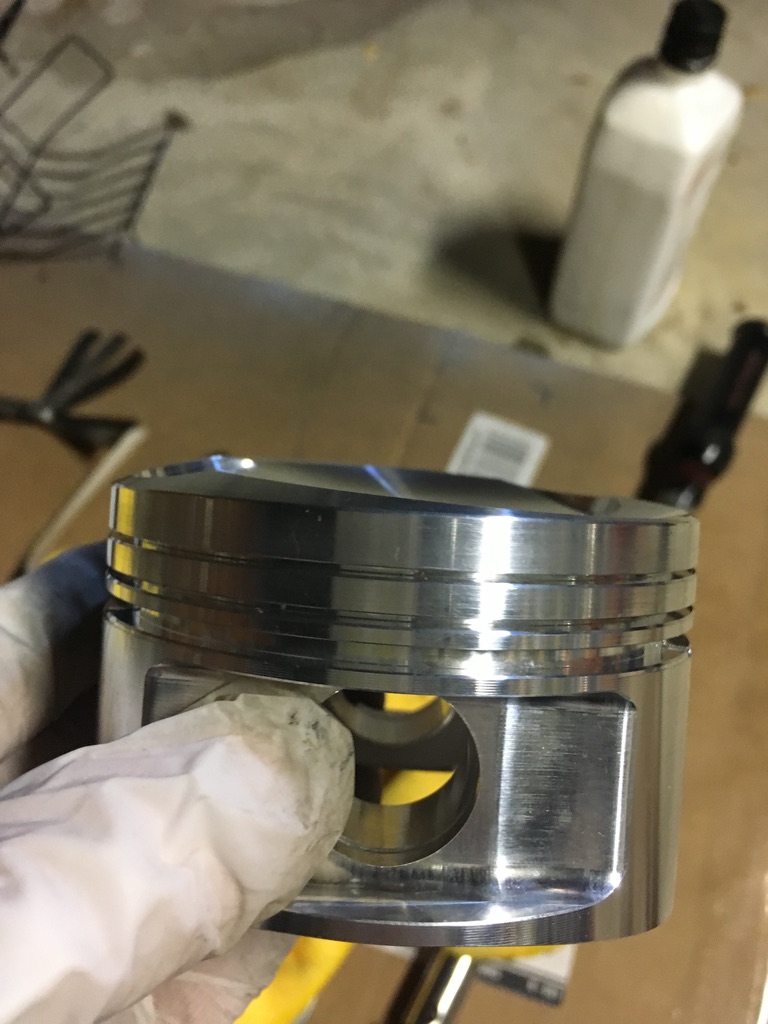 Then attach the rods to the pistons. The hardest part being, without the right tool, installing the wrist-pin retaining clips.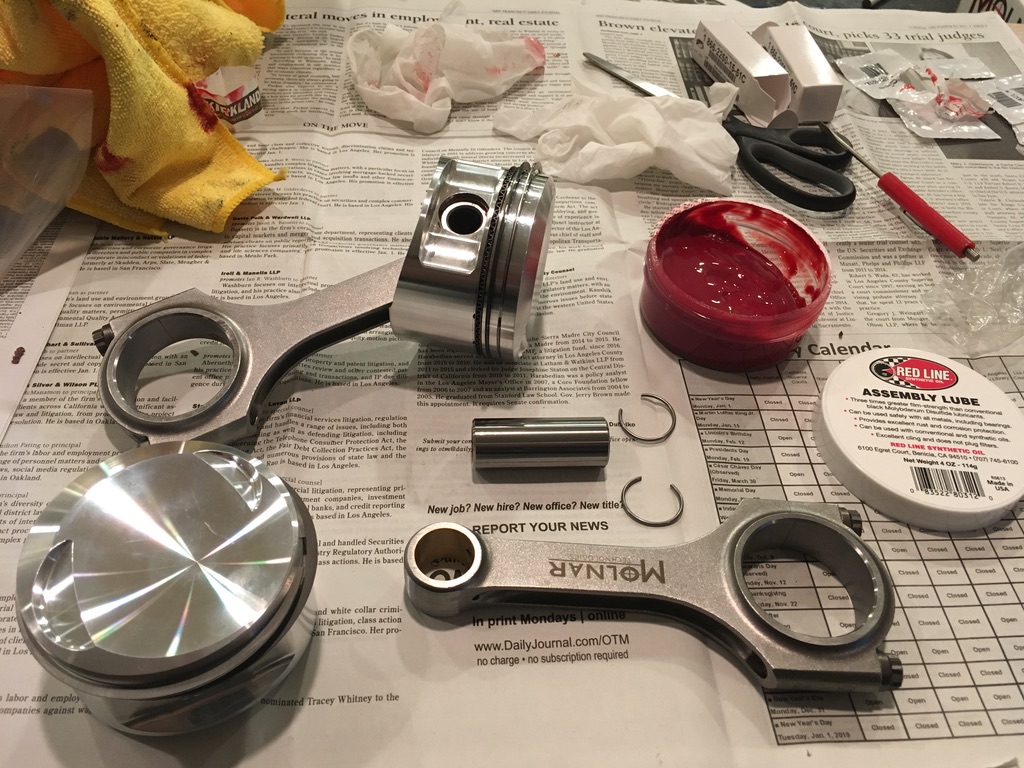
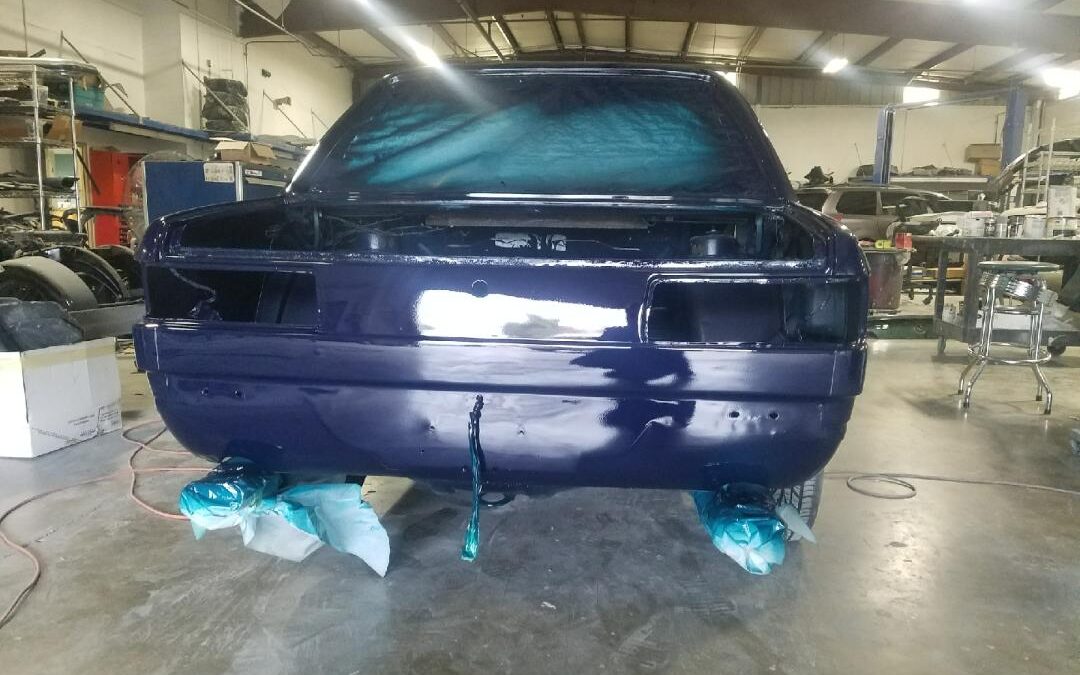
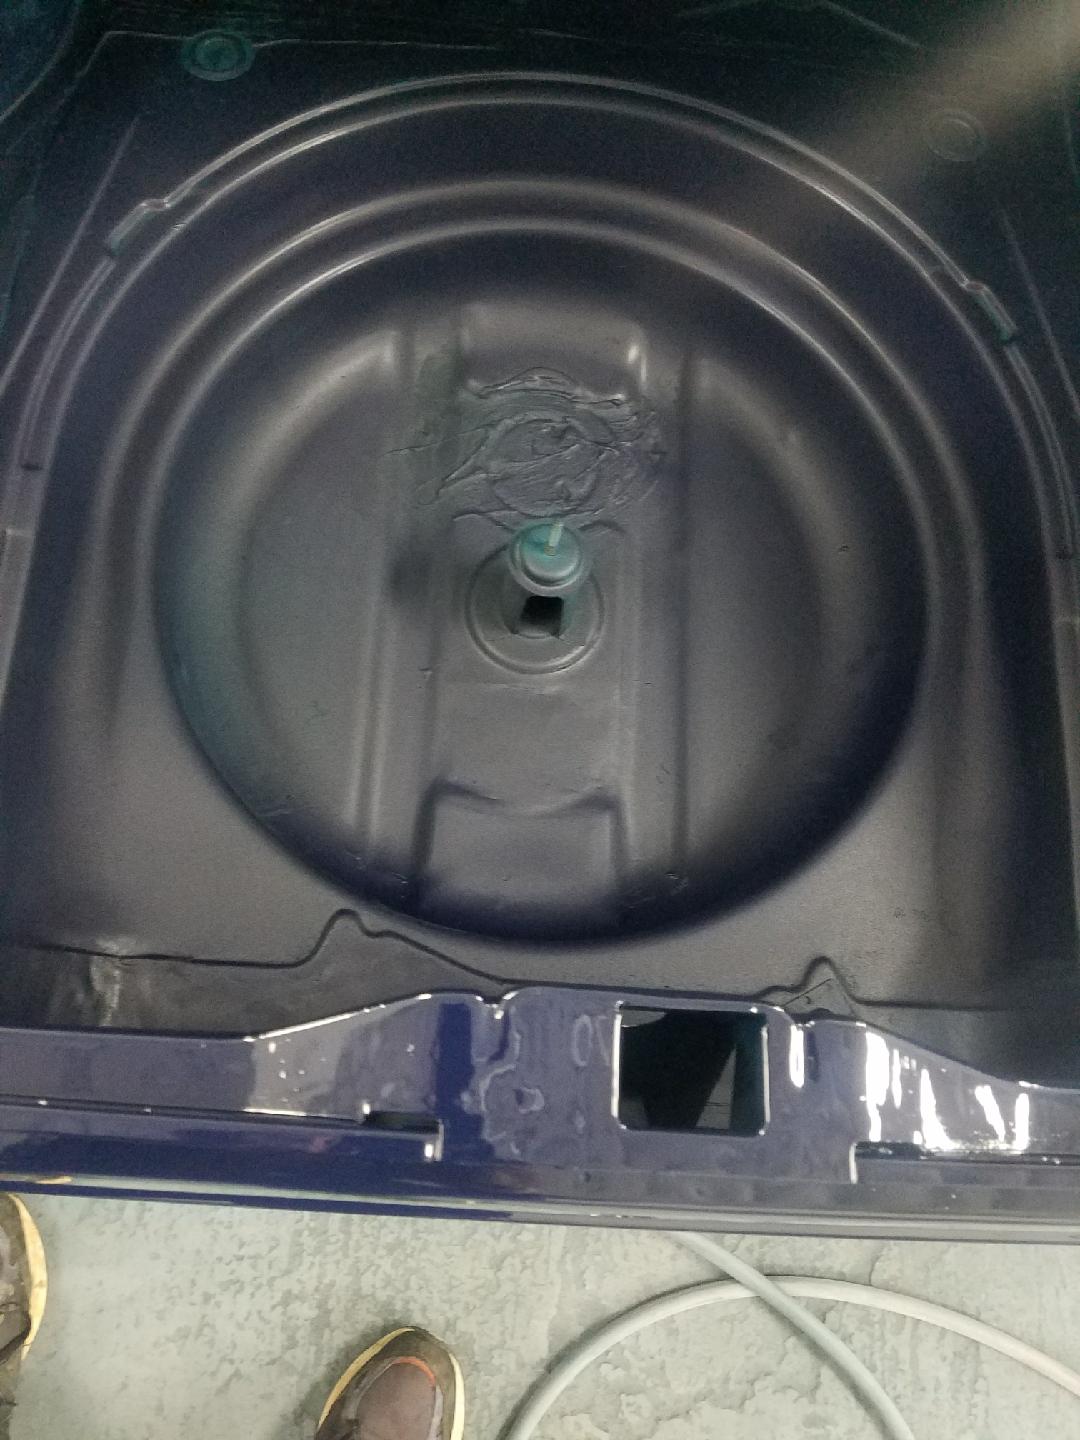
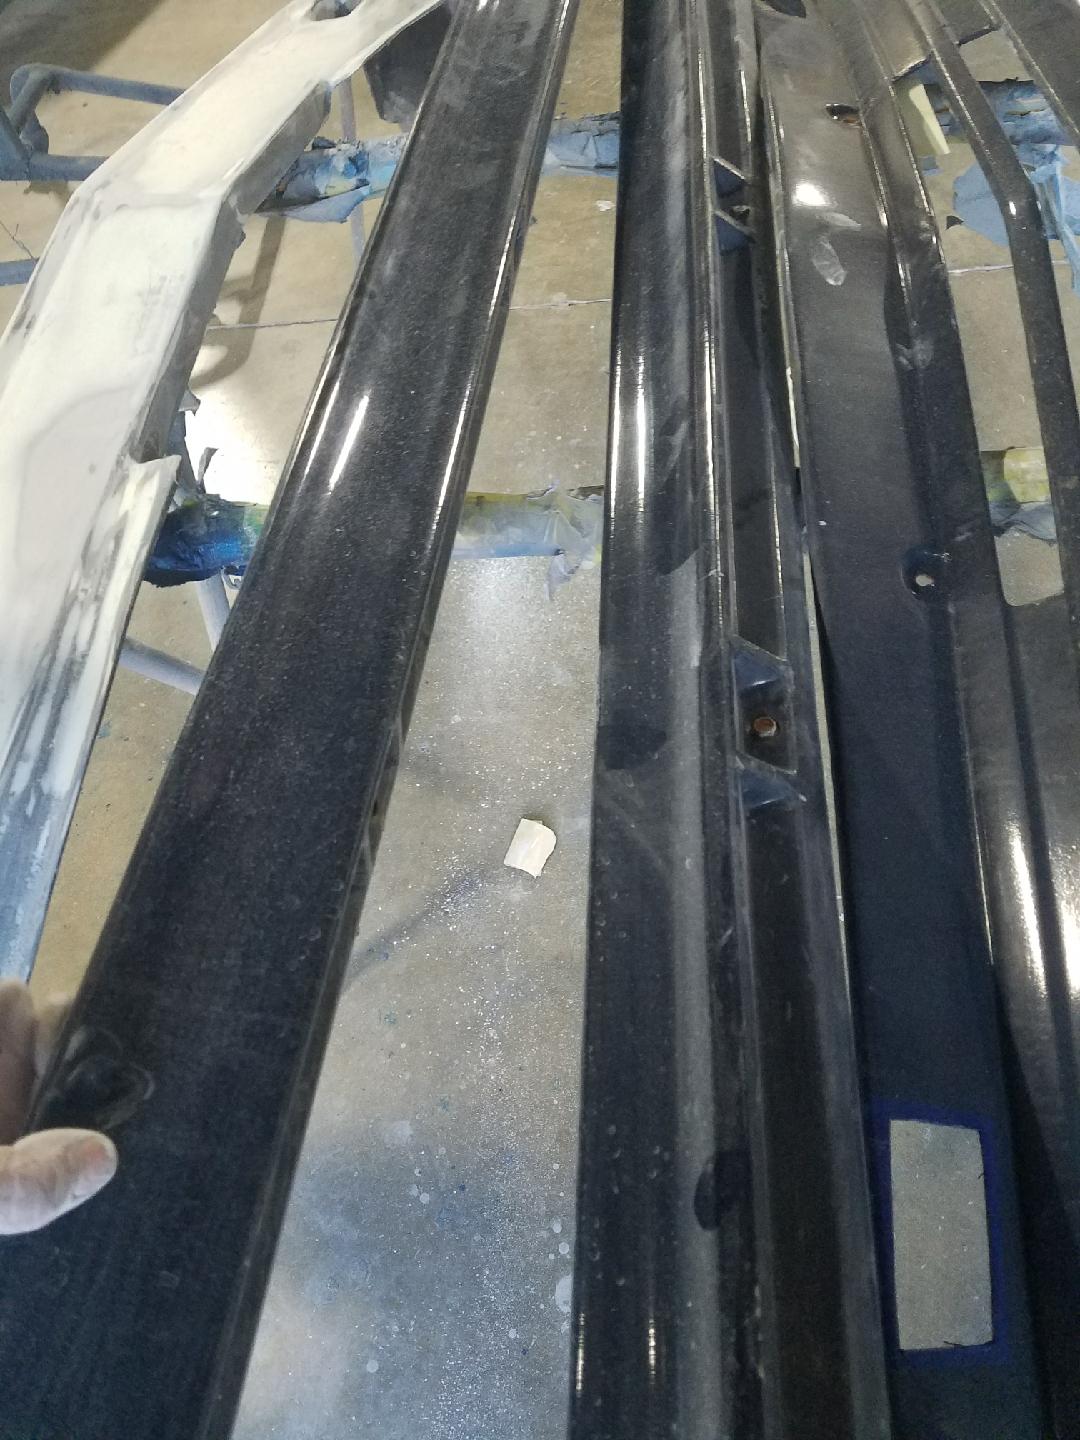
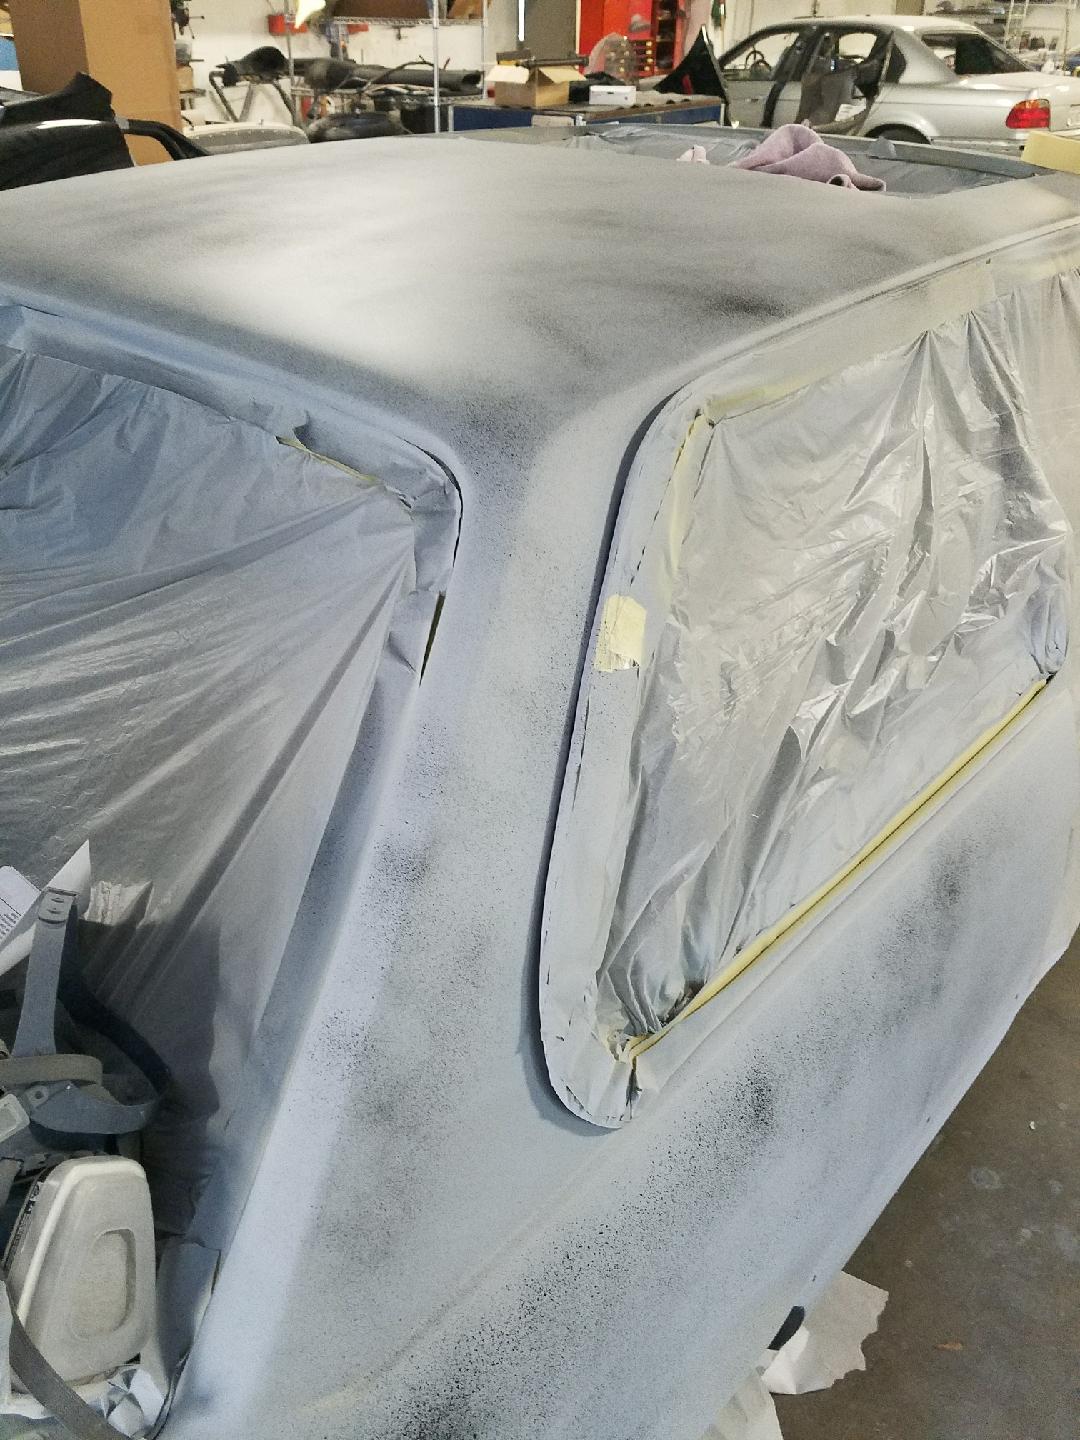
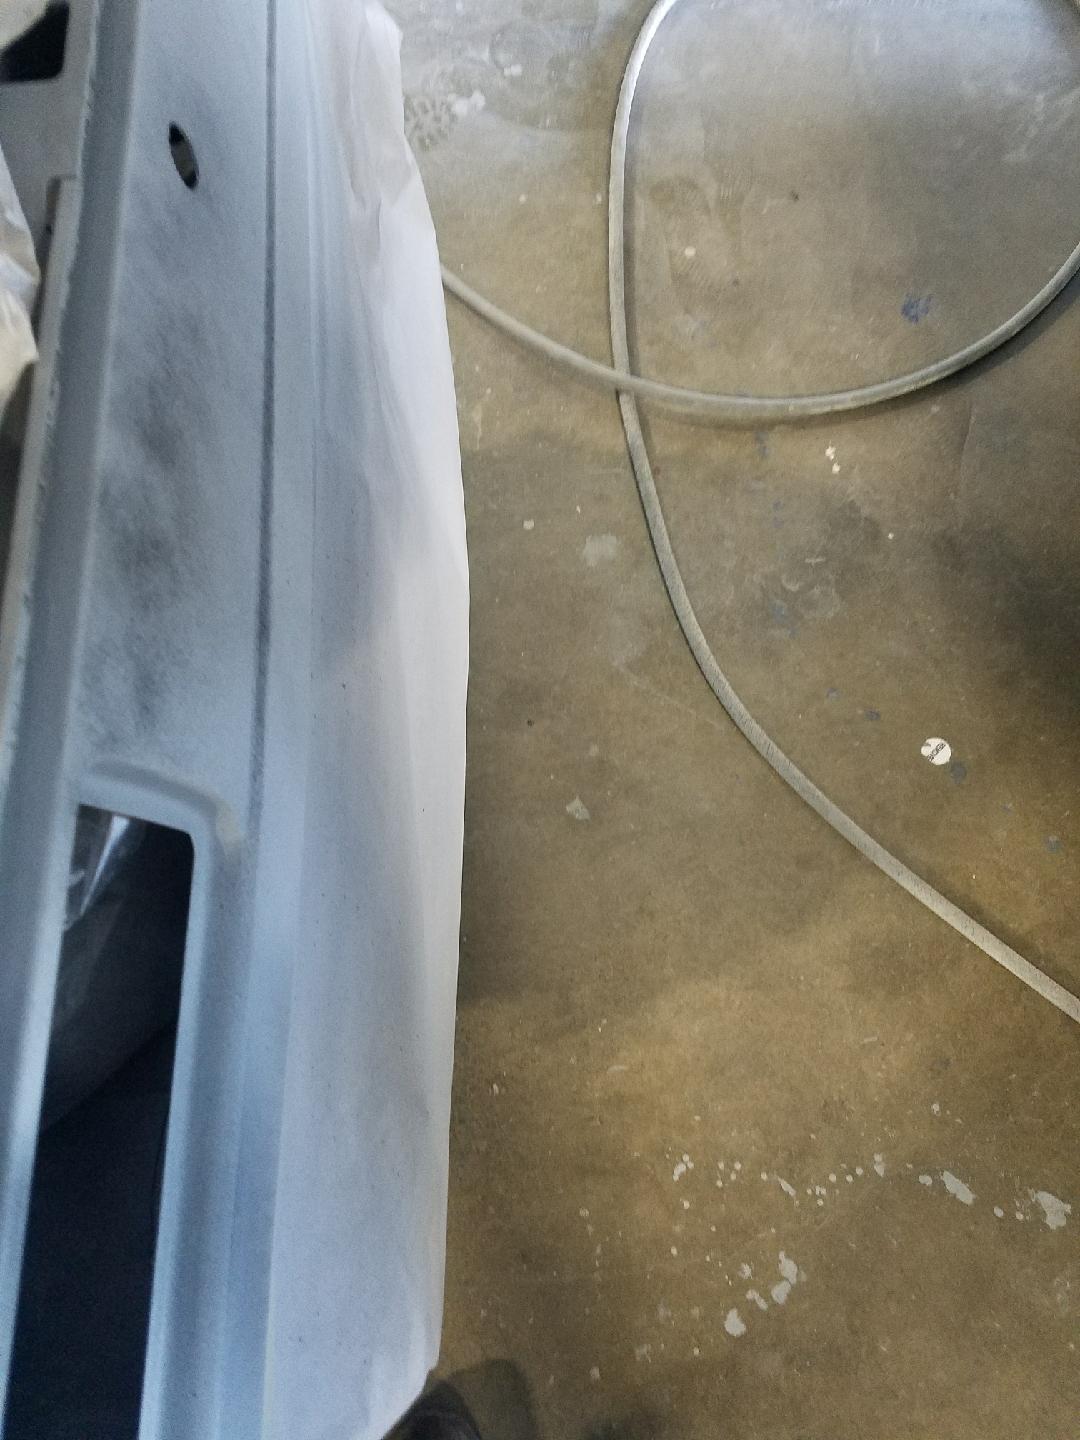
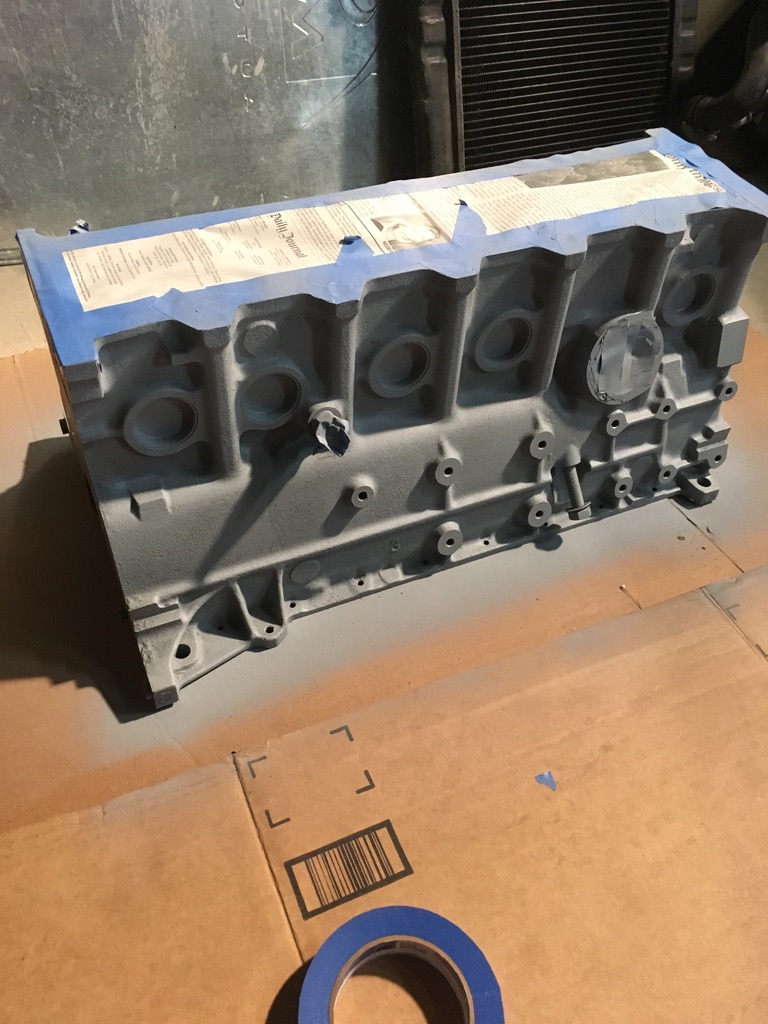
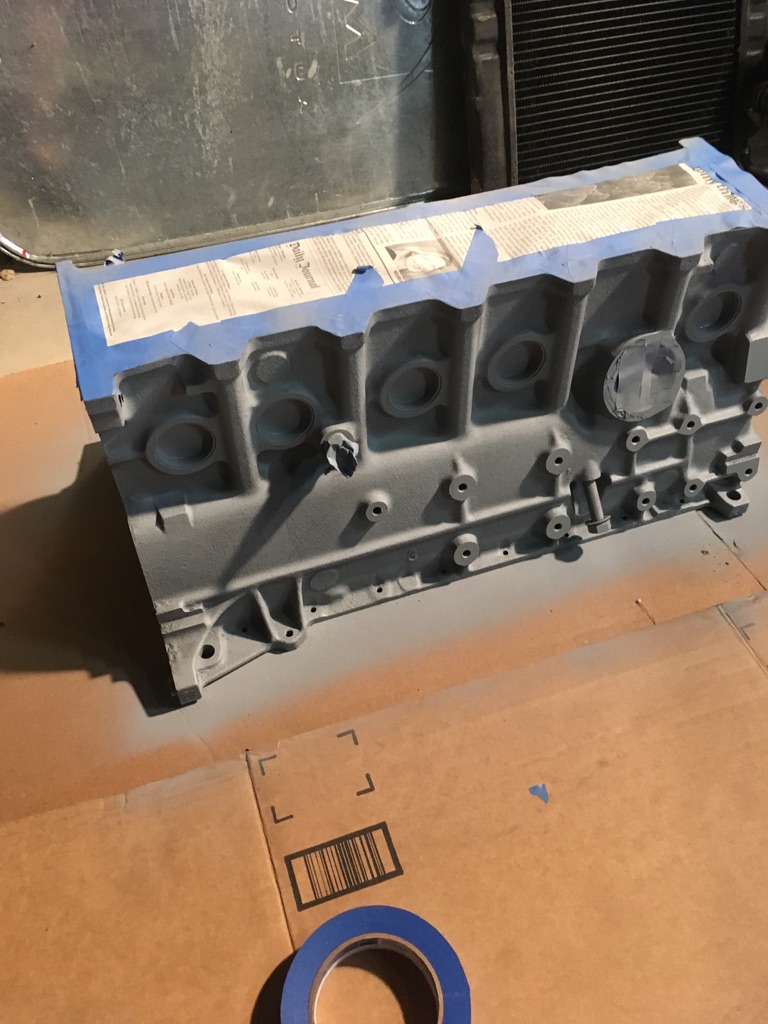
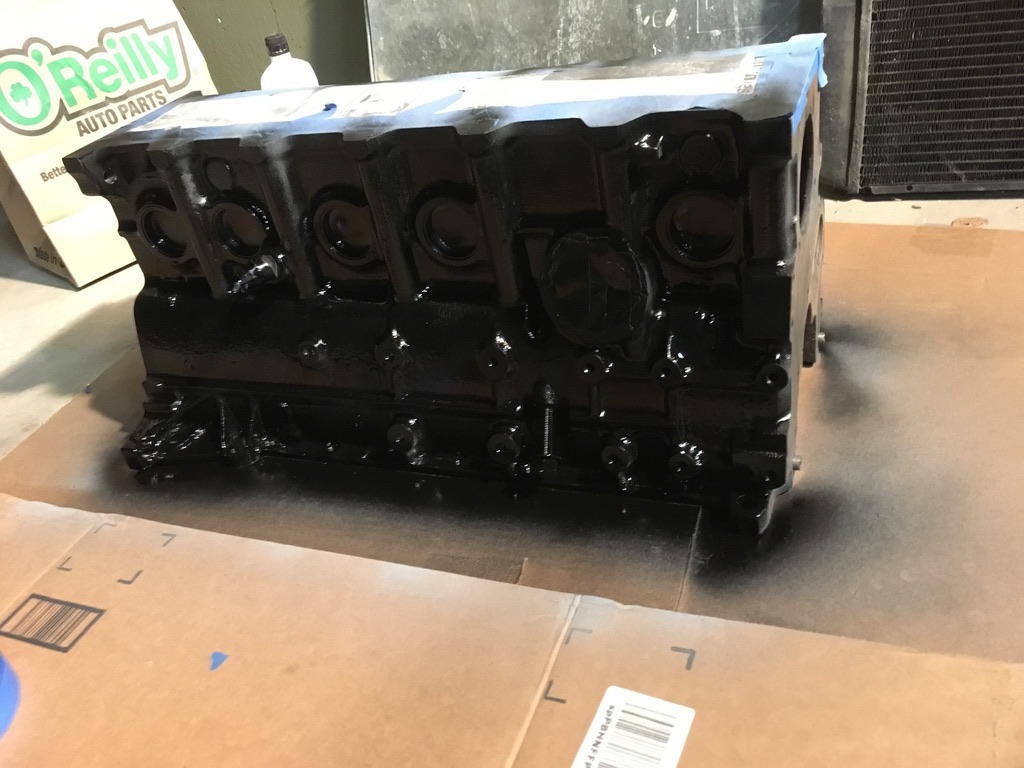
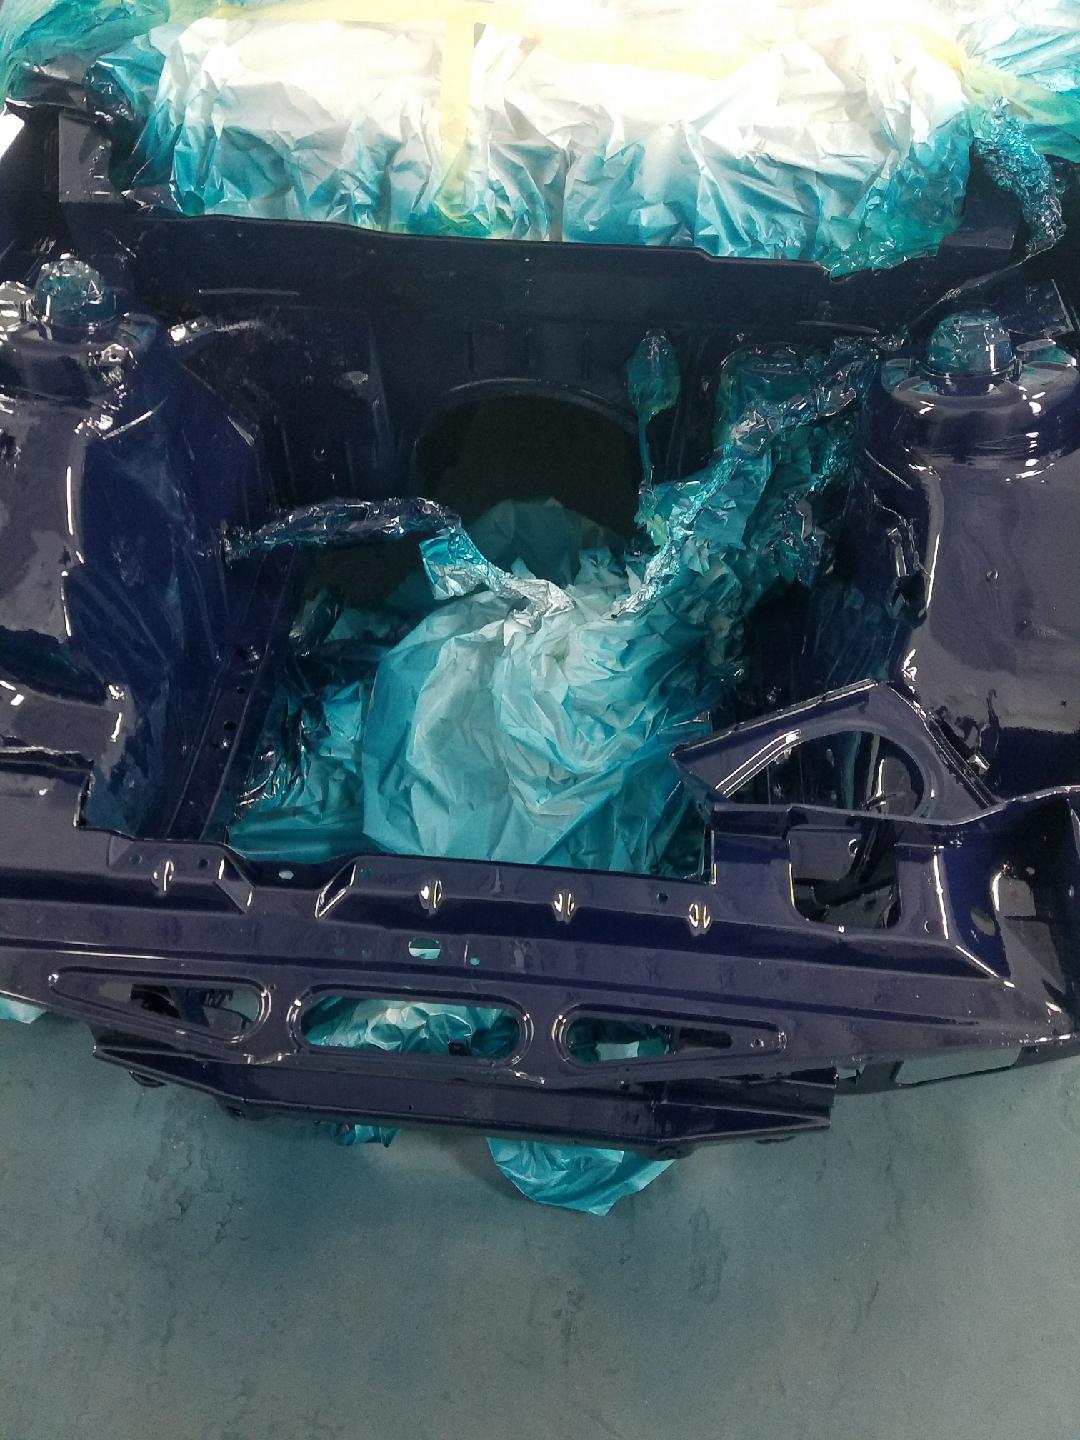
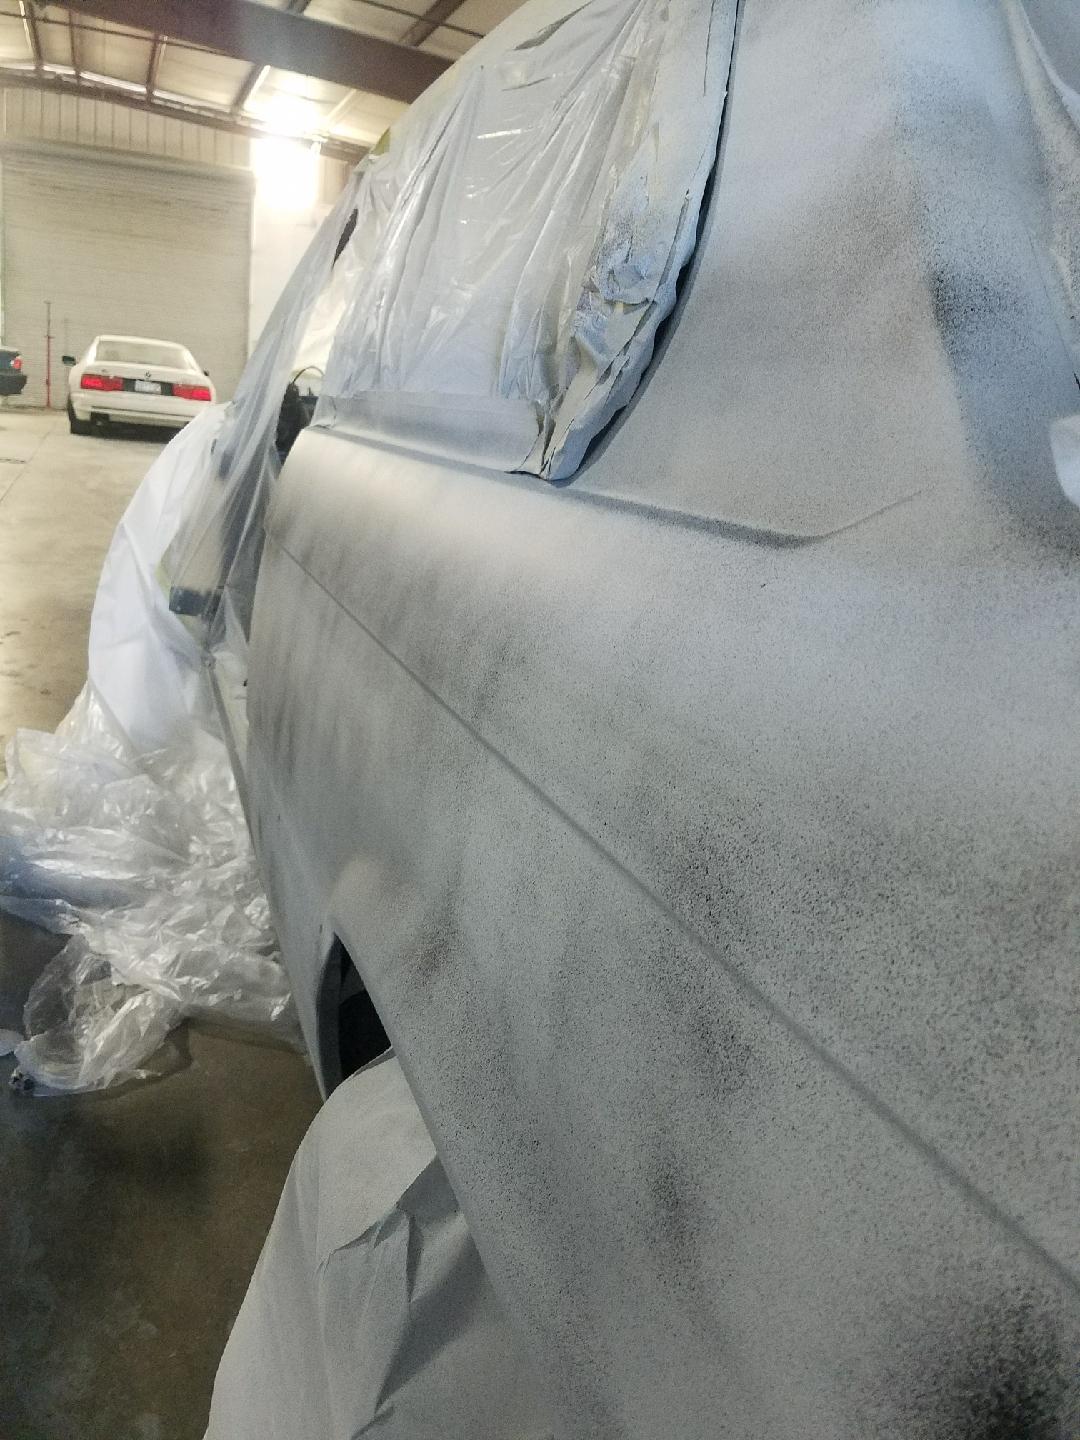 And then finally the shell, including the engine compartment, got painted.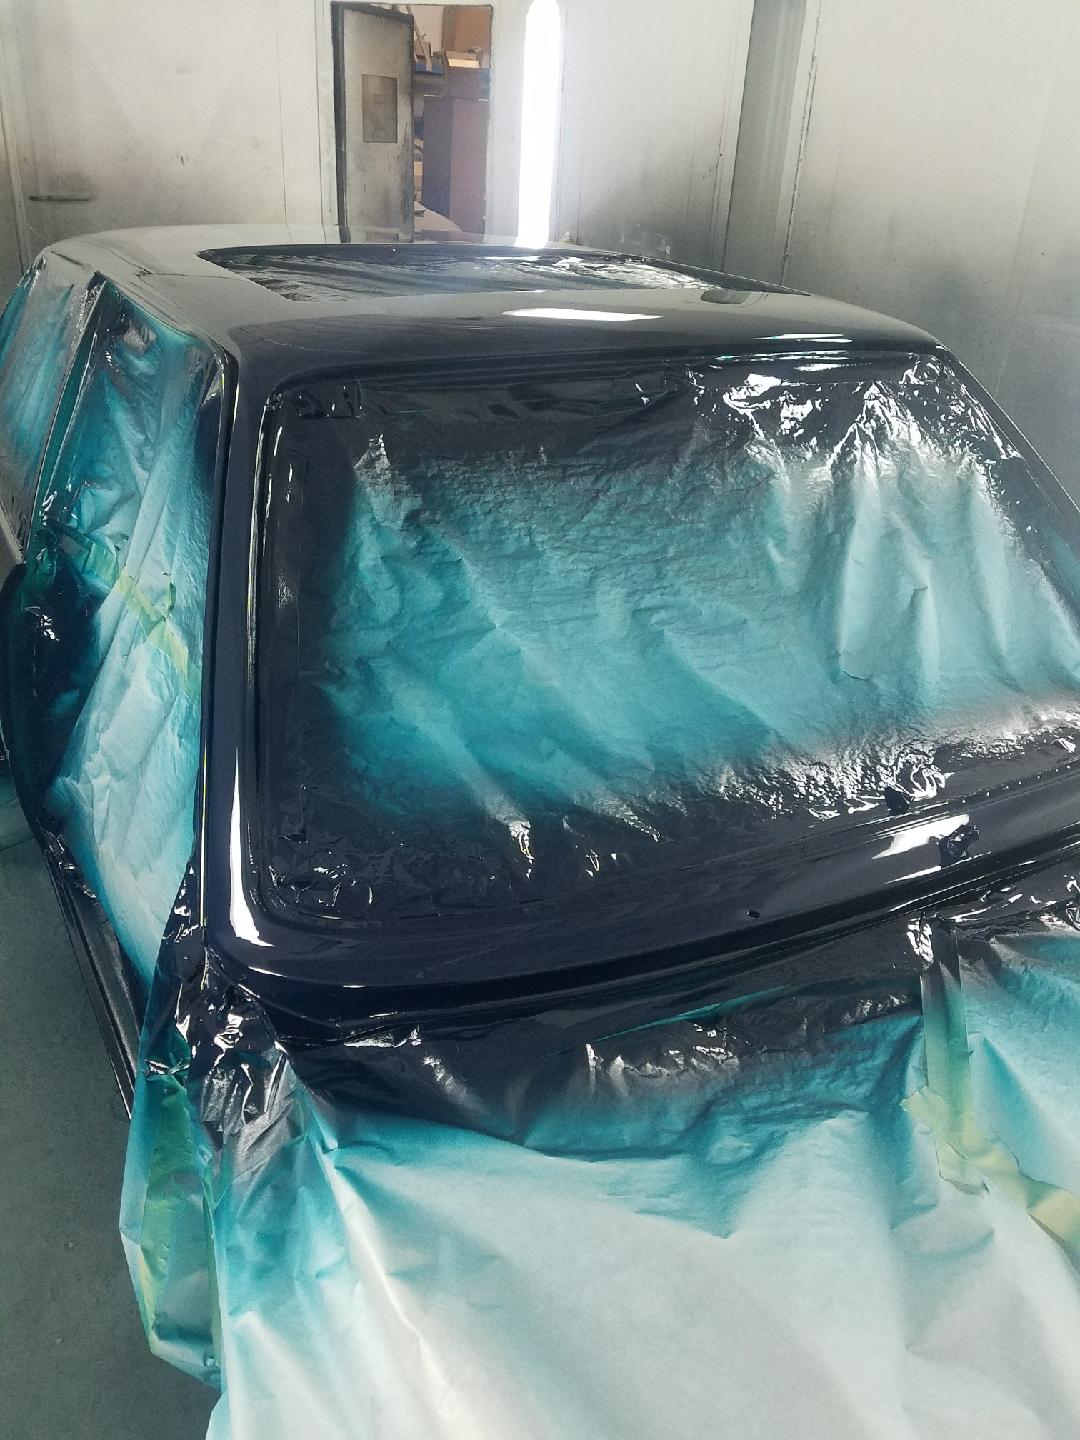
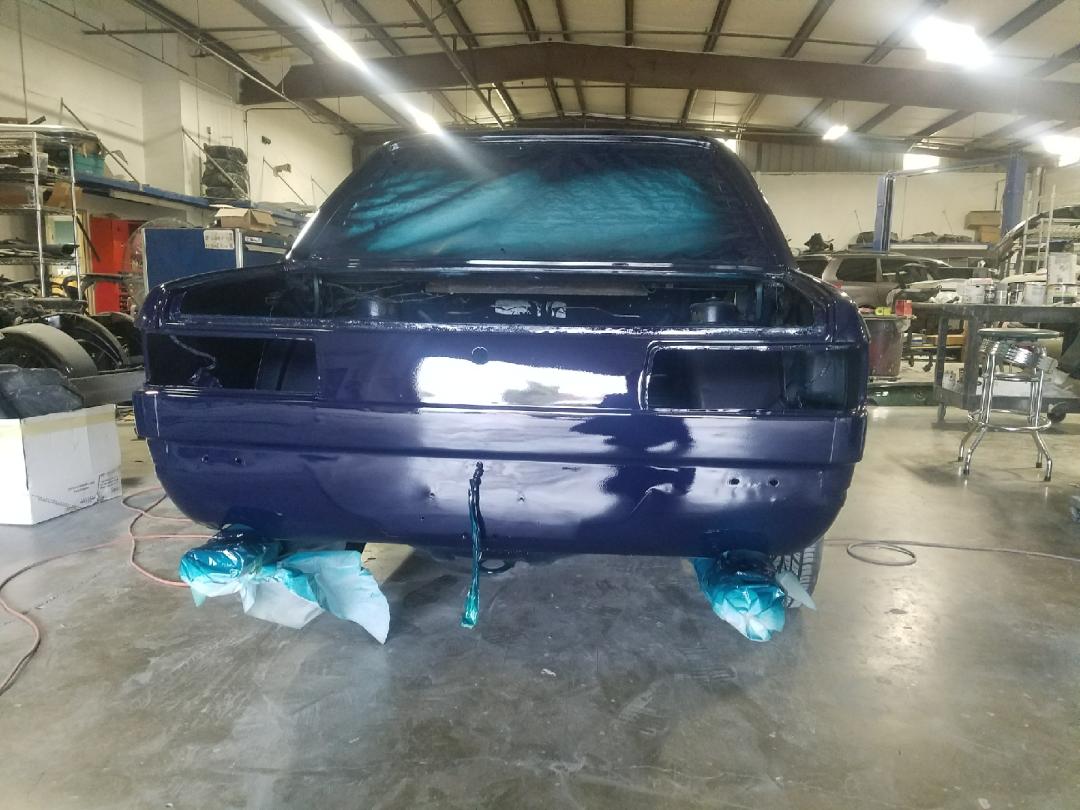
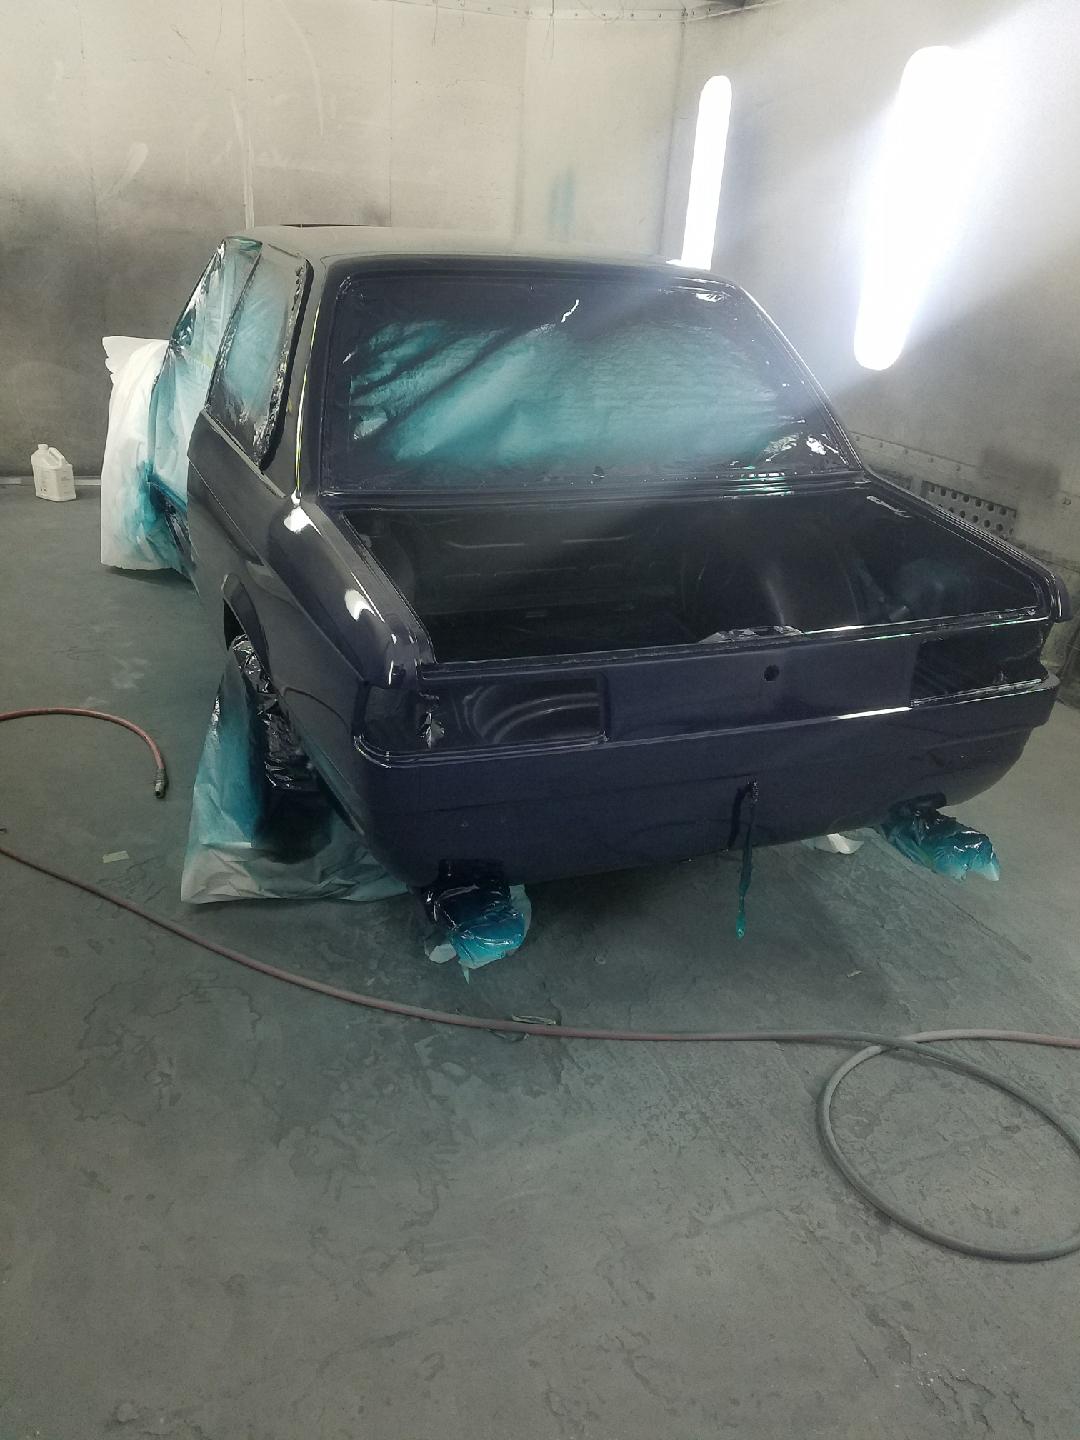
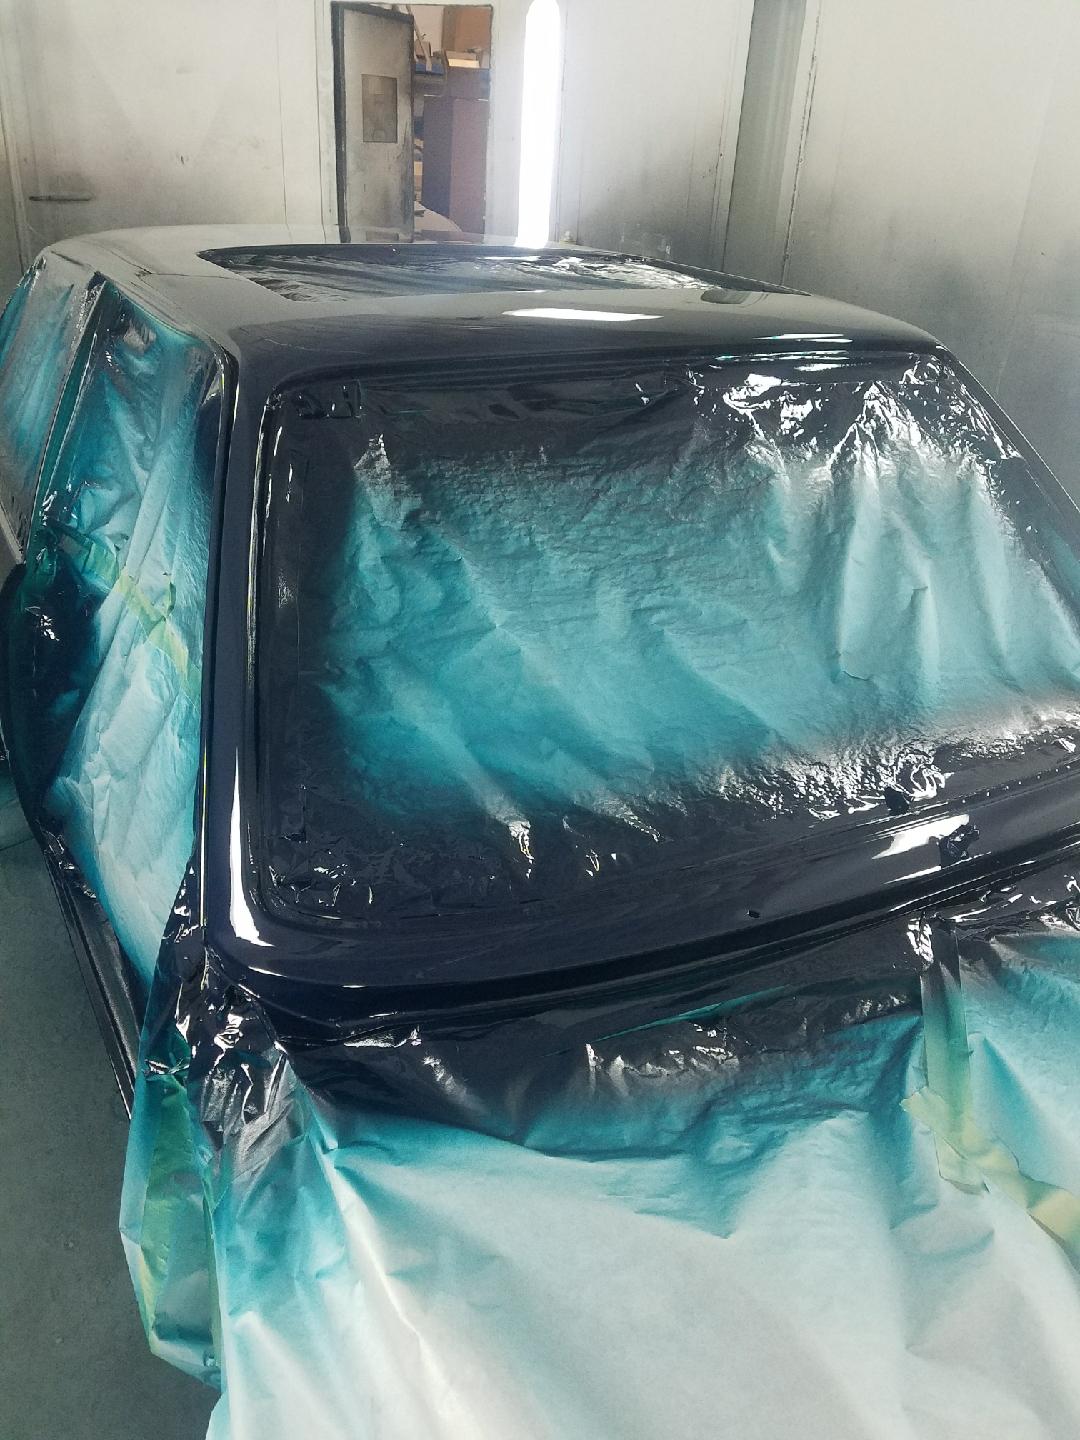 Next? The “new” dash and the glass will be installed and the body re-assembled. And with any luck, “tomorrow” may eventually come and the motor parts will be ready for me to begin assembling the motor.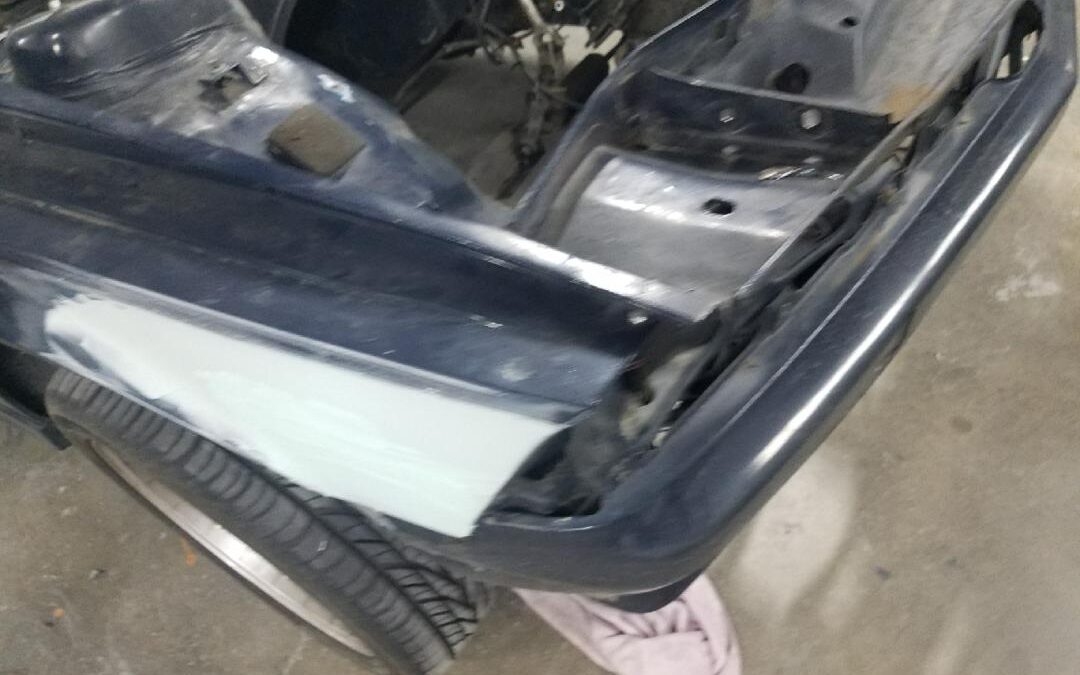
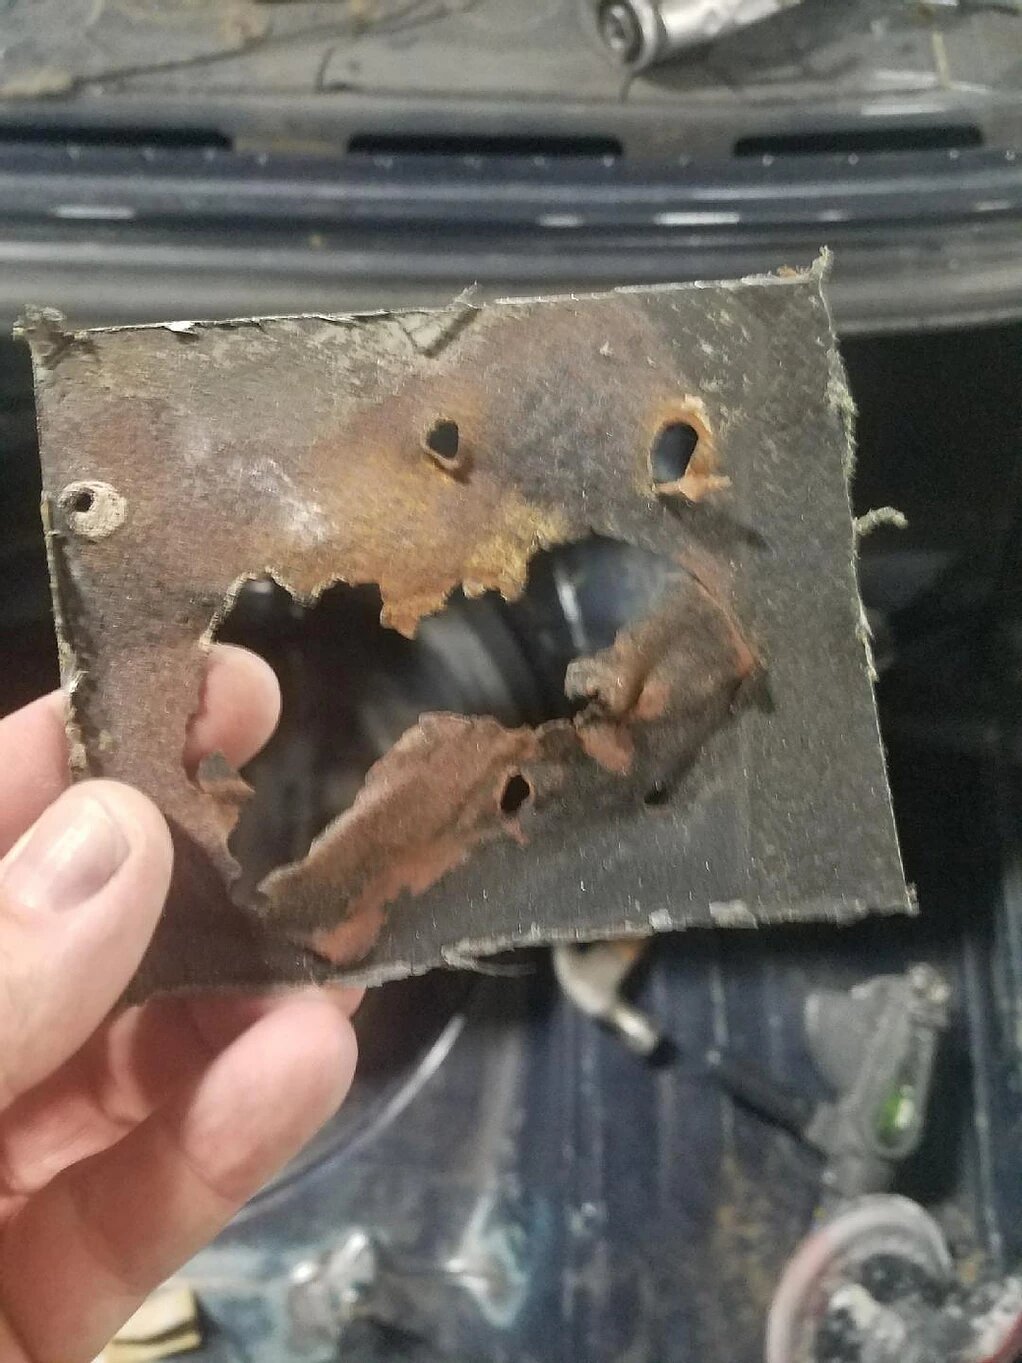
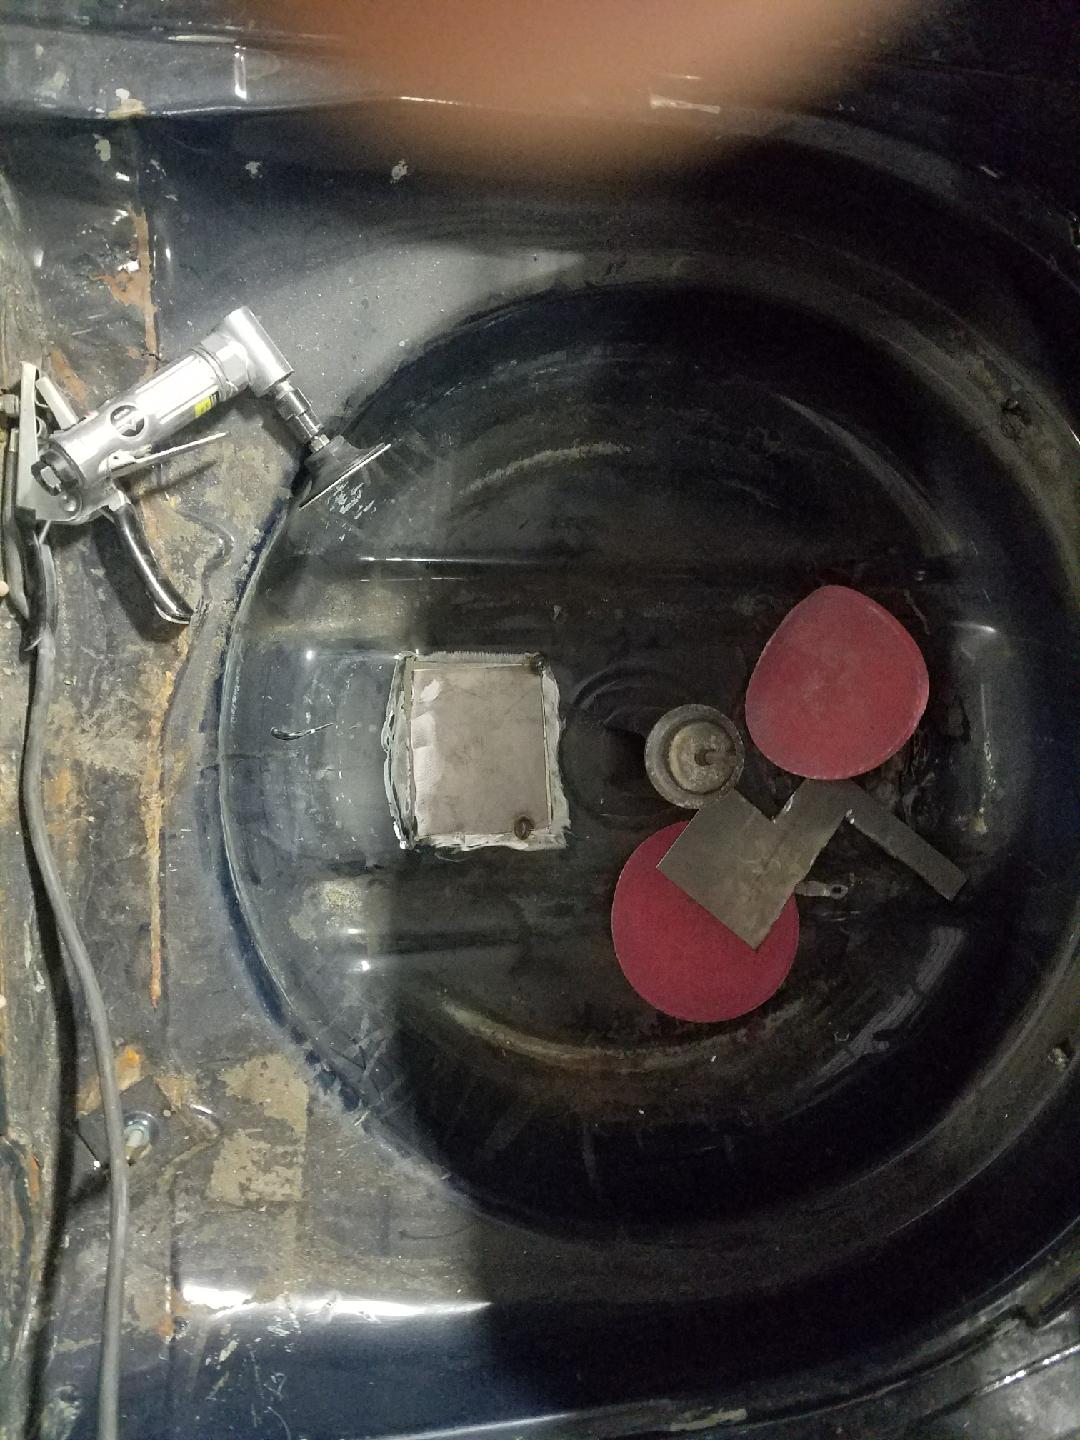
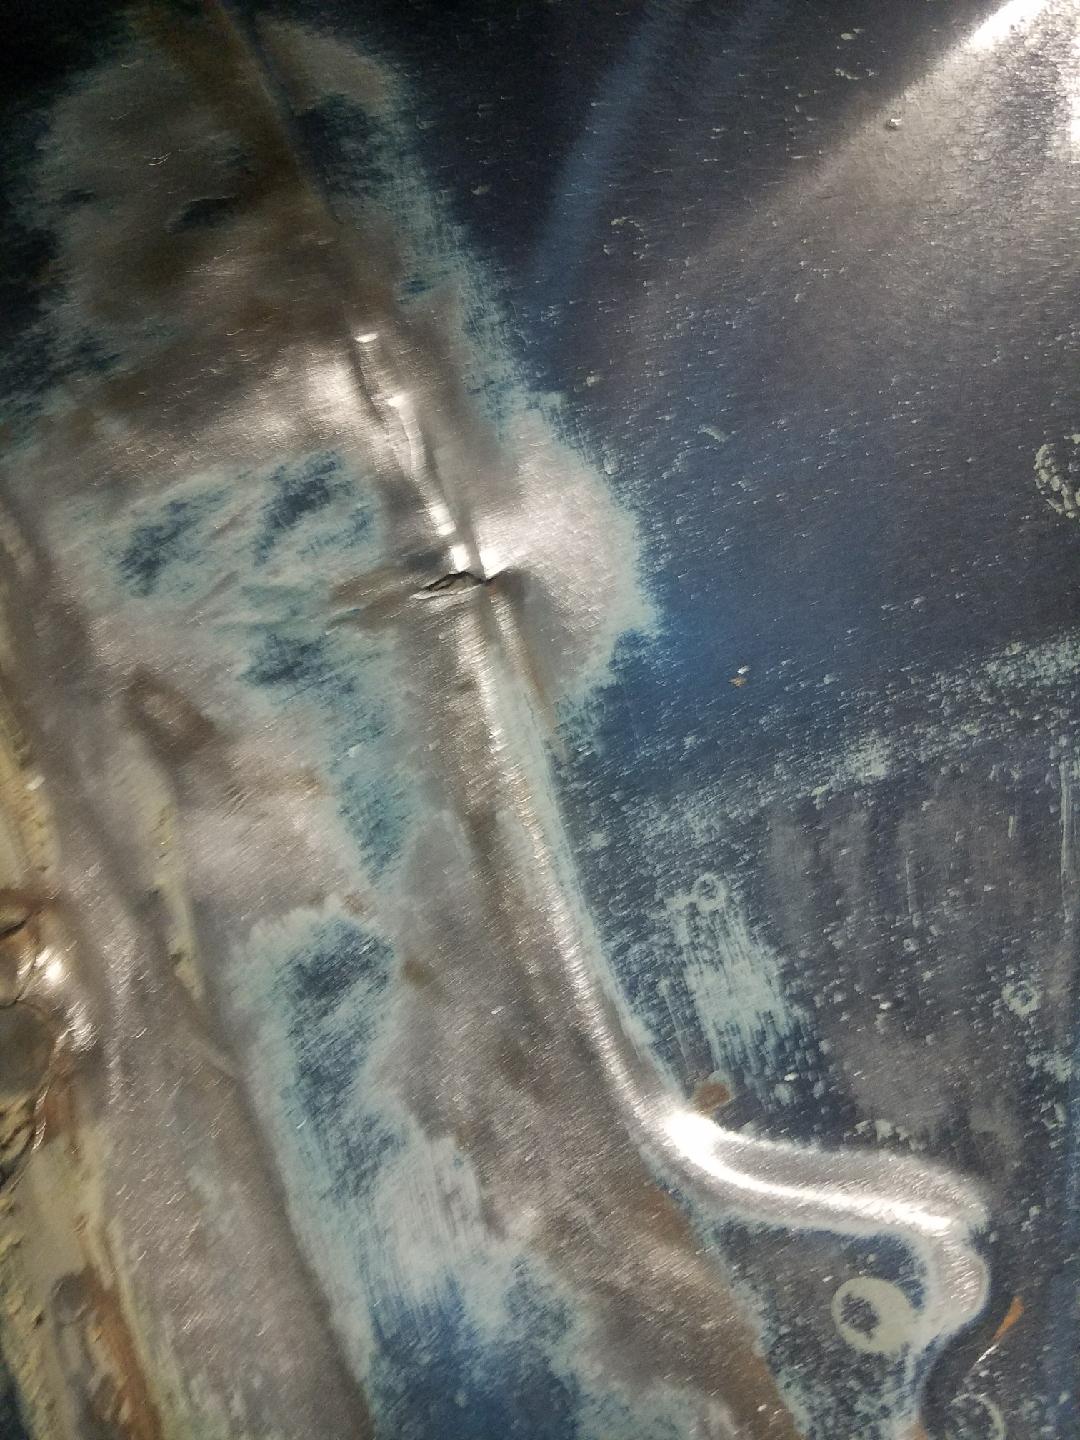
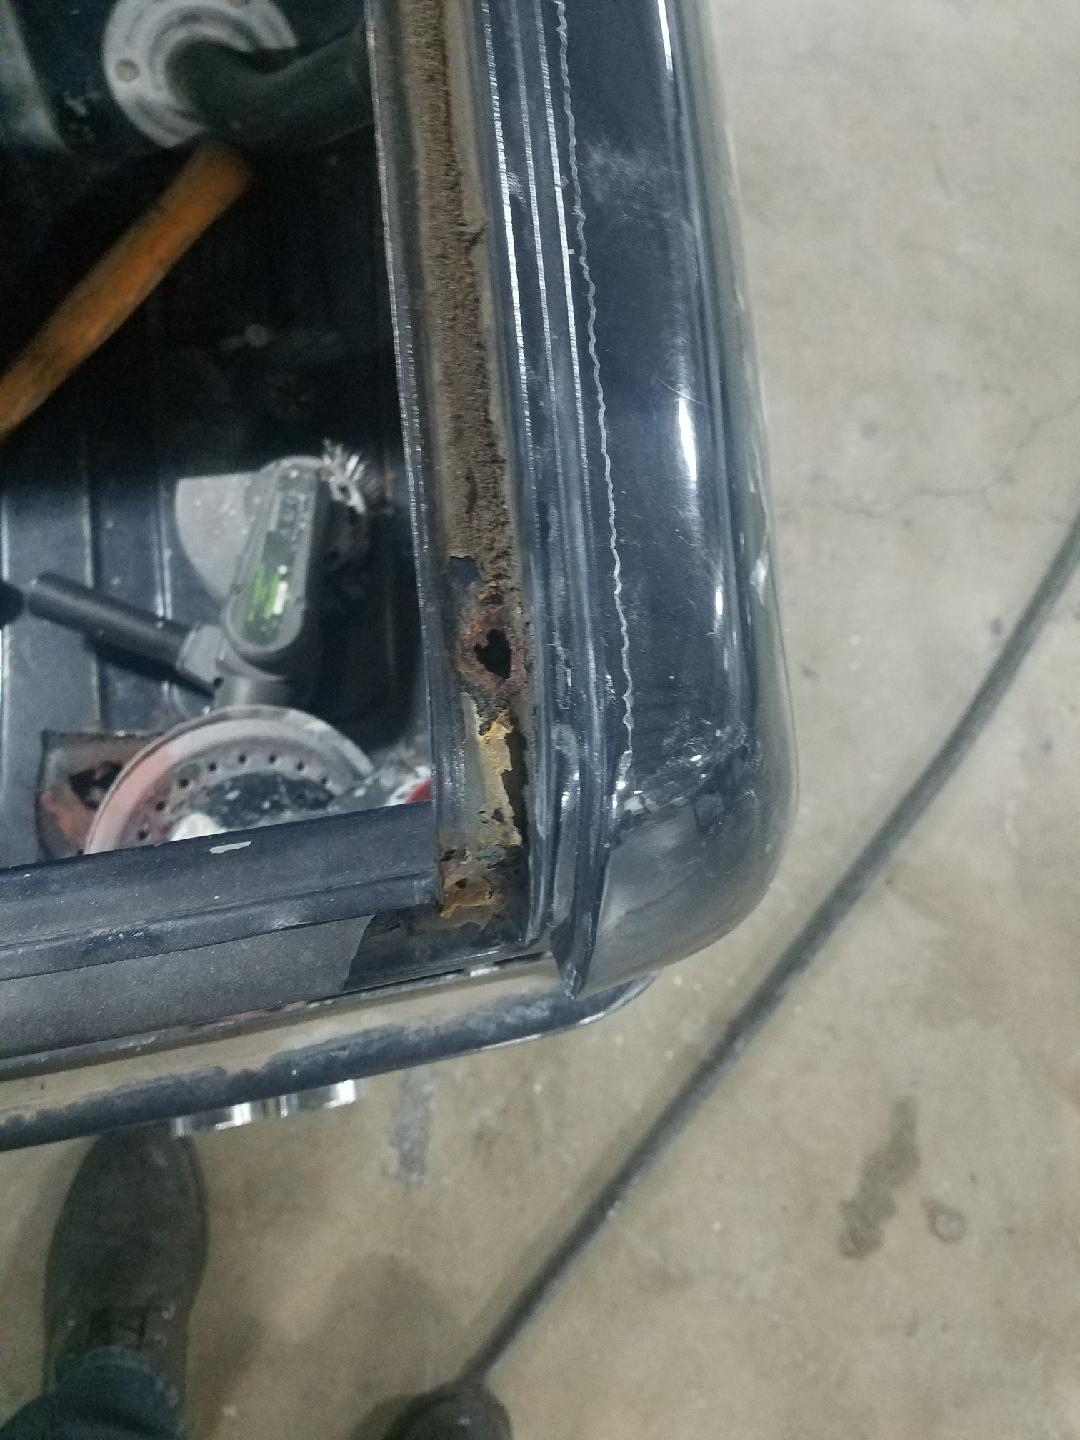 And welded up.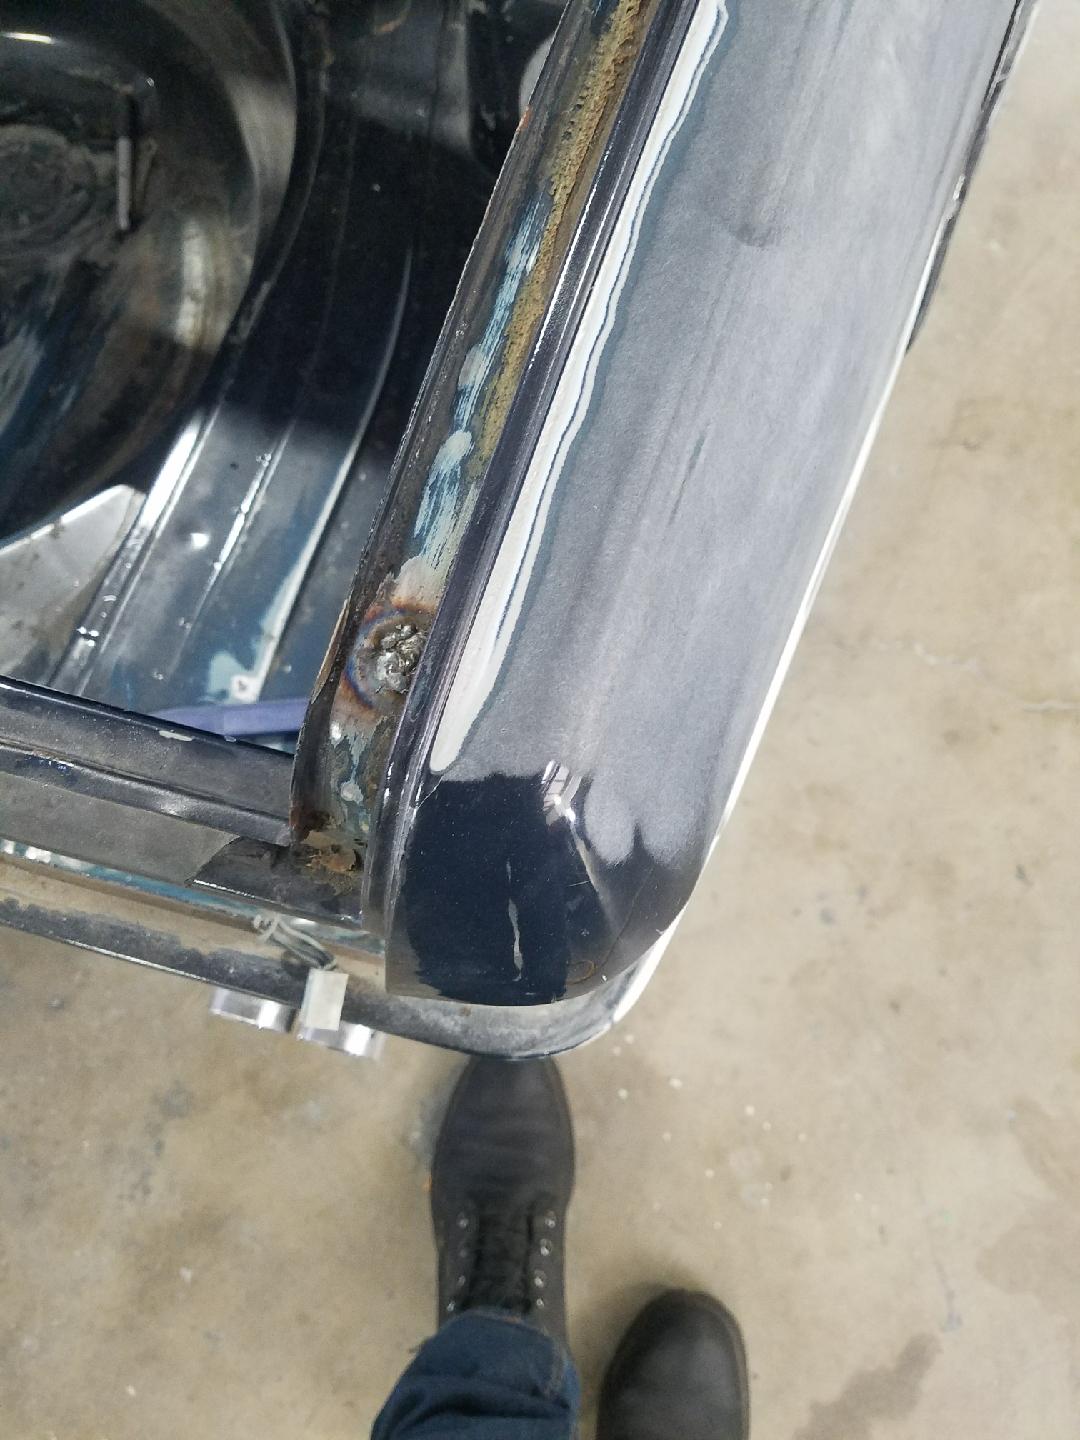
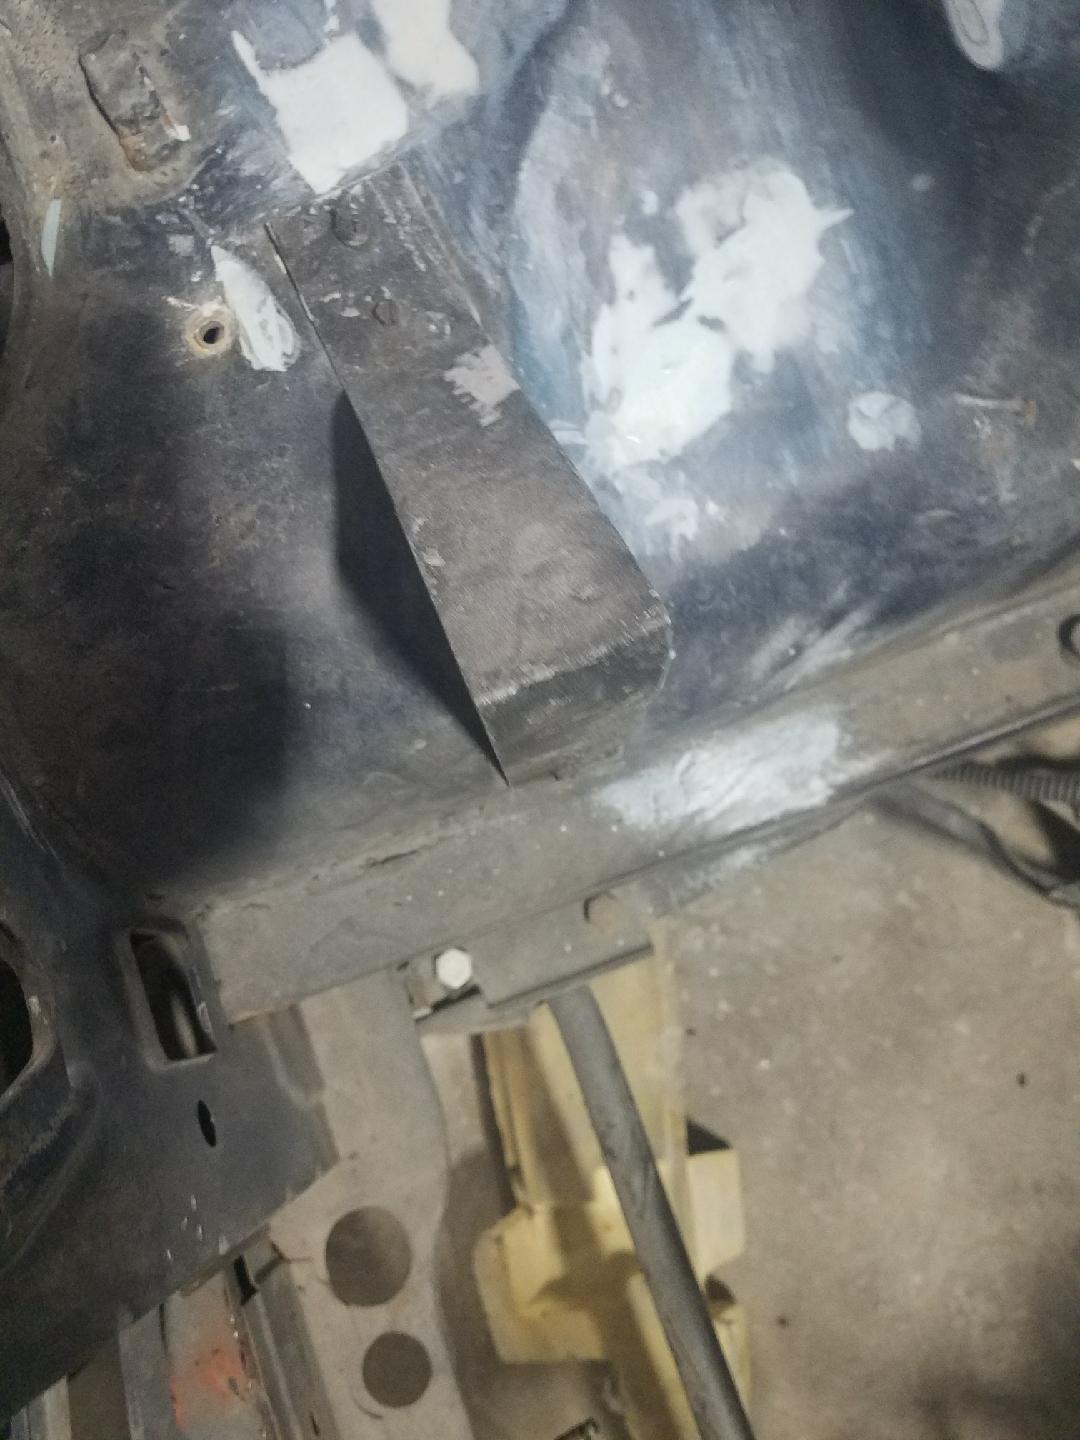
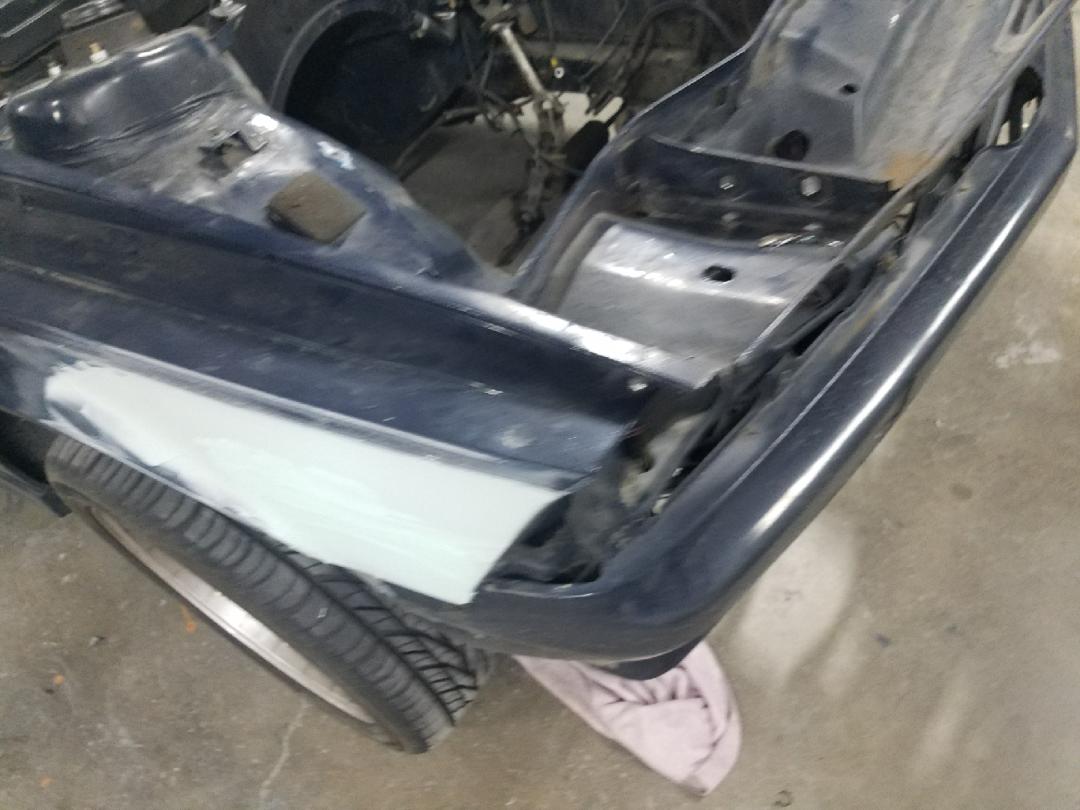
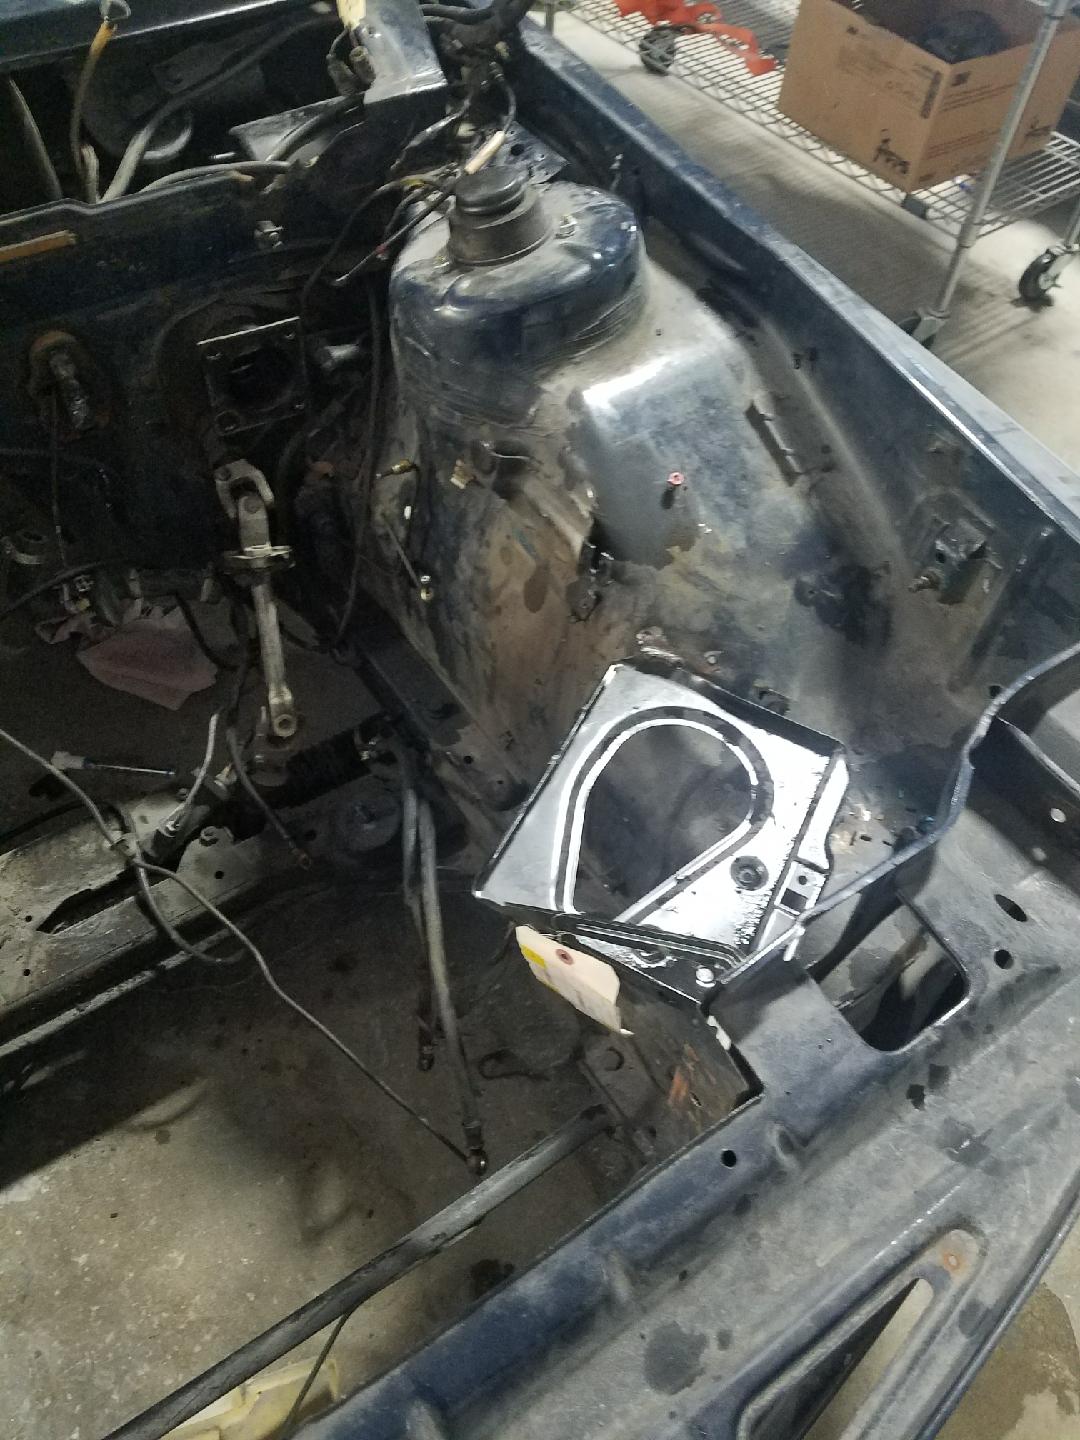 The front fender gets cleaned up, including plugging the holes for the USA sidemarker lights.
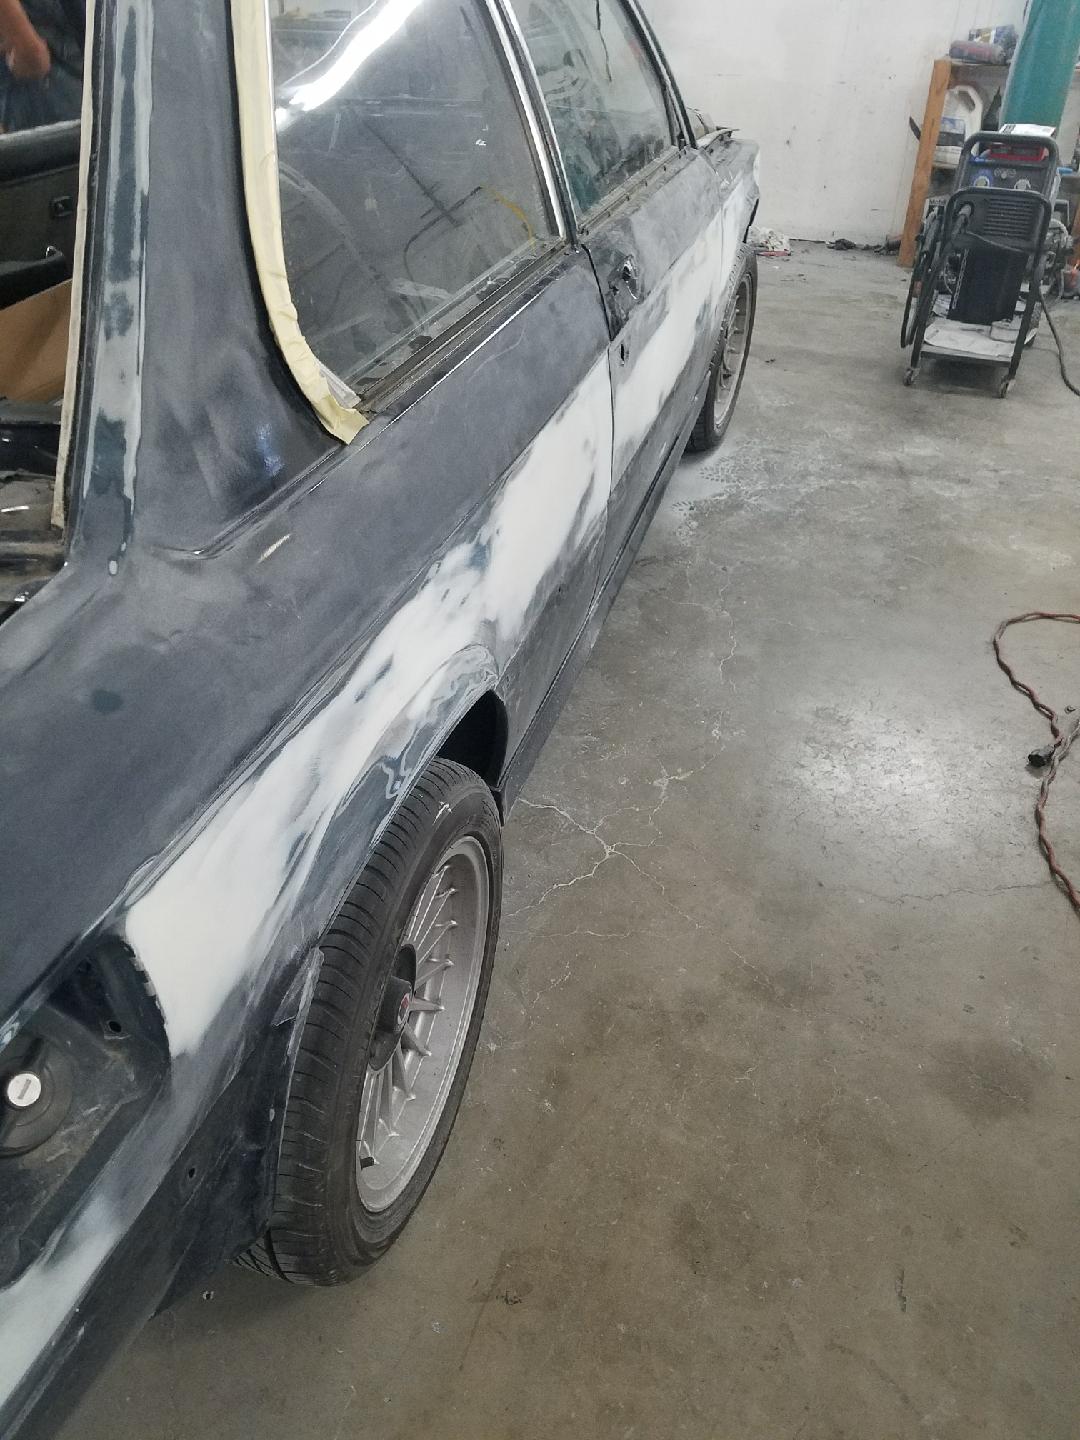
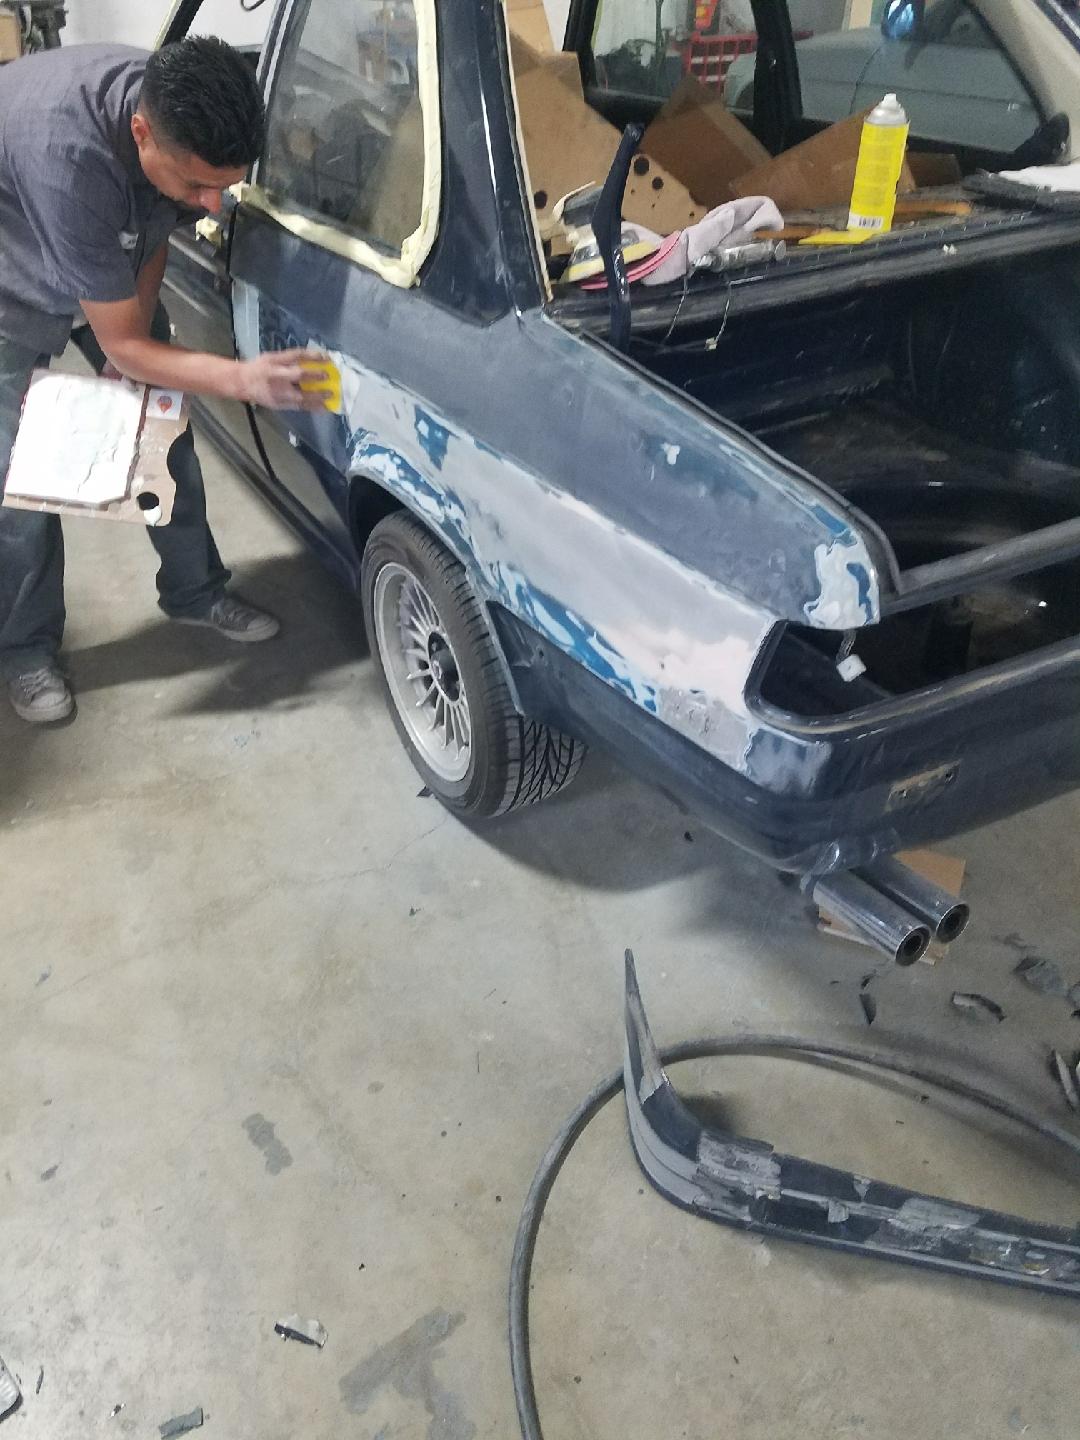
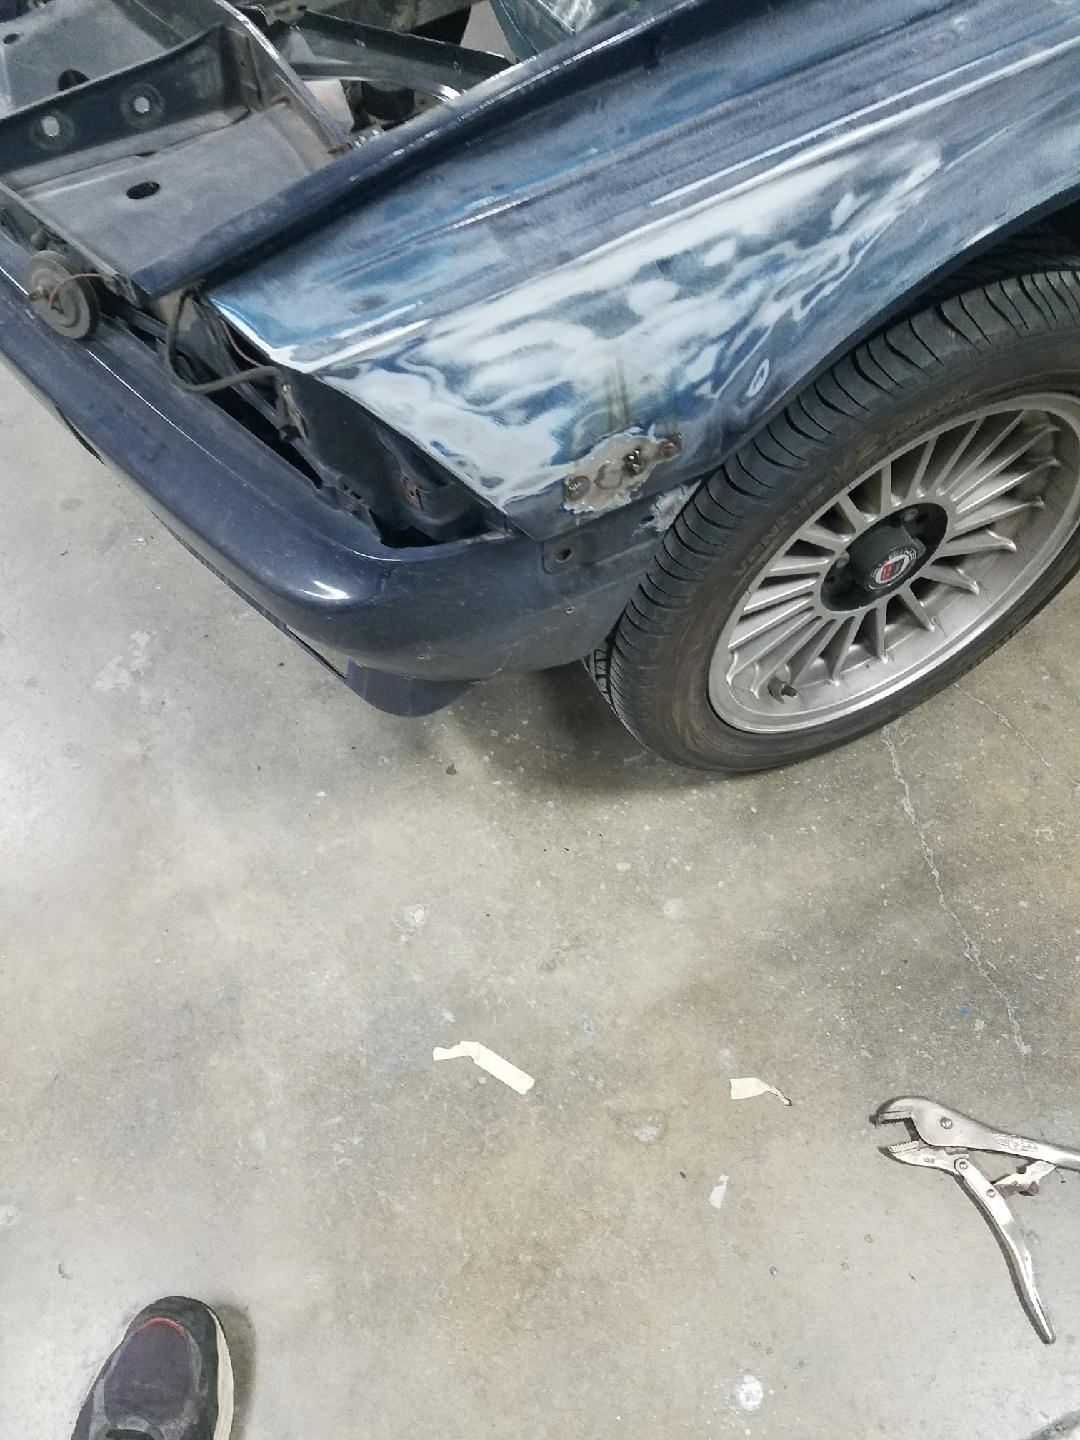 Waves a long the rear fenders and roof are smoothed out.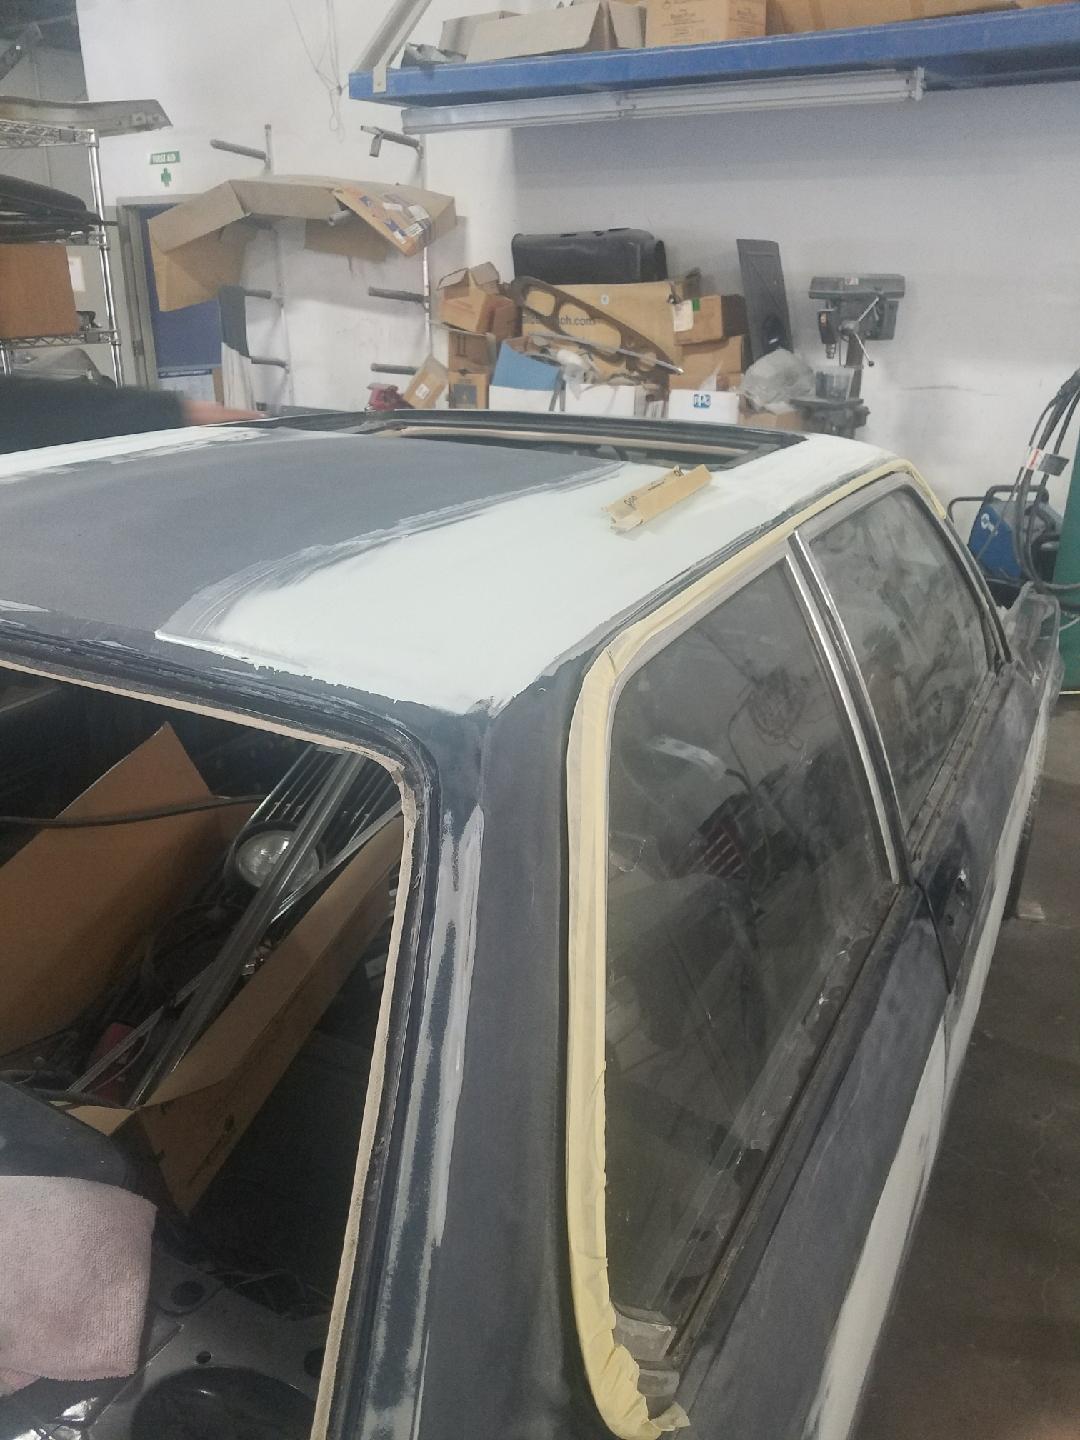
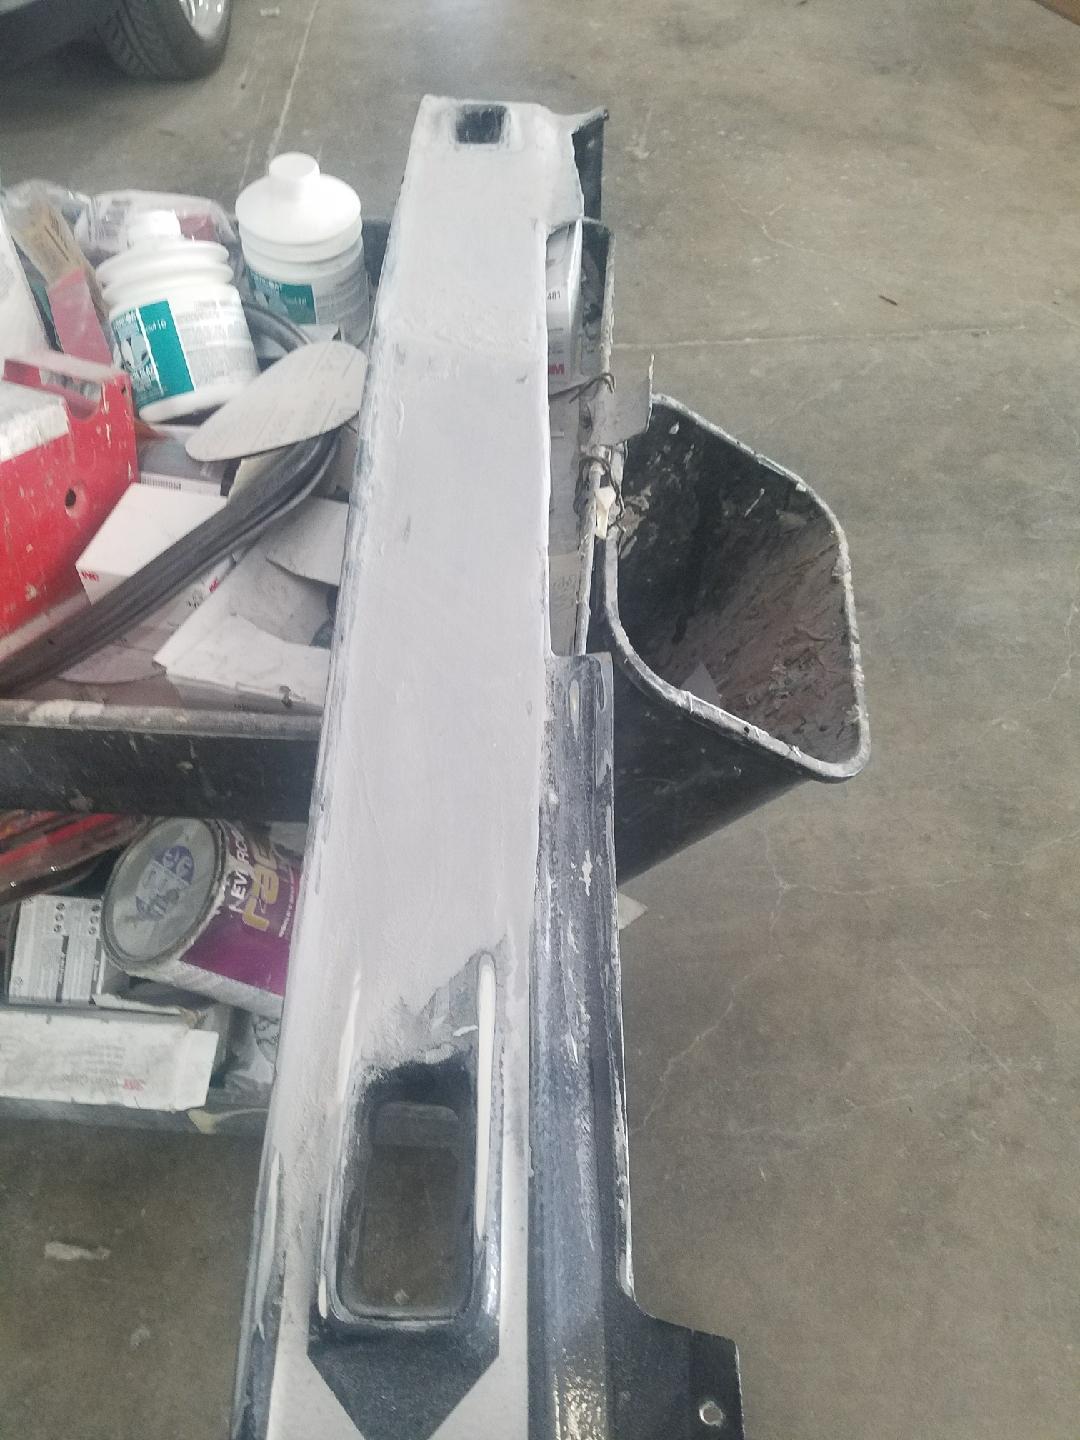
 And the air dam gets cleaned up as well.
 Next up: finish prepping for paint, prime it, and then paint it. The body work has good momentum, I sure hope the motor will start moving along.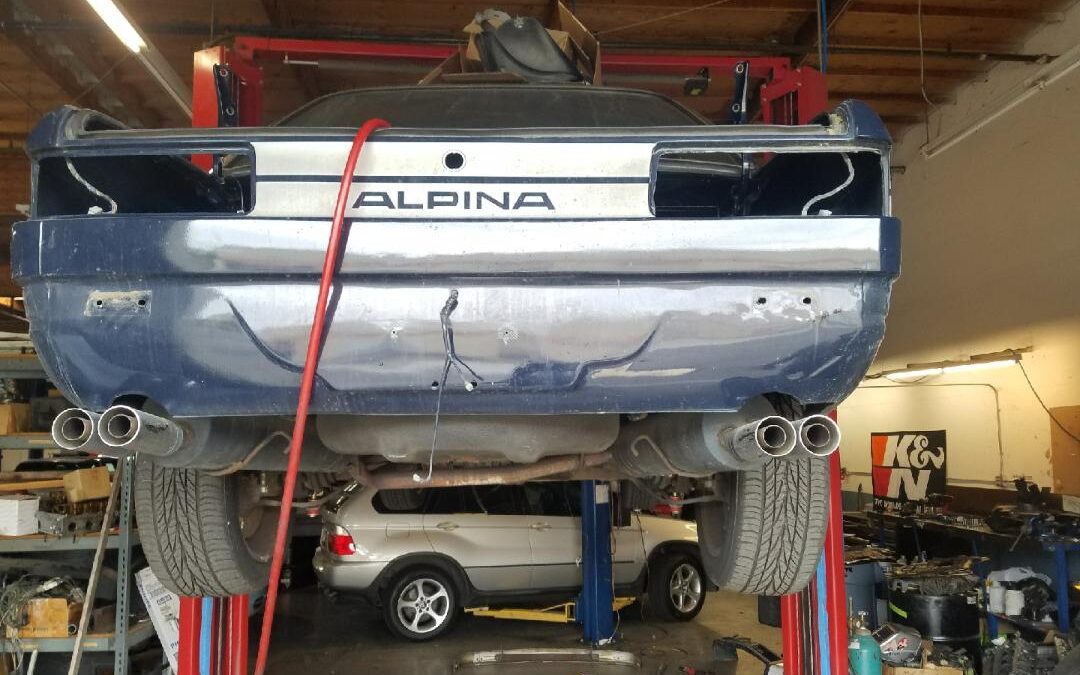
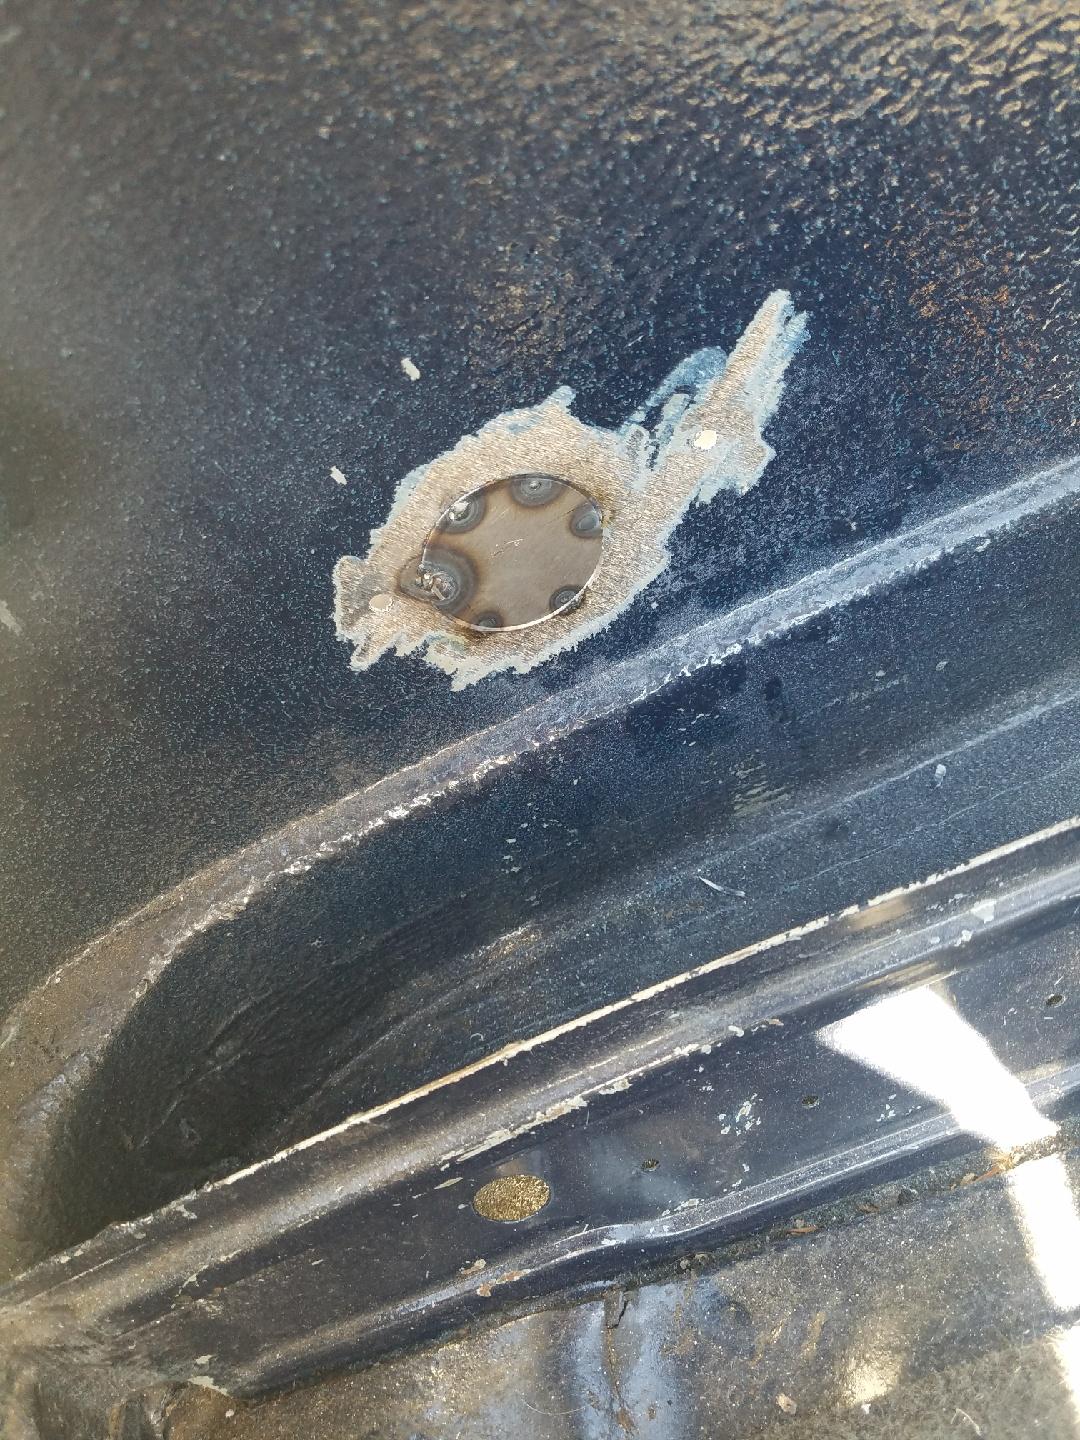
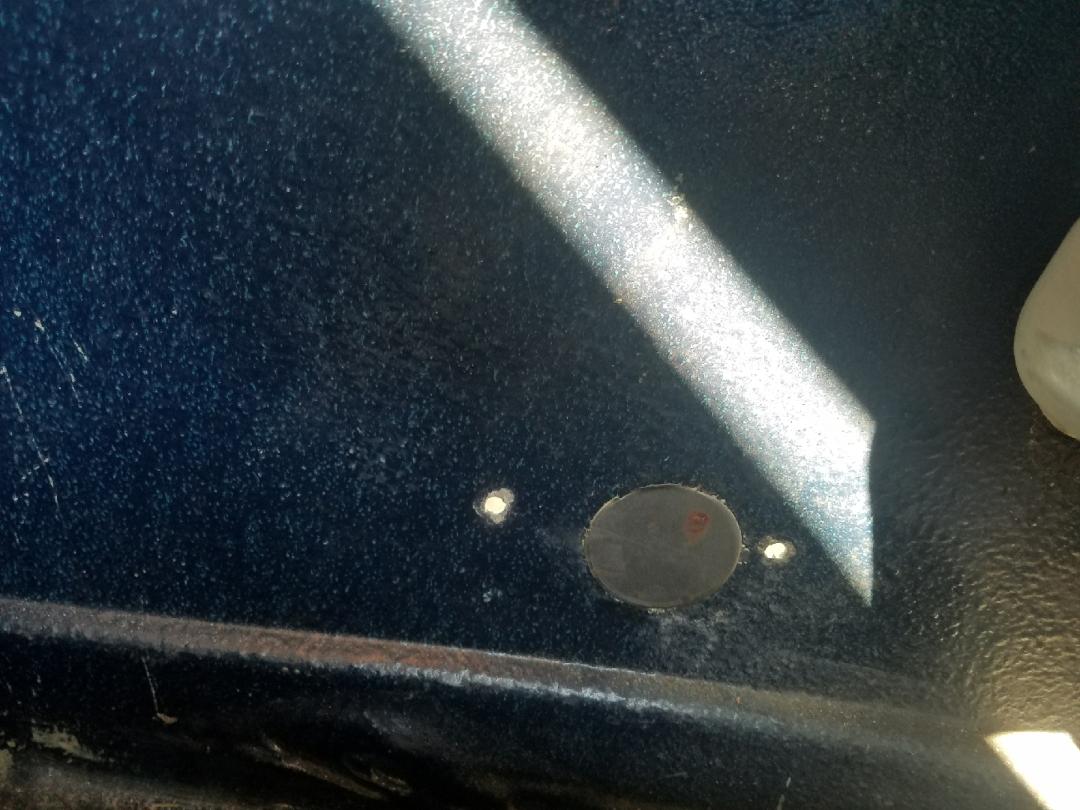
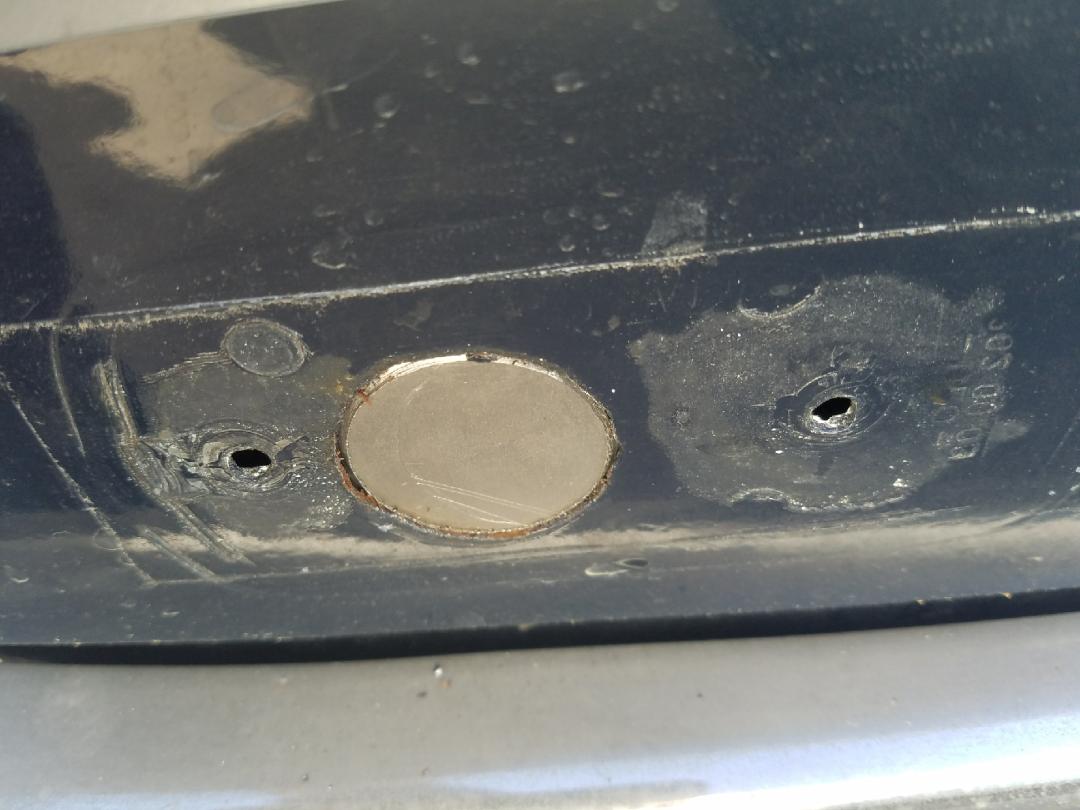 The shock towers had been drilled for a rear strut brace/battery holder that I removed (putting the battery back in the engine compartment).
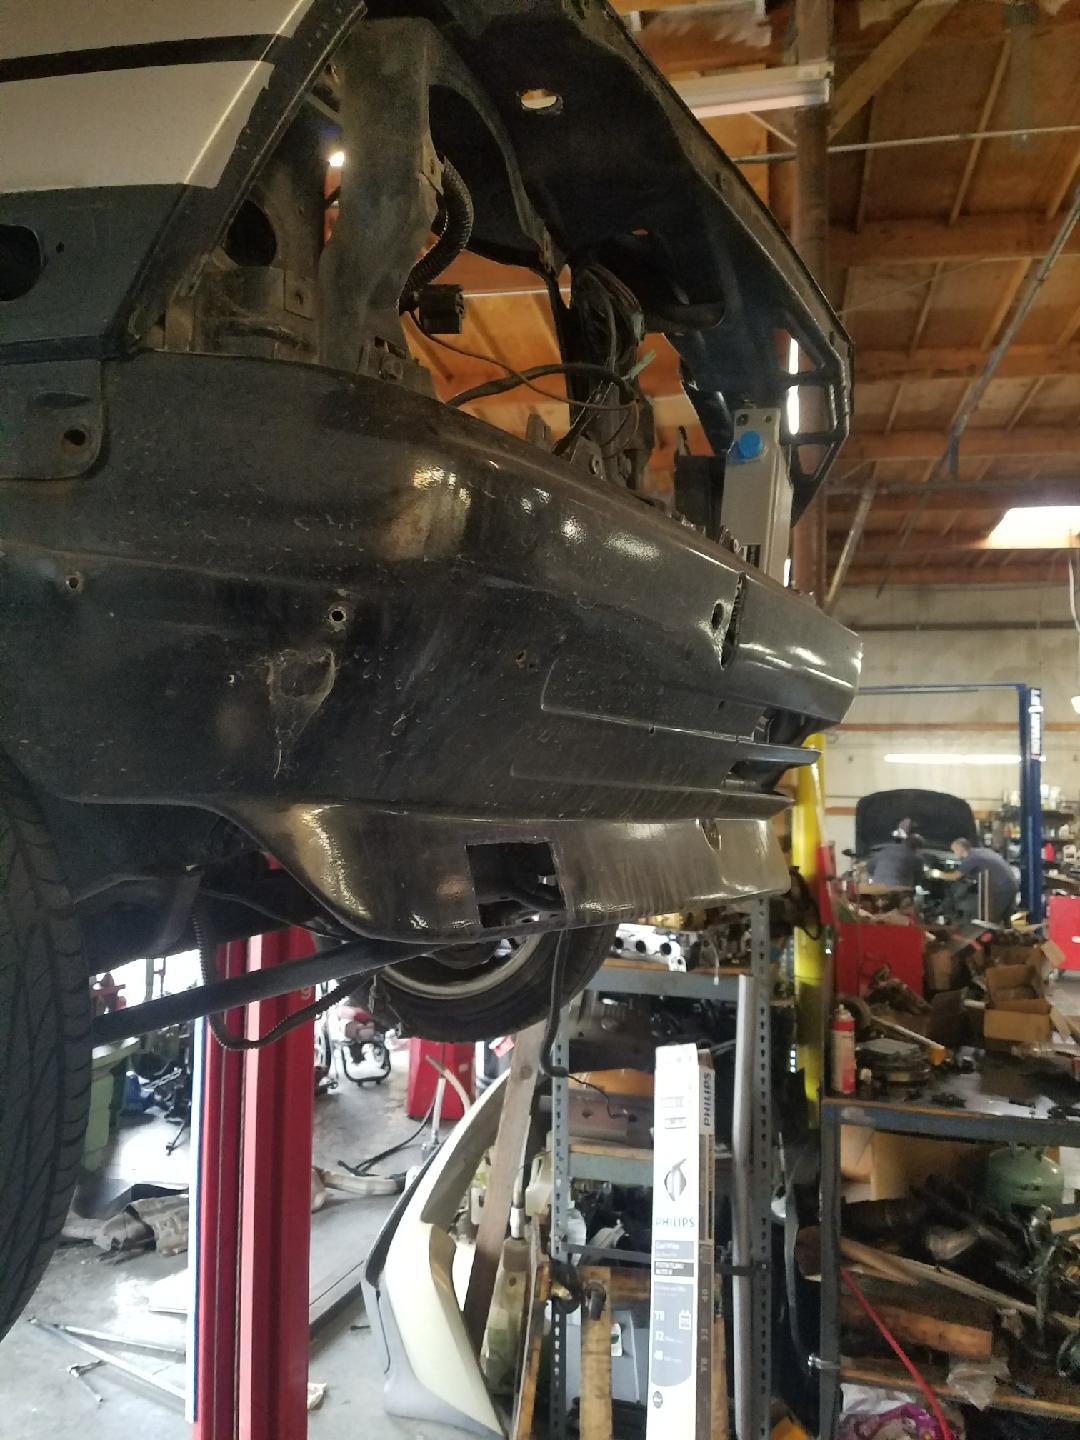
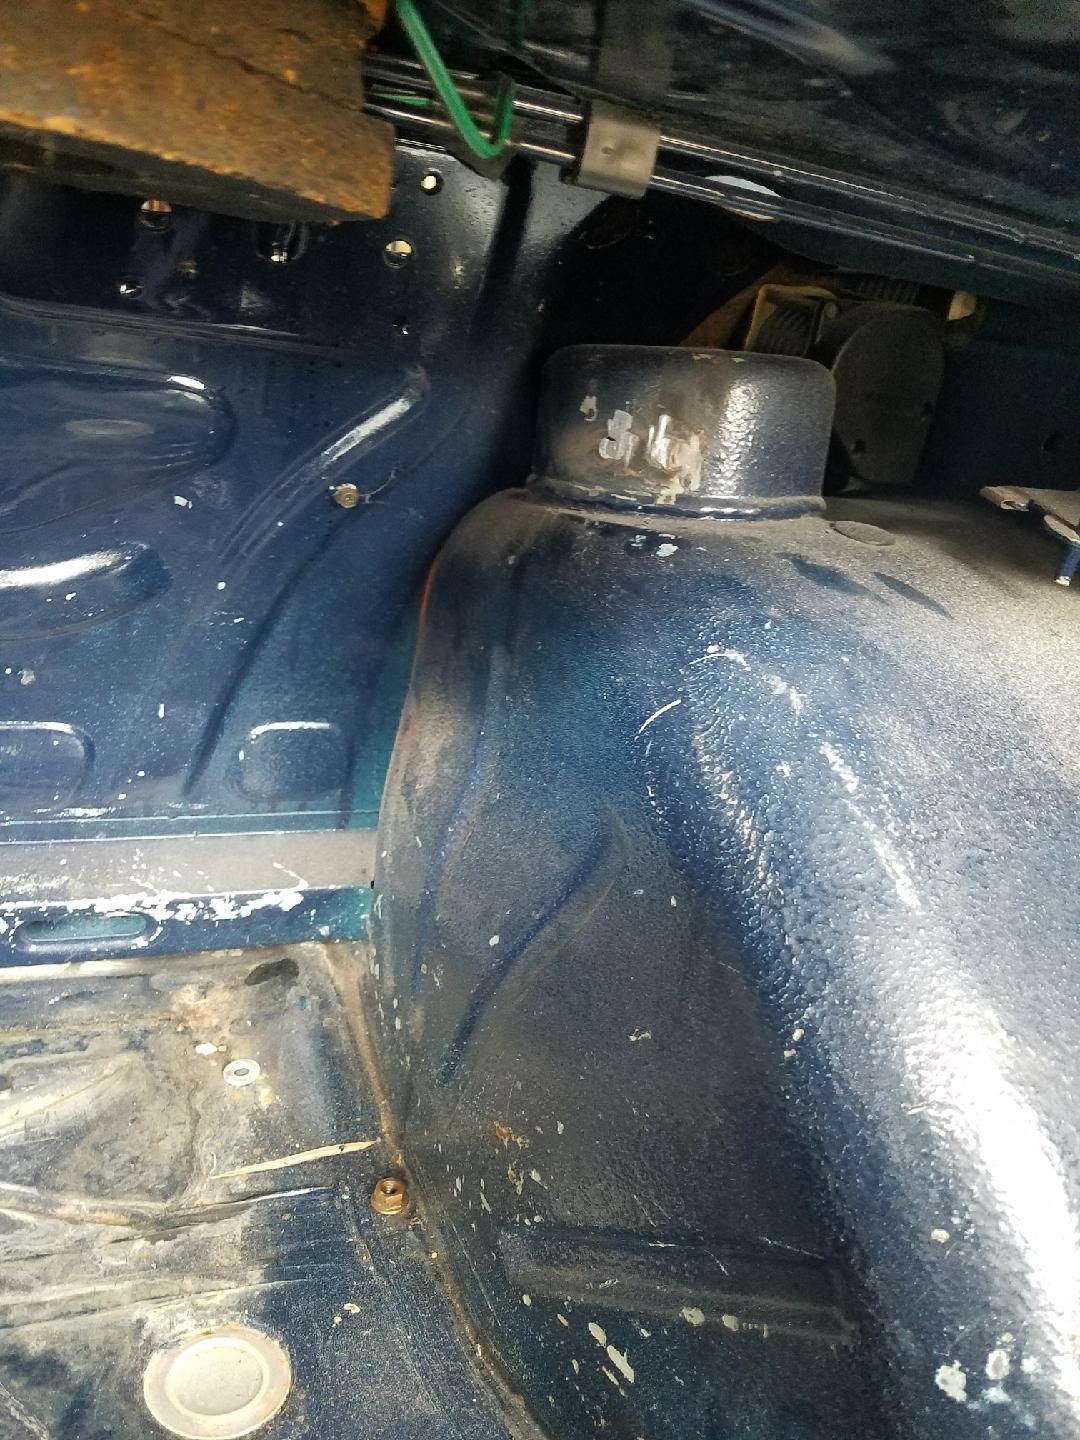 And there were weird holes drilled in various places, including in the engine compartment near the VIN plate; what those holes were for is another mystery (I thought it might be for an Alpina VIN plate, but it didn’t fit the spacing of the holes).
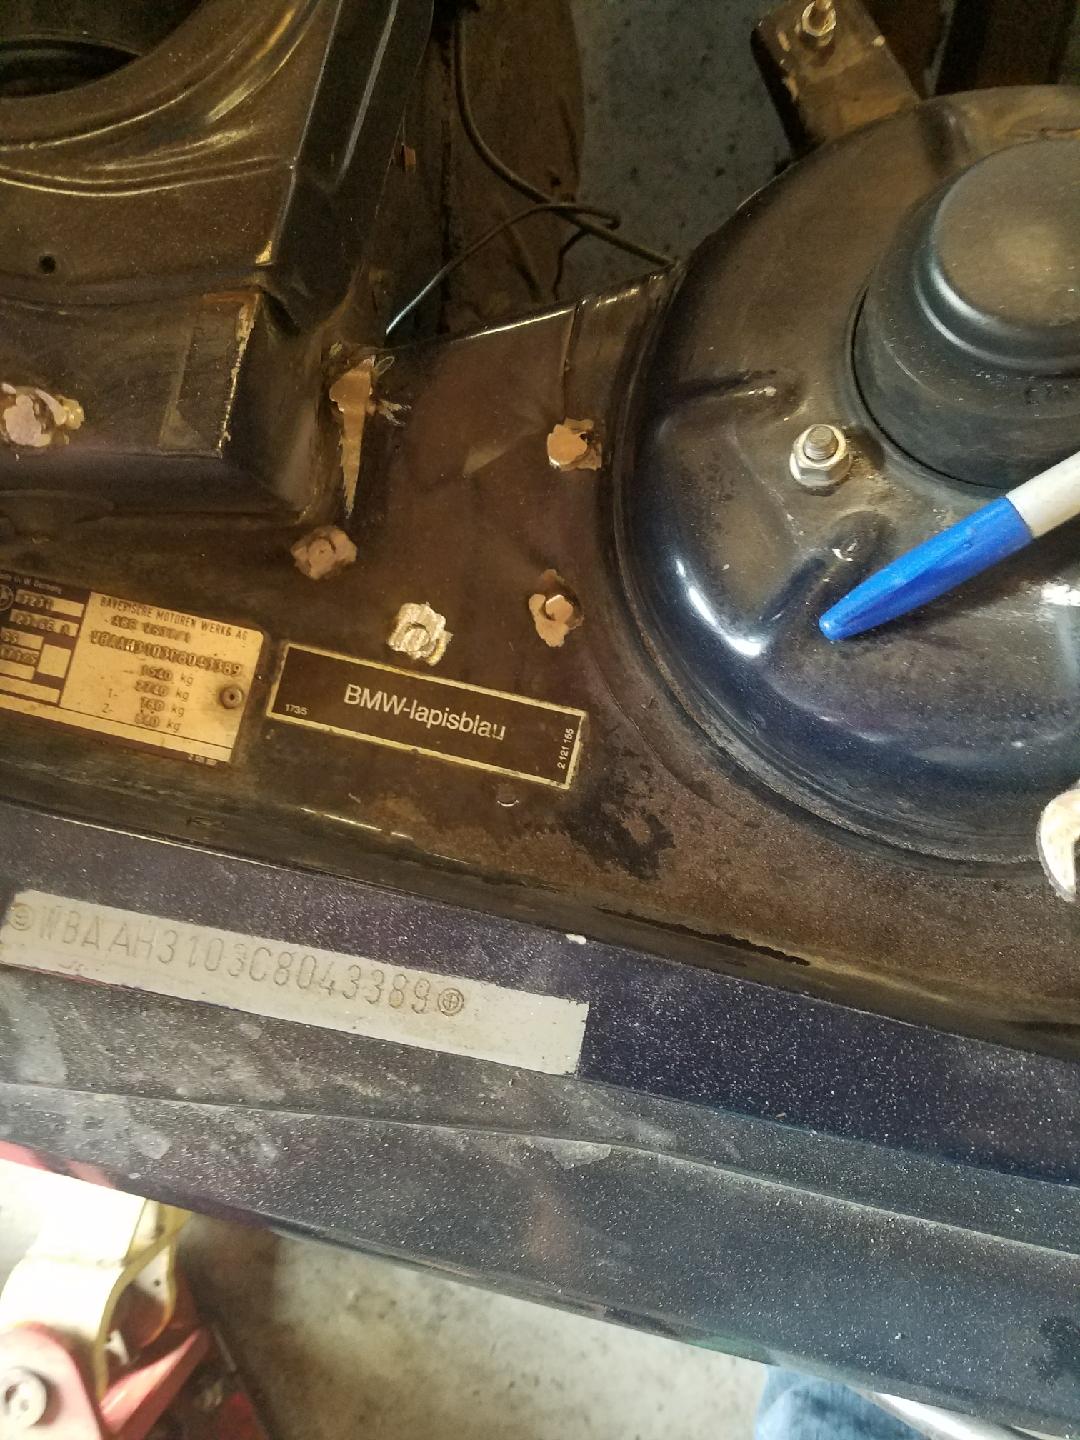 Bits of rust – typical for a 1980s BMW, even one that spent it’s whole life in California – and other imperfections are taken care of.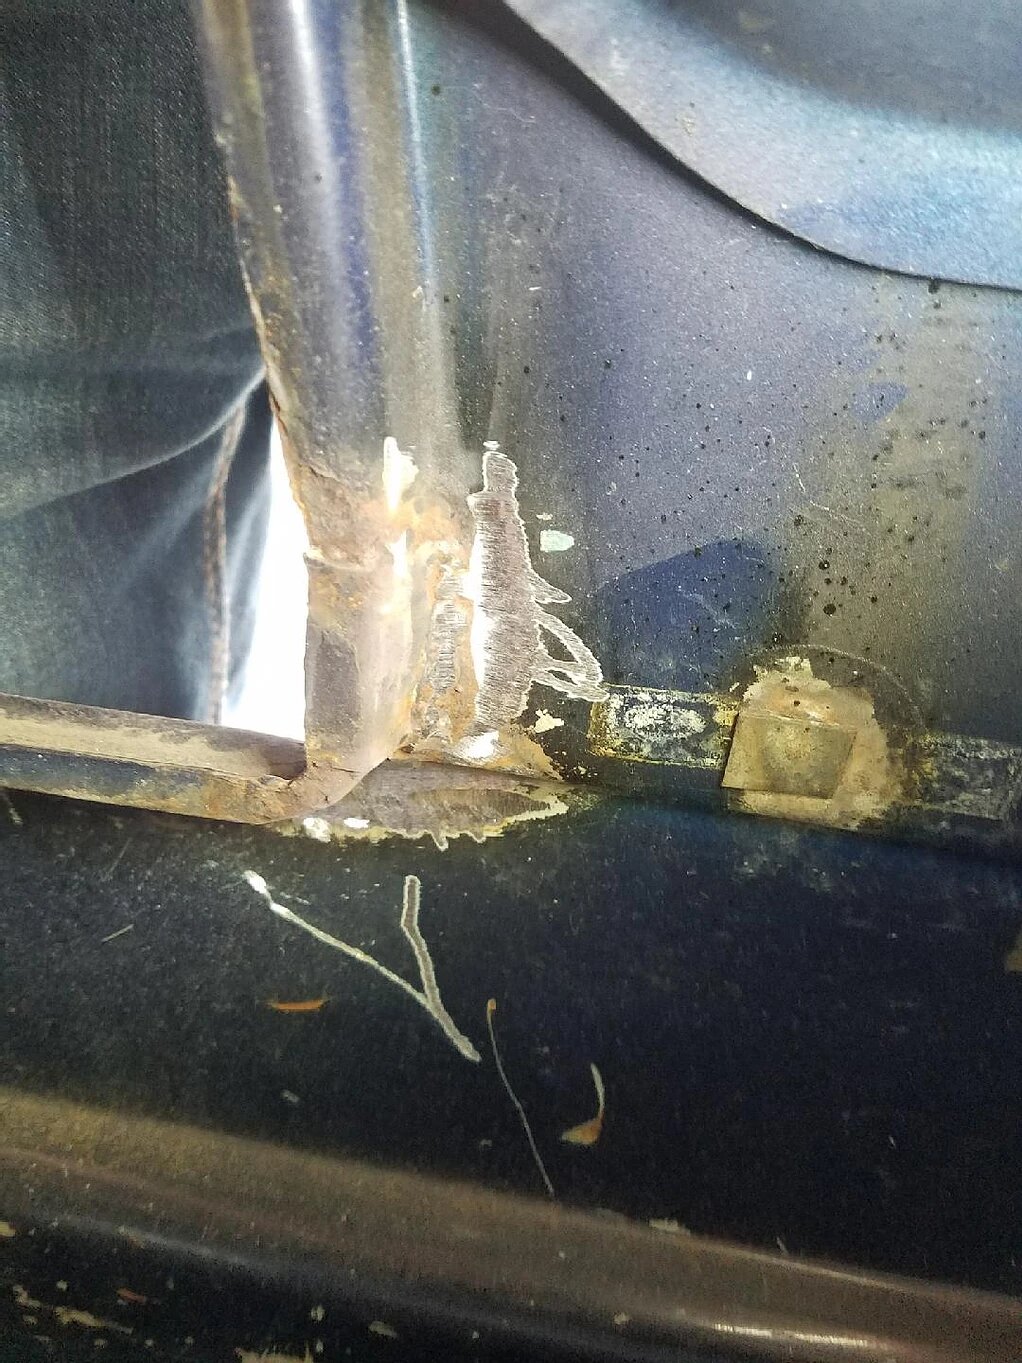
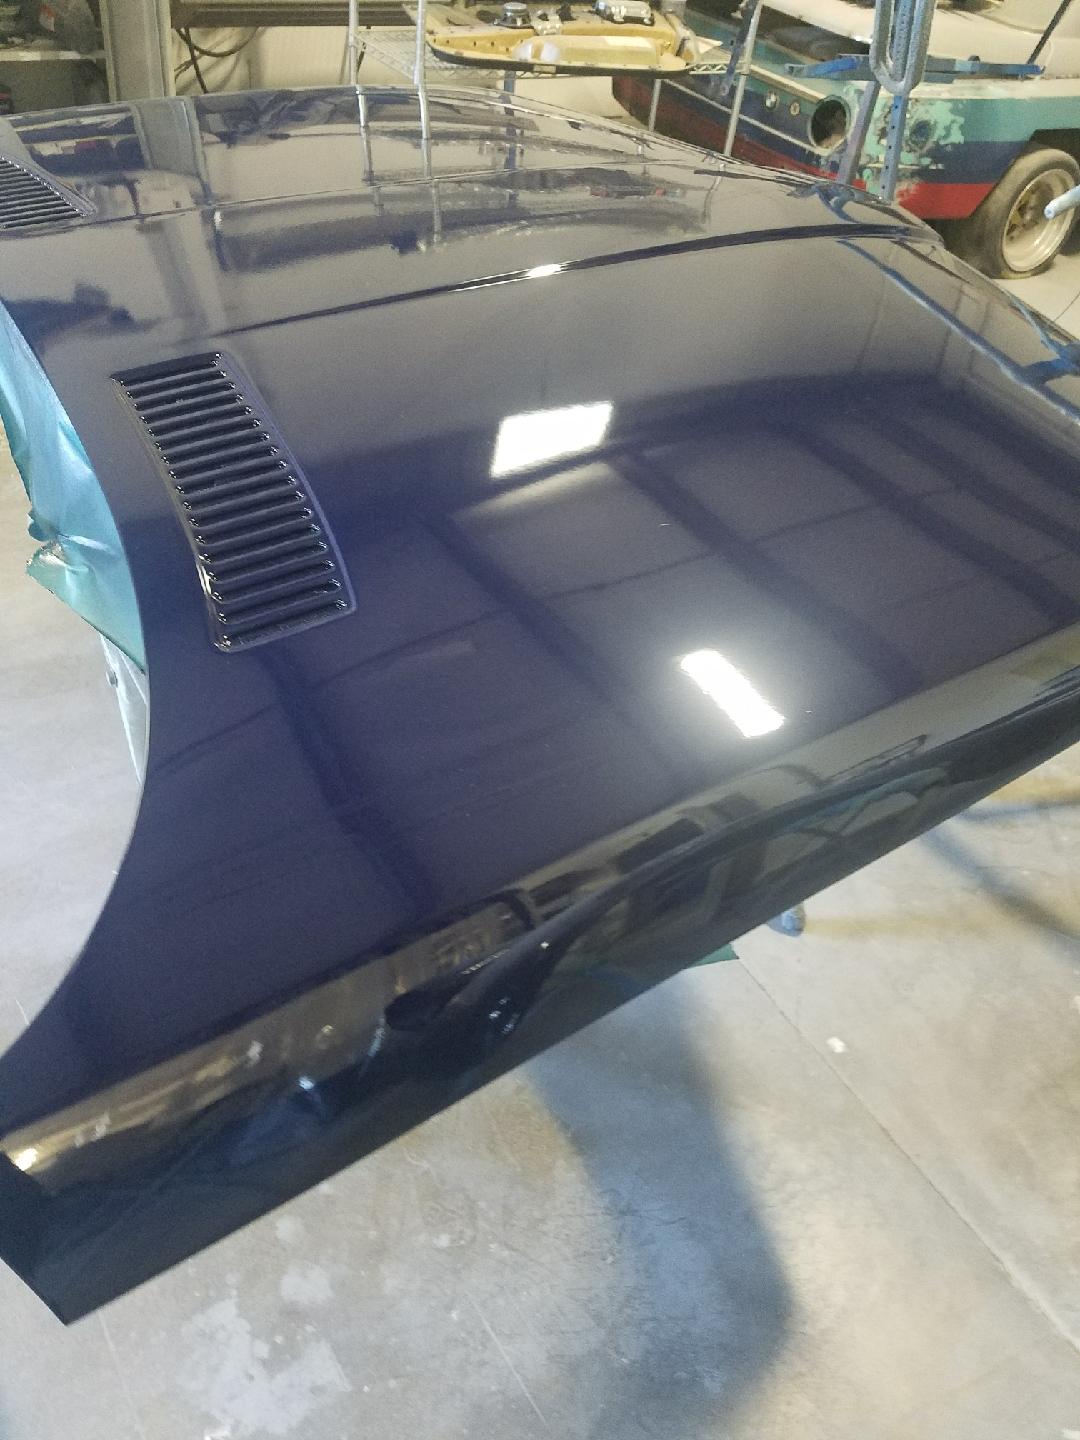
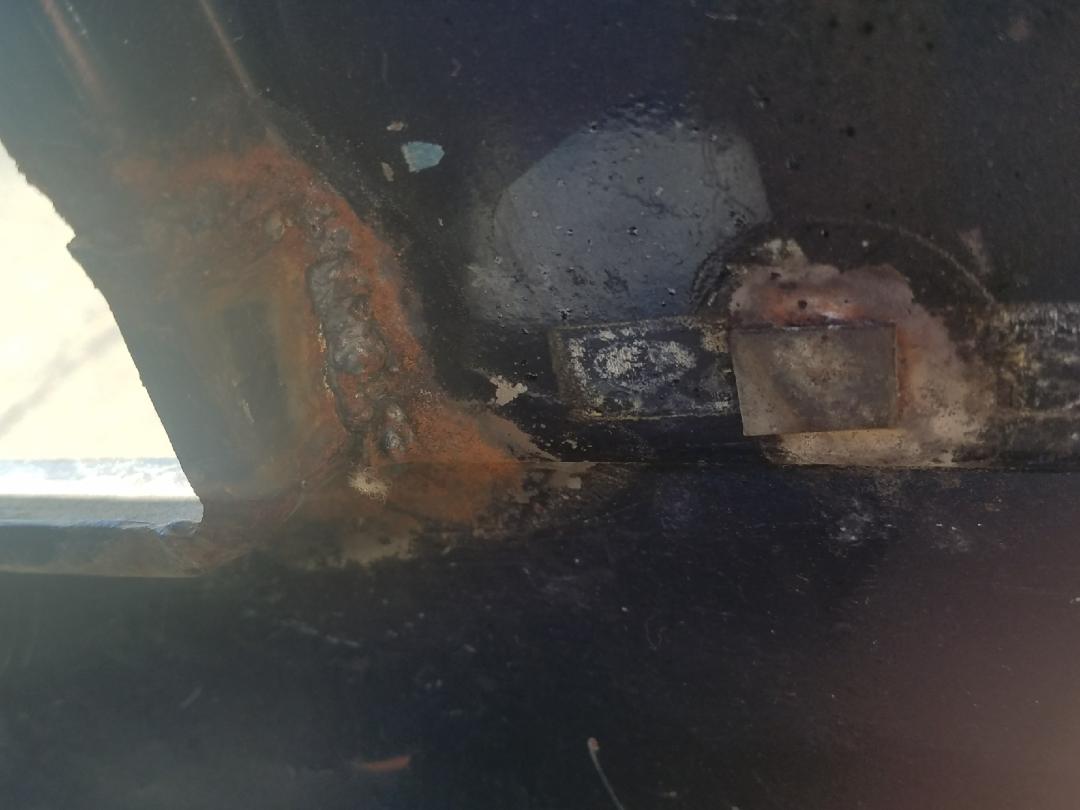 The trunk lid and hood are taken off, prepped.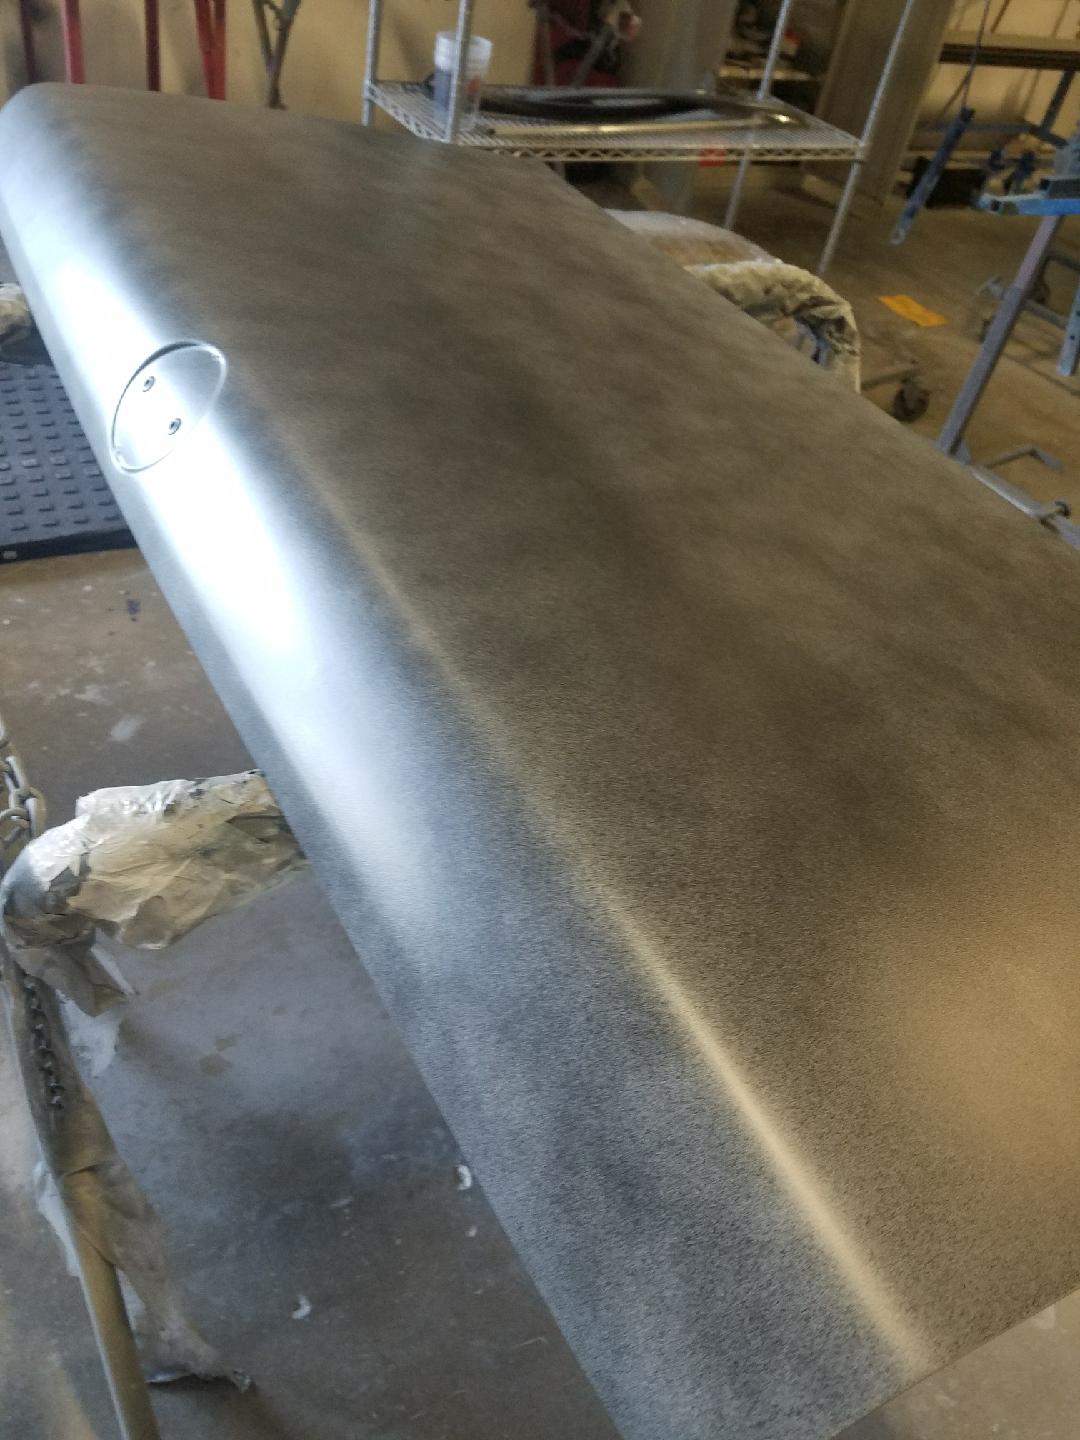
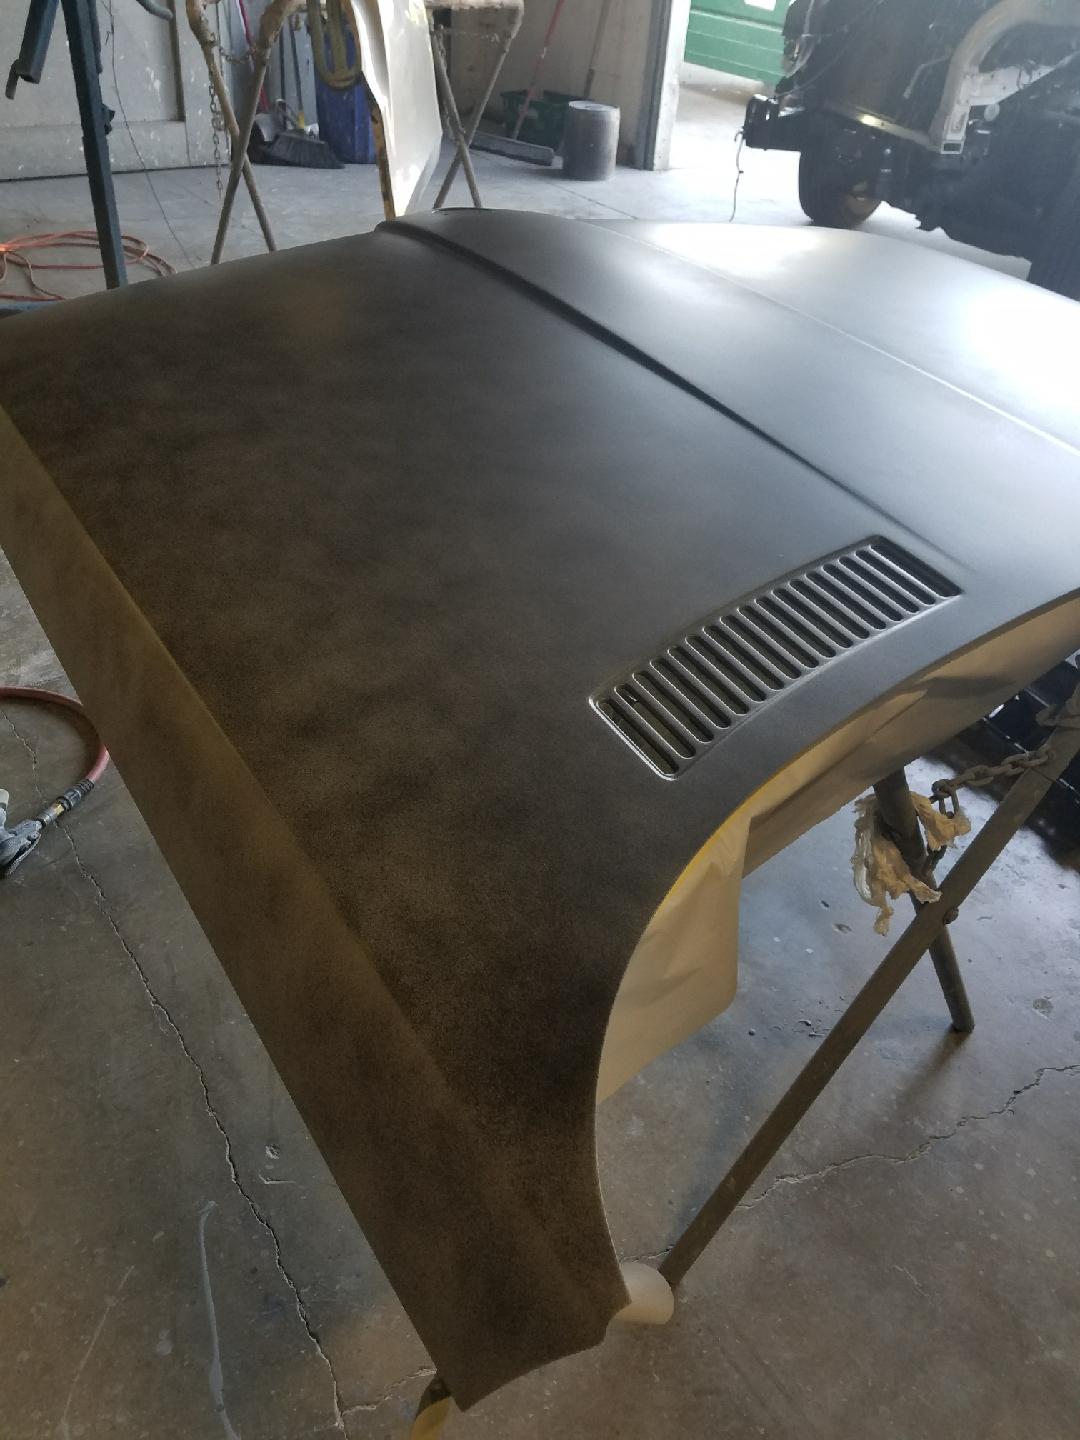 And painted.
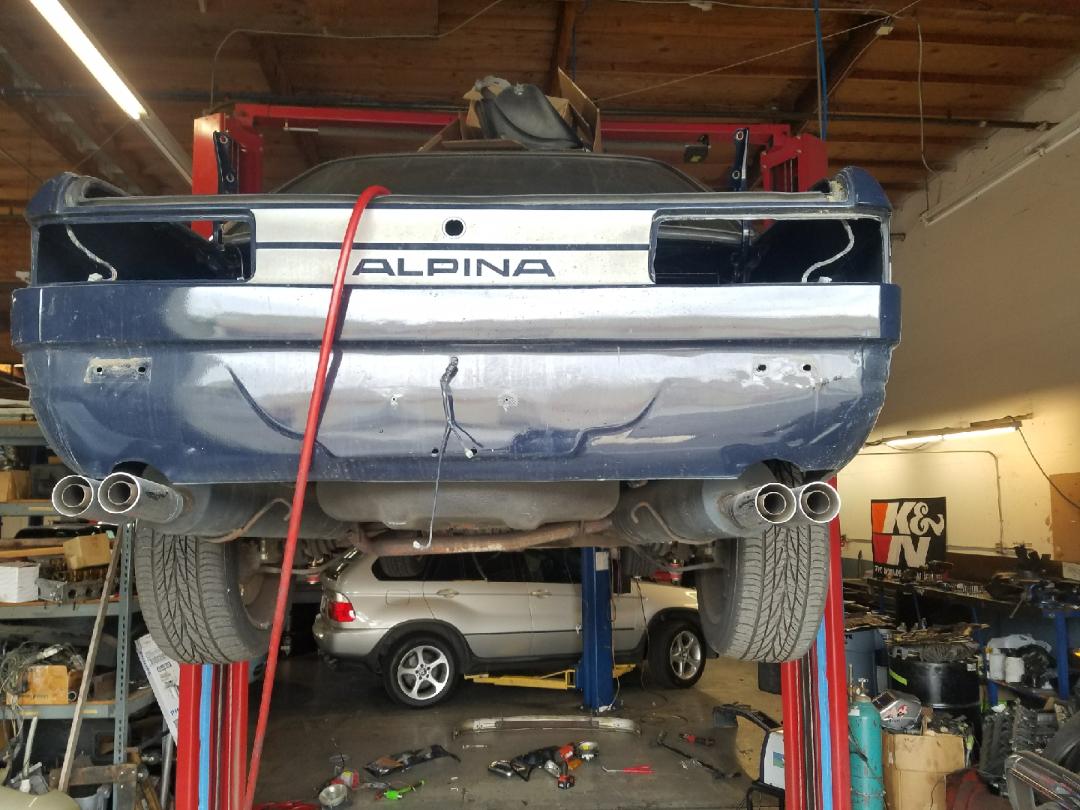
 And then the whole body is stripped and prepped. And someday, painted.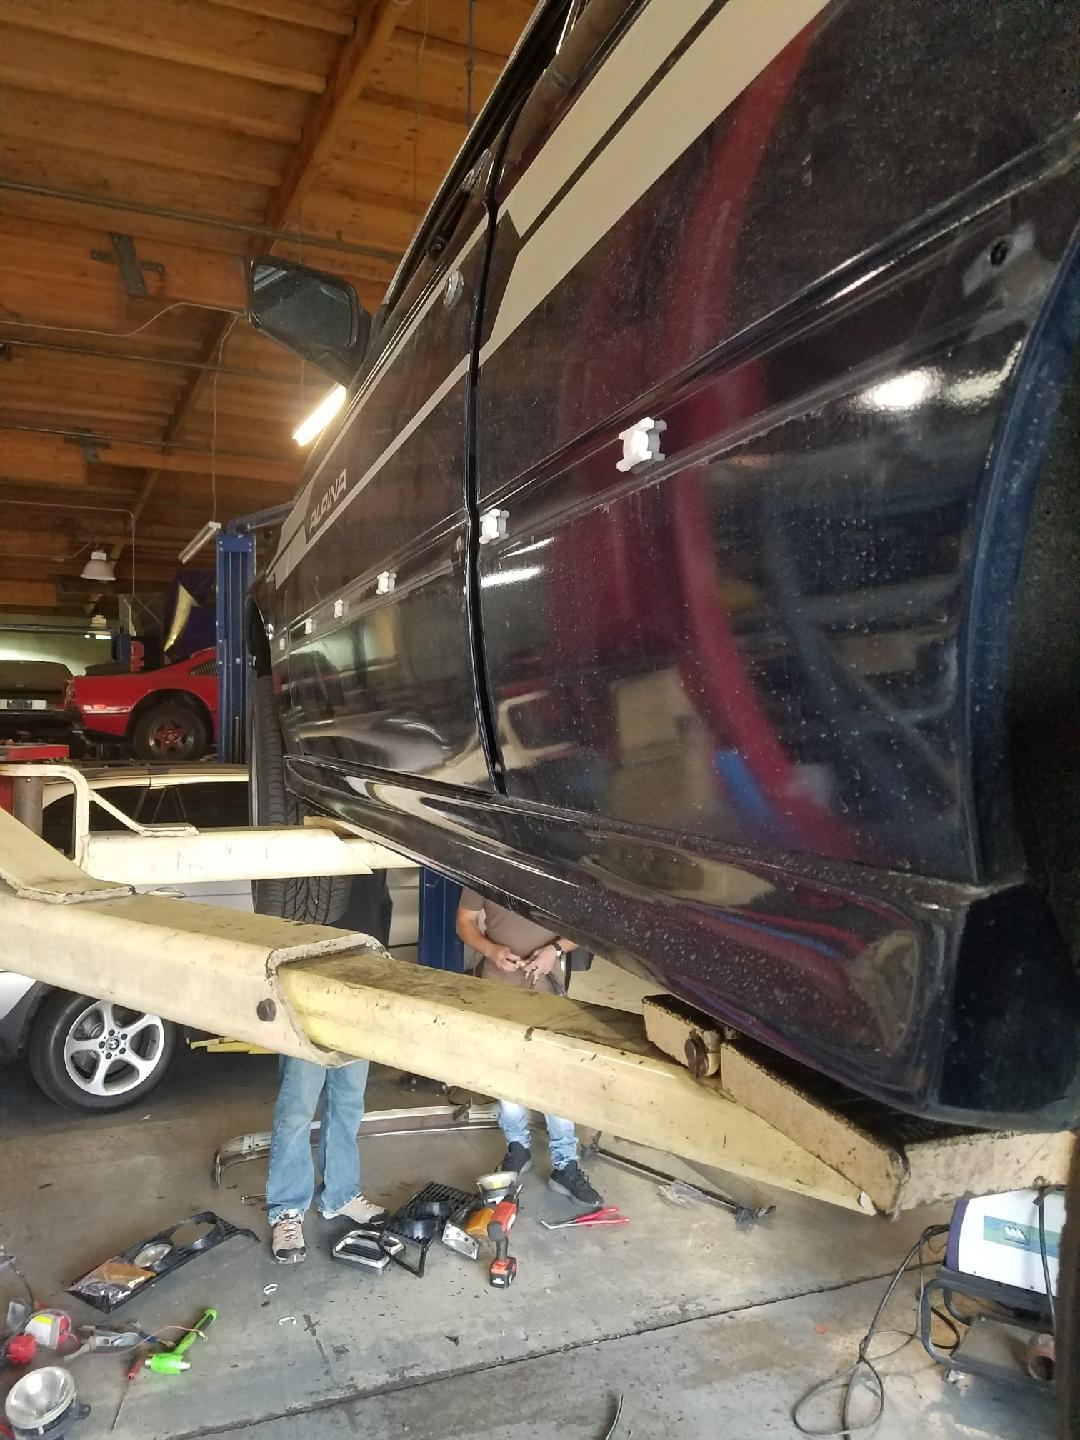
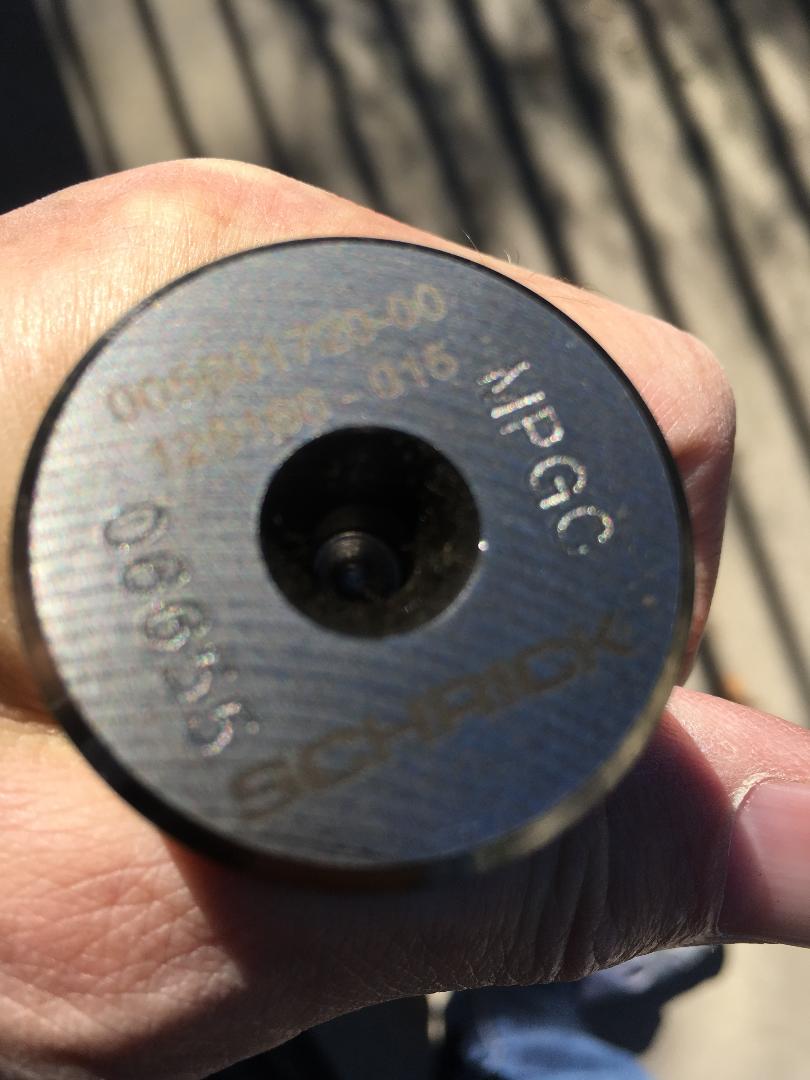
 While all this was going on, I began delivering parts to the machine shop. The guy I’m using specializes in 4 and 6-cylinder air-cooled Porsche motors, but he is the shop used by one of the local vintage BMW specialty shops. I loaded much of the parts in my Porsche and brought both the forged M20 turbo-diesel crank and a bin of many other parts (custom pistons, clutch, forged rods, etc.), and the Schrick camshaft.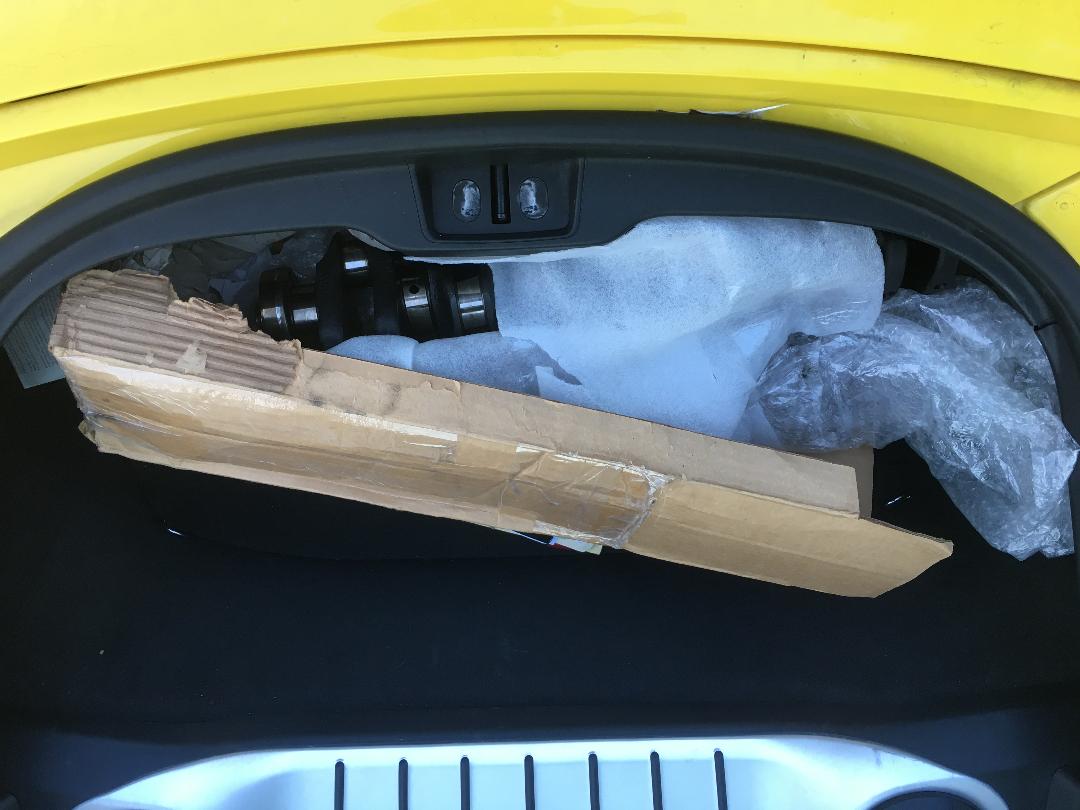
 The block and head are already there, as is the intake manifold, which needs to be bored to match the bigger ports in the 325i “885” head.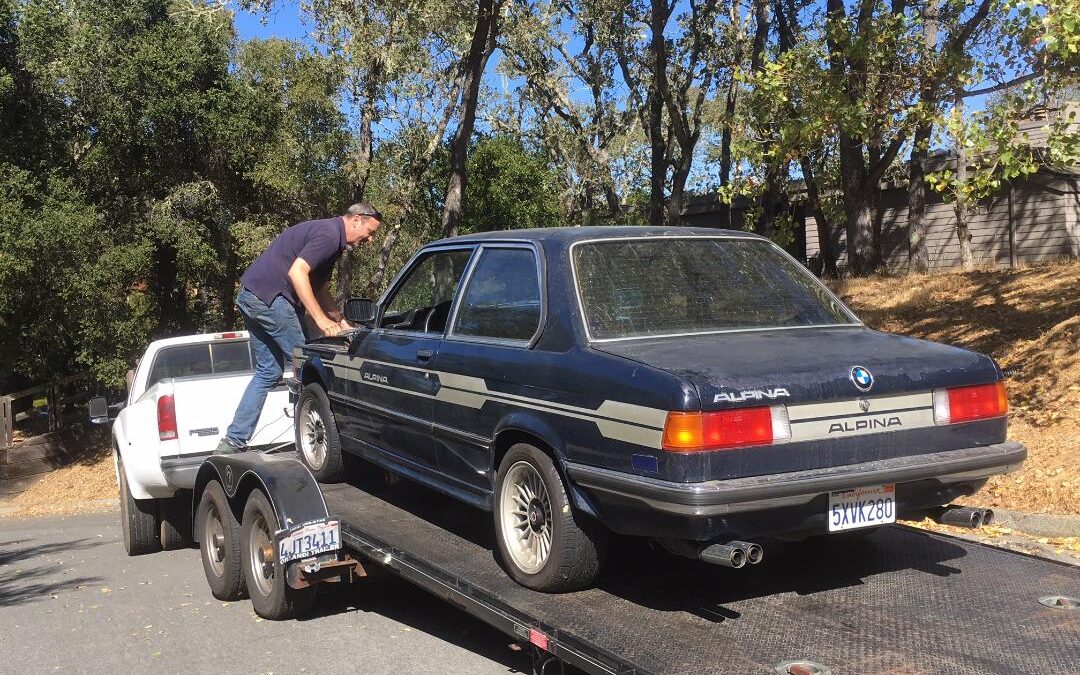
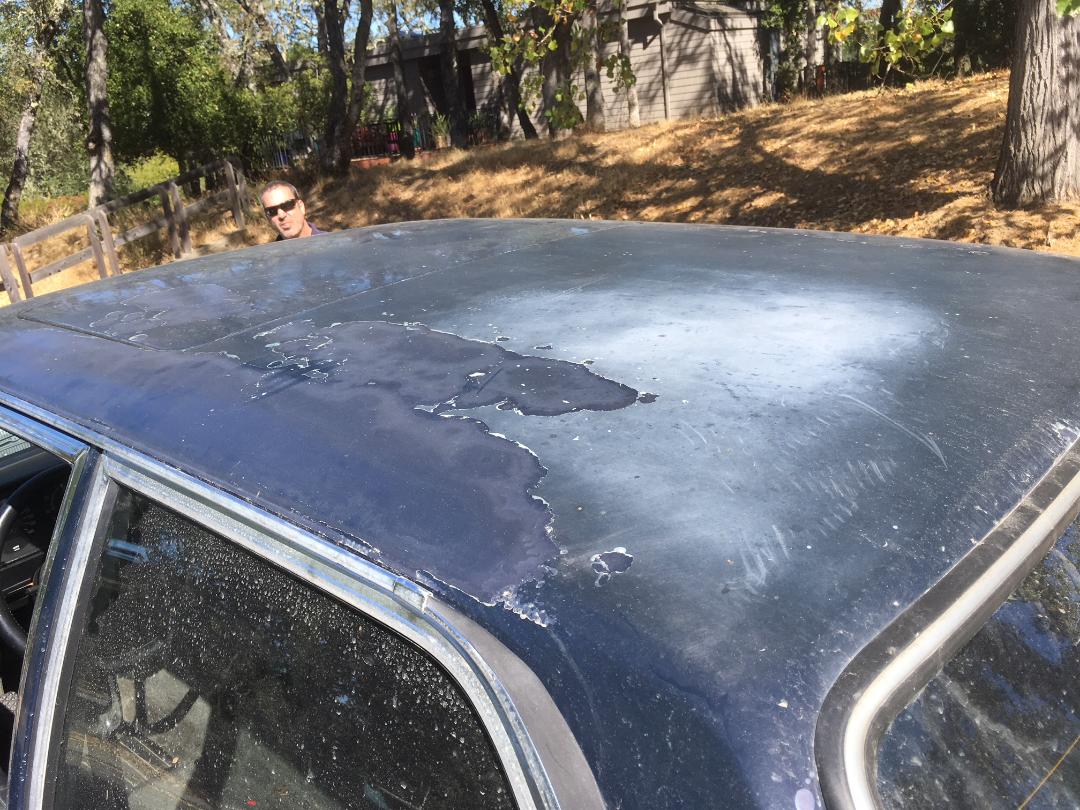
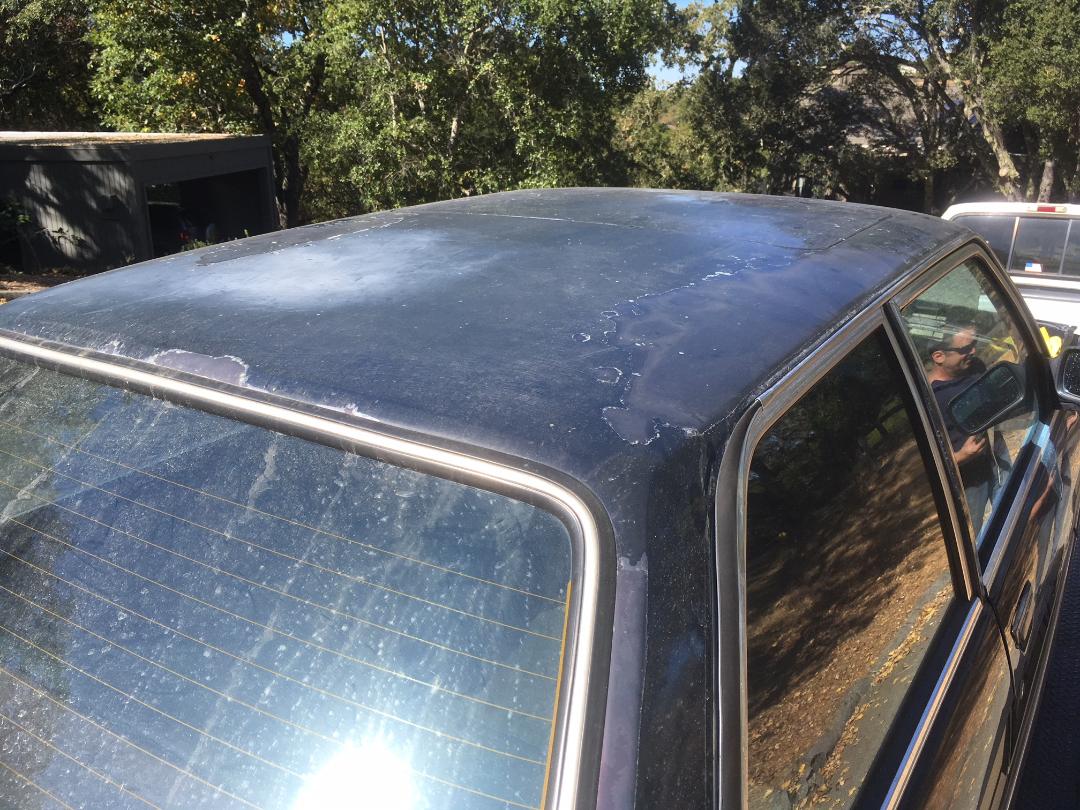
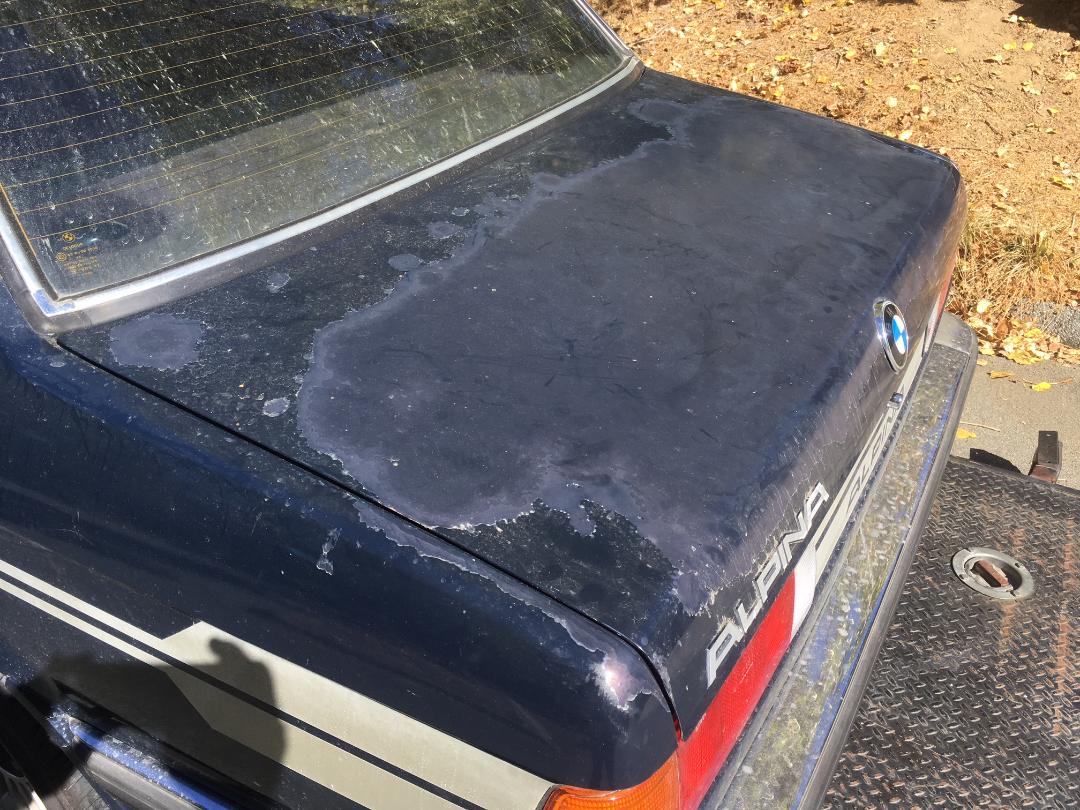 And there were a lot of things I wanted to do to the car; one was take the battery out of the trunk and put it back in the engine compartment where it belongs. Sometime ago, by some owner a while back, the battery was moved to the trunk and the battery tray removed from the engine compartment. If the car wasn’t an Alpina, and just a nicely modded vintage BMW, I’d probably want the battery back in the truck. But, given my philosophy with this project, I wanted to keep it’s appearance stock. And the engine compartment needed some other work: wiring was messed up, the compartment was dirty and had a bunch of things added (like a now inoperable cruise-control), and there were several little holes drilled for various little things. And the car had air conditioning, which I don’t want (ironically, I removed much of it while reading Rob Siegel’s articles about installing a/c in his 635csi). These little things were too much for me and I needed a professional to weld up the little holes, replace the battery tray, etc. So, while it’s at the body shop getting that done…..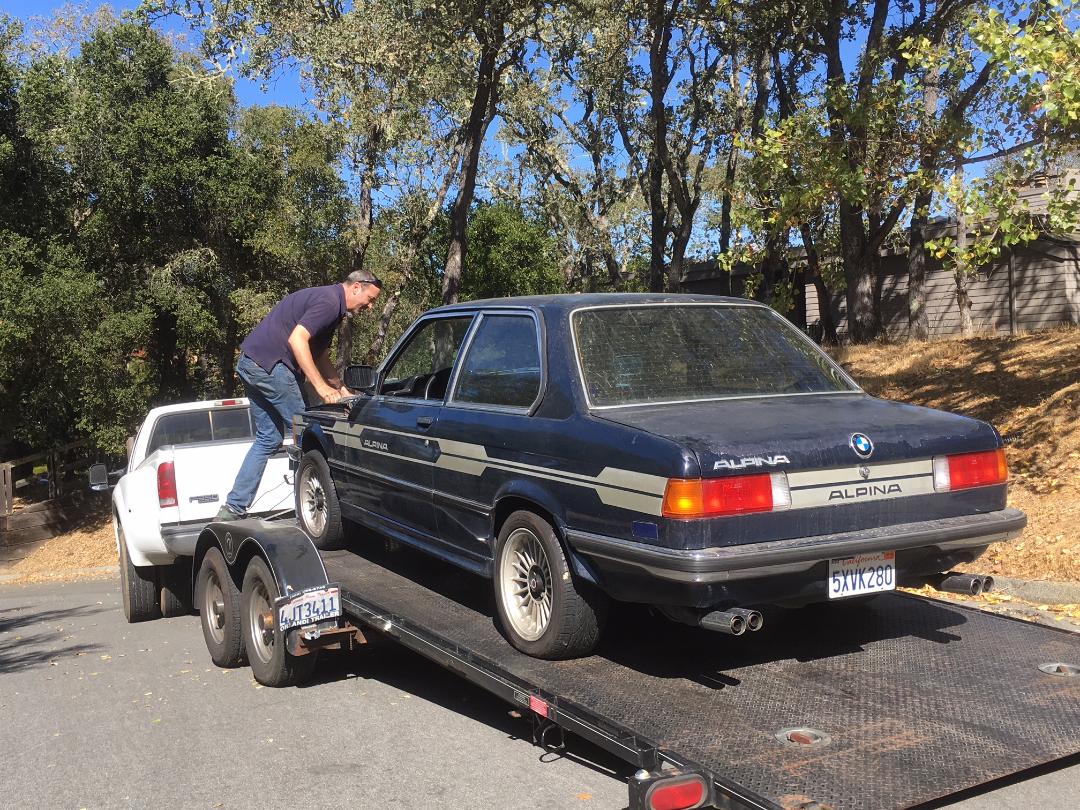
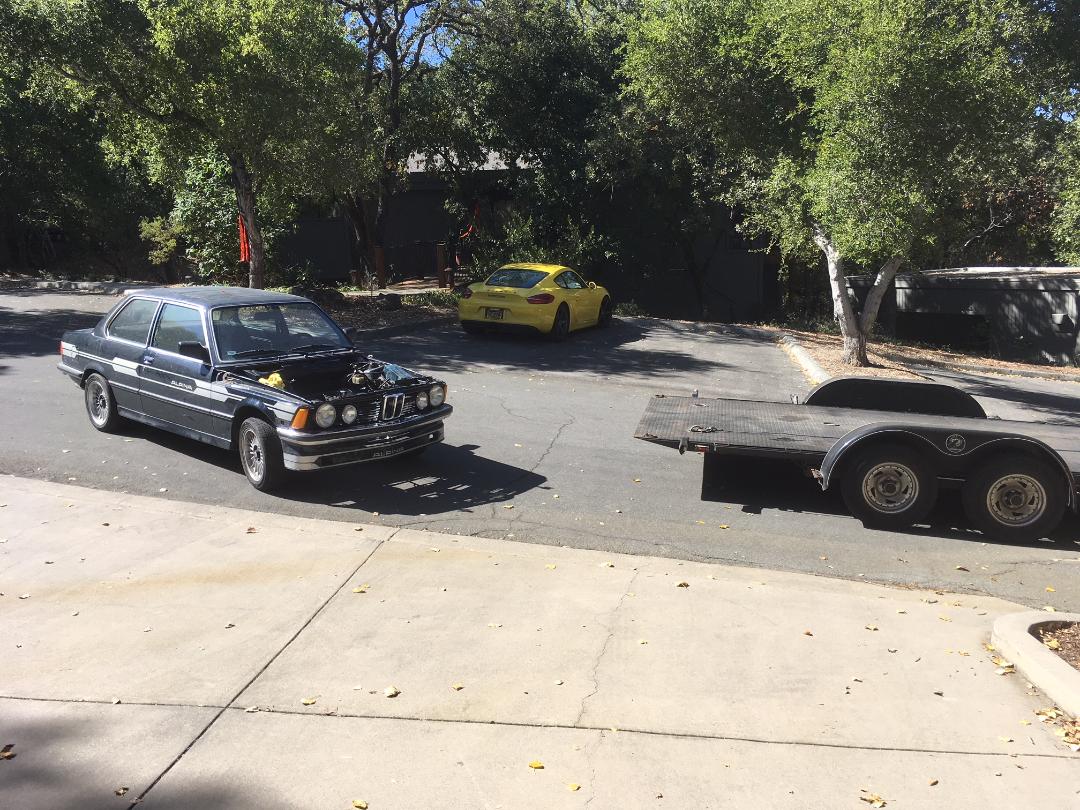
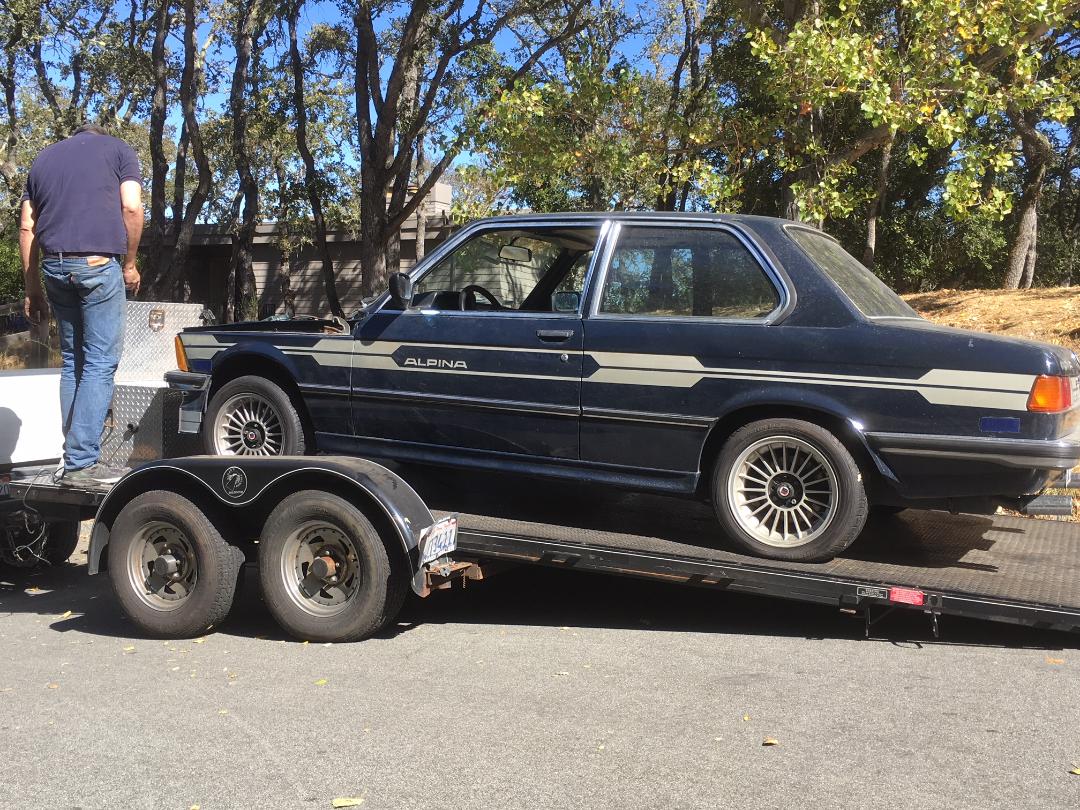
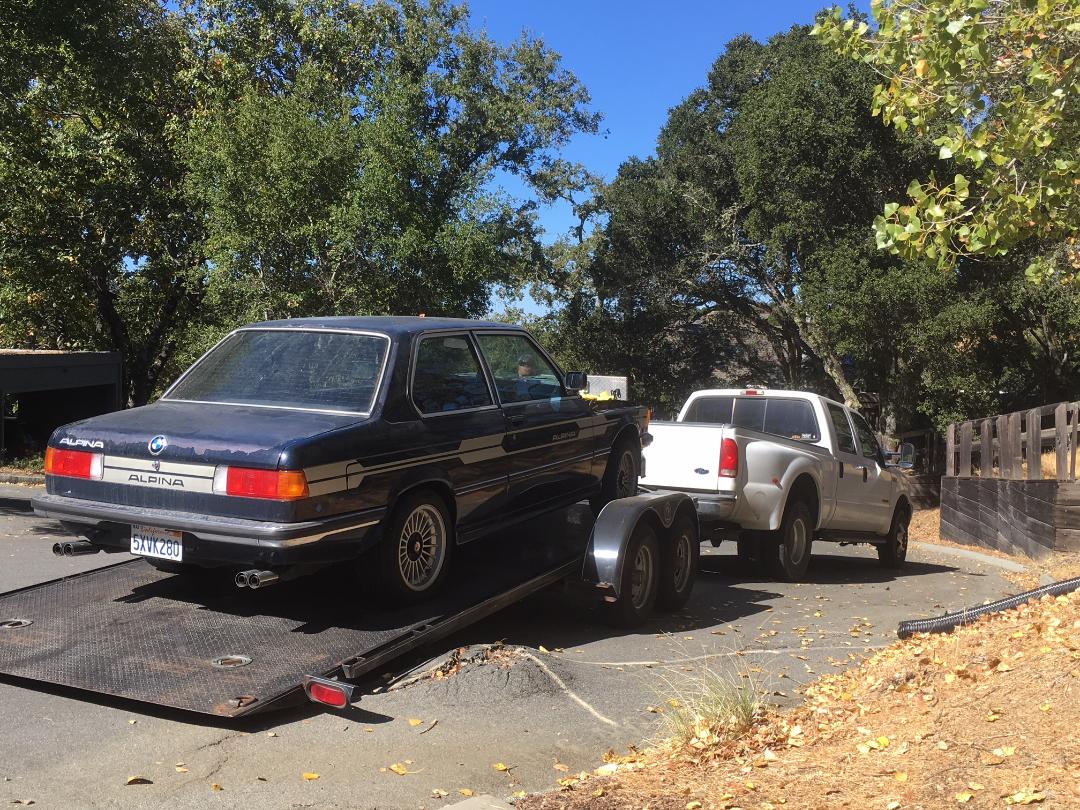
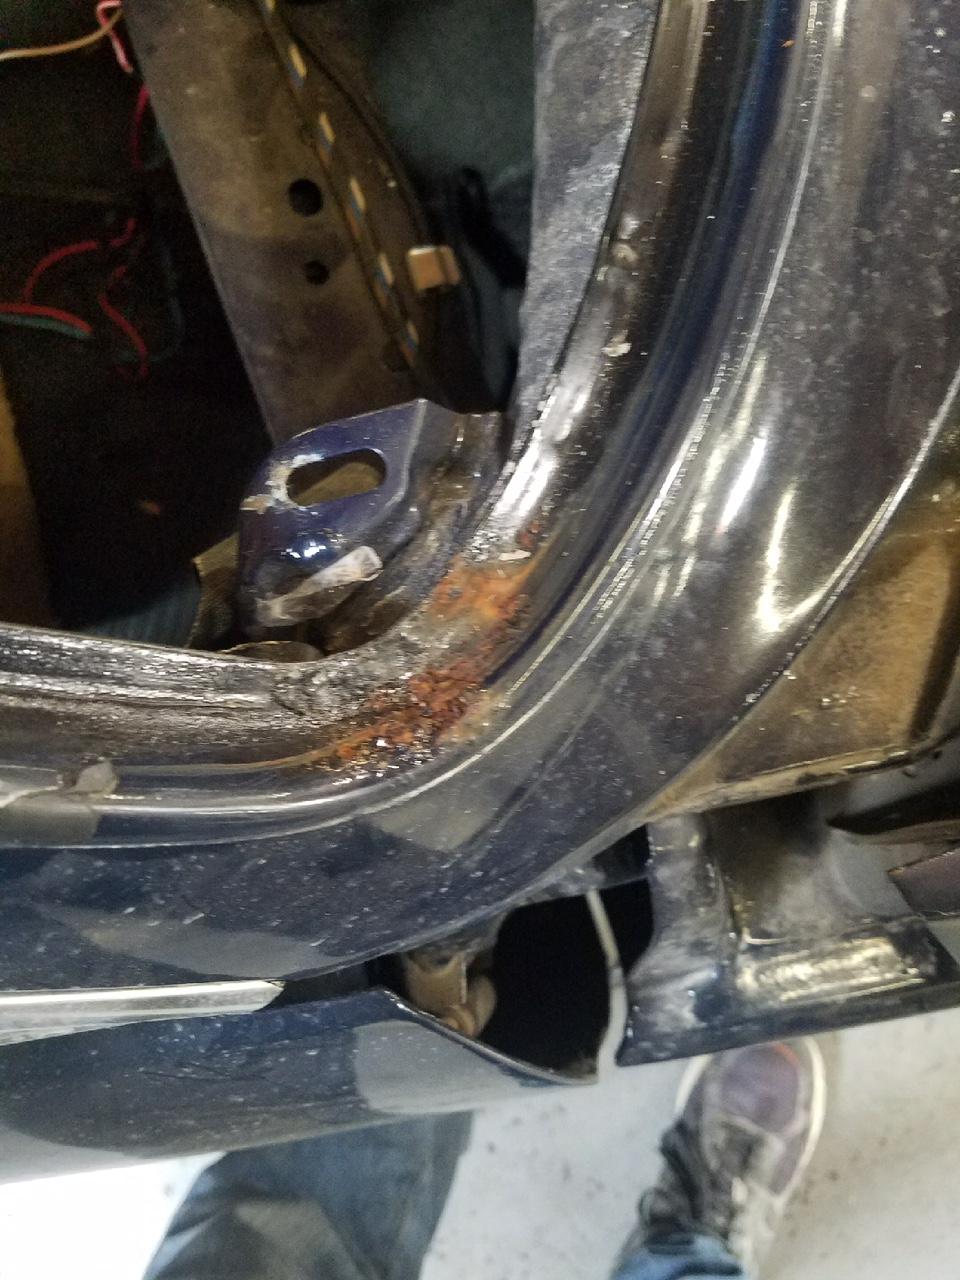
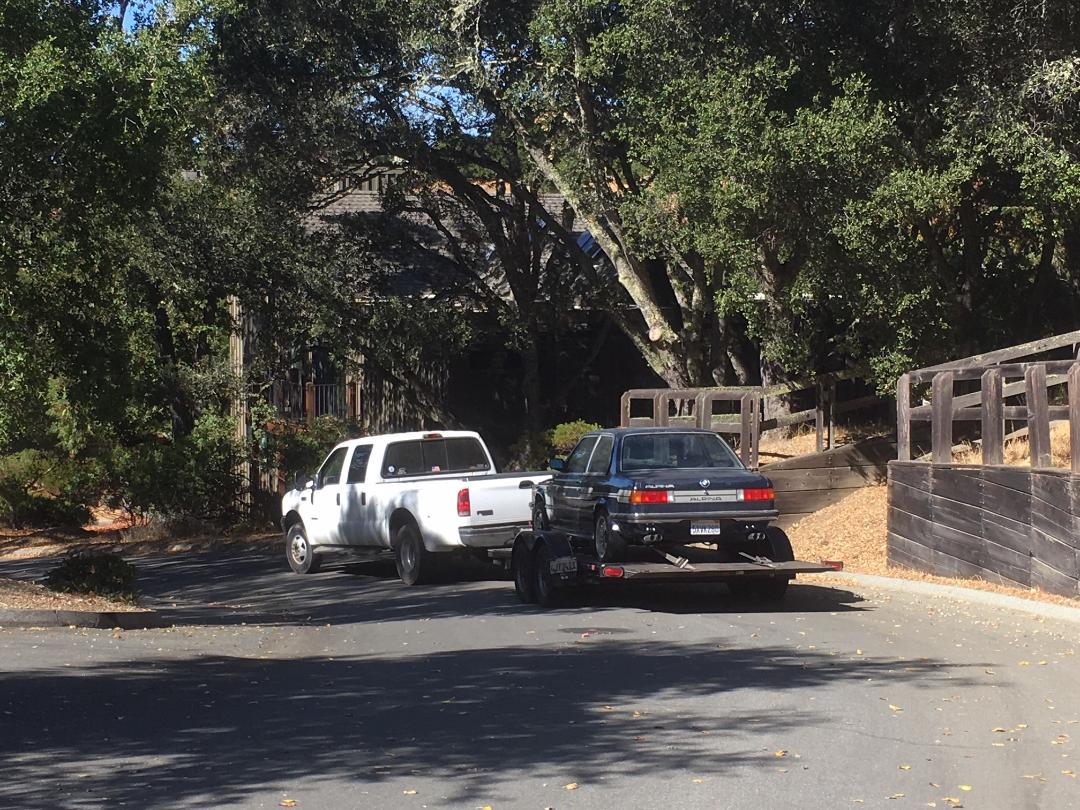 Suddenly I had an empty parking spot in my garage and Stu and his crew had a rough 1982 shell in the shop. Windshield out revealed a bunch of rust in the bottom corner, under the gasket.
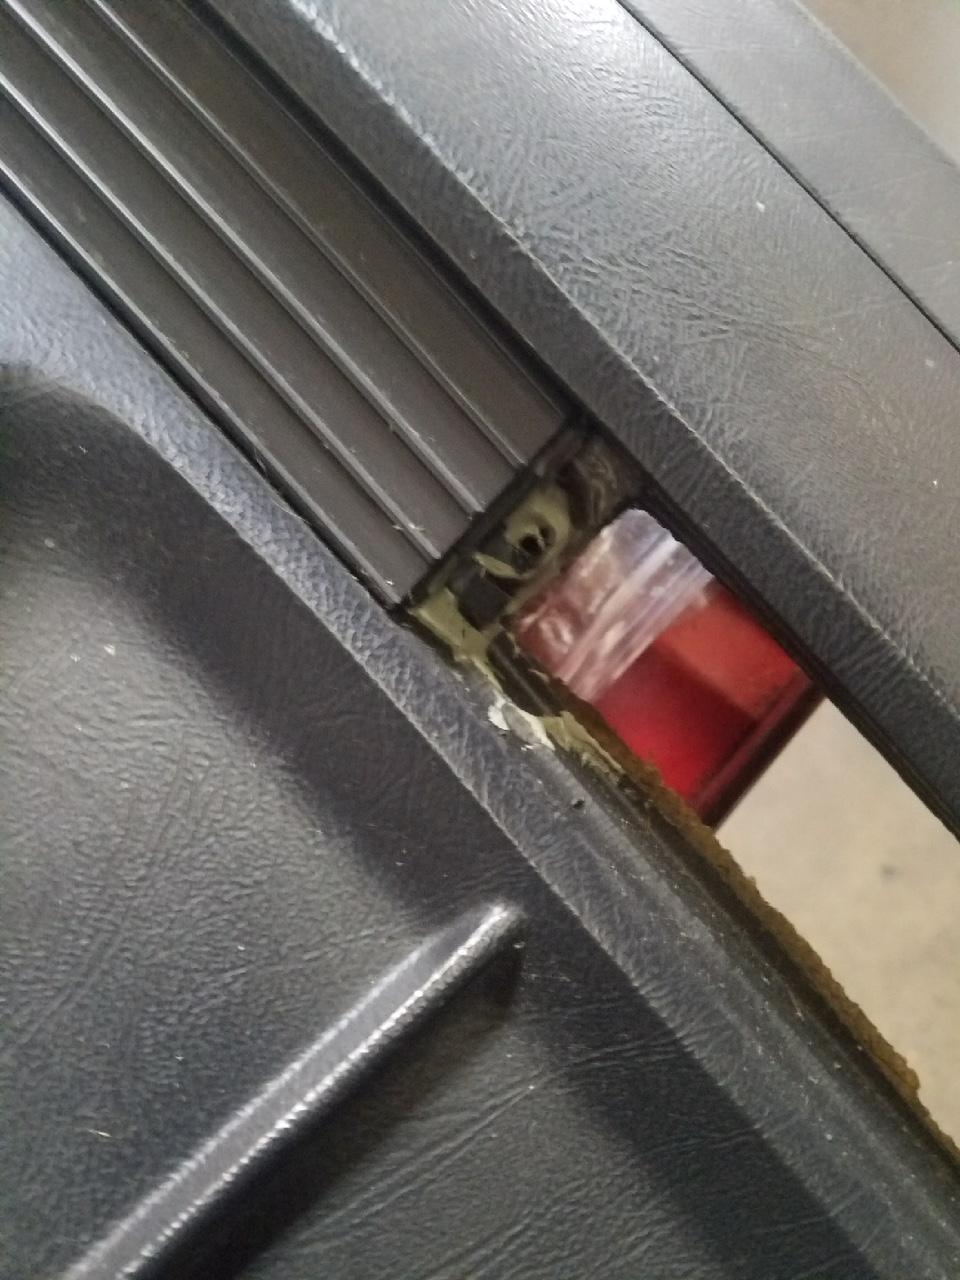
 Dashboard removal revealed a banged-up heater control panel and JB Weld holding parts of the dash together. Stu already sent the dash off to Justdashes.com, where it will be returned to prior glory (I tried to find a good used, crack-free dash – but no such luck).
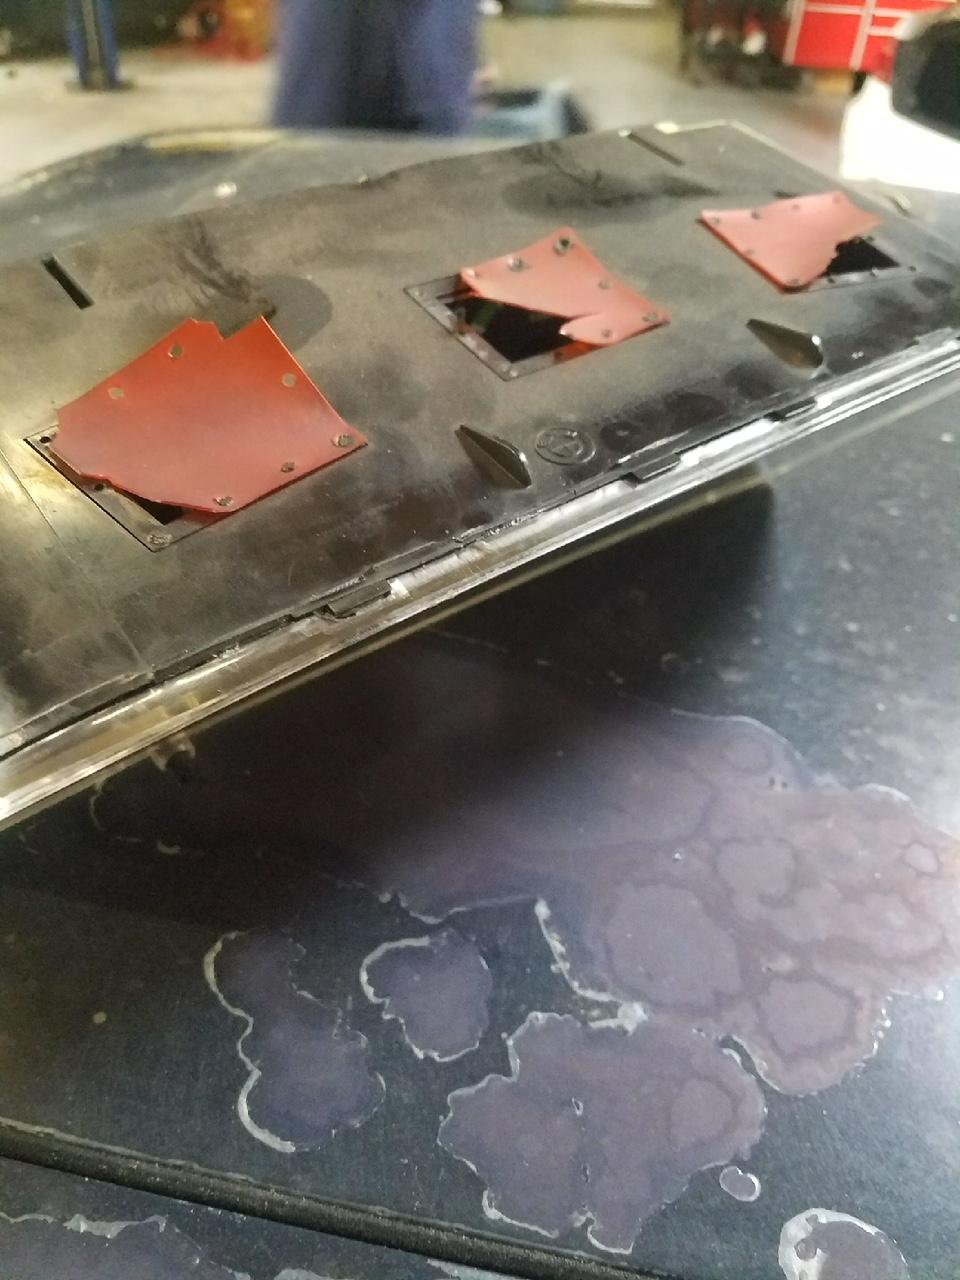
  The gauge cluster, which looked fine installed in the car, once removed, looked like it bobbed across the ocean on the way over from Germany.
 Each day, it seems, brings a new revelation.